In Blender, you can change the angle of the view by:
- Clicking and holding the middle mouse button and moving the mouse pointer.
- Pressing 2 or 8 on the number pad to rotate the view up and down.
- Pressing 4 or 6 on the number pad to rotate the view left and right.
The point at which the view is rotating can change. Follow these steps to center the view rotation on a specific object:
- Select the object.
- Press the . (period) key on the number pad.
The selected object will fill the view and all view rotations will now center on that object:

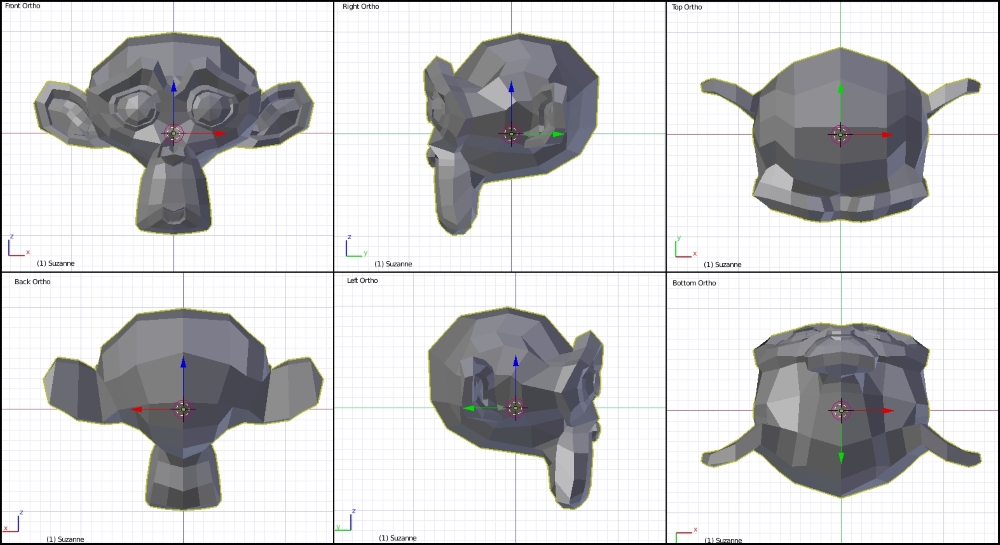
Blender has six set views that can be quickly jumped to at any time:
- Press 1 on the number pad to jump to the front view
- Press 3 on the number pad to jump to the right view
- Press 7 on the number pad to jump to the top view
- Press Ctrl + 7 or 9 on the number pad to jump to the bottom view
- Press Ctrl + 1 on the number pad to jump to the back view
- Press Ctrl + 3 to jump to the left view
Panning the view means moving without changing the rotation, like moving your head while it's still pointed in the same direction. To pan the view, follow these steps:
- Press Ctrl + 4 on the number pad to pan left
- Press Ctrl + 6 on the number pad to pan right
- Press Ctrl + 8 on the number pad to pan up
- Press Ctrl + 2 on the number pad to pan down
- Hold Shift while clicking and holding the middle mouse button and move the mouse
Zooming the view is moving closer to or farther from the object. To zoom the view, do one of the following:
- Turn the scroll wheel.
- Press Ctrl + middle mouse button and move the mouse.
- Press + or – on the number pad.
To toggle between orthographic and perspective views, press 5 on the number pad.
The words Persp or Ortho can be seen in the upper right-hand corner of the 3D View, indicating which view is being used:
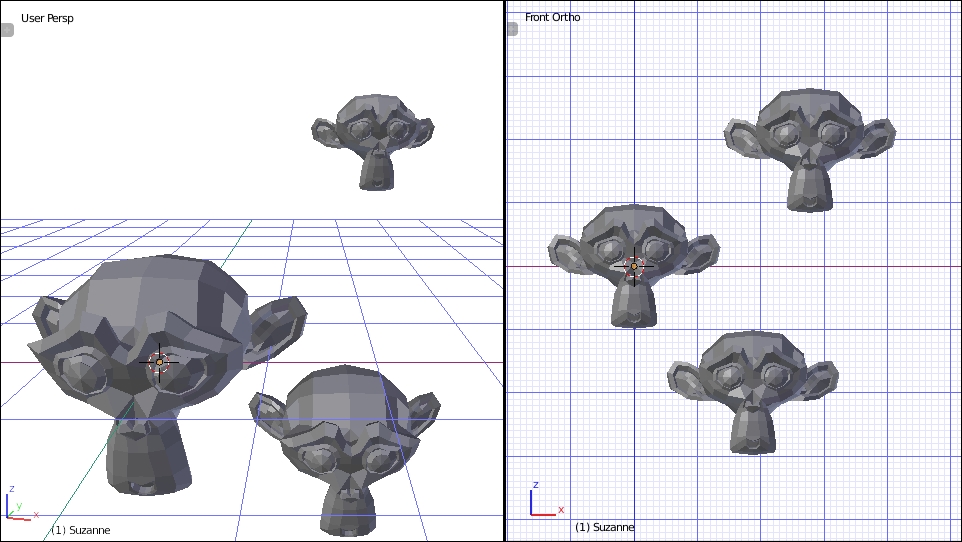
There are two ways of looking at the 3D View on a computer. Perspective is the default, and more closely resembles how things will look when viewed through a camera or our eyes: closer objects look bigger; farther objects look smaller. Orthographic makes everything the same size, no matter how close or far it is. This makes it easier to compare objects and determine their location relative to one another.
Because a lot of 3D modelling requires precision, orthographic is generally preferred; however, it can be confusing when two objects overlap exactly. For this reason, it's good to adjust the view frequently and be sure that the action you're preforming is the action you think you're performing.
With 3D modelling tools, it helps to be Superman. Being able to see through objects can help when selecting and modelling things. You can switch between the Wireframe and Solid views using one of these methods:
- Press Z to toggle between Solid and Wireframe view.
- On the 3D View menu, click on the Method to Display popup and choose Solid or Wireframe.
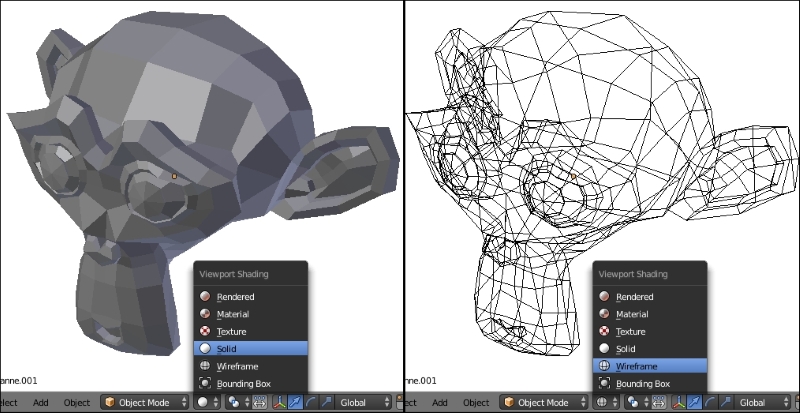
Wireframe mode is very powerful, especially in Edit mode, but it can be very confusing, especially as objects get more complex. Wireframe mode allows objects behind the objects in the foreground to be selected without adjusting the view. Get used to switching between Solid and Wireframe mode frequently.