
The following procedure is used to configure a Fargate ECS service with an application load Balancer:
- Create an application load balancer
- Create a task definition
- Create a service
- Configure the application load balancer with the service
- Invoke the service
First, we shall create an application load balancer:
- Open the EC2 Console in a browser by going to https://console.aws.amazon.com/ec2, and select Load Balancing | Load Balancers.
- Click on Create Load Balancer, as shown in the following screenshot:

- In Select load balancer type, click on Create for the Application Load Balancer, as shown in the following screenshot. An application load balancer is used for HTTP/HTTPS request protocols.

- In Configure Load Balancer, specify a load balancer name (hello-world-lb) in the Basic Configuration, as shown in the following screenshot, and select internet-facing as the Scheme. Only a-z, A-Z, 0-9, and hyphens may be used in the load balancer name.
- Select ipv4 as the IP address type.
- In the Listeners section, a listener is configured with HTTP as the Load Balancer Protocol, and 80 as the Load Balancer Port:

- Scroll down and choose a VPC. Select at least the availability zones to which the load balancer is going to route traffic. Click on Next.
- The Configure Security Settings page will then be displayed for an HTTPS listener. If the load balancer should use an HTTPS protocol listener, that should be configured on the previous screen in the Listeners section, and the security settings should be configured on the Configure Security Settings page. Because we are only using an HTTP listener, we don’t need to configure any security settings. Click on Next.
- Configure Security Groups for the load balancer. Select Create a new security group and select the default Security group name, which is also shown in the following screenshot.
- Select All traffic as the Type, a Protocol of All, Port Range of 0-65535, and Custom as the Source, with CIDR as default routes for IPv4 and IPv6 (0.0.0.0/0, ::/0). Click on Next:

- In Configure Routing, configure a target group to which the load balancer will route requests. The load balancer routes requests only to targets in the configured target group. Select the New Target group option in Target group, and specify a Name (hello-world-tg), as shown in the following screenshot.
- Select HTTP as the Protocol and 80 as the Port.
- Select ip as the Target type and click on Next:

- With a Target type of ip, targets in the following CIDR blocks may be added: 10.0.0.0/8, 100.64.0.0/10, 172.16.0.0/12, and 192.168.0.0/16.
- On the Register Targets screen (shown in the following screenshot), we won’t register targets, as Fargate does that automatically when an ECS service using the application load balancer is created. Click on Next:

- Review the configuration for the application load balancer. Click on Create, as shown in the following screenshot:

- The application load balancer gets created, as indicated by the Load Balancer Creation Status dialog. Click on Close.
- The hello-world-lb load balancer is listed in the load balancer table, as shown in the following screenshot. Initially, the status (State) is provisioning. Click on Refresh to refresh the State:

- When the load balancer becomes available, its State becomes active, as shown in the following screenshot:

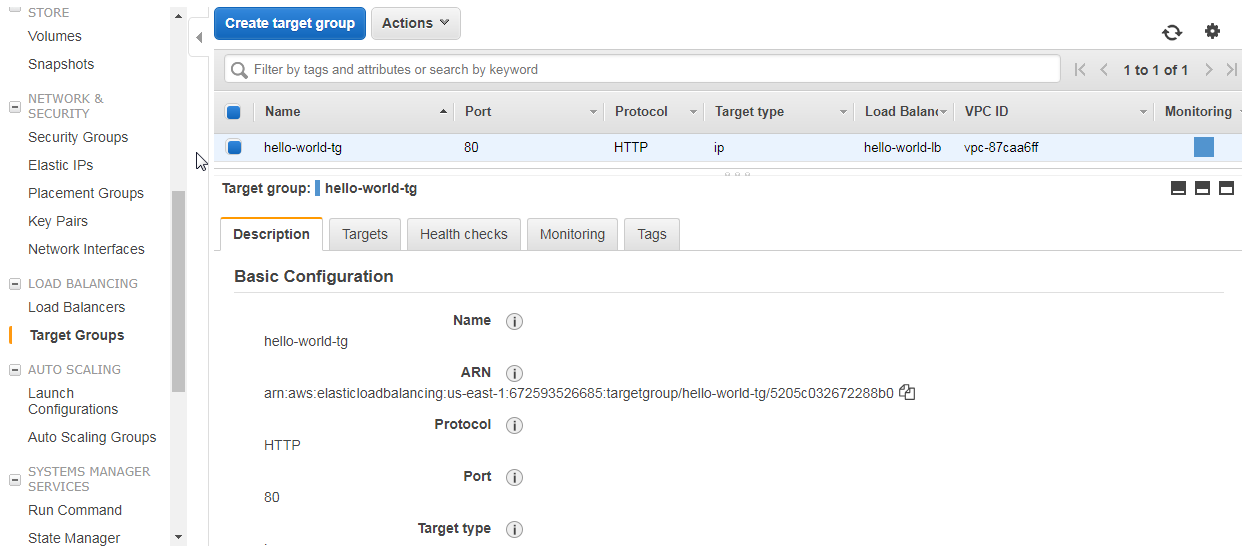
- A target group, hello-world-tg, gets created, also shown in the following screenshot:
- Select the Targets tab and no targets should initially be listed, as none have been configured yet.