
You want CrimeListFragment to display a list of crimes to the user. To do this you will use a RecyclerView.
The RecyclerView class lives in another Jetpack library. The first step to using a RecyclerView is to add the RecyclerView library as a dependency.
Listing 9.5 Adding RecyclerView dependency (app/build.gradle)
dependencies {
    ...
    implementation 'androidx.lifecycle:lifecycle-extensions:2.0.0'
    implementation 'androidx.recyclerview:recyclerview:1.0.0'
    ...
}
Again, sync your Gradle files before moving on.
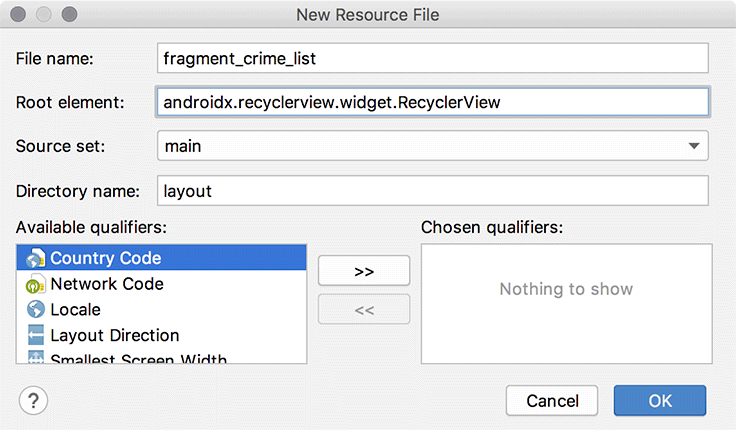
Your RecyclerView will live in CrimeListFragment’s layout file. First, you must create the layout file. Create a new layout resource file named fragment_crime_list. For the Root element, specify androidx.recyclerview.widget.RecyclerView (Figure 9.4).
In the new layout/fragment_crime_list.xml file, add an ID attribute to the RecyclerView. Collapse the close tag into the opening tag, since you will not add any children to the RecyclerView.
Listing 9.6 Adding RecyclerView to a layout file (layout/fragment_crime_list.xml)
<androidx.recyclerview.widget.RecyclerView
        xmlns:android="http://schemas.android.com/apk/res/android"
        android:id="@+id/crime_recycler_view"
        android:layout_width="match_parent"
        android:layout_height="match_parent">
        android:layout_height="match_parent"/>

</androidx.recyclerview.widget.RecyclerView>
Now that CrimeListFragment’s view is set up, hook up the view to the fragment. Modify CrimeListFragment to use this layout file and to find the RecyclerView in the layout file, as shown in Listing 9.7.
Listing 9.7 Setting up the view for CrimeListFragment (CrimeListFragment.kt)
class CrimeListFragment : Fragment() {

    private lateinit var crimeRecyclerView: RecyclerView

    private val crimeListViewModel: CrimeListViewModel by lazy {
        ViewModelProviders.of(this).get(CrimeListViewModel::class.java)
    }

    override fun onCreate(savedInstanceState: Bundle?) {
        super.onCreate(savedInstanceState)
        Log.d(TAG, "Total crimes: ${crimeListViewModel.crimes.size}")
    }

    override fun onCreateView(
        inflater: LayoutInflater,
        container: ViewGroup?,
        savedInstanceState: Bundle?
    ): View? {
        val view = inflater.inflate(R.layout.fragment_crime_list, container, false)

        crimeRecyclerView =
            view.findViewById(R.id.crime_recycler_view) as RecyclerView
        crimeRecyclerView.layoutManager = LinearLayoutManager(context)

        return view
    }
}
Note that as soon as you create your RecyclerView, you give it another object called a LayoutManager. RecyclerView requires a LayoutManager to work. If you forget to give it one, it will crash.
RecyclerView does not position items on the screen itself. It delegates that job to the LayoutManager. The LayoutManager positions every item and also defines how scrolling works. So if RecyclerView tries to do those things when the LayoutManager is not there, the RecyclerView will immediately fall over and die.
There are a few built-in LayoutManagers to choose from, and you can find more as third-party libraries. You are using the LinearLayoutManager, which will position the items in the list vertically. Later on in this book, you will use GridLayoutManager to arrange items in a grid instead.
Run the app. You should again see a blank screen, but now you are looking at an empty RecyclerView.