
The top-right area of the app bar is reserved for the app bar’s menu. The menu consists of action items (sometimes referred to as menu items), which can perform an action on the current screen or on the app as a whole. You will add an action item to allow the user to create a new crime.
Your new action item will need a string resource for its label. Open res/values/strings.xml and add a string label describing your new action.
Listing 15.1 Adding a string for menu (res/values/strings.xml)
<resources>
    ...
    <string name="crime_solved_label">Solved</string>
    <string name="new_crime">New Crime</string>
</resources>
The action item also needs an icon. Just like when you added a right arrow icon back in Chapter 2, you will use the Vector Asset Studio to add a vector drawable to your project. Select File → New → Vector Asset from the menu bar to bring up the Asset Studio. Click the button to the right of the Clip Art: label.
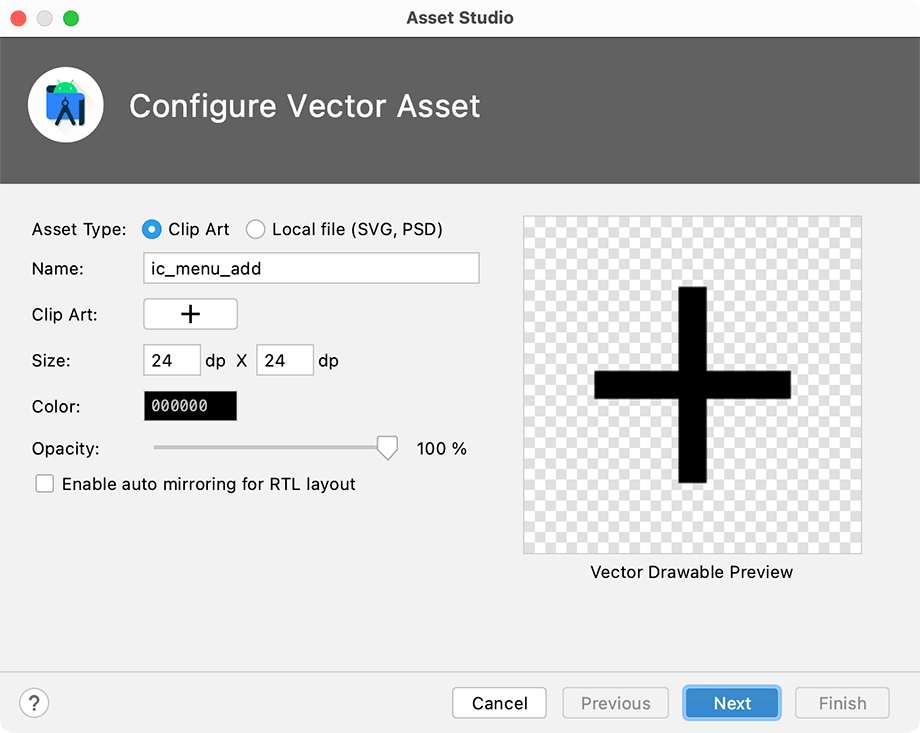
Within the Select Icon window, search for add and select the plus-shaped icon.
Back on the Configure Vector Asset window, rename the asset ic_menu_add.
The system will automatically tint the icon to the correct color, so you can leave its color set to the default black (Figure 15.3).
With that done, you can click Next and then click Finish on the following screen to add the icon to your project.
Menus are a type of resource, similar to layouts. You create an XML description of a menu and place the file in the res/menu directory of your project. Android generates a resource ID for the menu file that you then use to inflate the menu in code.
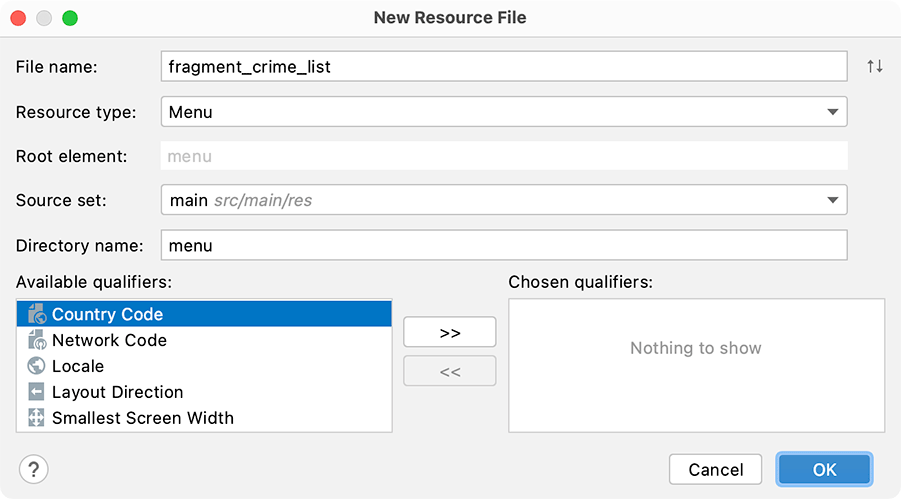
In the project tool window, right-click the res directory and select New → Android resource file. Name the menu resource fragment_crime_list, change the Resource type to Menu, and click OK (Figure 15.4).
Here, you use the same naming convention for menu files as you do for layout files.
Android Studio will generate res/menu/fragment_crime_list.xml, which has the same name as your CrimeListFragment’s layout file but lives in the menu folder.
In the new file, switch to the code view and add an item element, as shown in Listing 15.2.
Listing 15.2 Creating a menu resource for CrimeListFragment (res/menu/fragment_crime_list.xml)
<menu xmlns:android="http://schemas.android.com/apk/res/android"
      xmlns:app="http://schemas.android.com/apk/res-auto">
    <item
        android:id="@+id/new_crime"
        android:icon="@drawable/ic_menu_add"
        android:title="@string/new_crime"
        app:showAsAction="ifRoom|withText"/>
</menu>
The showAsAction attribute refers to whether the item will appear in the app bar itself or in the overflow menu.
You have piped together two values, ifRoom and withText, so the item’s icon and text will appear in the app bar if there is room.
If there is room for the icon but not the text, then only the icon will be visible.
If there is no room for either, then the item will be relegated to the overflow menu.
If you have items in the overflow menu, those items will be represented by the three dots on the far-right side of the app bar, as shown in Figure 15.5.
Other options for showAsAction include always and never. Using always is not recommended; it is better to use ifRoom and let the OS decide. Using never is a good choice for less-common actions. In general, you should only put action items that users will access frequently in the app bar to avoid cluttering the screen.
Notice that fragment_crime_list.xml uses the xmlns tag to define a namespace, app, which is separate from the usual android namespace declaration.
This app namespace is then used to specify the showAsAction attribute.
You have used this namespace a few times already, such as for the Navigation library and ConstraintLayout.
Libraries can use this namespace to declare custom attributes specific to their function.
The app:navGraph attribute is an attribute that the Navigation library knows how to handle.
The app:layout_constraintEnd_toStartOf attribute is specific to the ConstraintLayout library.
There is an android:showAsAction attribute built into the OS, but the AppCompat library defines a custom app:showAsAction to provide a consistent experience for all versions of Android.
That is what you are using here.
In code, menus are managed by callbacks from the Activity class. When the menu is needed, Android calls the Activity function onCreateOptionsMenu(Menu).
However, your design calls for code to be implemented in a fragment, not an activity. Fragment comes with its own set of menu callbacks, which you will implement in CrimeListFragment. The functions for creating the menu and responding to the selection of an action item are:
    onCreateOptionsMenu(menu: Menu, inflater: MenuInflater)
    onOptionsItemSelected(item: MenuItem): Boolean
In CrimeListFragment.kt, override onCreateOptionsMenu(Menu, MenuInflater) to inflate the menu defined in fragment_crime_list.xml.
Listing 15.3 Inflating a menu resource (CrimeListFragment.kt)
class CrimeListFragment : Fragment() {
    ...
    override fun onDestroyView() {
        super.onDestroyView()
        _binding = null
    }

    override fun onCreateOptionsMenu(menu: Menu, inflater: MenuInflater) {
        super.onCreateOptionsMenu(menu, inflater)
        inflater.inflate(R.menu.fragment_crime_list, menu)
    }
    ...
}
Within this function, you call MenuInflater.inflate(Int, Menu) and pass in the resource ID of your menu file. This populates the Menu instance with the items defined in your file.
Notice that you call through to the superclass implementation of onCreateOptionsMenu(…). This is not required, but we recommend calling through as a matter of convention. That way, any menu functionality defined by the superclass will still work. However, it is only a convention – the base Fragment implementation of this function does nothing.
By default, your overridden onCreateOptionsMenu(…) will not be invoked when your fragment is created. You must explicitly tell the system that your fragment should receive a call to onCreateOptionsMenu(…). You do this by calling the following Fragment function:
setHasOptionsMenu(hasMenu: Boolean)
Override CrimeListFragment.onCreate(Bundle?) and let the system know that CrimeListFragment needs to receive menu callbacks.
Listing 15.4 Receiving menu callbacks (CrimeListFragment.kt)
class CrimeListFragment : Fragment() {
    ...
    private val crimeListViewModel: CrimeListViewModel by viewModels()

    override fun onCreate(savedInstanceState: Bundle?) {
        super.onCreate(savedInstanceState)
        setHasOptionsMenu(true)
    }
    ...
}
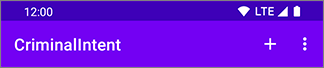
You can run CriminalIntent now to see your menu (Figure 15.6).
Where is the action item’s text? Most phones only have enough room for the icon in portrait orientation. You can long-press an icon in the app bar to reveal its title (Figure 15.7).
In landscape orientation, there is room in the app bar for the icon and the text (Figure 15.8).
To respond to the user pressing the new crime action item, you need a way for CrimeListFragment to add a new crime to the database. As before, you will build this new functionality from the database level up to the UI.
Starting all the way down at the CrimeDao interface, add a function to insert a crime into the database.
Similar to the @Query and @Update annotations, the @Insert annotation will tell Room to generate code to enable you to insert a crime into the database.
Listing 15.5 Adding a new crime to the database (CrimeDao.kt)
@Dao
interface CrimeDao {
    ...
    @Update
    suspend fun updateCrime(crime: Crime)

    @Insert
    suspend fun addCrime(crime: Crime)
}
Next, expose that function through the CrimeRepository class.
Listing 15.6 Passing it through another layer (CrimeRepository.kt)
class CrimeRepository private constructor(
    context: Context,
    private val coroutineScope: CoroutineScope = GlobalScope
) {
    ...
    fun updateCrime(crime: Crime) {
        coroutineScope.launch {
            database.crimeDao().updateCrime(crime)
        }
    }

    suspend fun addCrime(crime: Crime) {
        database.crimeDao().addCrime(crime)
    }
    ...
}
Now, add a function to CrimeListViewModel to wrap a call to the repository’s addCrime(Crime) function. Unlike other functions you have created within various ViewModel implementations, here you do want to expose this function as a suspending function. In your CrimeListFragment, you will want to navigate to CrimeDetailFragment after completing the insert into the database, and handling the asynchronous work within CrimeListFragment will be the simplest approach.
Listing 15.7 Adding a new crime (CrimeListViewModel.kt)
class CrimeListViewModel : ViewModel() {
  ...
  init {
      ...
  }

  suspend fun addCrime(crime: Crime) {
      crimeRepository.addCrime(crime)
  }
}
When the user presses an action item, your fragment receives a callback to the function onOptionsItemSelected(MenuItem). This function receives an instance of MenuItem that describes the user’s selection.
Although your menu only contains one action item, menus often have more than one. You can determine which action item has been selected by checking the ID of the MenuItem and then respond appropriately. This ID corresponds to the ID you assigned to the MenuItem in your menu file.
In CrimeListFragment.kt, implement onOptionsItemSelected(MenuItem) to respond to MenuItem selection by creating a new Crime, saving it to the database, and then navigating to CrimeDetailFragment.
Listing 15.8 Responding to menu selection (CrimeListFragment.kt)
class CrimeListFragment : Fragment() {
    ...
    override fun onCreateOptionsMenu(menu: Menu, inflater: MenuInflater) {
        super.onCreateOptionsMenu(menu, inflater)
        inflater.inflate(R.menu.fragment_crime_list, menu)
    }

    override fun onOptionsItemSelected(item: MenuItem): Boolean {
        return when (item.itemId) {
            R.id.new_crime -> {
                showNewCrime()
                true
            }
            else -> super.onOptionsItemSelected(item)
        }
    }

    private fun showNewCrime() {
        viewLifecycleOwner.lifecycleScope.launch {
            val newCrime = Crime(
                id = UUID.randomUUID(),
                title = "",
                date = Date(),
                isSolved = false
            )
            crimeListViewModel.addCrime(newCrime)
            findNavController().navigate(
                CrimeListFragmentDirections.showCrimeDetail(newCrime.id)
            )
        }
    }
}
This function returns a Boolean value. Once you have handled the MenuItem, you should return true to indicate that no further processing is necessary.
If you return false, menu processing will continue by calling the hosting activity’s onOptionsItemSelected(MenuItem) function (or, if the activity hosts other fragments, the onOptionsItemSelected function will get called on those fragments).
The default case calls the superclass implementation if the item ID is not in your implementation.
In this brave new world where you can add crimes yourself, the seed database data you packaged within the app is no longer necessary. In CrimeRepository, remove the line including the prepackaged database from the assets/ folder.
Listing 15.9 Excluding the prepopulated database (CrimeRepository.kt)
class CrimeRepository private constructor(
    context: Context,
    private val coroutineScope: CoroutineScope = GlobalScope
) {

    private val database: CrimeDatabase = Room
        .databaseBuilder(
            context.applicationContext,
            CrimeDatabase::class.java,
            DATABASE_NAME
        )
        .createFromAsset(DATABASE_NAME)
        .build()
    ...
}
Also, delete the crime-database file from your assets folder.
It served you well.
(If you use Android Studio’s safe delete option, which is a good idea, it will warn you that there is a remaining usage of crime-database.
The usage it has found is actually the database name, which you can verify for yourself before choosing Delete Anyway.)
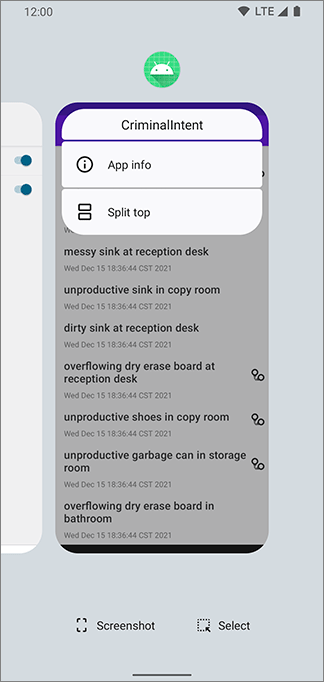
To get rid of the database loaded with the app on your device or emulator, you will need to clear the app’s cache. Run the app and, while it is running, go to the overview screen on the device or emulator. Long-press the launcher icon for CriminalIntent. Press the App info option in the dropdown that appears (Figure 15.9).
On the App info screen, select Storage. Next, select Clear storage and confirm your action on the dialog that appears (Figure 15.10).

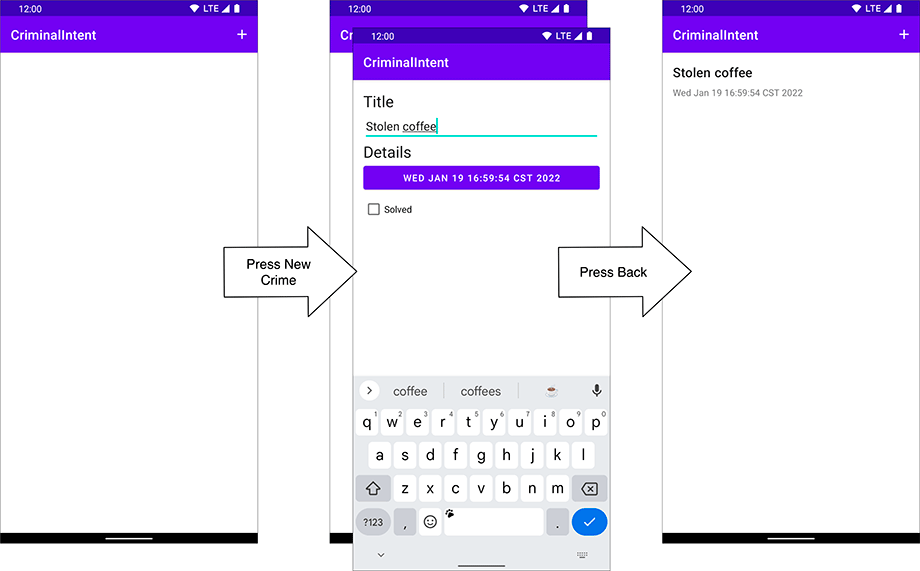
Now, compile and run CriminalIntent. You should see an empty list to start with. Try out your new menu item to add a new crime. You should see the new crime appear in the crime list (Figure 15.11).
The empty list that you see before you add any crimes might be disconcerting. If you tackle the challenge in the section called Challenge: An Empty View for the RecyclerView at the end of this chapter, you will present a helpful clue when the list is empty.