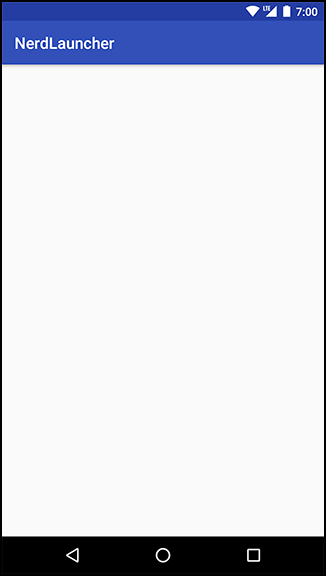
In this chapter, you will use implicit intents to create a launcher app to replace Android’s default launcher app. Figure 24.1 shows what this app, NerdLauncher, will look like.
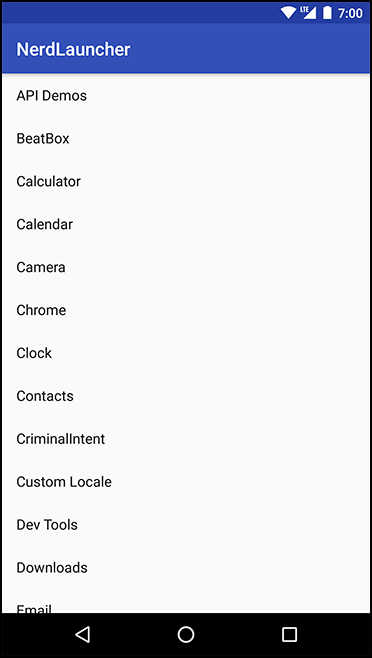
NerdLauncher will display a list of apps on the device. The user will press a list item to launch the app.
To get it working correctly, you will deepen your understanding of intents, intent filters, and how applications interact in the Android environment.
Create a new Android application project named NerdLauncher. Select Phone and Tablet as the form factor and API 19: Android 4.4 (KitKat) as the minimum SDK. Create an empty activity named NerdLauncherActivity.
NerdLauncherActivity will host a single fragment and in turn should be a subclass of SingleFragmentActivity. Copy SingleFragmentActivity.java and activity_fragment.xml into NerdLauncher from the CriminalIntent project.
Open NerdLauncherActivity.java and change NerdLauncherActivity’s superclass to SingleFragmentActivity. Remove the template’s code and override createFragment() to return a NerdLauncherFragment. (Bear with the error caused by the return line in createFragment(). This will be fixed in a moment when you create the NerdLauncherFragment class.)
Listing 24.1 Another SingleFragmentActivity (NerdLauncherActivity.java)
public class NerdLauncherActivity extends SingleFragmentActivityAppCompatActivity{ @Override protected Fragment createFragment() { return NerdLauncherFragment.newInstance(); }@Overrideprotected void onCreate(Bundle savedInstanceState) {/* Auto-generated template code... */}}
NerdLauncherFragment will display a list of application names in a RecyclerView. Add the RecyclerView library as a dependency, as you did in Chapter 8.
Rename layout/activity_nerd_launcher.xml to layout/fragment_nerd_launcher.xml to create a layout for the fragment. Replace its contents with the RecyclerView shown in Figure 24.2.

Finally, add a new class named NerdLauncherFragment that extends from android.support.v4.app.Fragment. Add a newInstance() method and override onCreateView(…) to stash a reference to the RecyclerView object in a member variable. (You will hook data up to the RecyclerView in just a bit.)
Listing 24.2 Basic NerdLauncherFragment implementation (NerdLauncherFragment.java)
public class NerdLauncherFragment extends Fragment {

    private RecyclerView mRecyclerView;

    public static NerdLauncherFragment newInstance() {
        return new NerdLauncherFragment();
    }

    @Override
    public View onCreateView(LayoutInflater inflater, ViewGroup container,
                             Bundle savedInstanceState) {
        View v = inflater.inflate(R.layout.fragment_nerd_launcher, container, false);
        mRecyclerView = (RecyclerView) v.findViewById(R.id.app_recycler_view);
        mRecyclerView.setLayoutManager(new LinearLayoutManager(getActivity()));

        return v;
    }
}
Run your app to make sure everything is hooked up correctly to this point. If so, you will be the proud owner of an app titled NerdLauncher, displaying an empty RecyclerView (Figure 24.3).