
You can deploy your .NET Core applications to the cloud using any cloud provider, for example, Amazon Web Services (AWS) or Microsoft Azure.
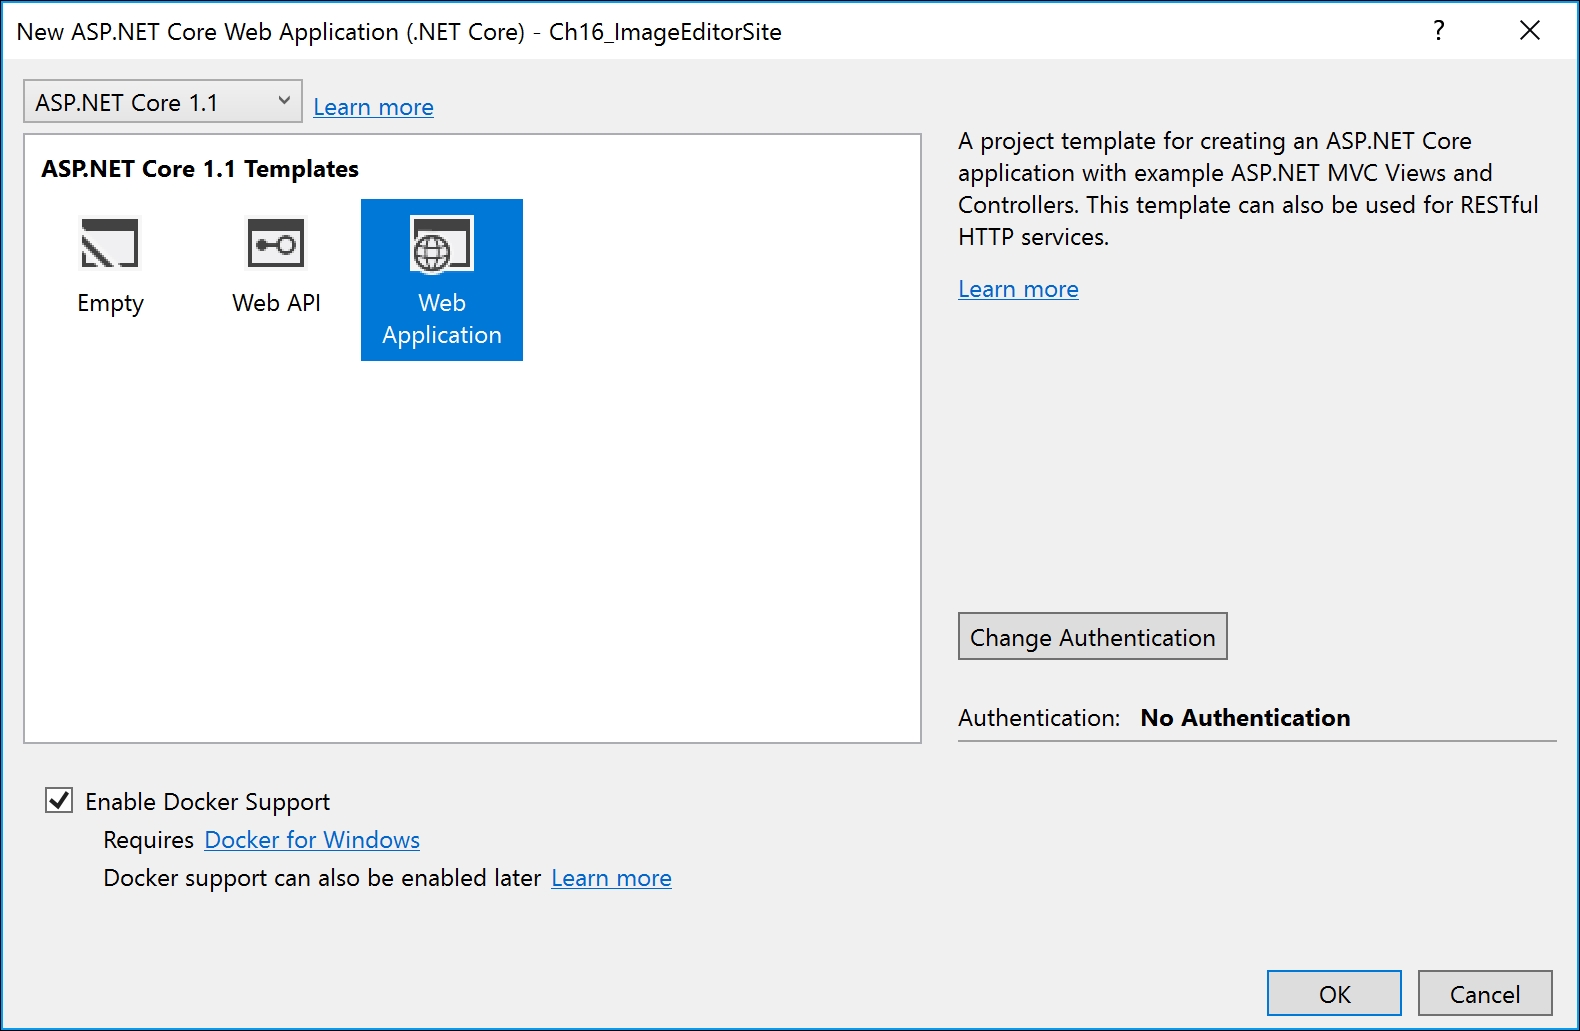
In Visual Studio 2017, add a new ASP.NET Core Web Application (.NET Core) project named Ch16_ImageEditorSite. Choose the Web Application template and enable Docker support, as shown in the following screenshot:
In Visual Studio Code, create a folder named Ch16_ImageEditorSite, and open the folder. In Terminal, enter the command: dotnet new mvc.
Since we are focusing on learning how to publish and deploy, rather than how to build web applications, we will use the MVC template web site as an example. The only addition I made is to add a portrait that my Mum painted of me to the About page, as shown in the following screenshot:

Go to http://portal.azure.com/ and register an account to get a free trial. You will be able to continue after the end of the free trial, because we will only use the free features of Azure.
You can use any Microsoft account, for example, Hotmail, MSN, or Live account. For the first edition of this book, I registered an account named [email protected], and I will use it for this example.
Go to the Azure portal (https://portal.azure.com/) where you will see the Azure dashboard, as shown in the following screenshot:

Click on All resources and then click on the + Add button, as shown in the following screenshot:

In the Search Everything box, enter web app and press Enter. Click on Web App and then click on Create, as shown in the following screenshot:

In the Web App blade, enter a globally unique name for your web app, as shown in the following screenshot:

Leave the other options as their defaults and click on Create. You will be taken back to the Azure dashboard where you will see a new tile telling you that your Web App is being deployed. This process normally takes a few minutes. Once it is running, click on it, as shown in the following screenshot:

Click on the URL to open a browser and show the example web page. You are now ready to deploy any ASP.NET web application project (both ASP.NET 4.6 and ASP.NET Core) to your web app in Azure.
In the Solution Explorer window, right-click on the Ch16_ImageEditorSite project and choose Publish....
Select Azure App Service Linux (Preview) as the publish target, as shown in the following screenshot, and click Publish:

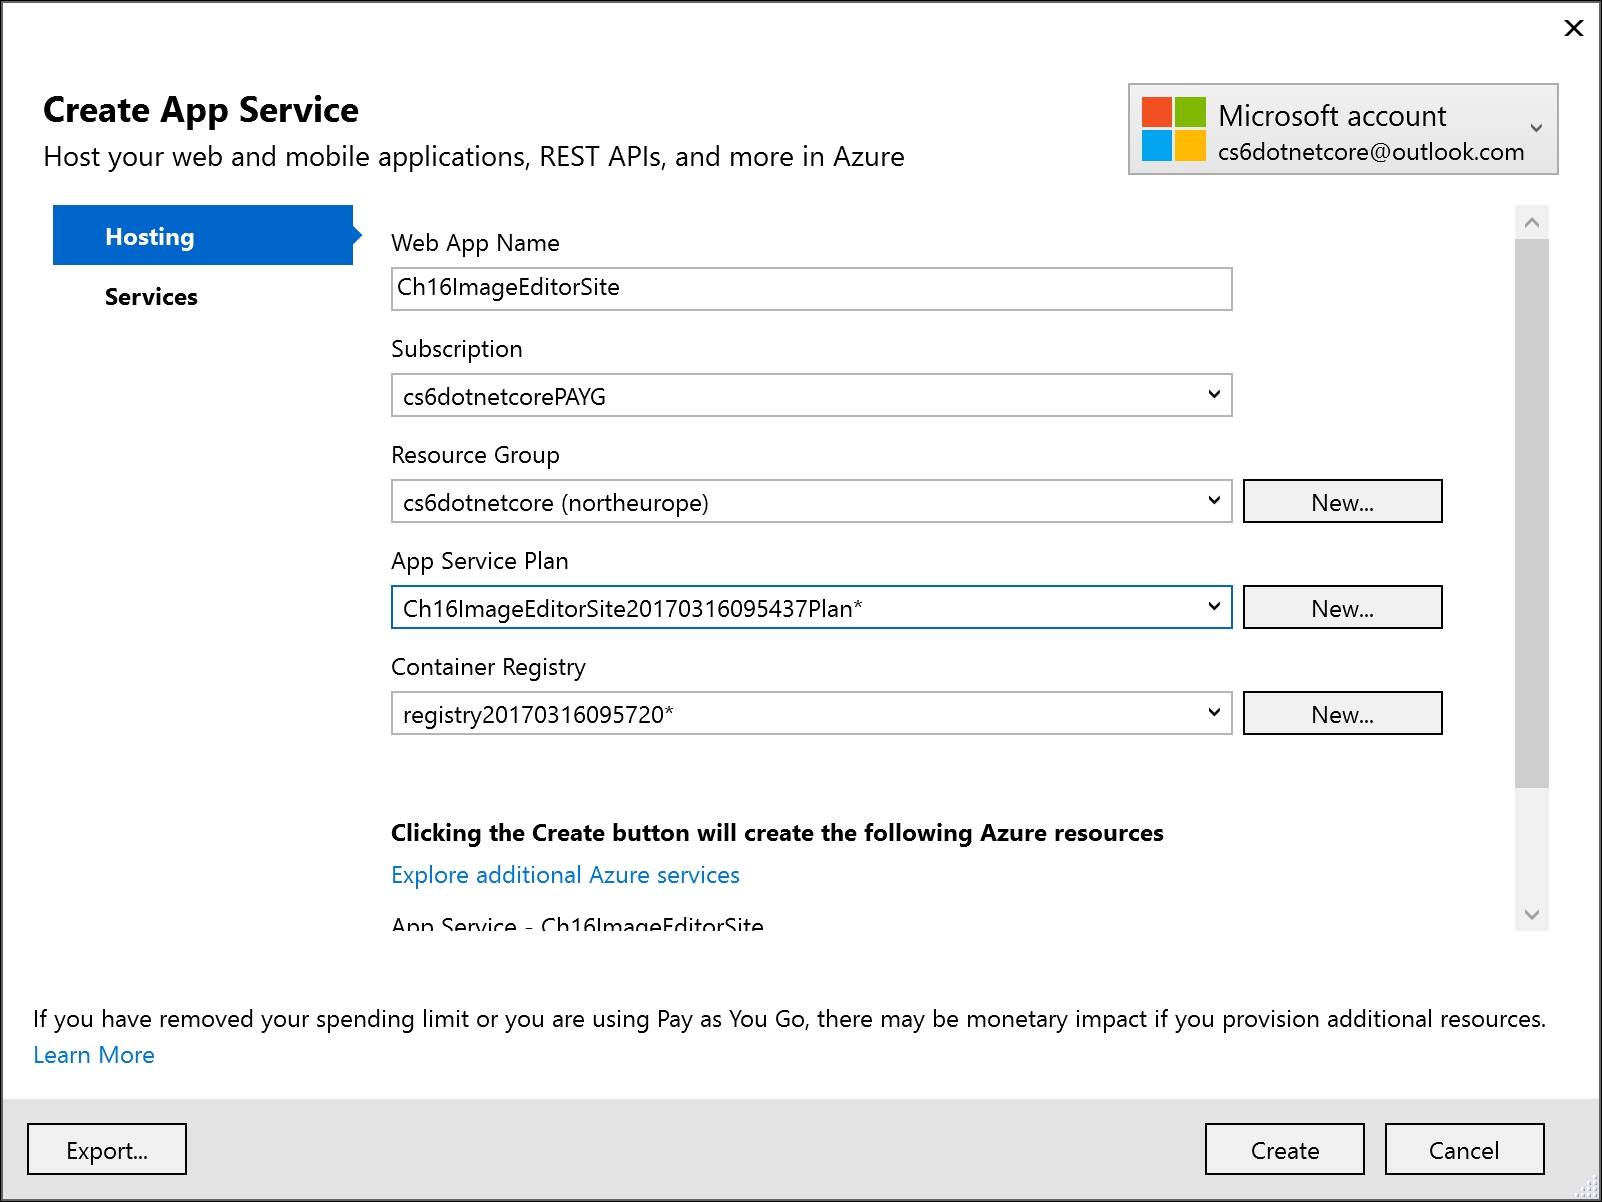
In the Create App Service dialog, choose the account that you previously registered, and choose the web app name that you created earlier, and click Create, as shown in the following screenshot:
Visual Studio 2017 will download a publishing profile that you can use to easily deploy the web application to Azure.
Visual Studio 2017 will rebuild and deploy your application and then start a browser to show that it has succeeded.