Audio
Many videographers will tell you that audio makes or breaks a movie. The 6D features a built-in microphone on the front of the camera (Figure 9.8). It records monaural rather than stereo sound. This can get the job done for basic video shoots, but it isn’t ideal. For a significant improvement in audio, connect an external stereo microphone (Figure 9.9).
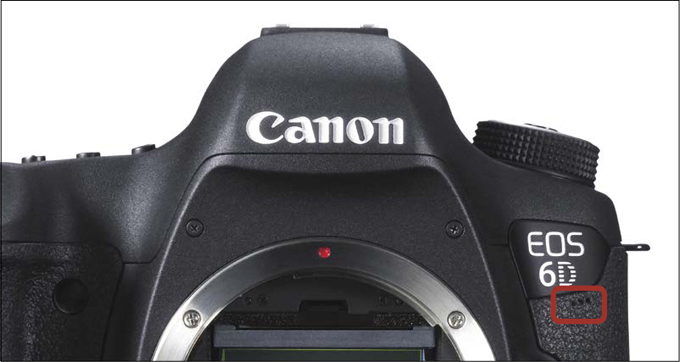
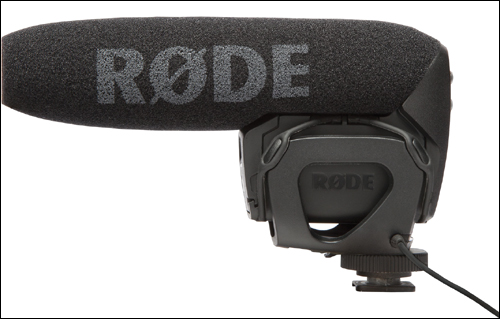
Figure 9.9. An external stereo microphone, such as this one from RØDE, can dramatically improve the audio quality of your videos.
If you have no interest in recording audio, you can disable the sound-recording on the camera. But I recommend that you leave it on, even if you don’t plan to use it. That way, you will at least have some audio to work with, and you can always choose not to use it in postprocessing.
Turning Off Audio Recording
1. Set the camera to video mode using the Live View Shooting/Movie Shooting switch on the back of the camera.
2. Press the Menu button, and use the Multi-Controller to select the second Video menu tab (A).
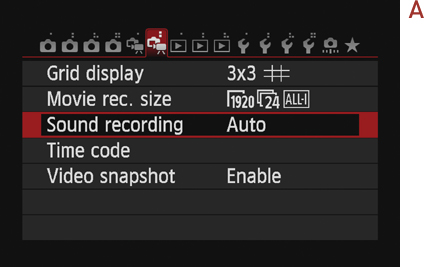
3. Choose Sound recording, and press the Set button.
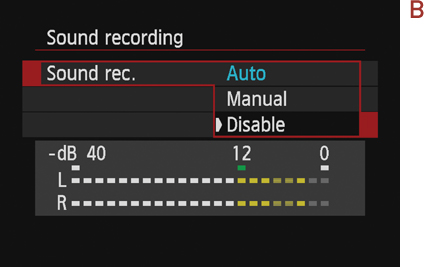
4. Select Disable, and hit the Set button (B).
5. Press the Menu button twice to go back to video mode.
Adjusting Audio Levels
The 6D has the ability to automatically adjust audio levels, based on the scene you are filming. While this may sound like a great feature, I recommend that you manually set the audio recording levels.
If ambient sound levels increase or decrease while you are filming, the Auto sound-recording setting automatically increases or decreases the sensitivity of the microphone, often referred to as “gain.” The result can be uneven sound quality, with noticeable signal noise when the gain is increased. Consistent audio levels will result in a much more pleasant listening experience for your viewers.
Manually Setting Audio Levels
1. Set the camera to video mode using the Live View Shooting/Movie Shooting switch on the back of your camera.
2. Press the Menu button, and use the Multi-Controller to select the second Video menu tab.
3. Choose Sound Recording, and press the Set button.
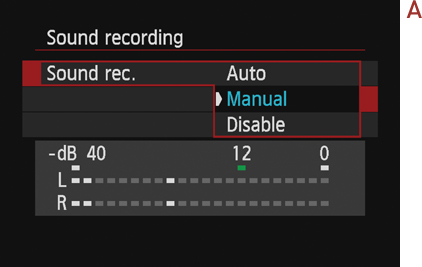
4. Choose Manual, and press the Set button (A).
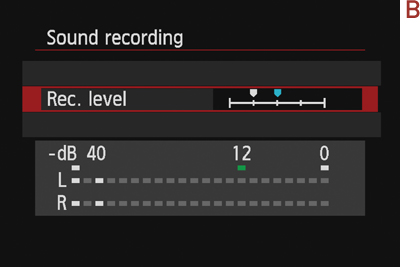
5. Select Rec. level, and press the Set button. Now move the Multi-Controller to the left or right to adjust the recording level. The blue pin indicates your original audio level, and the white pin indicates where you are moving the recording level to (B).
6. Once you are satisfied, hit the Set button to confirm your selection.
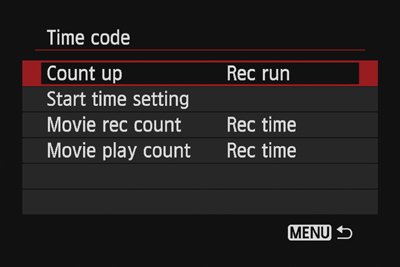
Setting the Time Code