The Basic Zone

The 6D has two shooting mode “zones”: Basic and Creative. The Basic zone is a group of shooting modes that give the camera full control over setting the ISO, shutter speed, and aperture, whereas the Creative zone gives you finer control over your camera settings. In this first section, I list all the Basic zone modes that you can choose from, walk you through the settings, and give you some examples of the best time to use these modes.
Setting Up and Shooting in the Basic Zone
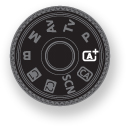
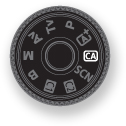
1. Turn on your camera. While pressing down on the Mode dial lock-release button, turn the Mode dial to align one of the three Basic zone shooting modes (Full Auto, CA, or Scene) with the indicator line.
2. Use the Quick Control button and the Multi-Controller to make any changes to the settings you have control over.
3. Get out there, point your camera at a subject, and press the shutter release button on the top of your camera to take a photo. The camera will choose the settings for you.
Scene Intelligent Auto (Fully Automatic Mode)
Scene Intelligent Auto (the fully automatic mode) lets the camera choose virtually every setting for a given image. The camera will analyze the scene and choose what it feels are the best settings; for example, it will automatically try to focus on a human face when it enters your frame. Because this mode gives you very little control over the outcome of your images, it’s best to use it only when you absolutely have to.
• Settings you cannot control: ISO, shutter speed, aperture, white balance, light metering mode, autofocus mode, and manual AF point selection
• Settings you can control: drive mode (choose to shoot a single image, shoot multiple images, or set a time) and file format (JPEG, RAW, or RAW+JPEG)
A good alternative to shooting in fully automatic mode is Creative Auto (CA) mode. While it is similar to Scene Intelligent Auto, you are given a little more control over some of the settings on your camera. One of the unique settings in CA mode is your ability to control background blur (depth of field) in your images. While it doesn’t allow you to adjust your aperture manually (which normally changes the depth of field), you can adjust a slider found in the menu that is brought up by pressing the Quick Control button on the back of your camera (Figure 3.1).
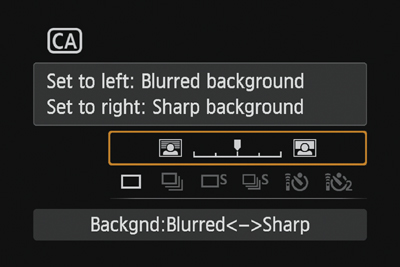
Figure 3.1. By pressing the Quick Control button while in CA mode, you can adjust your depth of field.
CA mode is a good choice if you want to begin experimenting with more settings on your camera but are not yet comfortable enough to take control of the ISO, shutter speed, and aperture settings.
• Settings you cannot control: ISO, shutter speed, aperture, white balance, light metering mode, autofocus mode, and manual AF point selection
• Settings you can control: drive mode, file format (JPEG, RAW, or RAW+JPEG), depth of field (via slider setting), and ambience
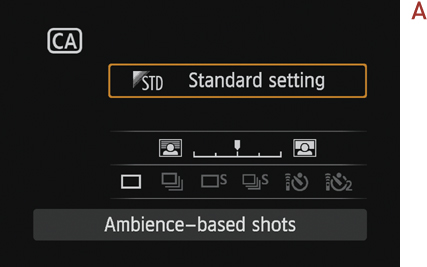
The Ambience Setting
The ambience setting is a feature you can adjust in CA mode and in the Scene modes. You access the ambience settings through the Quick Control menu (A). Each setting affects the color intensity of your images. Note that the changes become permanent if you are shooting in the JPEG file format; RAW images can continue to be adjusted throughout the editing process. Ambience options are Standard, Vivid, Soft, Warm, Intense, Cool, Brighter, Darker, and Monochrome (B).