Raising the ISO: The Simple Solution
If you have ever wondered how other photographers are able to shoot in pitch-black conditions, you are not alone. Many photographers don’t take out their cameras in those situations. The answer, however, is simple: Just raise the ISO (Figure 7.1). Adjusting the ISO on the fly is easy; simply press the ISO button on the top of the camera and use the Main dial to adjust. In typical shooting situations, you should keep the ISO in the 100–800 range to keep your images free from noise. But as available light begins to disappear, you might find yourself working in situations where you will need to use the higher ranges of the ISO scale.
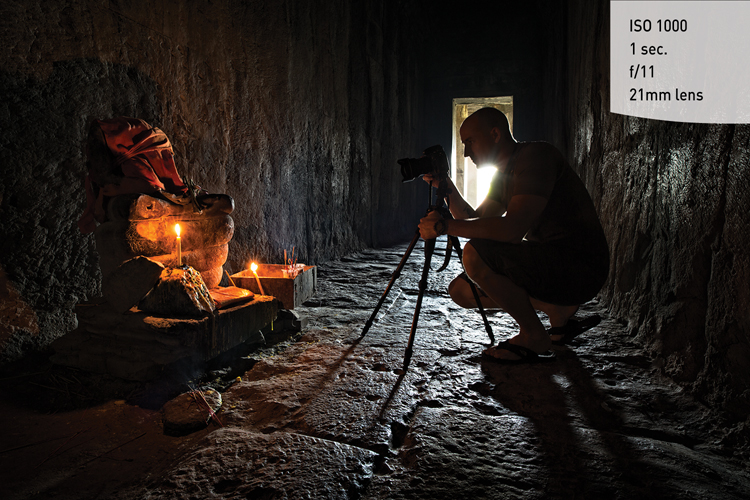
Figure 7.1. Setting up for a shot in a dimly lit hallway in Angkor Wat, Cambodia. (Photo by Mike Blank)
Using a tripod with a slow shutter speed and a low ISO setting is another option when the lights are low, but if your subject is moving, you won’t be able to freeze them in place. And note that tripods tend to attract a lot of attention, and they are not allowed in some locations.
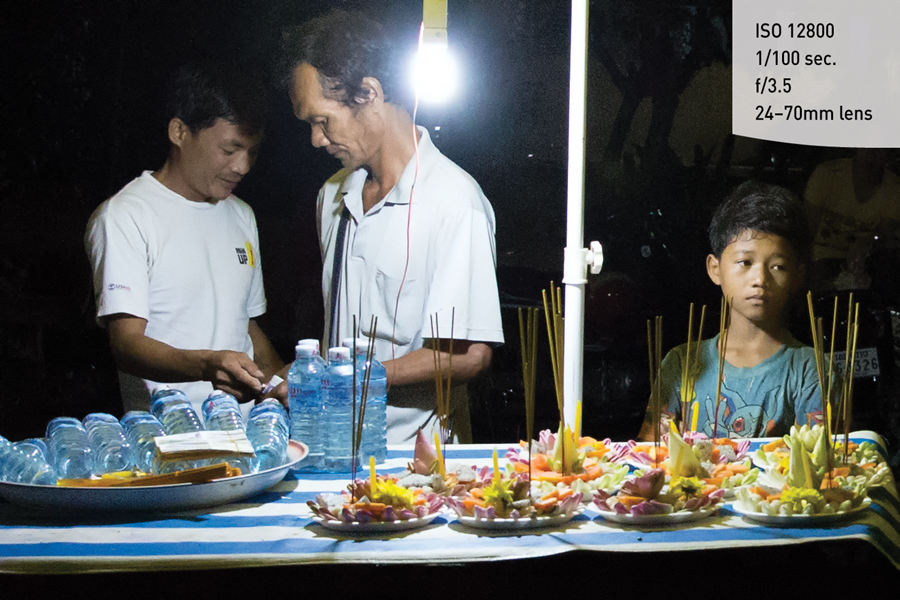
If you find yourself in a situation where you need to raise your ISO above 800 to get the shot, make sure that you turn on the High ISO Speed Noise Reduction feature. It is set to Standard by default, but if you are using incredibly high ISO values, you should think about changing it to the Strong setting. (See Chapter 6 for setting the noise-reduction features.) To see the effect of High ISO Speed Noise Reduction, you need to zoom in and take a closer look (Figures 7.2 and 7.3).
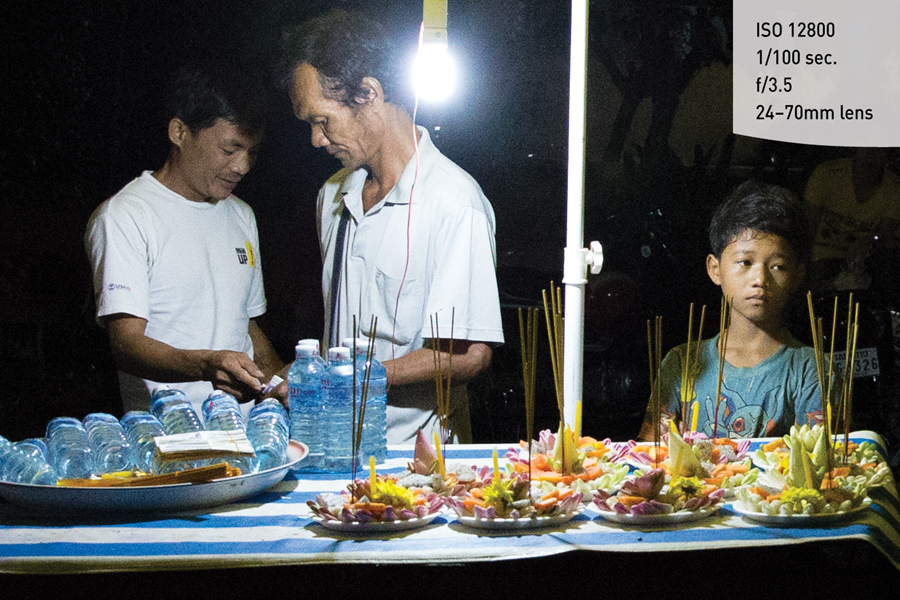
Figure 7.2. Here is an enlargement of an image shot with a very high ISO and without any noise reduction.
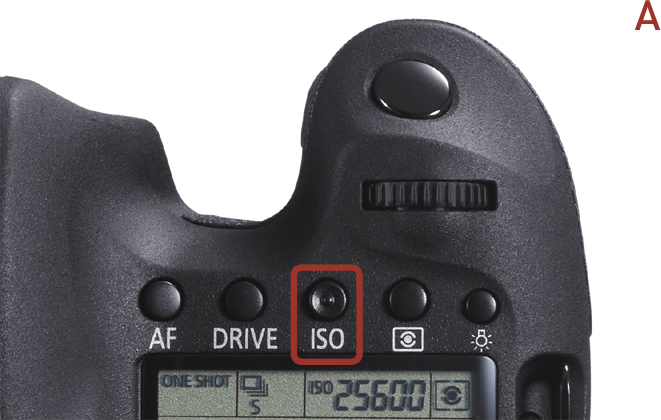
• Press the ISO button on the top of your camera (A), and then rotate the Main dial until you see an “A” in the top LCD screen.
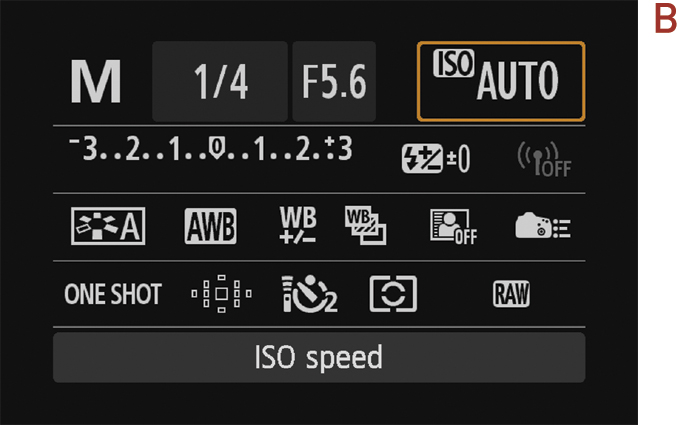
• Access the Quick Control menu by pressing the Quick Control button on the back of your camera. Then use the Multi-Controller to move to the ISO setting in the top right of the screen (B). Press the Set button, and then rotate the Main dial all the way to the left until you get to AUTO.