Adobe Dreamweaver CS4 is a powerful program, packed with cool features to create Web sites. So packed, in fact, that it can be a bit overwhelming.
Not to worry. We aren’t going to explain every possible option—just the crucial ones to keep you going, no matter how daunting Dreamweaver may seem initially. We’ll have some fun along the way, too, so let’s get started.
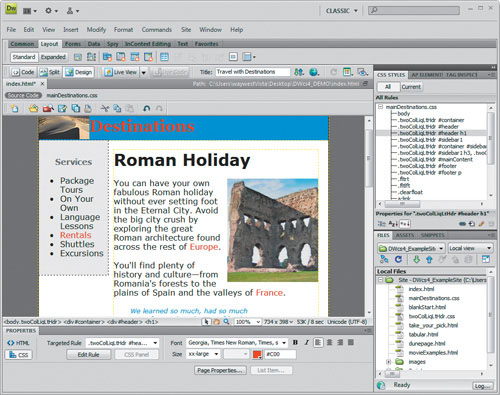
A series of key toolbars, windows, and panels surrounds your main Dreamweaver document. Take a moment to understand how these tools work and you’ll save yourself frustration later.
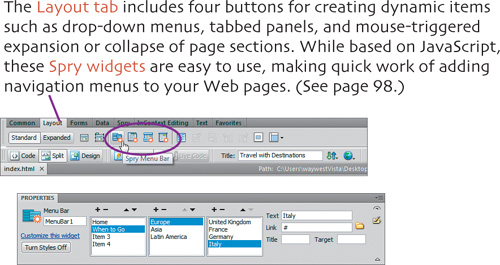
Choose Window > Insert to show the Insert toolbar/panel. The Common tab and the other tabs display related buttons for a variety of tasks. To show or hide toolbars, choose View > Toolbars and make a choice in the drop-down menu. (To expand or collapse the Insert toolbar, click the arrow next to Insert.)
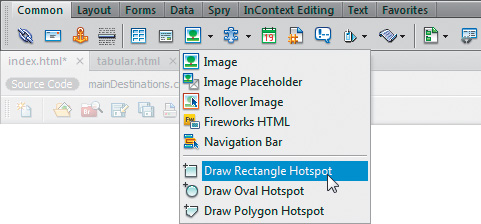
Many of the toolbar buttons have their own drop-down menus.
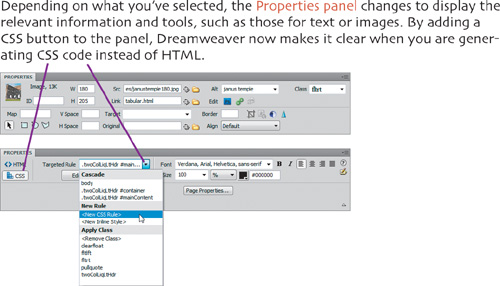
To see or hide the Properties panel, press ![]() (Windows) or
(Windows) or ![]() (Mac).
(Mac).
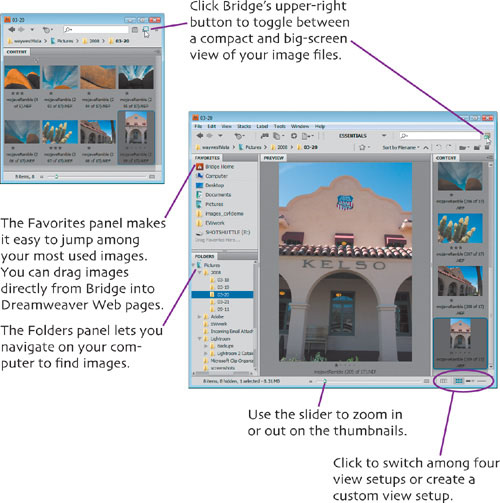
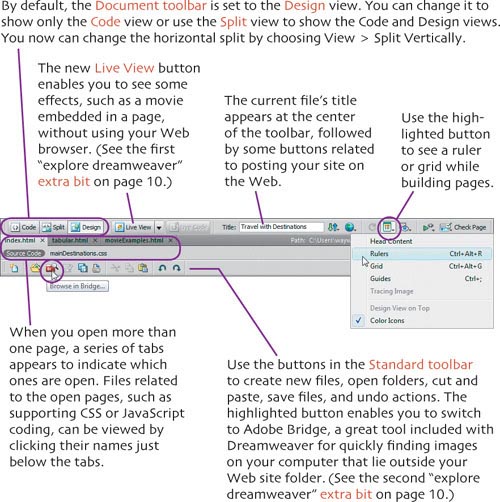
Dreamweaver CS4 also comes with Adobe Bridge, a great program that helps you quickly find images even if they are scattered across many folders and multiple hard drives. You can launch the program directly or by clicking the Bridge button in Dreamweaver’s Standard toolbar (see page 2).