While text and headlines lend structure and meaning to Web pages, it’s images that give your pages real impact.
Dreamweaver can handle basic image editing; for more demanding tasks use a dedicated graphics program. Two obvious options are Adobe’s own Photoshop and Fireworks programs, available individually or included in some versions of the Dreamweaver CS4 suite. With Photoshop, you can drag images directly into Dreamweaver. For other options, take a look in the graphics section of www.versiontracker.com, where you can compare prices, features, and user comments.
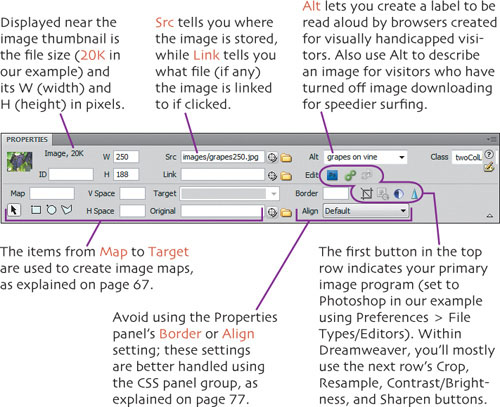
You’ll use the Properties panel as your main tool for most image work. (See extra bits on page 44.) While you can use the Edit buttons to optimize or resample an image, that work is best done with a dedicated graphics program (such as Fireworks or Photoshop) before you begin laying out your Web pages.
After sizing and then optimizing images in an external graphics program, you’re ready to add the Web-ready versions to your Web pages.
![]() Open the page in which you want to add an image. (In our example, we’re once again using index.html, the home page created in the previous chapter, and we’re working in Dreamweaver’s Classic workspace.)
Open the page in which you want to add an image. (In our example, we’re once again using index.html, the home page created in the previous chapter, and we’re working in Dreamweaver’s Classic workspace.)
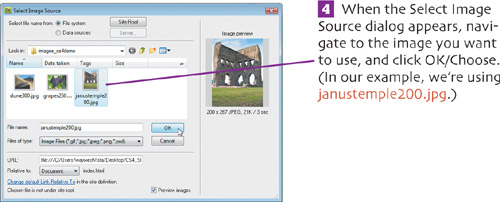
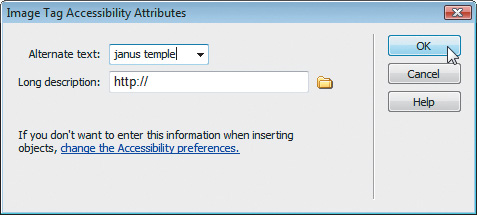
![]() If the image isn’t already a part of your Web site, Dreamweaver asks if you want to save it in the site’s root folder. Choose Yes, create a new folder in the site named images, and save the image there. Type a brief description of the image in the Alternate text box when the dialog appears and click OK. (See the “add image” extra bits on page 44.)
If the image isn’t already a part of your Web site, Dreamweaver asks if you want to save it in the site’s root folder. Choose Yes, create a new folder in the site named images, and save the image there. Type a brief description of the image in the Alternate text box when the dialog appears and click OK. (See the “add image” extra bits on page 44.)
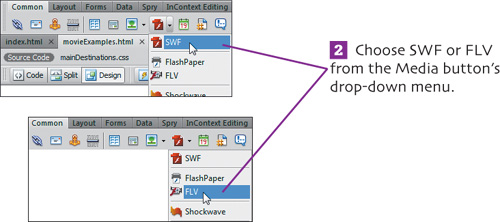
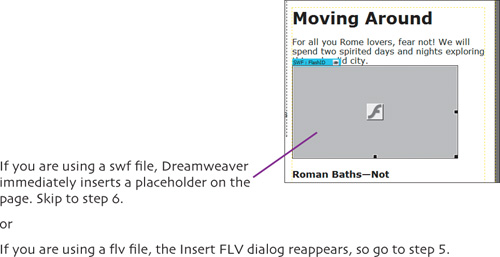
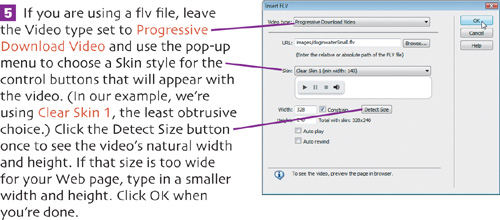
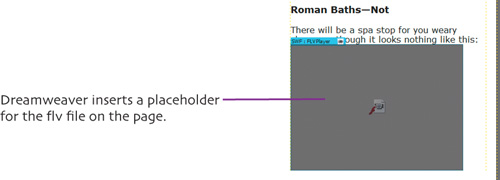
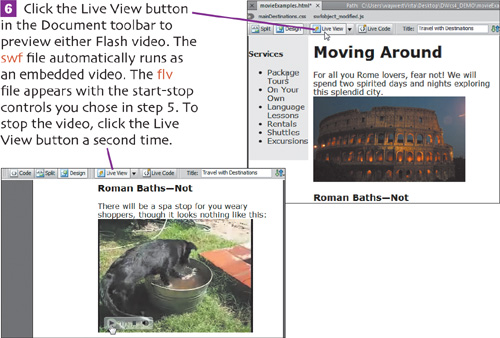
It’s easy to add an Adobe Flash video to a Dreamweaver Web page. We’ll look at how to handle two different file types. A .swf file runs automatically and is commonly used for a Web site’s introduction. A .flv file contains a control panel that users click to start the video.
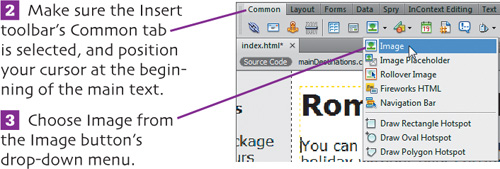
![]() Make sure the Insert toolbar’s Common tab is selected. Click in the page where you want to insert either type of Flash file. (In our example, we’re working in Dreamweaver’s Classic workspace and using movieExamples.html, a mostly blank duplicate of index.html.)
Make sure the Insert toolbar’s Common tab is selected. Click in the page where you want to insert either type of Flash file. (In our example, we’re working in Dreamweaver’s Classic workspace and using movieExamples.html, a mostly blank duplicate of index.html.)
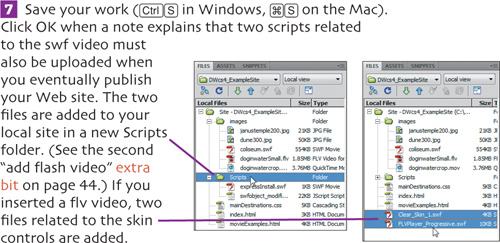
![]() If the image isn’t already a part of your Web site, Dreamweaver asks if you want to save it in the site’s root folder. Choose Yes, navigate to the site’s images folder you created on page 28, and save the image there. When asked, type a brief description of the image in the Title text box and click OK. (See the first “add flash video” extra bit on page 44.)
If the image isn’t already a part of your Web site, Dreamweaver asks if you want to save it in the site’s root folder. Choose Yes, navigate to the site’s images folder you created on page 28, and save the image there. When asked, type a brief description of the image in the Title text box and click OK. (See the first “add flash video” extra bit on page 44.)
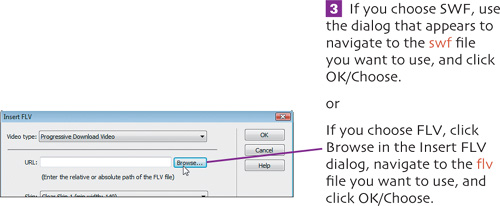
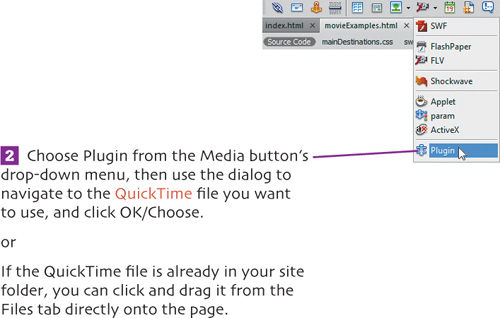
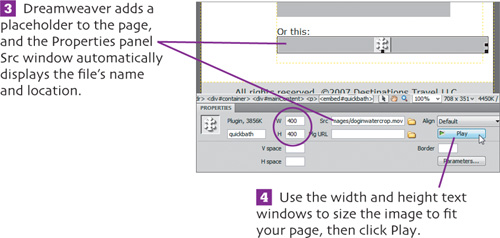
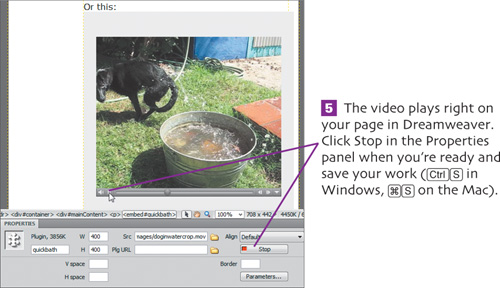
The process for adding a QuickTime video, or any video or audio file, is similar to the previous steps for Flash: Choose Plugin from the Media button’s drop-down menu, navigate to the image you want to use, and select it.
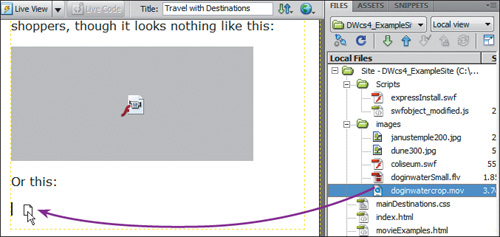
![]() Make sure the Insert toolbar’s Common tab is selected and that you’ve opened the page where you want to insert a QuickTime video. (In our example, we’re using movieExamples.html, the same page we used to insert Flash videos.)
Make sure the Insert toolbar’s Common tab is selected and that you’ve opened the page where you want to insert a QuickTime video. (In our example, we’re using movieExamples.html, the same page we used to insert Flash videos.)
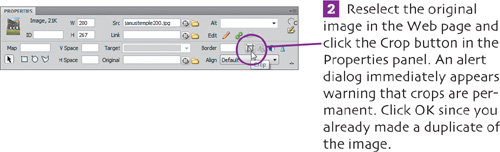
You don’t need a separate graphics program for cropping images—just don’t use your original image unless you create a backup duplicate. Cropping permanently alters your image, so if you make a mistake, immediately choose Undo Crop in the Edit menu. (See the first “crop image” extra bit on page 44.)
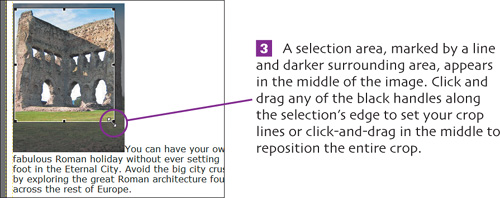
Double-click inside the selection and the image is trimmed.
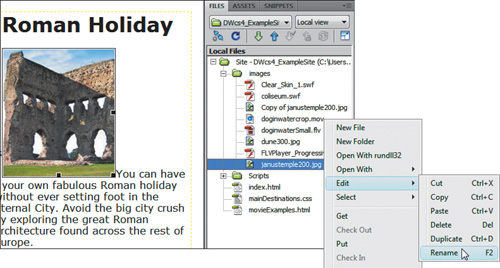
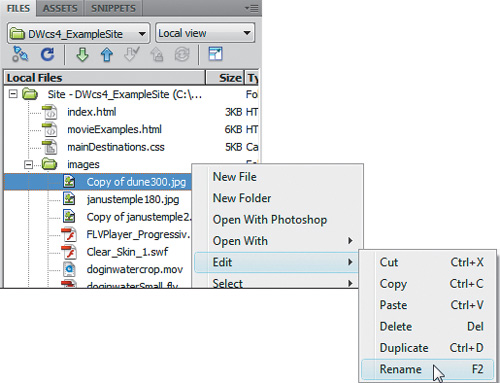
![]() If you want to name it something else, right-click (Windows) or
If you want to name it something else, right-click (Windows) or ![]() -click (Mac) the item and choose Edit > Rename from the context menu.
-click (Mac) the item and choose Edit > Rename from the context menu.
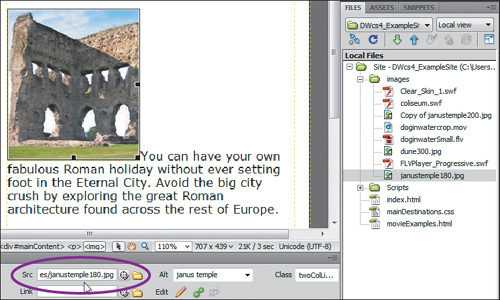
![]() The Properties panel’s Src box now reflects the new name, janustemple180.jpg. Save your work (
The Properties panel’s Src box now reflects the new name, janustemple180.jpg. Save your work (![]() in Windows,
in Windows, ![]() on the Mac).
on the Mac).
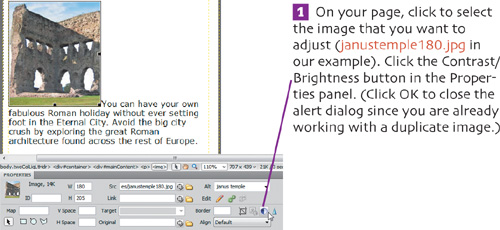
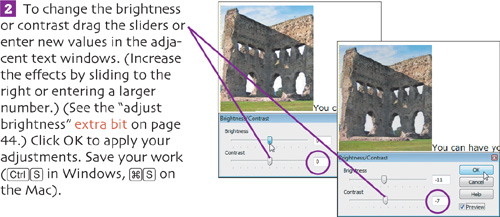
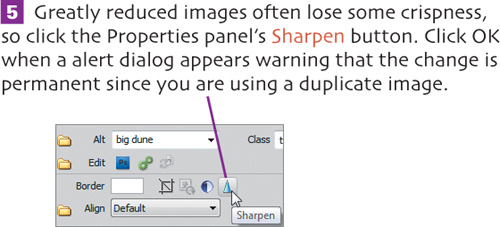
A single button in the Properties panel lets you adjust an image’s brightness or contrast. Sometimes minor adjustments of either can really help a so-so image. Assuming you are using the same image from the previous task, you do not need to make another duplicate of the image.
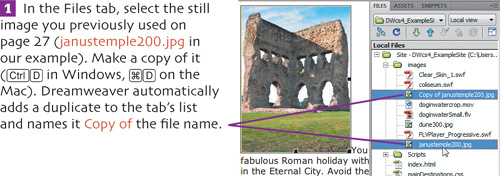
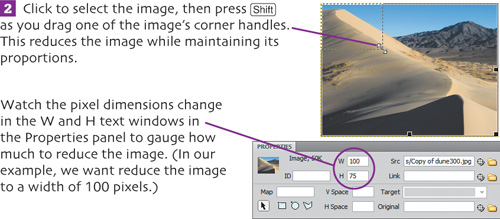
If you have an image without lots of details, you can use it to create a tiny thumbnail to add some graphic variety to a page. Detail lost from reducing and resampling cannot be recovered, so use a duplicate of your original image. (See extra bits on page 44.)
![]() Click in the page where you want to use the duplicate of your original image (Copy of dune300.jpg in our example in a blank duplicate we created of the index page named dunepage.html). Choose Image from the Image button’s drop-down menu to insert the image (or drag the image directly to the page from its listing in the Files tab).
Click in the page where you want to use the duplicate of your original image (Copy of dune300.jpg in our example in a blank duplicate we created of the index page named dunepage.html). Choose Image from the Image button’s drop-down menu to insert the image (or drag the image directly to the page from its listing in the Files tab).
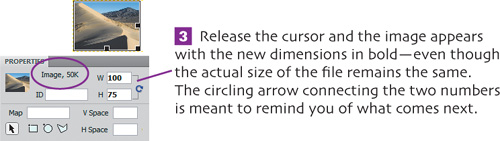


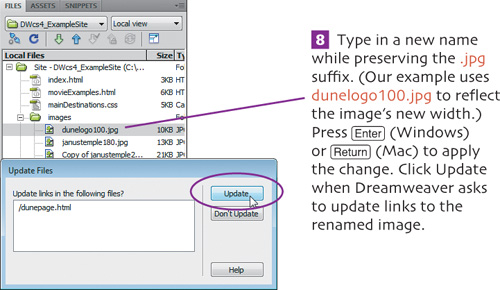
![]() Now that the image is smaller, rename it by right-clicking it in the Files tab and choosing Edit > Rename in the context menu.
Now that the image is smaller, rename it by right-clicking it in the Files tab and choosing Edit > Rename in the context menu.
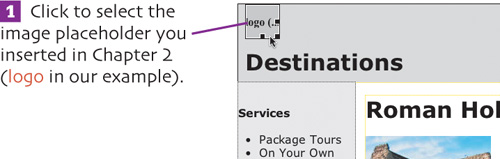
We’ll use this process to replace the image placeholder created on page 17 in Chapter 2. It’s similar to inserting an image except that the placeholder’s Alt text is preserved.
![]() In the Properties panel, click the compass-like Point to File button. Drag the line that appears to the image that will replace the placeholder (dunelogo100.jpg in our example), and release the cursor.
In the Properties panel, click the compass-like Point to File button. Drag the line that appears to the image that will replace the placeholder (dunelogo100.jpg in our example), and release the cursor.
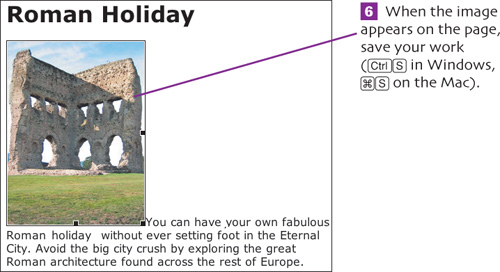
Wrapping blocks of text around your images creates a tighter, more professional page layout. In previous versions of Dreamweaver, the Properties panel was the tool used most often to wrap text around images. However, using the CSS Styles tab instead gives you more control, and makes it easier to update those styles as needed. Don’t worry, we’re simply going to apply some existing CSS rules to get our feet wet. The big CSS plunge comes in Chapter 6.
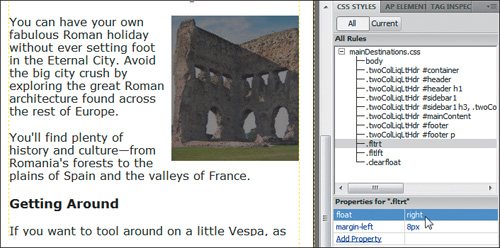
![]() The selected image floats to the right side of the page with a bit of space separating it from the words now on the left. That’s because the .fltrt rule has two properties: a right float and a left margin of 8px (pixels).
The selected image floats to the right side of the page with a bit of space separating it from the words now on the left. That’s because the .fltrt rule has two properties: a right float and a left margin of 8px (pixels).
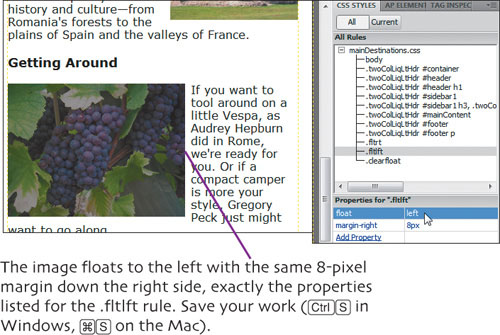
![]() Insert another image farther down the page (grapes250.jpg from the images folder in our example). In the CSS Styles list, right-click the rule called .fltlft and select Apply from the context menu.
Insert another image farther down the page (grapes250.jpg from the images folder in our example). In the CSS Styles list, right-click the rule called .fltlft and select Apply from the context menu.