
2. Making the Most of Your MacBook’s Screen Space
In this chapter, you’ll learn how to take control of your applications and windows.
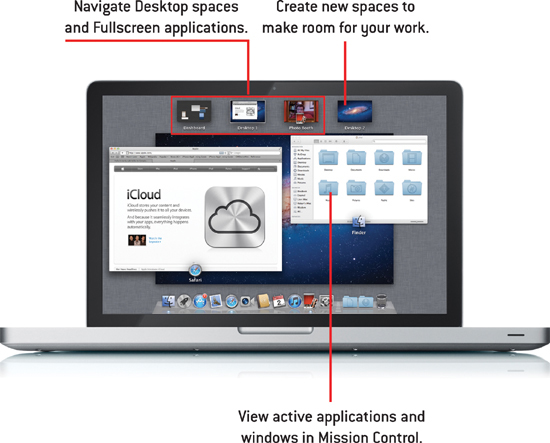
• Find your way around Mission Control
• Manage applications and windows
• Create new spaces
• Launch applications with Launchpad
• Create application groups in Launchpad
• Uninstall applications through Launchpad
Introduction
As applications become more complex, so does the task of managing them. Software is installed everywhere, windows are spread out over your desktop, and just trying to find your way through the maze of information overload can be nightmarish. Lion attempts to bring the madness under control by way of Mission Control.
Mission Control, combined with features like full-screen apps, Spaces, and Launchpad, makes it easy to navigate even the most cluttered and convoluted workspace. The biggest problem? Many of these features are hidden until you invoke them! In this chapter, you’ll learn how to do just that!
Swimming in a Sea of Application Windows with Mission Control
One of the big benefits of modern operating systems is that they allow you to run multiple applications at once. Unfortunately, our screen real-estate isn’t growing as quickly as the amount of “stuff” we can have on our screen at the same time. To help manage the ever-expanding collection of windows that we need to work within, Apple provides Mission Control as part of OS X Lion. Mission Control helps you view your running apps, the windows they have open, and even expand the amount of desktop real estate you have available.
Opening and Closing Mission Control
To manage Mission Control and access its features, follow these instructions:
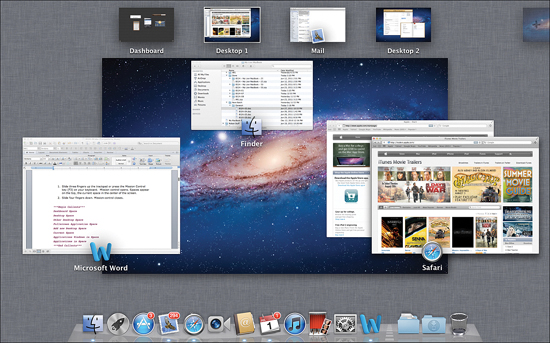
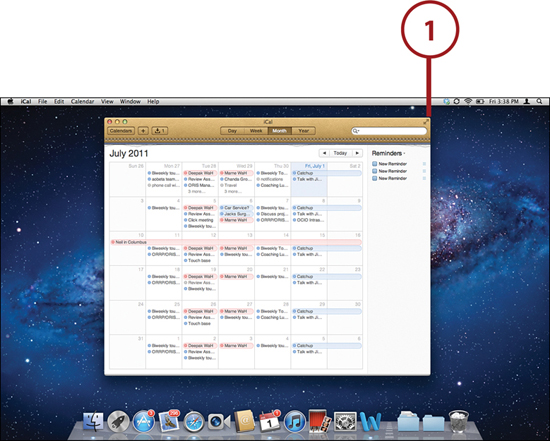
1. Slide three fingers up the Trackpad or press the Mission Control key (F3) on your keyboard. Mission Control opens. Spaces appear on the top; the current space is in the center of the screen.
2. Slide three fingers down. Mission Control closes.
In Mission Control terms, a “space” is a single screenful of information. It can be your Dashboard screen, your typical desktop, a fullscreen app, or even additional desktop views that you create.
Navigating Applications and Windows
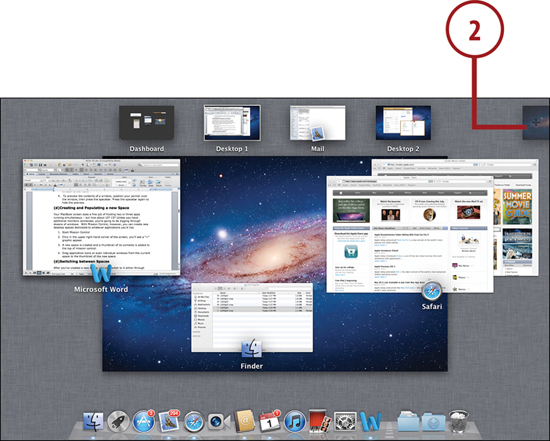
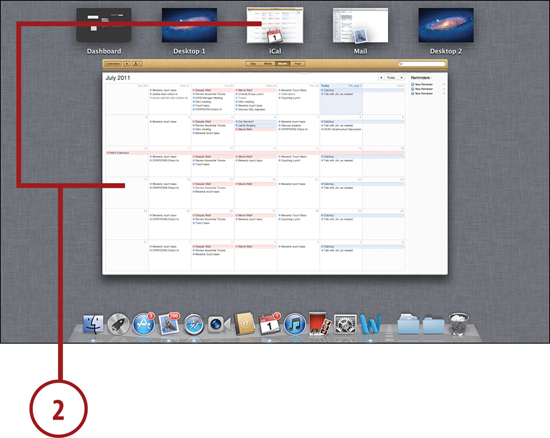
When you start Mission Control, your current space (probably your desktop, if you’re starting Mission Control for the first time) is front and center, along with representations of each app running in the space and its windows.
To switch between applications and their windows, do the following:
1. Start Mission Control.
2. Click an application icon to exit Mission Control and bring the application to the front.
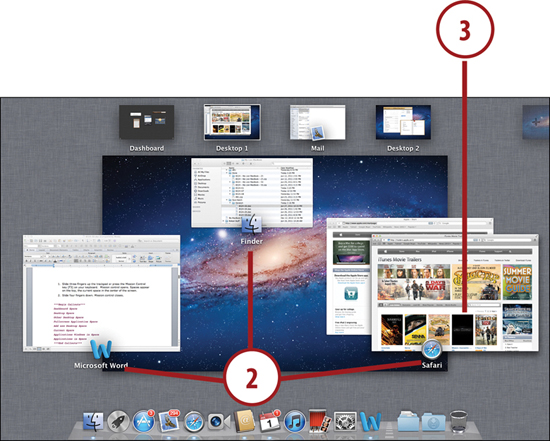
3. Click a window to exit Mission Control and bring the chosen window to the front.
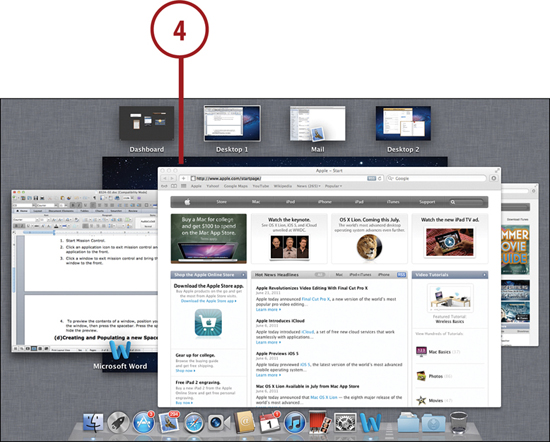
4. To preview the contents of a window, position your pointer over the window, then press the spacebar. Press the spacebar again to hide the preview.
Creating and Populating a New Space
Your MacBook screen does a fine job of holding two or three apps running simultaneous—but how about 10? 15? Unless you have additional monitors connected, you’re going to be digging through dozens of windows. With Mission Control, however, you can create new desktop spaces dedicated to whatever applications you’d like.
1. Start Mission Control.
2. Click in the upper right-hand corner of the screen, and a + graphic will appear.
3. A new space is created and a thumbnail of its contents is added to the top of Mission Control.
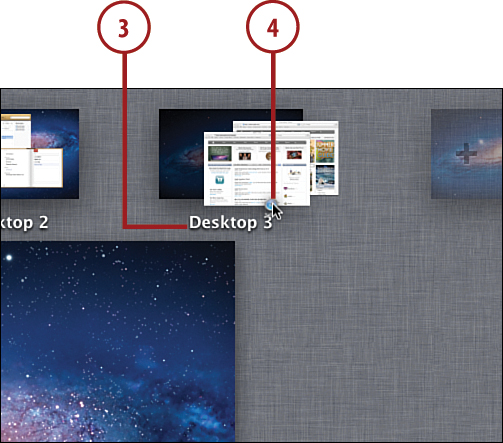
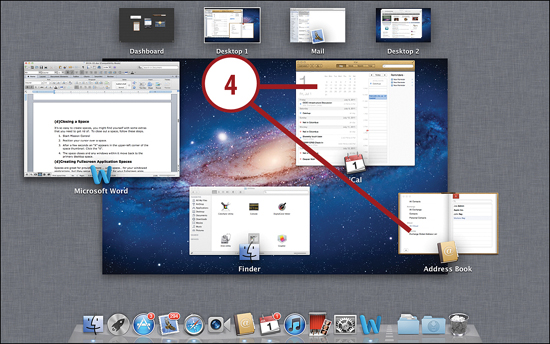
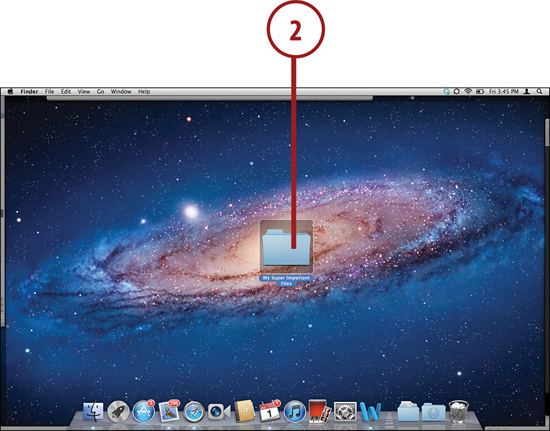
4. Drag application icons or even individual windows from the current space to the thumbnail of the new space.
Switching Between Spaces
After you’ve created a new space, you can switch to it via Mission Control or a Trackpad gesture:
1. Start Mission Control.

2. Click the space thumbnail you wish to display, or swipe left or right with three fingers to move between spaces.
3. Click on the background to exit Mission control.
Closing a Space
It’s so easy to create spaces, you might find yourself with some extras that you need to get rid of. To close out a space, follow these steps:
1. Start Mission Control.
2. Position your cursor over a space.
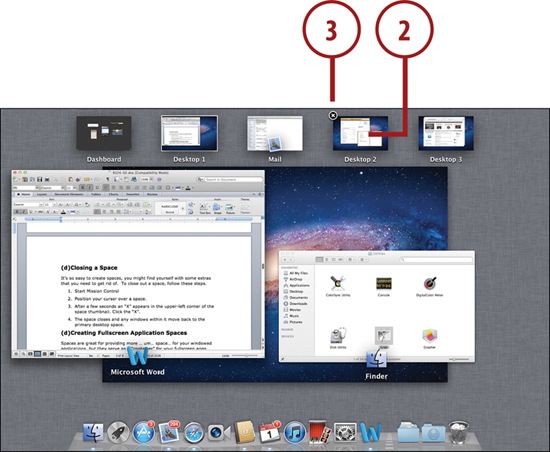
3. After a few seconds an X appears in the upper-left corner of the space thumbnail. Click the X.
4. The space closes and any windows within it move back to the primary desktop space.
Creating Fullscreen Application Spaces
Spaces are great for providing more...um...space for your windowed applications, but they also serve as a “container” for your fullscreen apps. Rather than a fullscreen application eating up one of your desktop spaces, it automatically creates a new dedicated space when it starts and removes it when it stops.
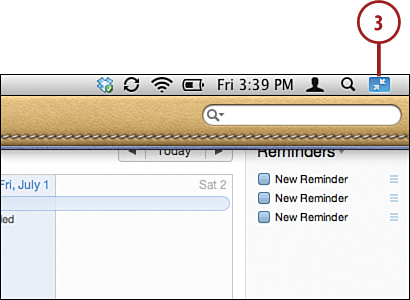
1. Click the double-arrow icon to put an application in fullscreen mode.
2. A new space is created and is visible in Mission Control.
3. Switch to and from the space exactly as you would any other. When you’re done using the fullscreen app, either quit or exit fullscreen mode. The space is automatically removed from Mission Control.
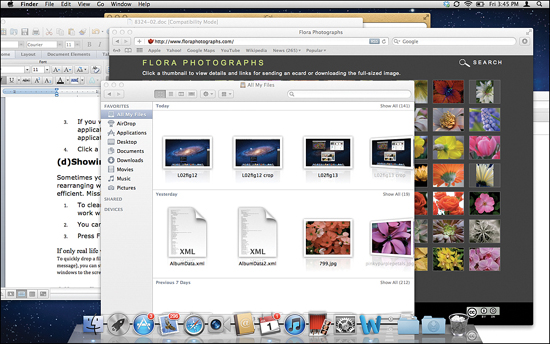
Choosing Between Application Windows
When you just need to navigate your windows, the Mission Control Application windows option comes in handy. Using this, you can show all your application windows, or just the windows for a specific program, with a single click.
1. To display all the windows open within an application, click and hold on an active application’s icon in the dock and choose Show All Windows. Alternatively, press Ctrl+down-arrow.

2. The screen refreshes to show miniature versions of your windows. Minimized windows appear in the bottom portion of the display; active windows appear at the top.
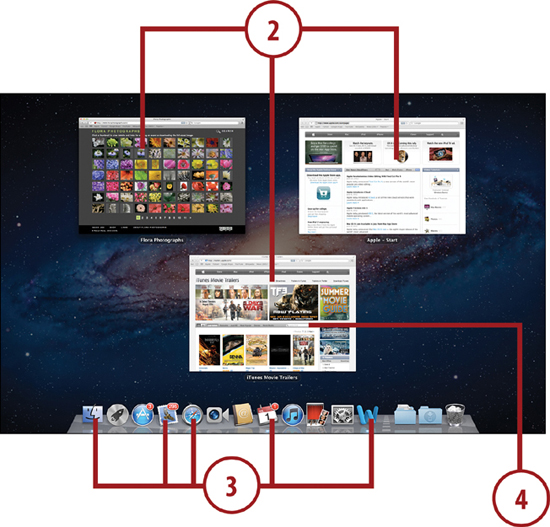
3. If you want, press the Tab key to switch between active applications, limiting the miniaturized windows to the highlighted application.
4. Click a window to select it and move it to the front.
Showing the Desktop
Sometimes you need quick access to the files on your desktop and rearranging windows (or using the Finder’s Hide menu) isn’t very efficient. Mission Control’s Show Desktop feature comes in handy here:
1. To clear all the windows off the screen so that you can temporarily work with the desktop, press F11.
2. You can now work within the desktop with no obstructions.

3. Press F11 again to return the windows to their original positions.
Configuring Mission Control Features and Shortcuts
If you have a specific way of working and want to customize how Mission Control or any of its features is activated, just follow these steps:
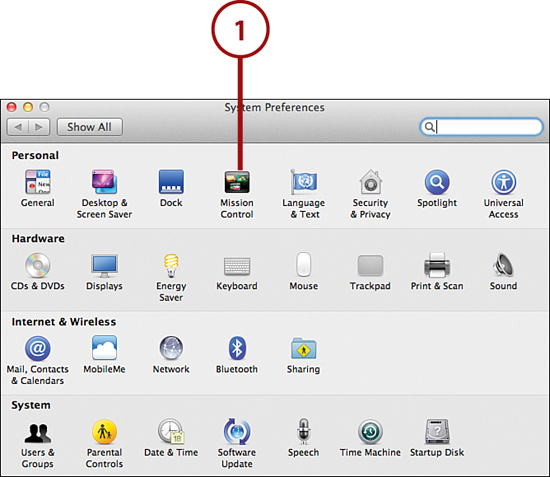
1. Open the System Preferences application, and click the Mission Control panel icon.
2. If you’d like Dashboard to appear on top of your current space rather than in its own space, uncheck Show Dashboard as a space.
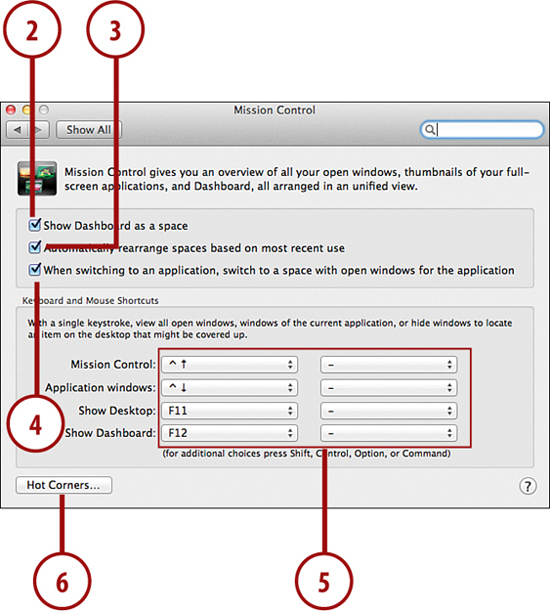
3. Uncheck Automatically rearrange spaces based on use if you prefer that Lion keep your spaces in the same order you add them, regardless of your usage patterns.
4. In most cases, leave When Switching to an Application, Switch to a Space with Open Windows for the Application checkbox checked. This indicates that if you switch to an application (using the Dock, or ![]() +Tab), you will automatically switch to the space that contains its open windows.
+Tab), you will automatically switch to the space that contains its open windows.
5. At the bottom of the panel, use the pop-up menus to configure keyboard and mouse button combinations to invoke the Mission Control features and Dashboard.
6. To trigger these features by moving the mouse to the screen corners, click the Hot Corners button.
7. Use the pop-up menus beside each screen corner to choose between the different options. After you’ve made a selection, just move the mouse into that corner to invoke the feature.
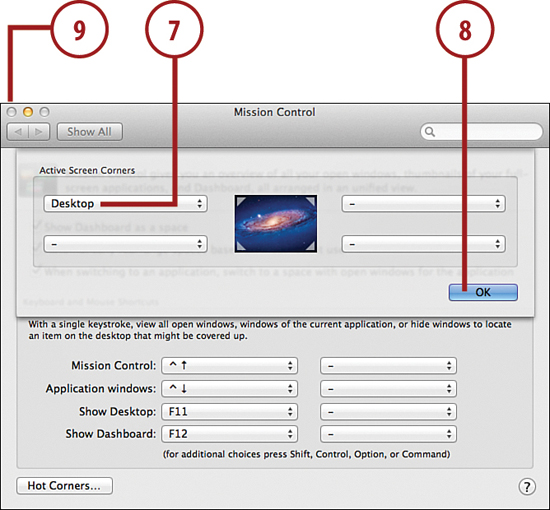
8. Click OK when finished.
9. Close the system preferences.
Managing and Launching Applications with Launchpad
While Mission Control helps you find your way through your windows, Lion’s Launchpad eliminates the need to open them! Launchpad brings iOS application management to your Mac. Instead of digging through folders to launch an application, you simply start Launchpad and all your installed apps are visible, in one place. No digging required.
Starting Launchpad
Like Mission Control, Apple wants to keep Launchpad at the ready. Unlike other applications, it takes no time to start and can be invoked through a gesture:
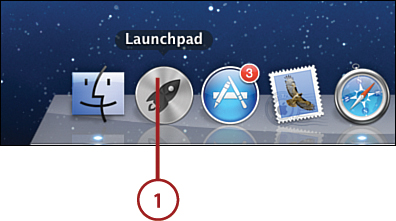
1. Open Launchpad by performing a pinching gesture with your thumb and three fingers. Alternatively, click the Launchpad icon in the dock or in the Applications folder.
2. The Launchpad appears, blurring out your background.
3. Reverse the pinching gesture, or click on the background to exit Launchpad.
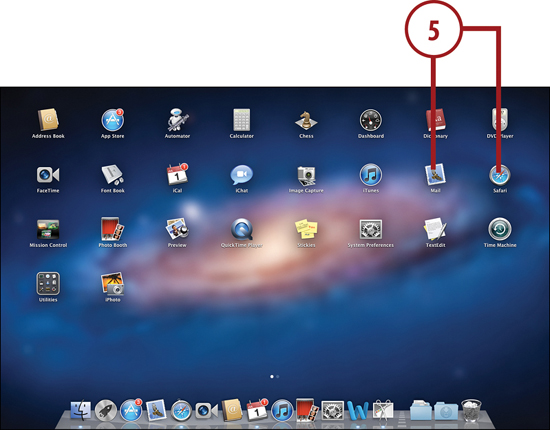
Navigating Launchpad
If you’ve used an iPad or an iPhone, you immediately know how to navigate Launchpad. If you haven’t, don’t worry—it takes about a minute to learn everything you’ll need to know.
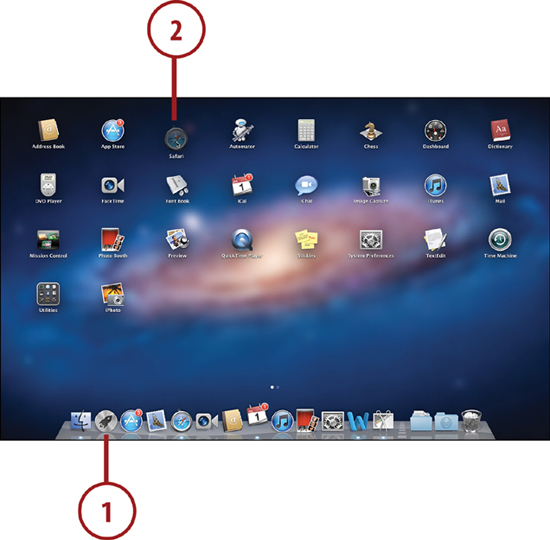
1. Open Launchpad to access your applications.
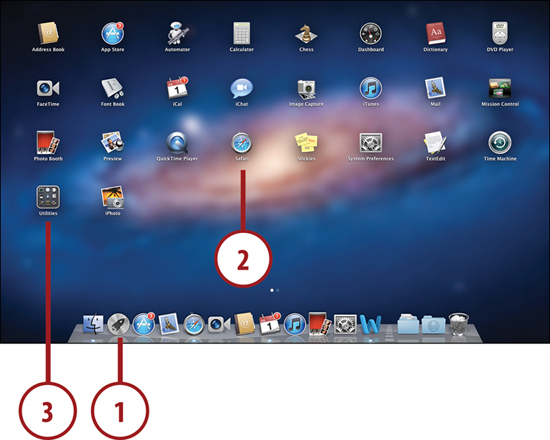
2. Click an application icon to launch it.
3. Click a folder icon to open it.
4. Click outside the folder to close it.
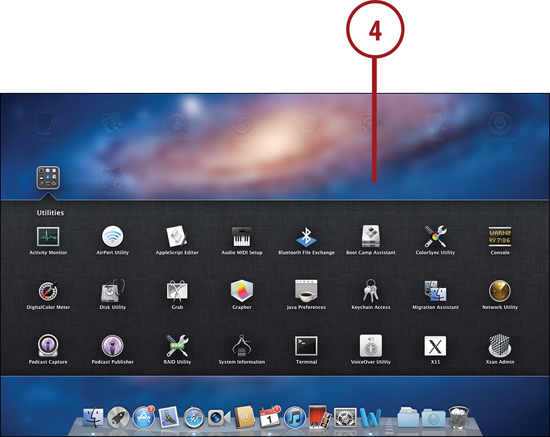
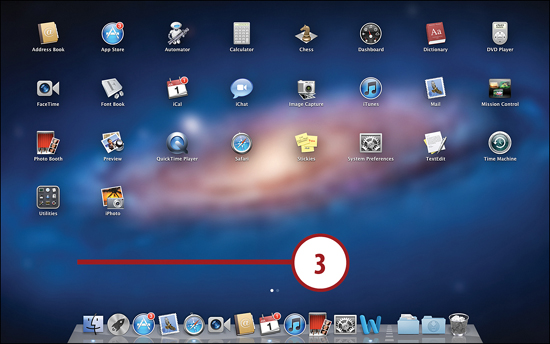
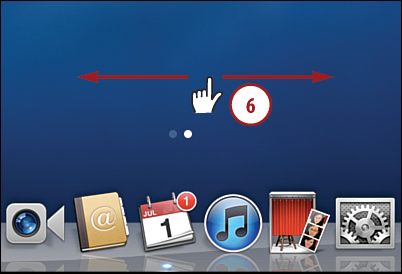
5. There can be multiple pages of icons, represented by the dots at the center bottom of the screen.
6. Move between pages by swiping left or right with your fingers, clicking the dots, or clicking and dragging left or right.
Rearranging Icons
The Launchpad display is completely customizable. To rearrange the icons on your screen, follow these instructions:
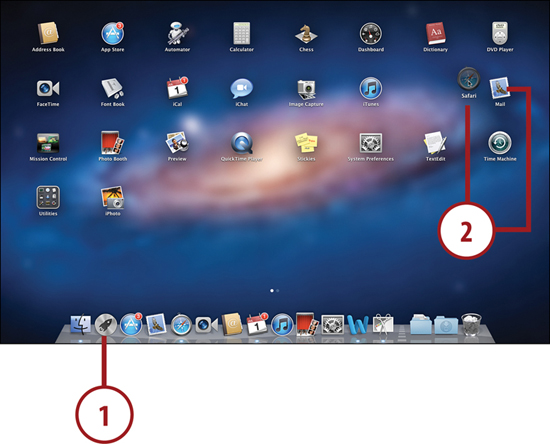
1. Open Launchpad.
2. Click and drag the icon to a new location, even a new page. Release the mouse to place the icon.
Creating New Folders
Unlike folders in the finder, Launchpad folders are created “on the fly” and automatically disappear when all of their contents are removed. To create a folder in Launchpad, follow these steps:
1. Open Launchpad.
2. Drag an icon on top of another icon that you wish to group it with.
3. A new folder is created, opened, and the icons are added.
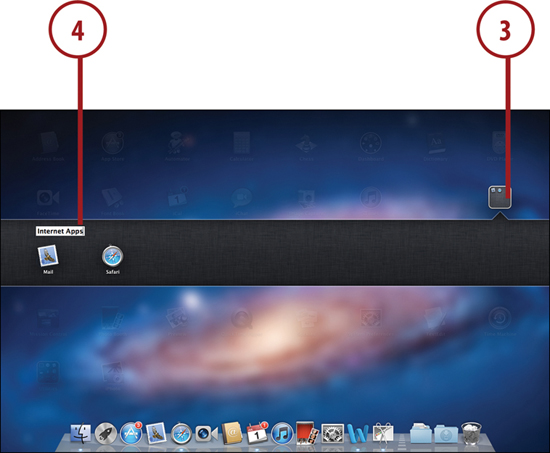
4. Click the title of the folder to rename it.
5. Click on the background outside the folder to close it.
Deleting Folders
To remove a folder from Launchpad, use these instructions:
1. Open Launchpad.
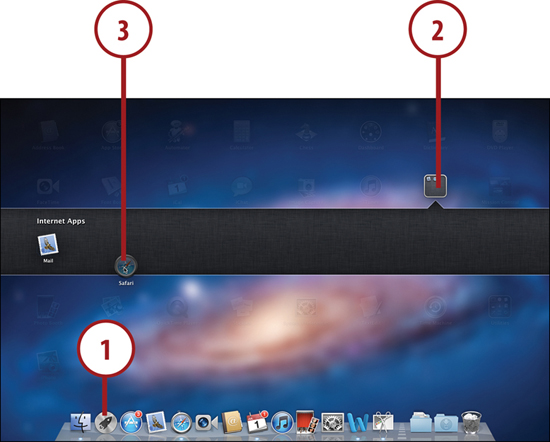
2. Click the folder that you wish to remove.
3. The folder opens.
4. Drag each item out of the folder.
5. When you reach the last item, the folder vanishes automatically.
Deleting Applications
In addition to providing a quick way to access your applications, Launchpad also offers an easy way to uninstall applications you’ve installed from the Mac App Store. (See Chapter 8, “Installing and Managing Software on Your MacBook,” for details.)
1. Open Launchpad.
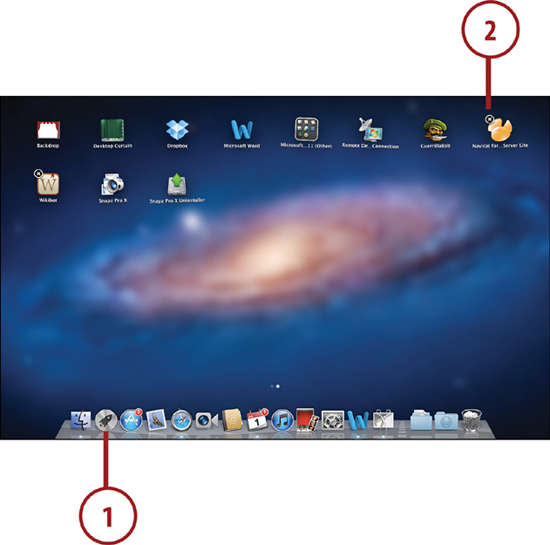
2. Drag an application you wish to uninstall to the trash. Alternatively, click and hold on the icon until an X appears in the upper-left, and click the X.
3. You are prompted to confirm the deletion.
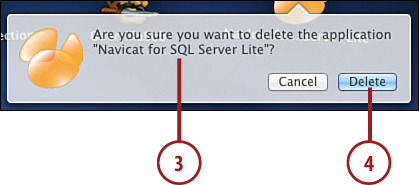
4. Click Delete.
5. The application is uninstalled from your system. You can reinstall through the App Store if needed.