
Looks
When you first enter Develop, the Looks button will be active and its unique set of tools will be visible at the bottom of the screen (Figure 5.10). Each Look style is essentially a set of instructions that are applied to your photo with a single click. The look of the thumbnail representing the style is indicative of its effect on your photo.
Figure 5.10 Don’t forget to scroll to see all the looks available.

There are actually more look styles than can been seen at once, so be sure to scroll the thumbnails along the bottom to see the entire row.
Applying a Look
There really isn’t anything more to applying these than clicking or tapping the thumbnail of the look you want to apply. After you click the look, you will see the settings applied to your photo and that style’s thumbnail highlighted to indicate which one is being applied (Figure 5.11). The first look in the row is called Normal, and one click will remove any of the other look styles from your photo without affecting any changes you might have made with the other Develop tools.
Figure 5.11 The results of the Silvered look and its highlighted thumbnail.
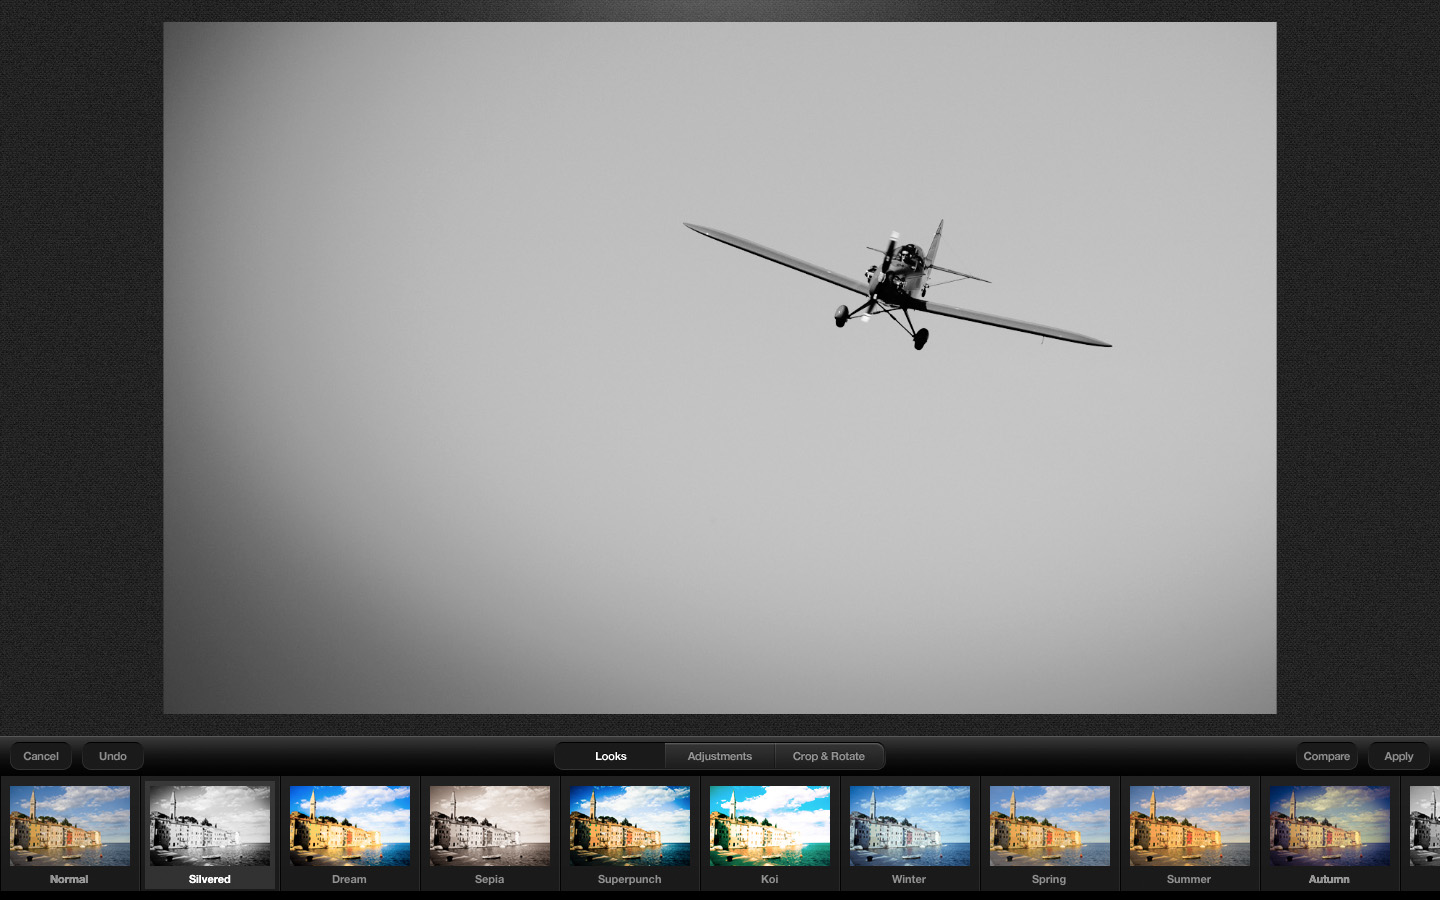
It is important to keep in mind that these are not cumulative effects. In other words, if you first click the Silvered look then click Dream (Figure 5.12), you are not seeing the combined settings of Silvered and Dream, but rather only the settings in the last style that you clicked (in this case Dream). There isn’t any way to modify, adjust, customize, or fade the effects of the Looks presets in Carousel 1.0, but I hope it is something that is added in the future.
Figure 5.12 You can only apply one look to a photo.

If you really wanted to see the cumulative effects of two looks, you would have to apply the first look, then export a copy out of Carousel, then import that copy back into Carousel, and apply the second look to that copy.
Although you enter Looks when you first open a photo in Develop, you don’t have to start your editing there. You can switch between the Looks, Adjustments, and Crop & Rotate tools as often as you wish in a single editing session before clicking the Apply button to save all of your changes and exit Develop.
There are likely to be many photos where you won’t use Looks at all. I tend to find that when I do use one of the looks, I use it as a finishing step after making exposure and cropping adjustments. However, there is nothing wrong with starting with a certain look, then adjusting the photo further with the other tools before clicking Apply to save your changes. Carousel doesn’t mind how you work.