
3. Navigating and Viewing Your Photos

This chapter shows you how to navigate and view the pictures in your Photos library.
![]() Navigating Photos’ hierarchy
Navigating Photos’ hierarchy
![]() Working with thumbnails
Working with thumbnails
![]() Viewing an individual photo
Viewing an individual photo
![]() Using the Split View window
Using the Split View window
![]() Sorting your photos
Sorting your photos
The great thing about digital photography is that you can take as many photos as you want because you are not constrained by the cost of developing film. However, taking more pictures than you may ever need can make organizing and navigating your photographs a chore.
Luckily Photos lets you keep your pictures organized with zero effort on your part. It does this by using a new three-part organizational structure that uses date and location information to automatically sort and group your photographs into categories called Years, Collections, and Moments. Every time you import a new picture, Photos figures out where to sort it.
Photos makes organizing your photogrpahs hassel free with the end goal being that you can view individual pictures quickly and easily. For this, Photos has a few, but important, tools to help you view your amazing pics.
Working with Years, Collections, and Moments
All digital photographs are marked with the time and date they are taken. If you’re using a smartphone—or even an advanced SLR camera—to take a picture, the photos will also be tagged with GPS coordinates for the location where the photo was taken.
Photos uses these three bits of data—date, time, and location—to automatically organize your entire photo library for easy navigation.
Photos groups your pictures into categories named Years, Collections, and Moments:
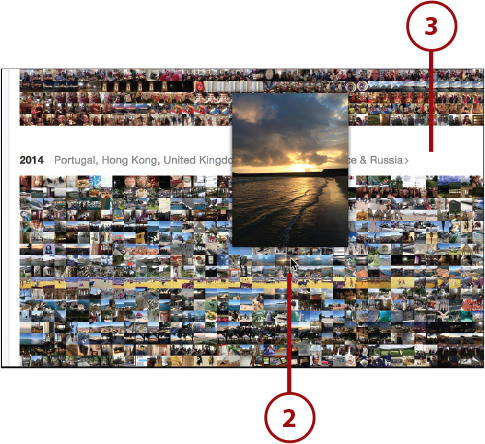
• Years is the higest-level organizational structure. Photos uses the date of your pics to sort them chronologically. There is one grouping for every calendar year. So any picture taken between, for example, January 1, 2014 and December 31, 2014 would be automatically grouped into the 2014 year.
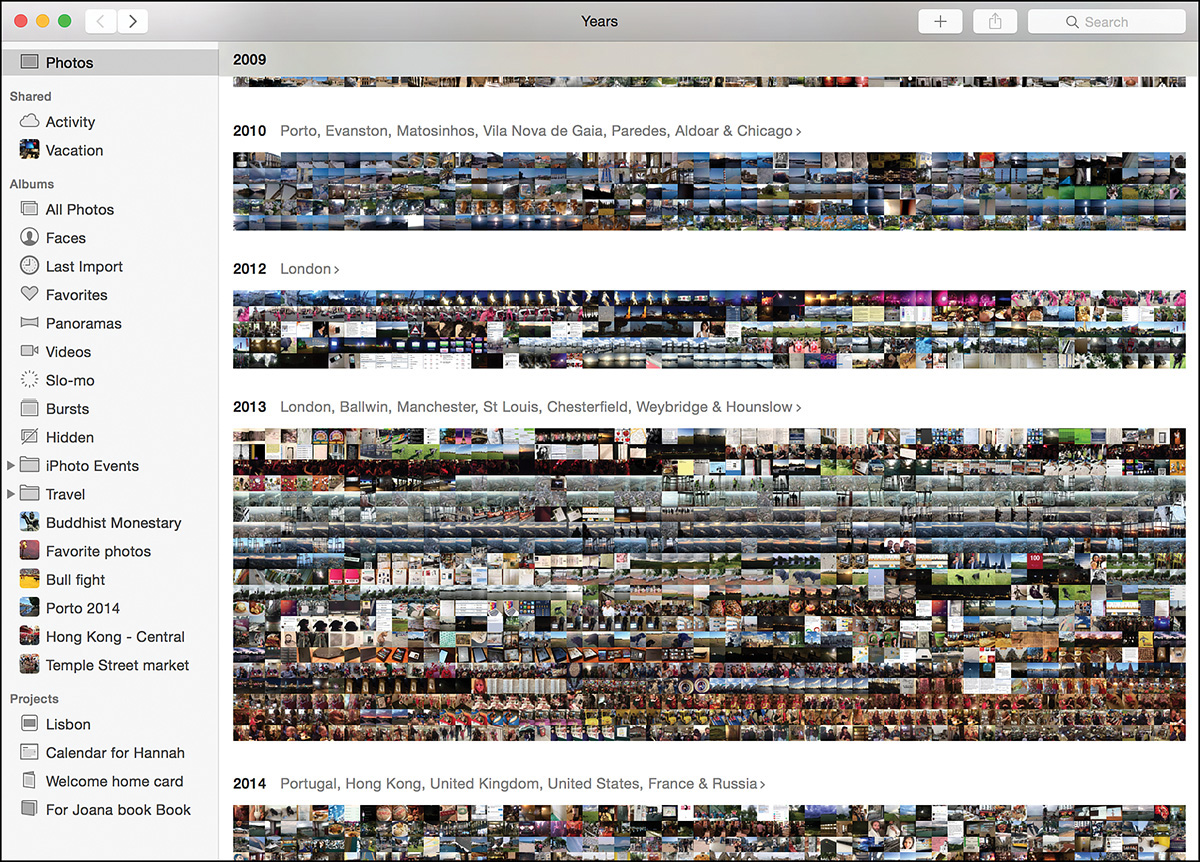
Years view
• Collections is the next level down. There can be an unimited number of Collections in one Year. Collections are grouped by time and location. For example, if in 2014 you took photos on your trips to Portugal, Russia, and France then you’d have three Collections: one each for Portugal, Russia, and France in 2014. If you took a trip to France in February and then another trip to France in September, you’d have two different Collections.
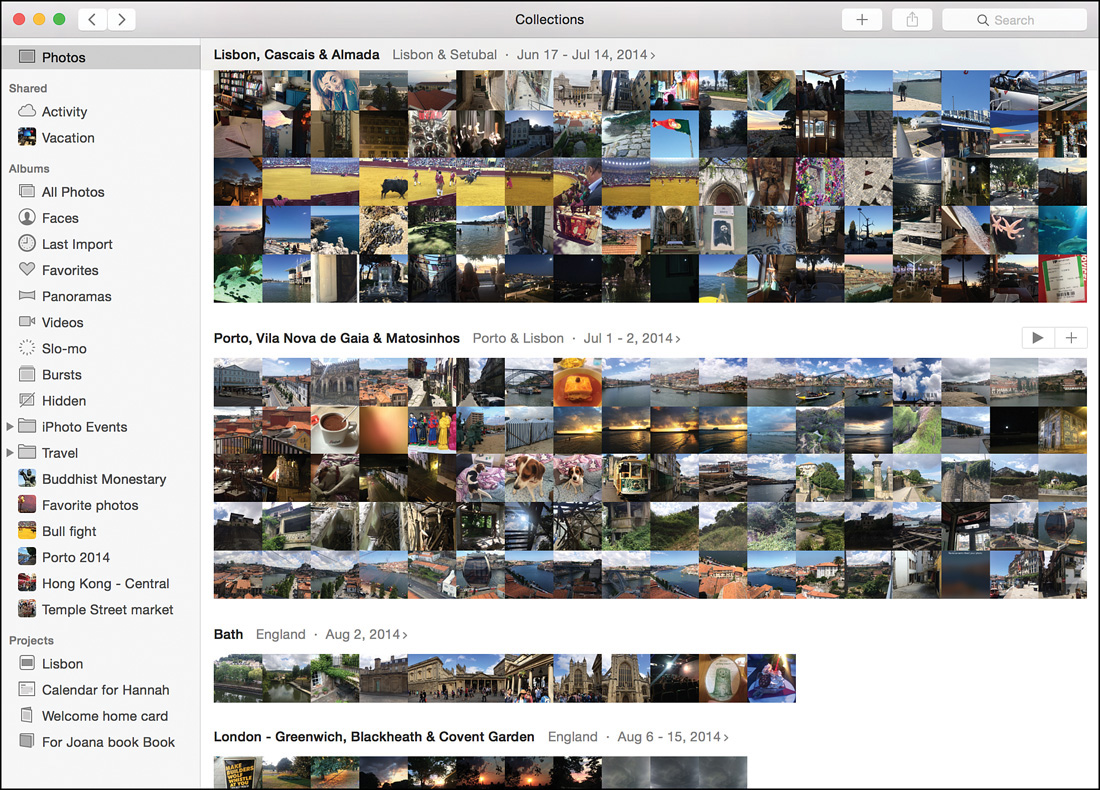
Collections view
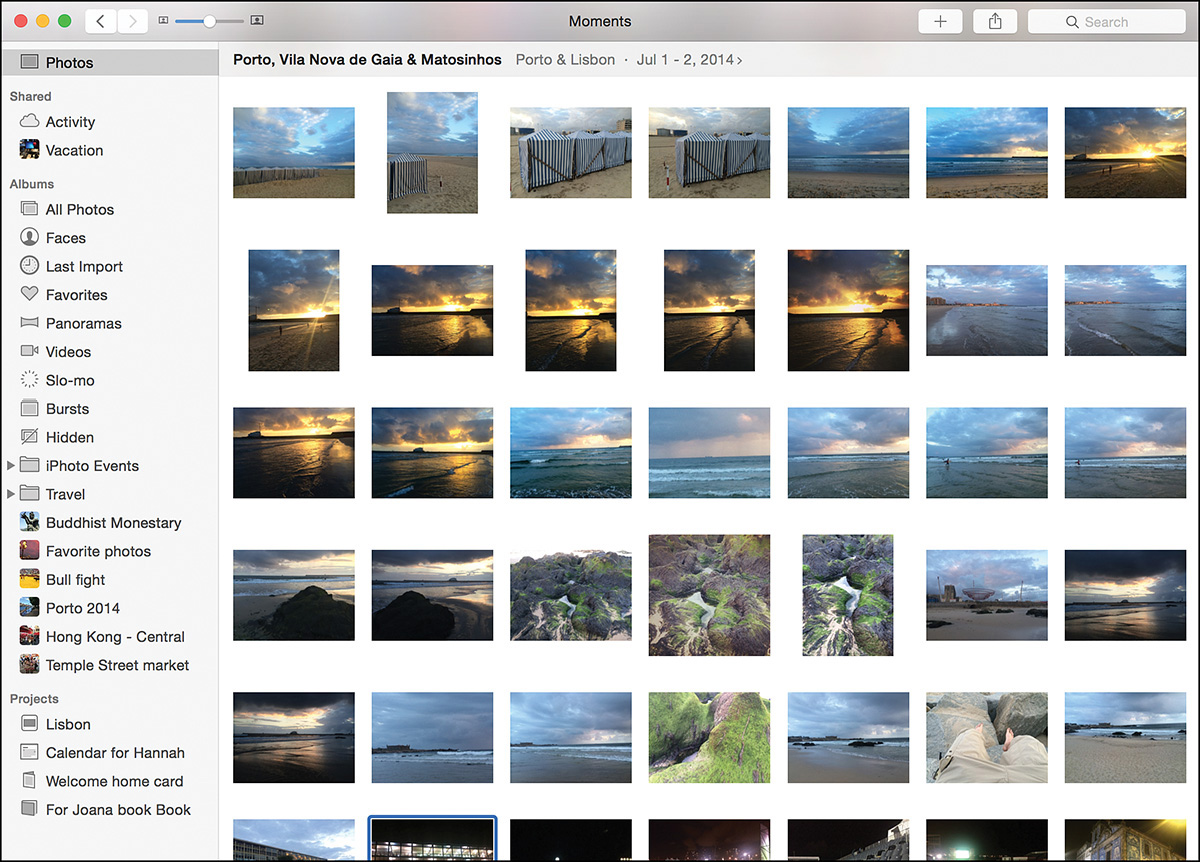
• Moments are the final level. There can be an unlimited number of Moments in one Collection. Like Collections, Moments are grouped by time and location, yet their time and location groupings are hyper-focused. Where a Collection might group all the photographs you took in Paris during a week, a Moment automatically groups all the photographs you took in that one afternoon you spent at the Eiffle Tower.
Navigate Years, Collections, and Moments
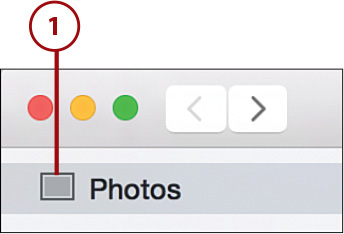
1. Click Photos in the sidebar to make sure you are in the main Photos library rather than the All Photos album. By default, you start in Years view.
Why Can’t I See the Groupings?
You cannot view Years, Collections, and Moments groupings while you are in any albums, including All Photos.
2. Move down one level to Collections by clicking the forward arrow. If you are using a trackpad or Magic Mouse you can use a reverse-pinch gesture to zoom in one level to Collections.
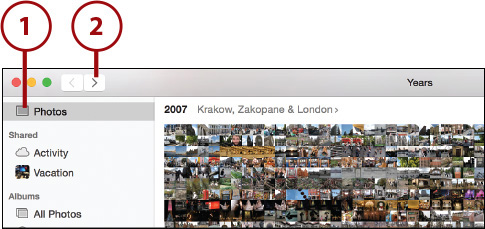
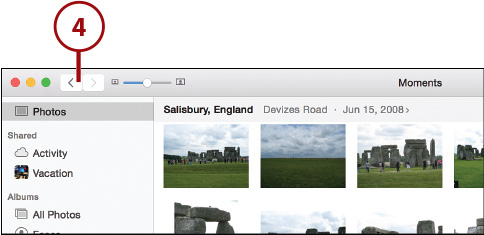
3. Click the back arrow to return to Years view or click the forward arrow to move one level down to Moments view. If you are using a trackpad or Magic Mouse you can use a reverse-pinch gesture to zoom in one level to Moments or a pinch gesture to zoom out one level to Years.
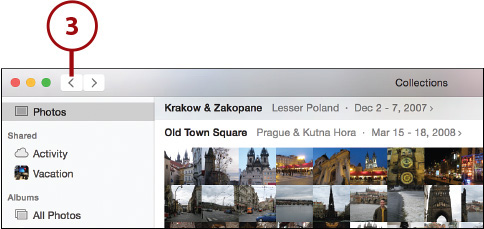
Moments View
In Moments view you’re at the most detailed level of organization for your photos. You no longer see thumnail mosaics; instead you see individual thumbnails for each photograph.
4. Click the back arrow to back out one level to return to Collections. If you are using a trackpad or Magic Mouse you can use a pinch gesture to zoom out one level back to Collections.
Scrub Through Years and Collections
Traditionally, photographers have used what are known as contact sheets, which contain a series of photo negatives they took. The photographer would use a magnifying lens to quickly browse over—or scrub—the contact sheet until she found the photo she wanted to work with. That scrubbing functionality is now built directly into the thumbnail mosaics in Years and Collections.
1. Select Photos from the Source List and make sure you are viewing either a Year or Collection.
2. Move your cursor over a Year or Collection mosaic and then click and hold an image. It springs up and is magnified on your screen. Continue to click and hold as you move the cursor over other images until you find the image you’re looking for.
3. Release the click hold you have on a thumbnail to bring that photo up in a full-screen window. If you don’t want to view any image full screen simply move your cursor to a white space area on the Years or Collections screen and then release your click hold.
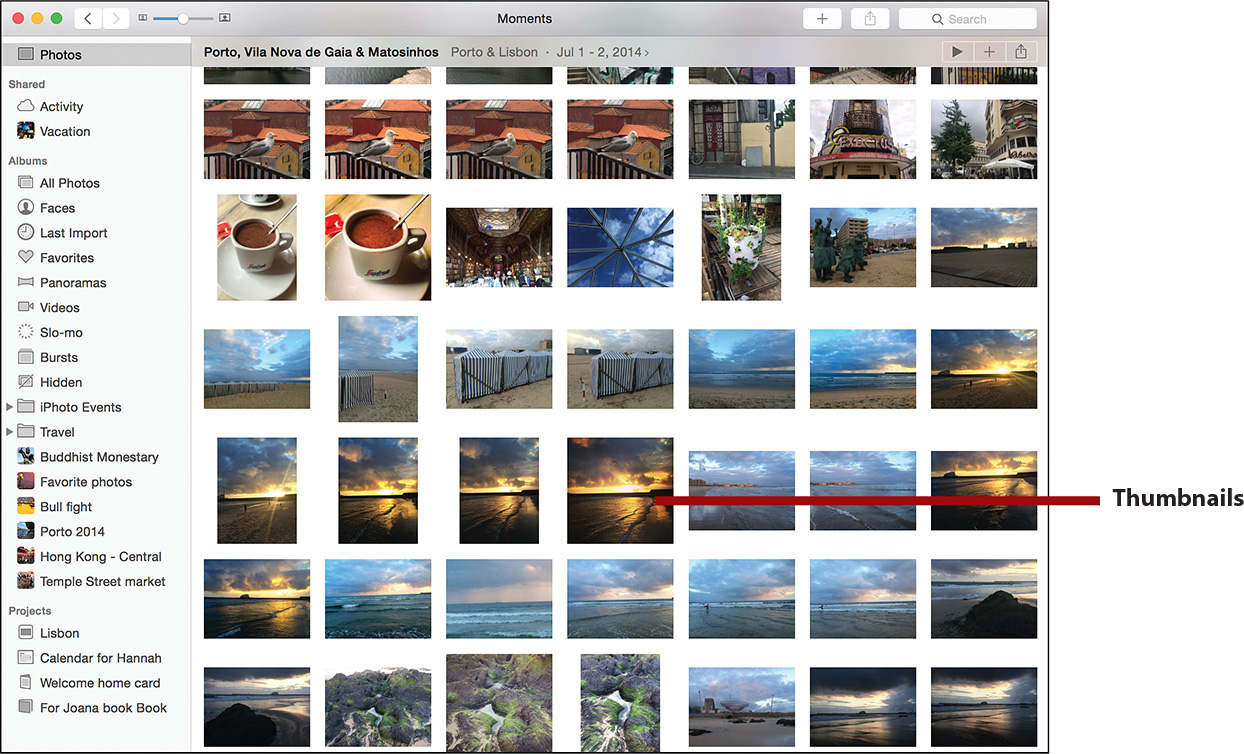
Working with Photo Thumbnails
A thumbnail is a miniature representation of your larger photograph. It differs from the mosaic collection of small images in Years and Collections in that every individual image features its own thumbnail whereas Years and Collections group similar thumbnails into one to signify related dates and locales.
Thumbnails for individual images are inside every Moment and album in your Photos library. A thumbnail is useful because it enables you to see multiple photos at once, which helps you find the one you are looking for faster, but it is also the gateway to gathering more information about your photograph and opening that photograph to all the editing capabilities Photos has to offer.
Adjust the Thumbnail Size
By default, a thumbnail is medium size in Photos. However, you can manually adjust the size of thumbnails to make them larger, which makes them easier to view, or smaller, which enables you to see more images at once.
1. Select an album or a Moment so your photographs are displayed as thumbnails in the body of Photos.
2. Drag the Zoom slider left or right. Dragging it to the left shrinks the thumbnail size, and dragging it to the right increases the thumbnail size.

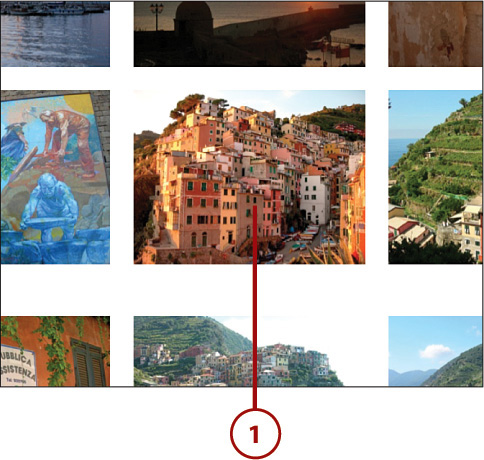
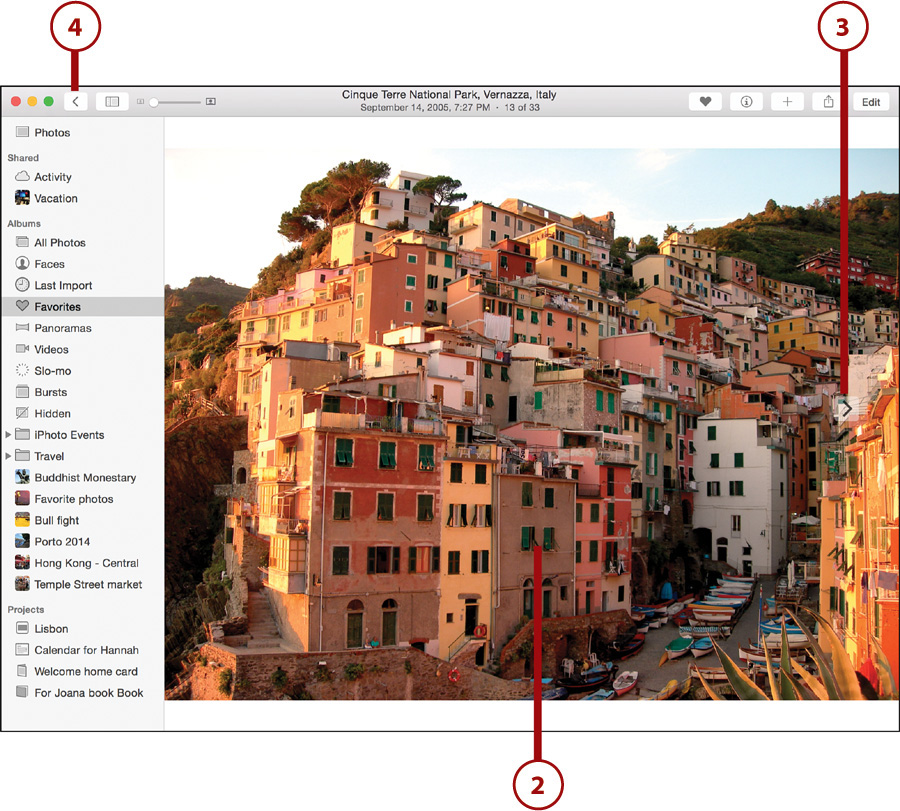
View an Individual Photo
After you’ve found the photo you want to view in your thumbnails, bringing it fullscreen in the main viewing window is easy.
1. Select the photo (a selected photo has a blue box around it). Double-click the photos or press the spacebar button on your keyboard to see it fullscreen.
2. The photo expands until it fills the entire frame of the viewing window.
3. Click the right-pointing arrow on the right side of the screen to browse to the next sequential photo or click the left-pointing arrow on the left side of the screen to browse to the previous photo. If you have a Mac with a trackpad or Magic Mouse, swipe left or right to move to the next or previous image.
4. Click the back button to return to the thumbnails view.
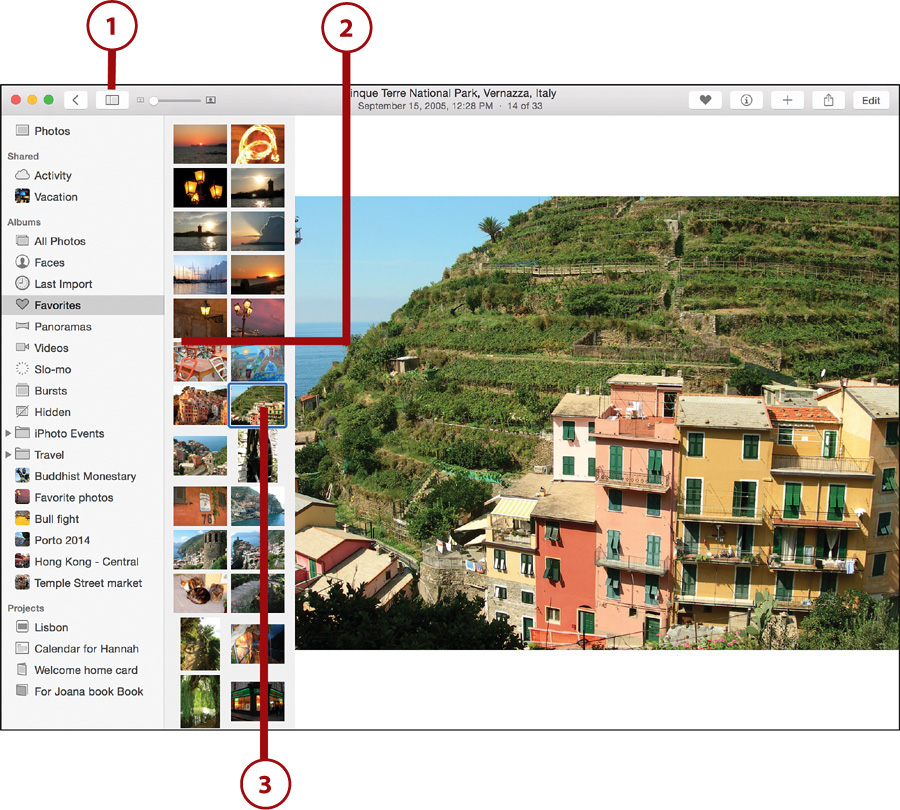
Working with the Split View Toolbar
When you view a photo fullscreen, the toolbar at the top of Photos’s window changes. Other tasks in this book explain what all the new buttons on the right side of the toolbar do; this section concentrates on the Split View button, which appears between the back and slider buttons on the left side of the toolbar. The Split View button brings up a useful new thumbnail toolbar that shows the thumbnails of all the other photos in the selected album or Moment.
Use the Split View ToolBar
1. Click the Split View button in the toolbar. A new toolbar that contains all photos related to the one you are currently using displays on the left side of the viewing window.
2. Scroll through the Split View toolbar using your mouse’s cursor until you find a photo you want to view.
3. Click the photo you want to view in the main viewing window.
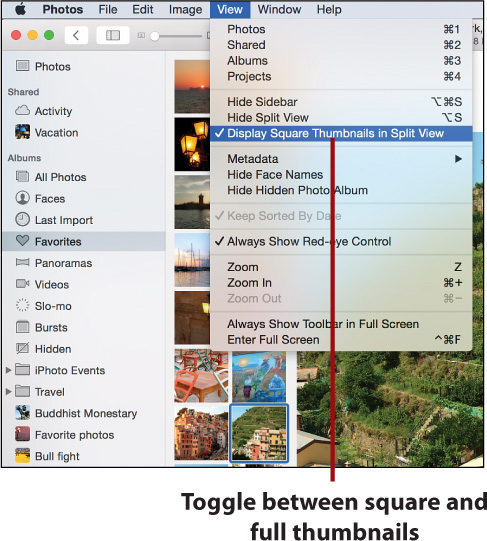
Changing the Thumbnail Appearance
Photos gives you the option of viewing full thumbnails or square thumbnails in the Split View window. To toggle between the two image shapes select View, Display Square Thumbnails in Split View. Note that displaying square thumbnails doesn’t actually change the shape of your photos, it just reformats them for more compact organization in the Split View window.