Working with Tool Windows
As in the previous versions of Visual Studio, lots of the tools in Visual Studio 2015 are provided via tool windows. Tool windows are floating windows that can be docked to the IDE interface and are responsible for various tasks. As a general rule, you find the tool windows provided by Visual Studio 2015 in the View menu. However, you find the test tool windows and the analysis tool windows in the Test and Analyze menus, respectively, and tool windows specific for debugging are available in the Debug menu. (See Chapter 5, “Debugging Visual Basic 2015 Applications.”)
This book utilizes several tool windows, and this chapter provides an overview of the ones that are most frequently used. In particular, this chapter focuses on the Solution Explorer, Error List, Properties, and Output windows. These are the tool windows you will use in each of your projects. You’ll learn about less commonly used tool windows in other chapters, as their use crops up.
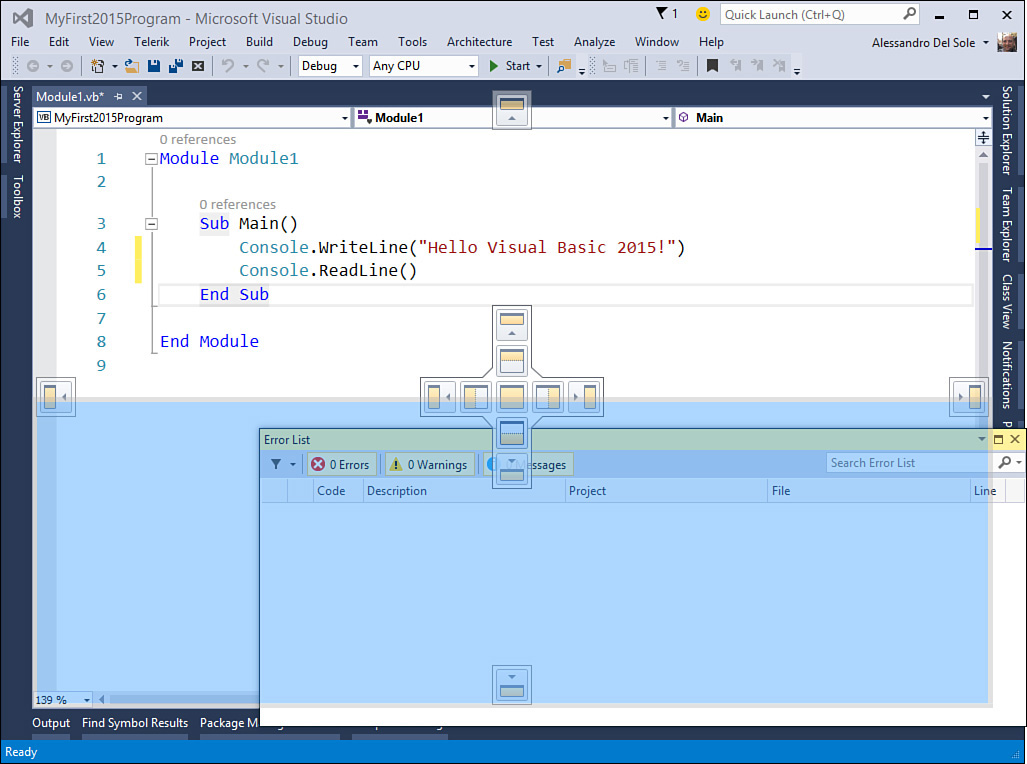
To dock a tool window to the desired position in the IDE, you just move that window onto the most appropriate arrow in the cross shown in Figure 2.17 and then release.
Visual Studio 2015 automatically positions some tool windows in specific places in the IDE, but you can rearrange tool windows as you like. The following sections discuss the tool windows you’ll use most frequently.