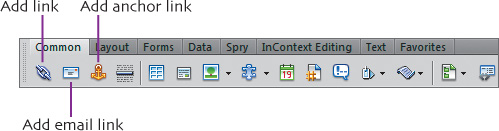
The Web’s magic comes largely from the hyperlink, which lets Web users jump from page to image to email to almost anywhere on the Internet. Links fall into two categories: internal links, which connect different items within your own Web site, and external links, which connect to items out on the larger Web. Before we begin linking some of the pages created in previous chapters, switch the Insert toolbar/panel to the Common tab, which includes link-related buttons.
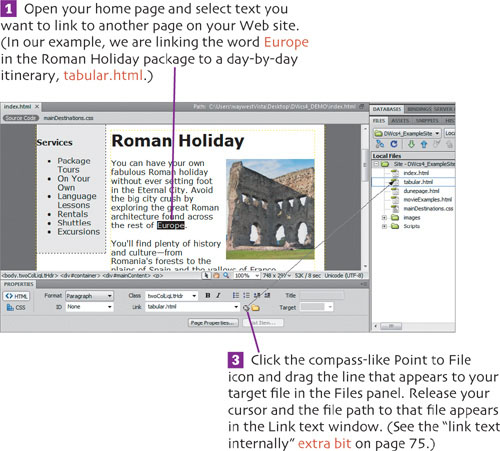
Dreamweaver makes creating links between pages on your Web site a point-and-click affair.
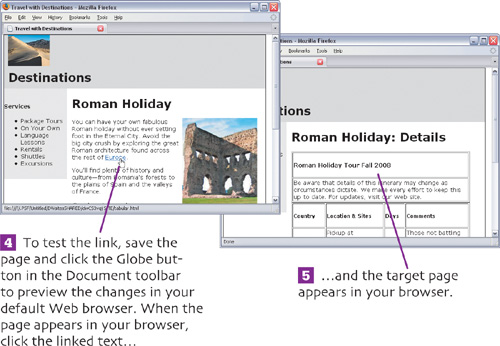
![]() Make sure the Files panel and the Properties panel are both visible.
Make sure the Files panel and the Properties panel are both visible.
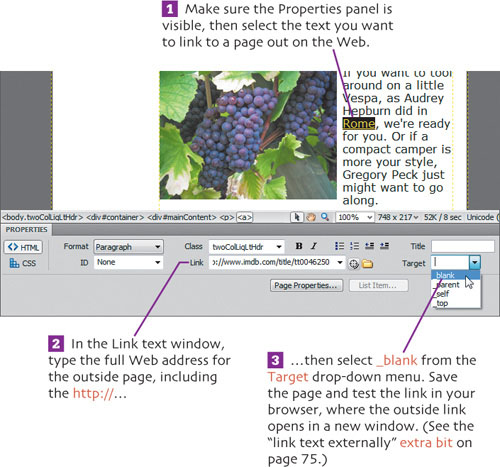
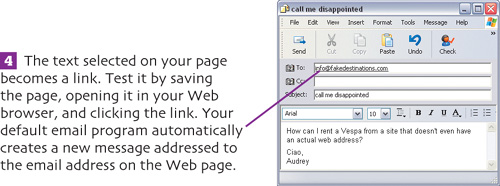
Links to items that are not part of your own Web site are called external links. While we use text in this example, you can create external links using images as well.
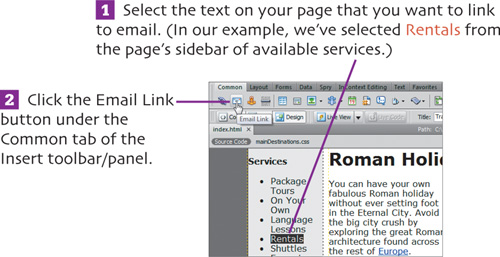
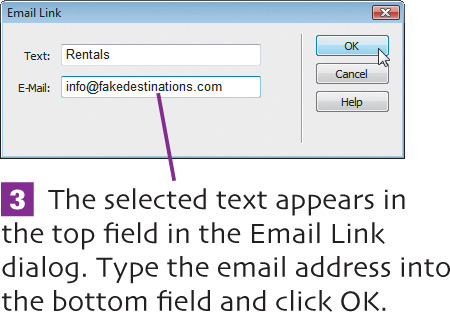
By embedding addresses in your email links, you make it easy for readers to send email to you and others listed on your Web site. Unfortunately, you also make it easier for spammers with Web-crawler programs to pick up that address and flood it with spam. For another approach, see create form on page 106.
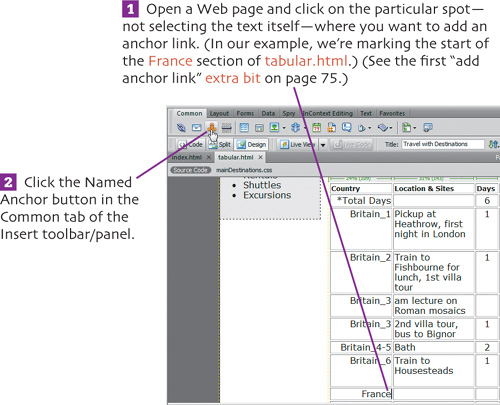
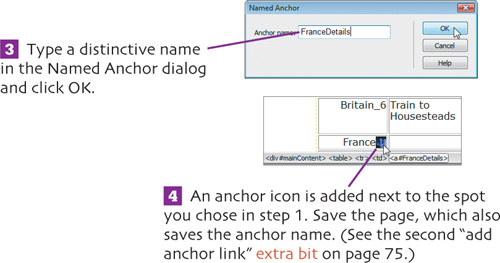
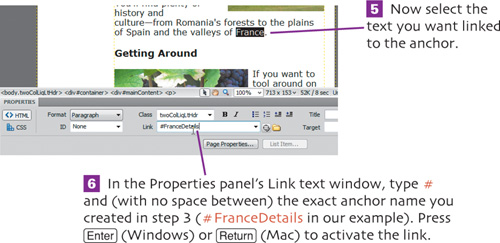
Anchor links enable Web visitors to jump to a specific spot within a long Web page, sparing readers from scrolling through it. You must first create an anchor to mark the particular spot in the target document. Then you create a link to that spot.
Images are easy to spot on a page and easy to click, so don’t limit yourself to creating just text links. Creating internal and external links with images works exactly as it does for text links.
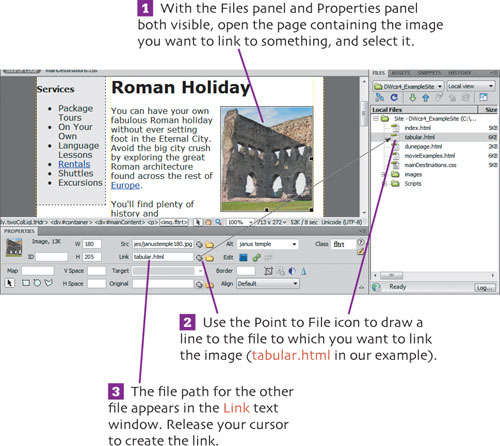
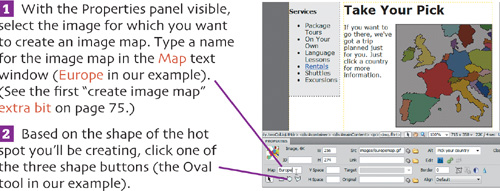
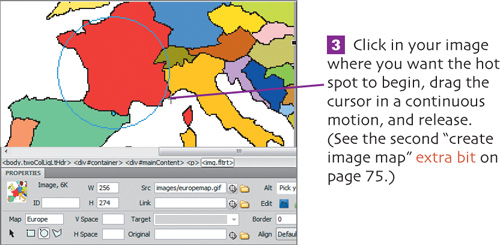
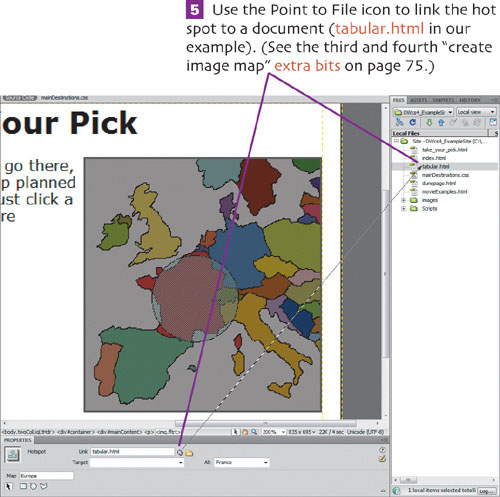
Image maps take the basic idea behind an image link and give it extra power by making it possible to link separate hot spots within the image to multiple files. It saves space on the page and provides an elegant, easy-to-understand interface for your site. (In our example, we’re using an already created page named take_your_pick.html.)
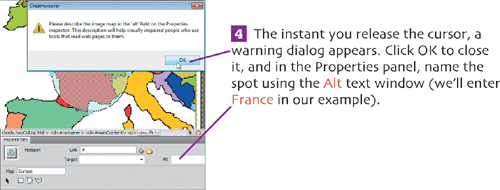
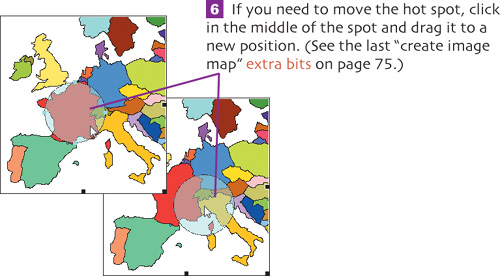
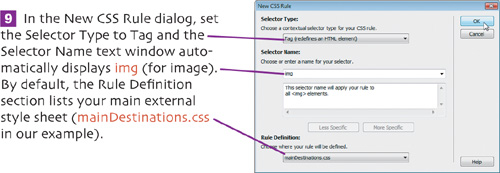
![]() Repeat these steps for each hot spot you need to create. Be sure to add an Alt name for each hot spot to help you keep them straight.
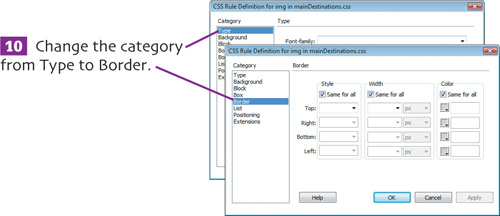
Repeat these steps for each hot spot you need to create. Be sure to add an Alt name for each hot spot to help you keep them straight.
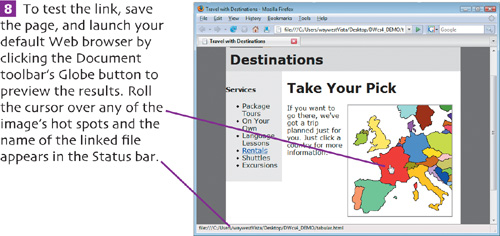
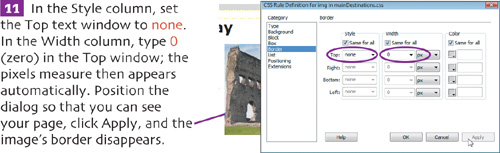
![]() Click the spot and the linked page appears in your browser.
Click the spot and the linked page appears in your browser.
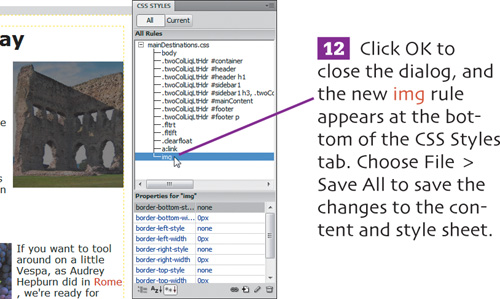
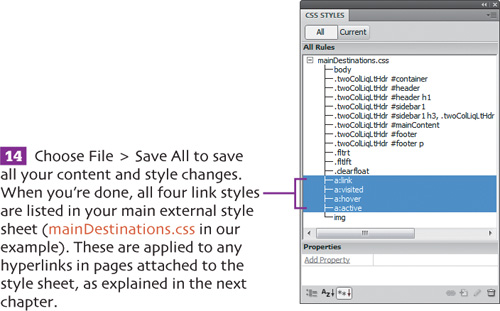
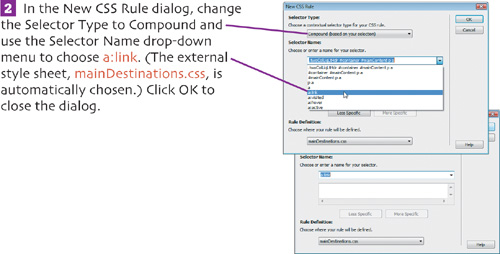
By default, unvisited Web links are blue and underlined while visited links are purple and underlined. Dreamweaver, however, makes it easy to change the color and style of all your links to match your Web site’s overall look. Here we’ll set colors for all four link states: unvisited link, visited, hover, and active.
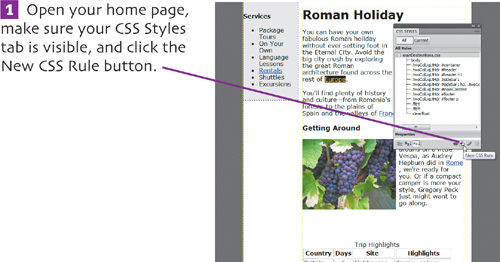
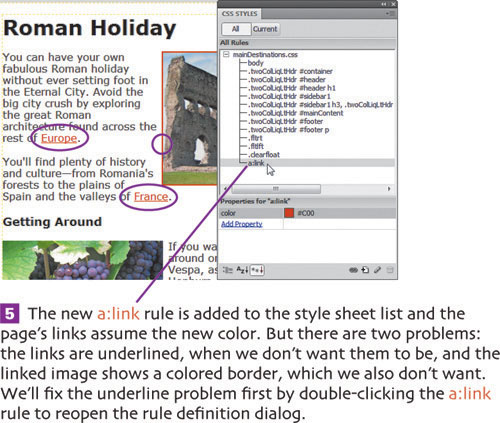
![]() Let’s get rid of the linked image’s colored border. When the CSS Styles tab reappears, select the image and click the New CSS Rule button as you did in step 1.
Let’s get rid of the linked image’s colored border. When the CSS Styles tab reappears, select the image and click the New CSS Rule button as you did in step 1.