
So far, we've created applications to do many different things — log in to servers, connect to databases, manipulate XML, and the like. However, every program has been created from scratch. What if you don't want to start from scratch? That is what frameworks were built for.
The application in this chapter uses Plone, an open-source Python-based content management system.
Plone is such a large, full-featured application that it makes sense to provide a "10,000 foot" overview of it before diving in to create custom applications.
Plone is a content management system with all of the following features:
It is multiplatform, meaning it can be run on different operating systems/architectures.
It is based on Python.
It is built on Zope, a Python-based application server framework.
It has a scalable interface — nontechnical users can simply enter or edit content, and more knowledgeable users can create custom applications in Python.
It was designed to allow for multiple users and various permission levels.
It is free and extensible.
Installing and configuring Plone involves several steps:
Downloading the current build of Plone for your particular operating system
Extracting the download to an install directory
Running the install
Discovering the admin password
Starting the Plone server
Logging in as admin
Setting up a user
Logging in as the set-up user
Note
These instructions are based on the 3.05 version of Plone, which was current at the time this was written. Subsequent versions may look a little different, but should follow basically the same process.
You can get Plone by going to the Plone website at www.plone.org.
To download Plone:
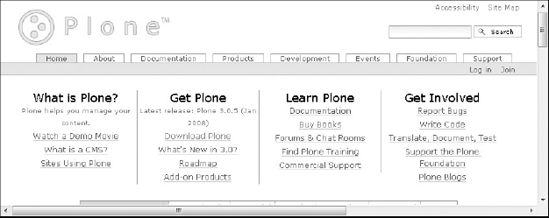
In a web browser, go to
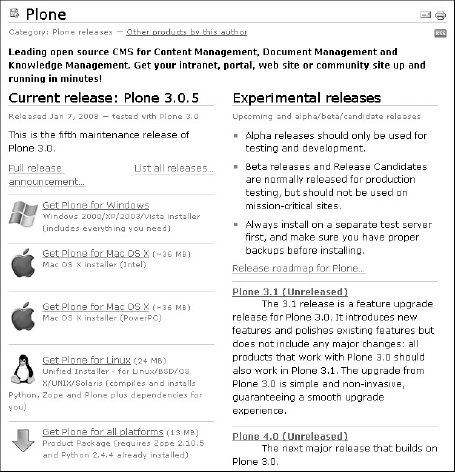
www.plone.org. Figure 8-1 shows the Plone home page.Click the Download Plone link under the Get Plone heading. You'll then be presented with the screen shown in Figure 8-2, which provides release information.
For this example, Plone is going to be installed on Linux, so click the Get Plone for Linux link. You'll be prompted to download the file. Download it to a temporary location (you could even just put it in a folder on your desktop).
After you download the install, you will have a file on your system (wherever you downloaded it) called something like Plone-3.0.5-UnifiedInstaller.tar.gz. In a terminal window, in the directory where the file is located, type the following and press Enter:
tar -zxvf Plone-3.0.5-UnifiedInstaller.tar
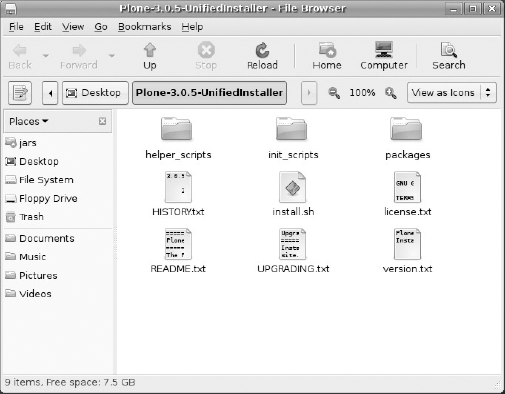
This will extract the installation directory. You will now have a directory on your system at the location you chose called Plone-3.0.5-UnifiedInstaller (the directory name may be slightly different).
The directory contents will look something like what is shown in Figure 8-3.
Once you have extracted the installation directory, you'll want to run the install. Plone can be installed as the root user or as a non-root user.
Logged in as the same user who downloaded and extracted the install, from the Plone-3.0.5-UnifiedInstaller directory, type the following:
./install.sh standalone
This will install Plone with a single standalone instance of the Zope application server (the simplest installation).
To start Plone, simply type the following on the command line and press Enter:
$HOME/Plone-3.0.5/zinstance/bin/zopectl start
Plone is now started and can be connected to.
When Plone is installed, it generates a password for the admin account. To get the password, go to the $HOME/Plone-3.0.5/zinstance directory, which should contain a file called adminPassword.txt. If you open the file, it will look like the following (in this case, the user who installed Plone was "jars"):
Use the account information below to log into the Zope Management Interface
The account has full 'Manager' privileges.

  Username: admin
  Password: sQuv!WX!

Before you start Plone, you should review the settings in:

  /home/jars/Plone-3.0.5/zinstance/etc/zope.conf

Adjust the ports Plone uses before starting the site, if necessary

To start Plone, issue the following command in a Terminal window:

   /home/jars/Plone-3.0.5/zinstance/bin/zopectl start

To stop Plone, issue the following command in a Terminal window:

   /home/jars/Plone-3.0.5/zinstance/bin/zopectl stop
As shown in the preceding code, the admin password is located in the file, as well as instructions for how to run Plone.
To log in, from a browser go to http://localhost:8080/Plone (from the machine on which you installed Plone). You'll see a Login screen like the one shown in Figure 8-4.
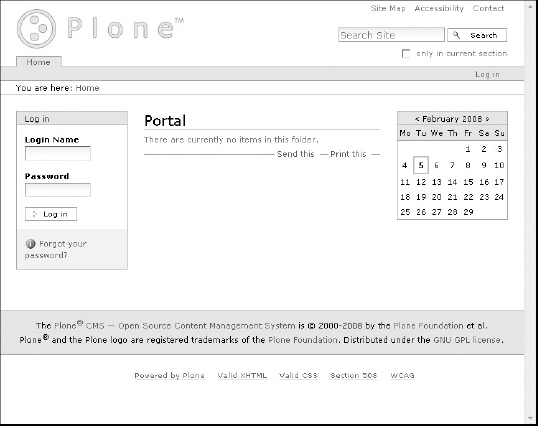
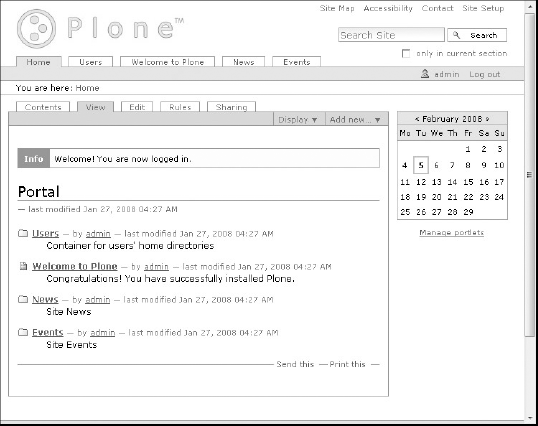
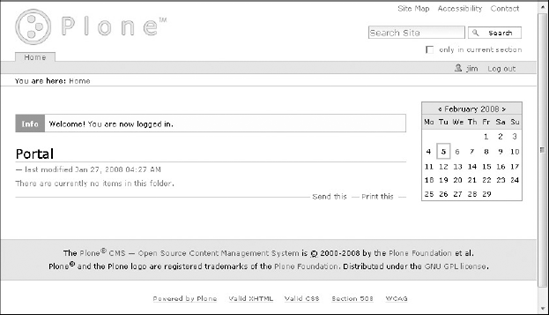
Enter admin in the Login Name text box, and then enter the password found in the adminPassword.txt file. You'll then see the Welcome screen shown in Figure 8-5.
You will need to set up an e-mail server to support the e-mailing of passwords to new users.
Log in as the admin user and click the Site Setup link in the upper-right corner. You'll then be presented with the Configuration screen shown in Figure 8-6.

At this point, you may get a warning that the mail server hasn't been set up yet. You can continue the install and set up the mail server later.
Click the Mail link. You'll then see the Mail Settings screen shown in Figure 8-7.
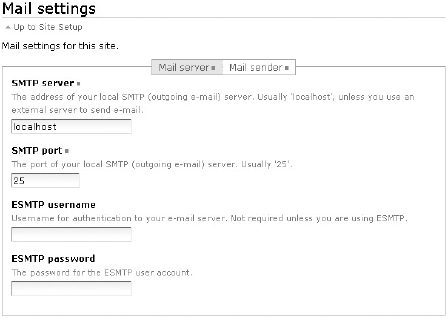
Enter the SMTP server IP (assuming the SMTP server is on the same machine where Plone was installed, choose localhost). Click the Save button.
One of the first things you'll want to do once you are installed is to set up users. For this example, you'll set up a user named John Smith. Log in as the admin user and click the Site Setup link in the upper-right corner.
Click the Users and Groups link. You'll be presented with the Users Overview screen shown in Figure 8-8.
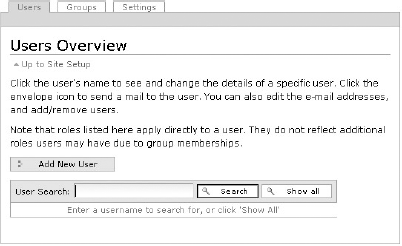
Click the Add New User button. The Personal Details screen shown in Figure 8-9 will appear.
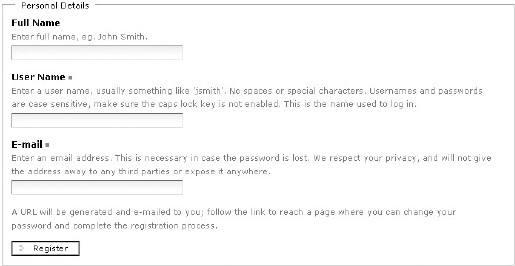
Enter the fields for Full Name, User Name, and E-mail, and then click the Register button.
You will receive an e-mail message containing the password at the e-mail address you used when you set up the user account. After you have received the e-mailed password, you can log in as that user. Point your browser to http://localhost:8080/Plone (assuming you are running on the computer where you installed Plone). When you log in, you'll see the screen shown in Figure 8-10.
Plone has a basic, standard layout, as shown in Figure 8-11 (taken from the plone.org website):
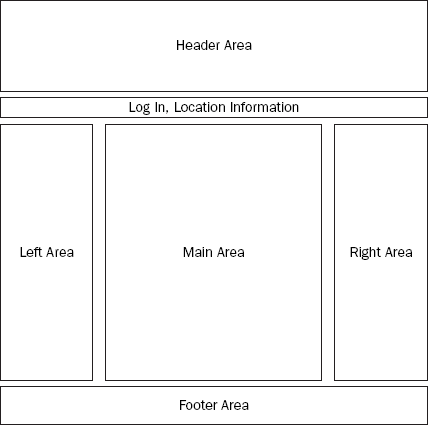
Certainly you can deviate from this basic design, but your design should still contain certain elements commonly found on all Plone sites (such as the Login link and the Site Setup link).
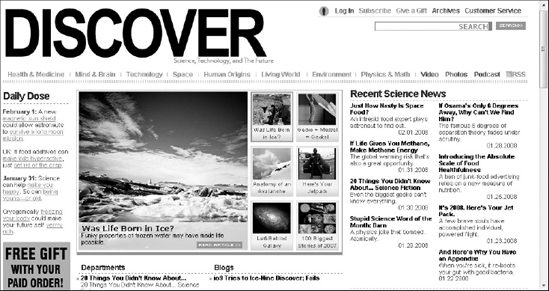
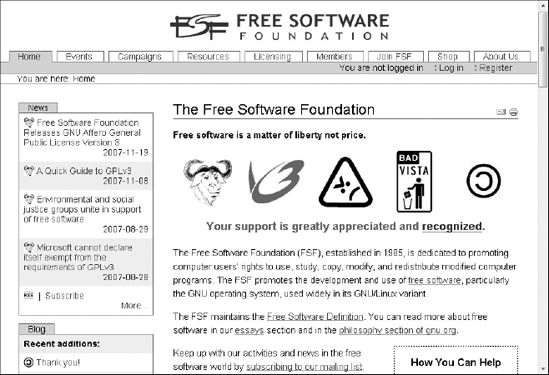
As mentioned earlier, the www.plone.org website itself is a great example of a Plone website. Two others include the following, as shown in Figure 8-12 and Figure 8-13, respectively.
Discover Magazine:
www.discovermagazine.comFree Software Foundation:
www.fsf.org
Generally, a Plone site will contain several common elements:
The header area, which is simply the title of the website, usually in large print — optionally with a graphic
Login or location information, just below the header area
The main area, for the main content of your page
The right area, for supplemental information (or sometimes advertising)
The footer
For a view of how all these elements are arranged, refer to Figure 8-11.
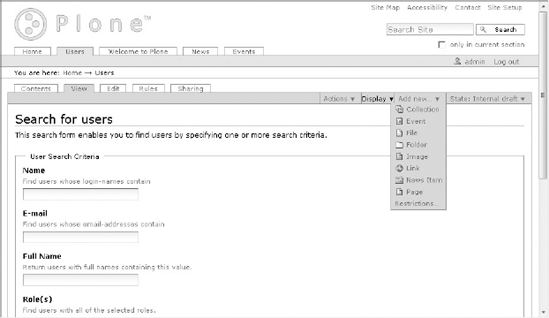
The main advantage of content management systems is that they enable you to create content easily. You can create news items and calendar events, post images, and publish many other types of items. For example, from any menu, you can choose the Add New pull-down menu and you'll have several options. We'll go through the process of creating a few common items here.
Choose the Add New pull-down menu. As shown in Figure 8-14, you are provided with several options.
Choose a page. You'll be presented with a window in which you can enter page information. The first field is for a title, as shown in Figure 8-15.
Enter a title for the page.
The next field is the Description field, as shown in Figure 8-16.

Next is the Body Text area, as shown in Figure 8-17.
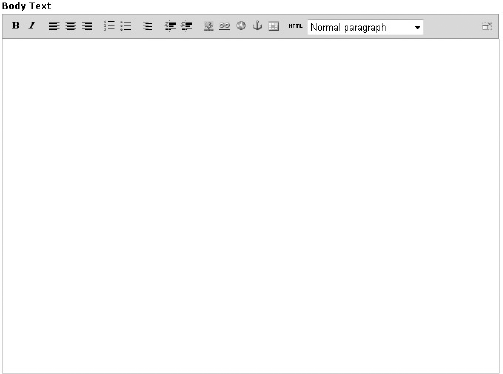
As you can see, several rich-text tools are available, enabling you to easily create context for the page. Enter body text information.
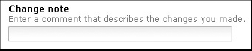
At the bottom is a Change note field where you can enter any optional notes relating to the edit you are making on this page, as shown in Figure 8-18.
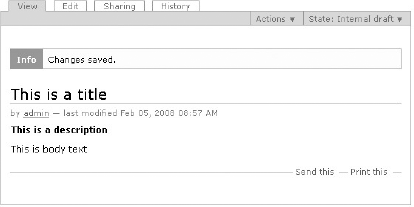
When you are done entering text in all the fields, click the Save button.
Your page will then be displayed, as shown in the example in Figure 8-19.
A collection is a stored search that can later be accessed anytime you like.
From the Add New pull-down menu, choose Collection. The Add Collection dialog shown in Figure 8-20 will be displayed.
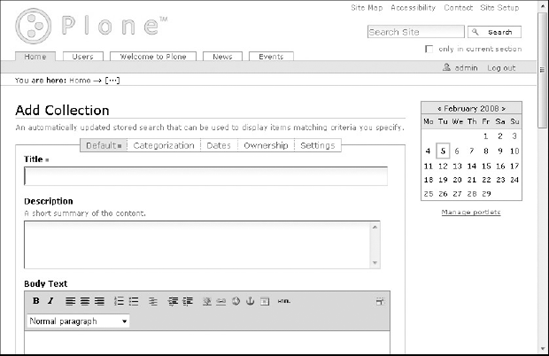
Notice that many of the fields are the same as those that appear in the Add a Page dialog. Enter a title, a description, and body text as before. Below those fields are some options unique to the Collection type.
The first set of fields is related to limiting search results, as shown in Figure 8-21.
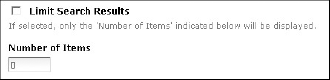
Entering a value here enables you to limit the number of search results returned to the user, which makes searching faster. For example, if a search that would normally return 500 items is limited to returning 50 items, the search will return much more quickly.
For this example, check the Limit Search Results checkbox and enter 5 for the number of items.
The last set of controls on the page is related to displaying search results as a table, as shown in Figure 8-22.
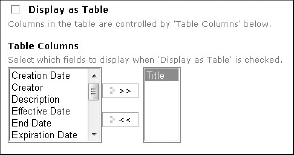
This option enables you to show the search results as a table. In addition, you can pick which columns to show in the results table (by default, only the Title column is shown). For this example, check the checkbox and choose all the fields for displaying.
At this point, the bottom part of the page should look like Figure 8-23.

Click the Save button. You'll then see the My search collection screen shown in Figure 8-24.
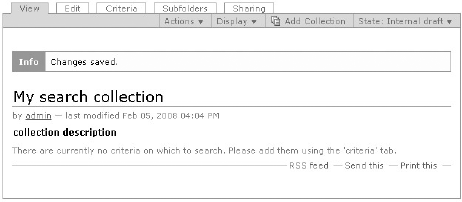
As the message on the page indicates, criteria still need to be set up in order for the collection to be functional — in other words, it needs something to search on. Click the Criteria tab to bring up the Criteria dialog shown in Figure 8-25.

There are other options in this dialog, but for this example we will set up date range criteria. Click the Field name drop-down list box and select Creation Date. Then, from the Criteria type drop-down list box, choose Date Range. Click the Add Criteria button. The screen shown in Figure 8-26 will appear.
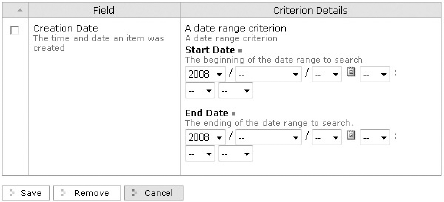
This screen enables the user to select a data range as the criteria for the search. Enter a range from Jan 1, 2001 to the current day (just to make sure you get some results). Check off "Creation Date" on the left, and then click the Save button. After it saves, click the View tab to look at the results (the content will be different from the example in Figure 8-27, but the display should look the same).
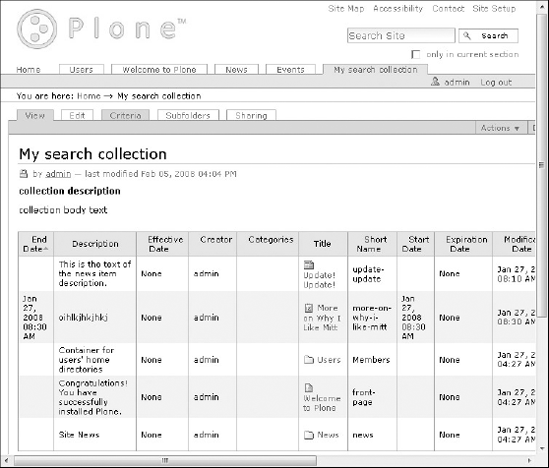
Notice that the table runs off the page to the right. The collection can easily be edited to limit the number of fields displayed by clicking the Edit tab and changing the values.
There are many more options available for creating content; covering all of them is beyond the scope of this book. For more Plone resources, please see Appendix B.
Users can be set up with one of several available roles:
Contributor
Editor
Member
Reader
Reviewer
Manager
Each of these roles allows for different permissions in the Plone system. They are based on permissions managed in the underlying Zope framework. For more information, please see the Plone documentation at www.plone.org/documentation.
This chapter has barely scratched the surface of all the features available in Plone. The great thing about Plone is that it is written in Python, so it can be extended using Python. There are also other frameworks in areas such as the following:
Web frameworks, such as Django and TurboGears
Desktop GUIs, such as GTK and Tk
And many other applications