
Create a new project from an Illustrator file
Create a new project from a Photoshop file
Import graphics into an existing project
Round-trip editing with Illustrator
Create optimized graphics
You can easily import Adobe Illustrator designs into Flash Catalyst and convert them into applications. Once imported, you can convert Illustrator graphics into components, the building blocks of Flex applications.
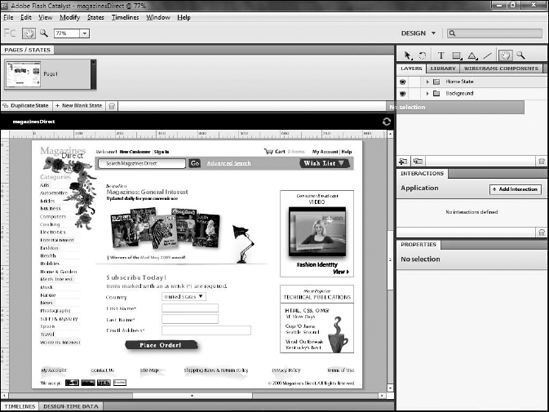
The Catalyst Start Screen, which appears when you launch the program as shown in Figure 8.1, allows you to create new Catalyst projects from design files created in Illustrator Photoshop, and from FXG files.
Note
Although the Start Screen cannot be disabled, there may be times when you want to create a new project while you have another project open and therefore cannot see the Start Screen. In these situations, you can click File
When you click the option to create a file from an Illustrator design file, a dialog box appears which allows you to select the AI design file. You can then select from a set of options to customize the project (see Figure 8.2).


You can set the art board size and color, although Catalyst defaults these to match the Illustrator project (see Figure 8.3). You also have the ability to set Filters to Keep Editable, Expand, or Flatten. Keep Editable, the default, allows you to modify the filter directly in Catalyst. Expand converts the filter to a set of layers, while Flatten creates a bitmap image from the layer.
You can keep gradients in the Illustrator file either as editable objects or flattened, whereas text can be kept editable, converted to vector outlines, or flattened.
The Import Options dialog box allows you to import nonvisible layers, clip content to the art board, and include symbols that are in the Illustrator file but are not being used on the art board.
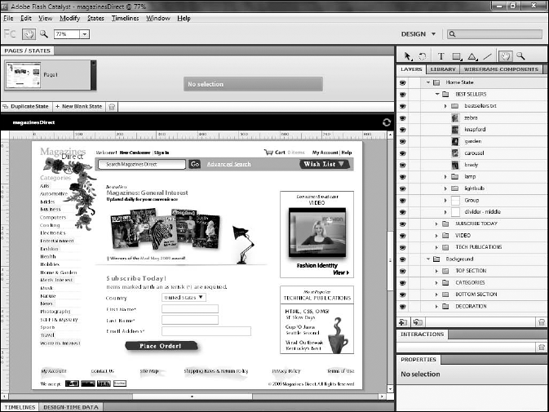
Once opened, the Layers panel in Catalyst displays the layers from the Illustrator file (see Figure 8.4). All of Illustrator's groups and layer names are preserved in Catalyst, so time you spend organizing the file in Illustrator saves time once the file is imported.
Just as in Illustrator, you can turn Catalyst layers on and off by clicking the small eye icon to the left of the layer name. You can click in the empty box between the eye icon and the name to lock a layer. You can rename layers by double-clicking their name in the panel.
Should you discover that you need new layers or sublayers in your Catalyst project, you can add them by clicking the appropriate icons at the bottom of the panel.
You can also create complete comps of projects in Photoshop. Often, the decision as to whether to use Photoshop or Illustrator is determined by your comfort level with each program.
But you will often find that comps that require a lot of custom drawings and artwork are easier to create in Illustrator, whereas comps that require more photos and other raster artwork are easier in Photoshop.
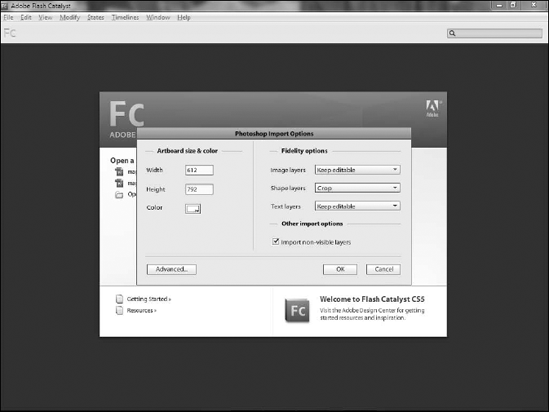
The Photoshop Import Options dialog box (see Figure 8.5) is very similar to the Illustrator Options. You can set the size of the project, although Catalyst automatically detects the size of the Photoshop file and sets the project to the same. You can set the art board color, and choose whether to keep image layers, shape layers, and text editable or flatten them.
Reducing File Sizes in Photoshop
Catalyst cannot open very large Photoshop files, so you may need to reduce the size of your file before opening it. Some methods for reducing the file size in Photoshop are:
Set the resolution to 72 dpi. You can set the resolution of a file by clicking Image

Set the pixel dimensions of the image to the size you need for your Catalyst project, rather than importing the full-size image and resizing in Catalyst. You can change the size of an image by clicking Image
Merge layers. While merging layers reduces how much an image can be edited in the future, layers significantly increase file size.
Keep in mind that Catalyst projects are, by definition, designed for display on computer screens, not print, and therefore rarely have any need for a screen resolution higher than 72 pixels per inch. Layers and saved channels also dramatically increase file size. Removing channels or merging layers may help bring the file size down.
One important difference between importing from Photoshop and importing from Illustrator does exist. The Photoshop Import Options dialog box (see Figure 8.6) includes an Advanced button in the bottom-left corner.
The Import to Stage dialog box allows you to select individual layers and decide whether or not to import them. It also allows you to decide on a layer-by-layer basis whether to import layers as editable or flattened objects for your Catalyst project (see Figure 8.7).

Whether you create a project from an Illustrator or Photoshop comp, you may need to import additional graphics as you work through the design process. For example, you may have a design created in Illustrator, but then want to import images that were retouched in Photoshop.
You can import images directly onto the artboard by clicking File
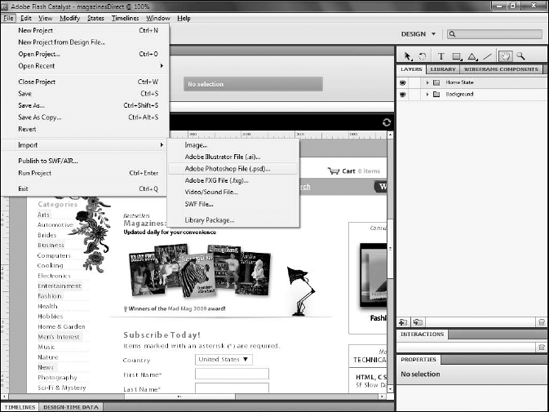
You can import multiple files at once into Catalyst by selecting more than one file in the Import dialog box (see Figure 8.9). Unfortunately, this only works when importing GIF, JPEG or PNG files. If you need to import multiple Photoshop or Illustrator files, you will need to import them one at a time.
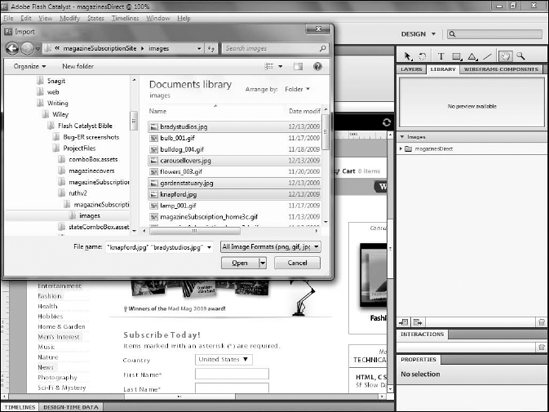
You can select multiple contiguous images with these steps:
Click the first image.
Press and hold Shift.
Click the last image in the sequence. You can select noncontiguous images by pressing and holding Ctrl (

Click Open. Each of the selected images is imported into the library.
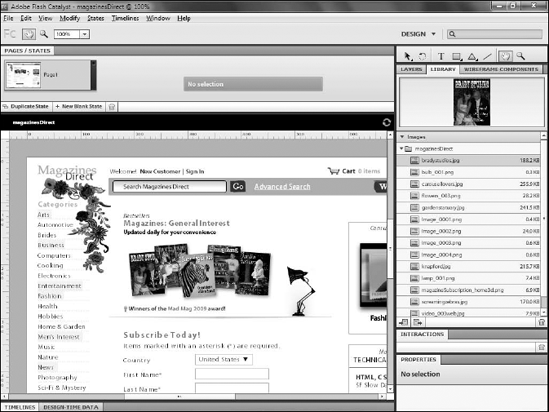
The Library panel in Catalyst (see Figure 8.10) provides a central storage location for all of your artwork. Any artwork you import to the artboard is automatically placed in the library and remains there even if you later delete the art from the artboard.
You can simply drag any image from the library to the artboard to insert it into your project. Before you drag, you should check to be sure that you have the correct layer selected, because the new image is added as the top sublayer to the currently active layer.
Tip
You can also copy and paste graphics directly between Illustrator, Photoshop, or Fireworks and Catalyst. Simply select the art in the graphics program, click Edit
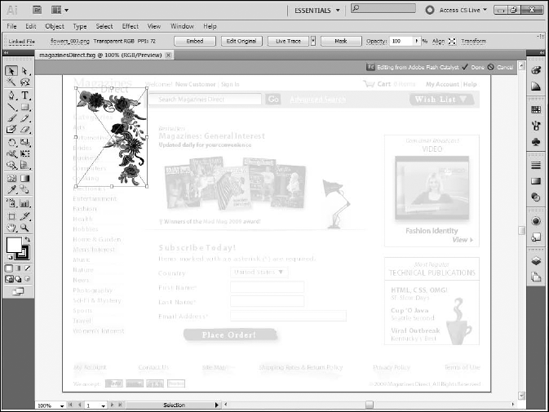
Catalyst supports round-trip editing with Illustrator, allowing you to select graphics in Catalyst (see Figure 8.11), edit them in Illustrator and then have Catalyst automatically accept the changes to the graphic.
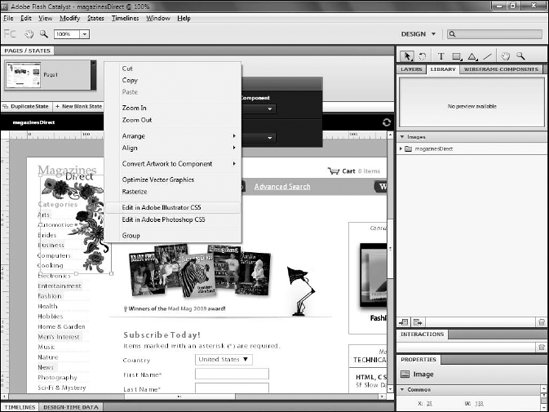
To edit a graphic in Illustrator (see Figure 8.12), simply follow these steps:
Select it on the artboard.
Right-click (
Choose Edit in Adobe Illustrator CS5. If Illustrator is not already open, it launches, and the graphic is opened in it.
When you have completed the editing, save and close the Illustrator document. Because this graphic is an FXG file, you are prompted by Illustrator to select FXG saving options.
Once the FXG file has been saved, you can return to Catalyst. You are asked if you want to accept the changed graphic.
Click yes to accept the changes and return to working on the project.
Tip
Graphics originally created in Illustrator are completely editable. Graphics created in other applications such as Photoshop or Fireworks may be only partially editable; there are likely to be limitations as to what can and cannot be altered in the graphic.
Graphics imported from applications such as Illustrator and Photoshop can, at times, be quite large and may end up causing the application to run slowly due to the overhead required to draw them in Flash Player. Therefore, anytime you have an imported graphic and there are no plans to have your application's final code modify the graphic programmatically, you should convert it to an optimized graphic.
Optimized graphics become components within the Catalyst project. A component is a reusable object, and as such it requires much less overhead for Flash Player. Optimized graphics are stored as separate FXG files within the project and are easier for your Flex developer to work with.
Note
See Chapter 9 for more details on components.
You can convert artwork to an optimized graphic by selecting it on the artboard and then clicking the Convert to Optimized Graphic button on the HUD. A new graphic is added to the library, and the optimized graphic replaces the item on the artboard.
Optimized graphics, along with other components in your project, are stored in the Library. Be sure to rename components as they are created, because each new graphic you create is simply assigned a generic name. You can rename graphics by double-clicking their name in the Library and typing a new name.
This chapter discussed the various means by which you could convert Illustrator and Photoshop comps into Catalyst projects.
You learned how to:
Import an Illustrator design into Catalyst
Import a Photoshop design into Catalyst
Import graphics into existing projects
Organize graphics using the Library panel
Convert imported graphics to optimized graphics