
Many applications will have sections that require dynamic data from server-side resources. Whether product lists, employee directories, items in a shopping cart or photo galleries, these kinds of data lists will likely be an important element in your application. In many cases, Flex's ability to pull in server-side data and display it graphically will be one of the key factors in deciding to build the application in Flex.
Catalyst cannot connect your application to server-side resources nor display live data; both of those must be done by a Flex developer in Flash Builder. However, it is possible to include a representation of the data in your application through data lists and design-time data.
Data lists are one of the default component types in Catalyst. Converting artwork to a data list requires the same procedure as converting any other artwork: You select the elements that make up the data list and then use the heads-up display (HUD) to convert to the component.
While the process of converting to a data list is the same as any other component, there are a few important caveats to consider before you convert. First, if your application is going to pull in enough data to require that the data list be scrollable, you need to create a scrollbar component and be sure to include it in the elements that you select to convert to the data list.
Note
See Chapter 23 for details on converting artwork to a scrollbar.
The second item to consider is the artwork that will represent the data. Often, this will be made up of multiple items, such as an image and text. The individual items might be components.
For example, you could convert the image you want to use to a button and then utilize its state to provide interaction when the user selects the item. You cannot, however, combine all of the elements of the planned data item into a single component. Catalyst can only populate the design-time data panel, which gives you the ability to have multiple, different items in the data list, if the repeated item is made up of individual pieces. Therefore, be careful that you do not create a single component out of the items for the list.
Note
The following exercises assume that you have completed the steps outlined in Chapter 23. If you have not yet done that, you can download a version of the application ready for this chapter from the book's Web site (www.wiley.com/go/flashcatalystbible).
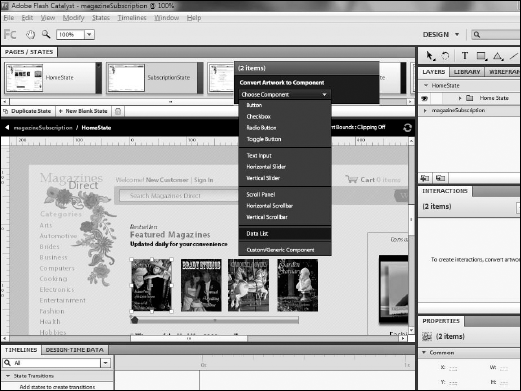
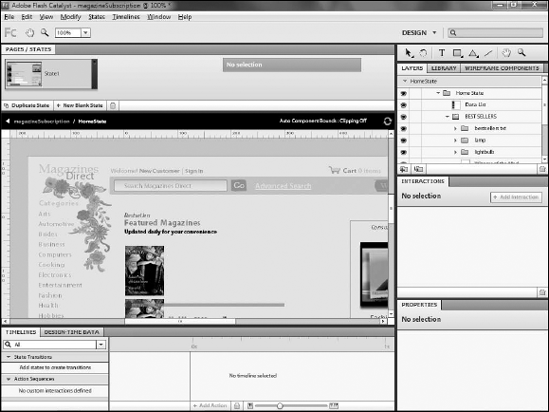
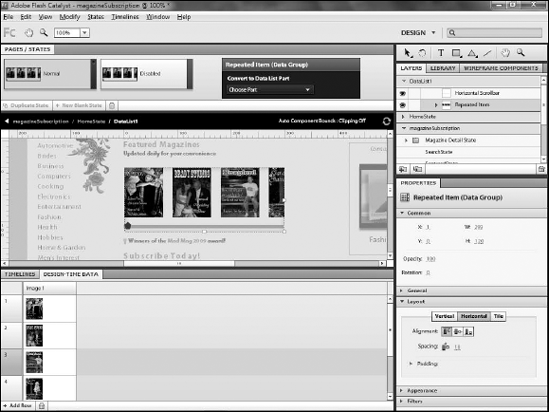
With the Select tool, click on an item that you plan to use for the data list. In this example, the magazines in the Featured Magazine section on the HomeState are used for the data list, so you will need to double-click the HomeState component and then click the first magazine.
Warning
Do not select all of the magazines. Instead, only select the first. You will end up deleting the rest and re-inserting them via the design-time data panel.
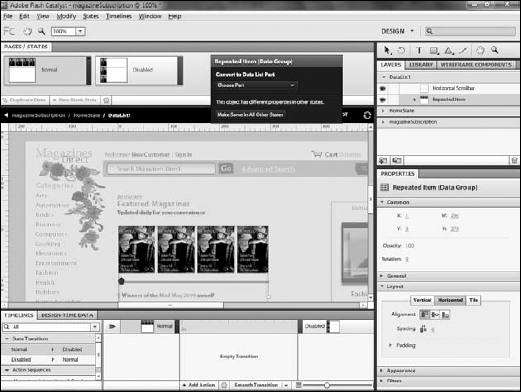
Press and hold the Shift key and click any additional items to be included in the data list (see Figure 24.1). Be sure to select the scrollbar component.
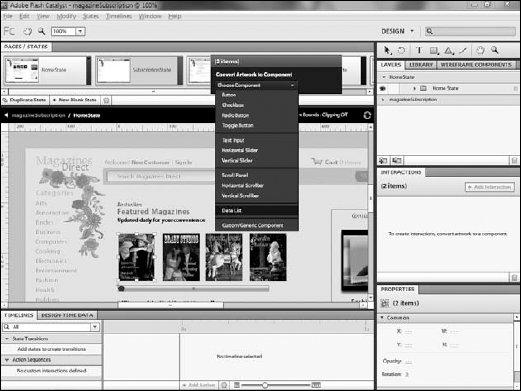
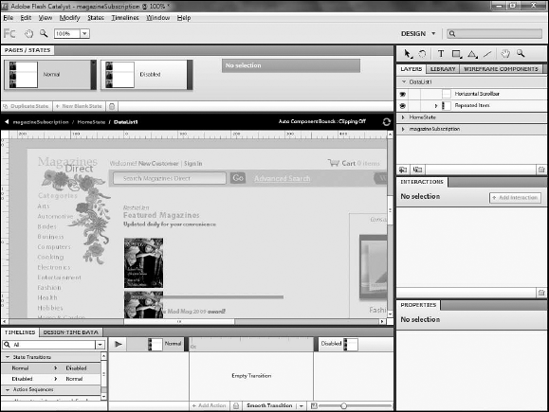
From the HUD, click Convert Artwork to Component

The art work has now been converted to the data list. In the following sections, you will learn how to customize the new list.
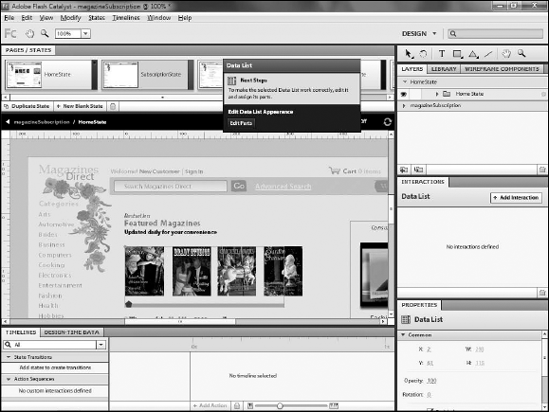
Once you convert the artwork to a data list, the HUD displays a warning message that you need to configure its parts. At a minimum, you need to specify which piece or pieces of the artwork will be used as the repeating item — the item that represents the actual data. If you have included a scrollbar, you also need to designate it.
If necessary, select the Data list.
On the HUD, choose Edit Parts (see Figure 24.3).
Using the Select tool, click on the artwork that will make up the repeating item (see Figure 24.4).
On the HUD, navigate to Choose Part
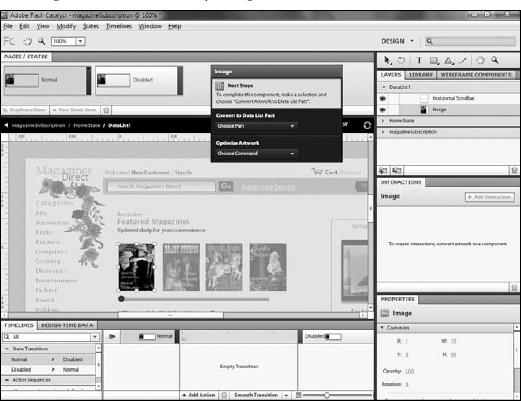
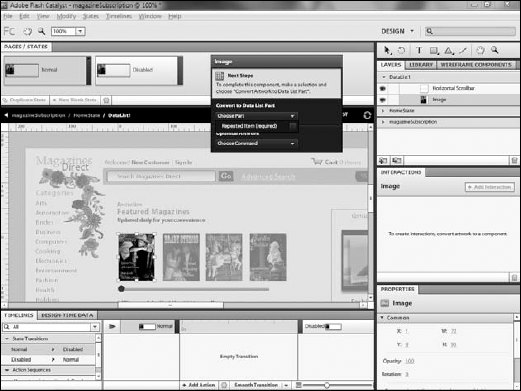
The data list has now been configured to recognize the image as the repeating item. The next section details how to change the alignment and spacing of the instances of the item.
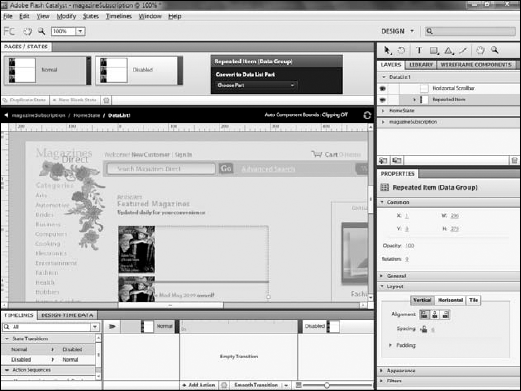
When you designate the repeating item in the data list, Catalyst automatically adds five instances of it in a vertical list. The Properties panel makes it easy to change this to a horizontal or tile list and set the spacing between items. Follow these steps:
Before changing the list to a horizontal list as required by the design, remove the other sample magazines from the design (see Figure 24.6). If necessary, click HomeState on the navigation bar to return to the main application. Then, click on the magazines that you did not include in the data list and press the Delete key to remove them.
Double-click the data list to return to its editing mode (see Figure 24.7).
Click on the repeating item.
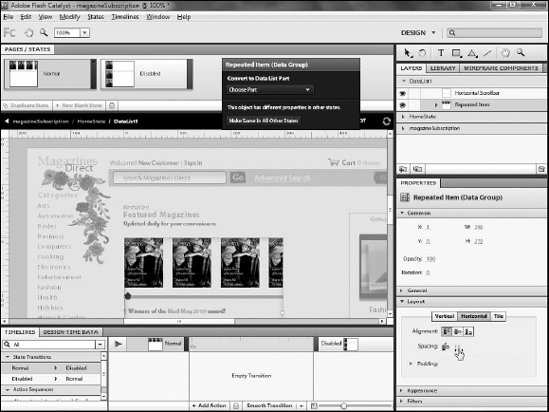
On the Properties panel, click to expand the Layout section (see Figure 24.8).
Click the horizontal alignment button to change the list orientation to horizontal (see Figure 24.9).
Click and drag to change the horizontal spacing value (see Figure 24.10). There is no correct amount of horizontal spacing for data items; rather, as you scrub the value pay attention not to the actual value but instead to the artboard, as you will see the value being applied to the data list directly. Scrub until the list is showing the amount of spacing that looks good to you.
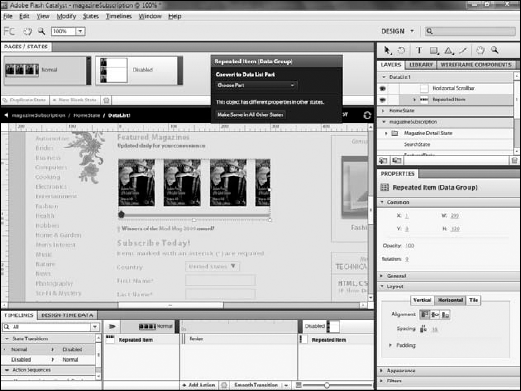
If necessary, use the Select tool to resize the data list to fit the items (see Figure 24.11). The size adjustment will only apply to the Normal state of the data grid.
Click Make Same on All Other States on the HUD to apply the size adjustment to the Disabled state as well (see Figure 24.12).

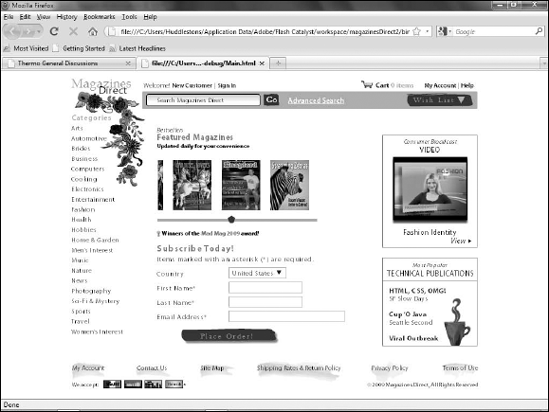
The data list will now be set up to your liking. In this example, you have adjusted it to be a horizontal list and have better spacing. You do not need to do anything to get the scrollbar to work. A data list component will automatically detect if a scrollbar component exists within it and use it.
When showing the initial design to your client or boss, you likely added different items to represent the data. In the Magazines Now design, five magazine titles were displayed. When you convert the artwork to a data list, you will have the same item — whichever piece of the artwork you designated as the repeating item — displaying multiple times in the list.
If you need to show the design comp to a client or boss at some point before handing the comp off to your Flex developer, you will likely want to have the list continue to display varying data as it did initially. Fortunately, Catalyst includes a Design-time Data panel that allows you to simulate the actual data that will eventually be used in the application.
If necessary, double-click the data list component so that you in its editing mode.
Click the Design-time Data panel's tab to display it (see Figure 24.13). The panel shares the same space as the Timeline. The panel displays the information from the repeating item in the data list in a spreadsheet-like table.
Click on any cell that contains text to edit the text directly. This example data list only contains images. Changing the images involves loading a new image from the library.
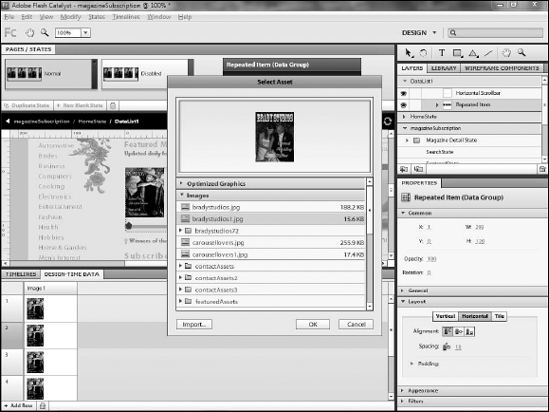
Click the image in the second row to display the library dialog box, select the appropriate image (see Figure 24.14).
Click OK.
Note
If you do not have an image you need in the library, you can load it by clicking the Import button at the bottom of the dialog box.
Repeat Step 5 to change each of the other images (see Figure 24.15).
Click the name of the application to exit editing of the data list.
Choose File

Note
See Chapter 22 for more details on running the project.
Your data list is now set up. You have a set of repeating items, laid out horizontally, with a custom scrollbar.
In this chapter, you set up a data list in the project and added design-time data. You learned how to:
Convert artwork to a data list
Configure the data list's parts and set up the repeating item to display correctly
Add design-time data to mimic the real-world data that will eventually populate the list in production