
Chapter 10. Creating Navigational Aids
In this chapter, you will:
If you worked through the exercises in Parts Part I and Part II of this book, you have acquired most of the basic skills you need to create simple websites. Now it’s a matter of putting all these skills together to make attractive and easy-to-use sites, and that’s what you’ll focus on in Part III.
One way to make your website easily accessible is to place a consistent navigation bar on each page. A navigation bar is a set of hyperlinks that users click to connect to the major pages of your website. These hyperlinks can be either text-based or graphical. You already saw how to create both kinds of hyperlinks in Chapter 5 and Chapter 9, so creating a navigation bar is a logical next step. You’ll learn how to plan your site’s organization and then create a suitable navigation bar to match it.
This chapter also explains a couple of other useful techniques to help users navigate your site. You’ll learn how to redirect users from one page to another and how to create a custom error page that appears when your site doesn’t display a particular page correctly for whatever reason.
Important
Before you can use the practice files provided for this chapter, you need to install them from the book’s companion content page to their default locations. See Code Samples in the beginning of this book for more information.
Planning Your Site’s Organization
Navigation bars can be easy to create, but they require some planning to be effective. Up to this point in the book, you’ve been creating single pages with a common theme for eventual inclusion in a website, but you probably have not yet given a lot of thought to how the pages fit together. So before creating a navigation bar, you want to consider the overall structural plan for the site.
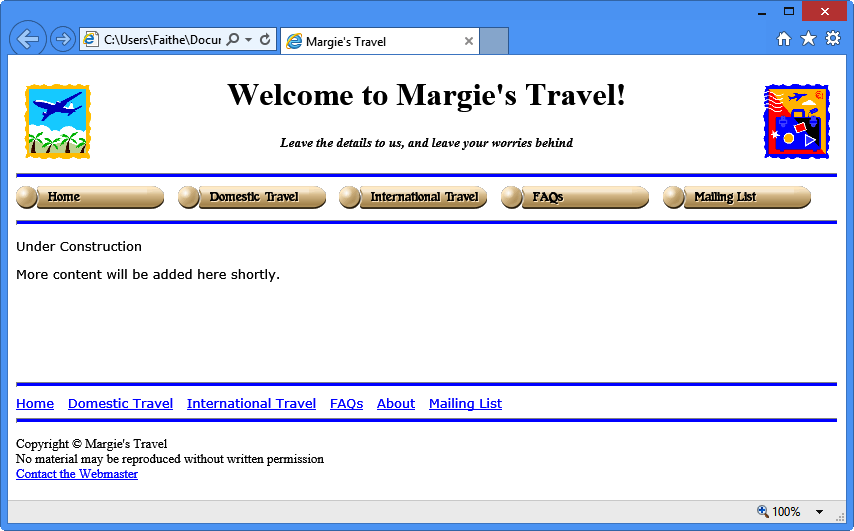
A navigation bar should contain links to the most important sections of the website, plus a link to the Home page (see Figure 10-1).
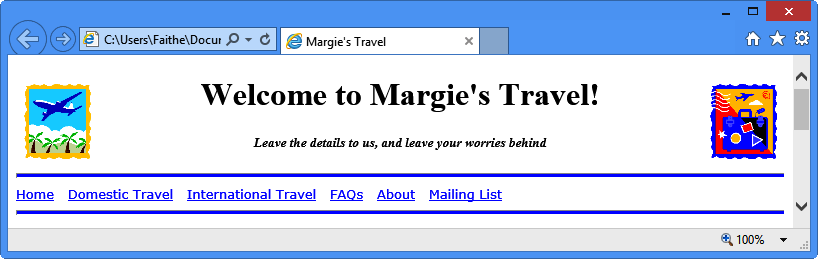
The navigation bar should not contain hyperlinks to every page in the site unless the site is extremely small and simple. Although there is no specific rule about the number of items a navigation bar can contain, most people try for somewhere between four and seven for a horizontal bar like the one shown in Figure 10-1. With fewer than four, your site doesn’t look very content-rich; with more than seven, the navigation bar becomes crowded and confusing. In addition, on low-resolution displays or in narrow browser windows, a horizontal navigation bar might wrap to a second (or even third) line or a vertical navigation bar might force the user to scroll down. This chapter discusses only horizontal bars, but you’ll learn how to make vertical navigation bars in Chapter 12.
Note
Some websites have navigation bars in which each hyperlink opens a menu of options when the user points to it or clicks it. You can’t create those with plain HTML; those are constructed with JavaScript or another web-based programming language. You can find many online tutorials for making your own JavaScript menus, but it might be easier to use a software utility to generate them, such as uMenu, a free program you can download from http://download.cnet.com.
Before building your navigation bar, create a diagram that outlines the site’s planned structure. It doesn’t matter if you haven’t created all the pages yet. You can be as fancy or as plain as you want with your chart. It can be scrawled on the back of a napkin or built using SmartArt (through a Microsoft Office application), Microsoft Visio, or some other charting tool. Choose file names for each planned page, so you can start referring to them in hyperlinks even if they don’t exist yet.
The organization of the Margie’s Travel site, which you’ve been creating pages for in this book’s examples, might look something like what’s shown in Figure 10-2.
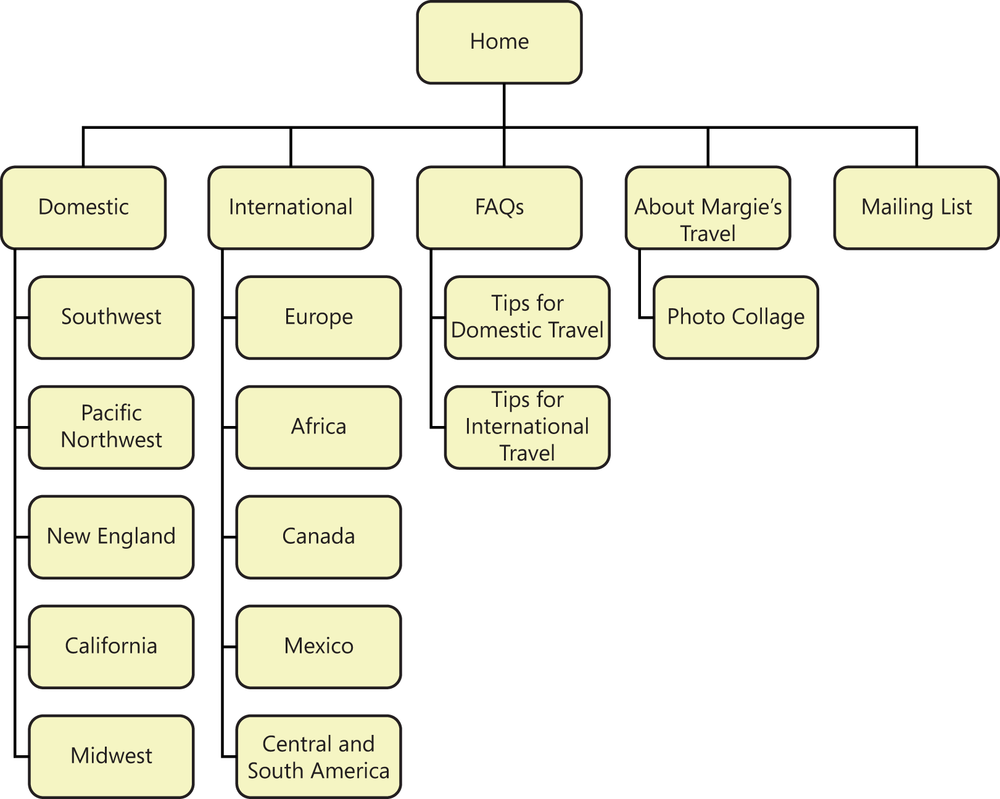
Notice that the level directly below the Home page consists of five pages. The navigation bar will contain hyperlinks to each of these pages. Two of these, Domestic and International, are primarily “lobby pages” (that is, introductory pages) for larger sections of content; the lobby pages of those sections will link to each page within that section. This website is modest in scope initially, but there is plenty of room for future expansion. You could add dozens of additional pages, such as pages for each destination within the regional categories, and pages for each individual tour that the company will be escorting to each destination.
Notice also that not every page referenced from the navigation bar is a major section. For example, Mailing List has no pages subordinate to it at all. It is simply a page that is important for visitors to be able to access quickly from any page.
Creating a Text-Based Navigation Bar
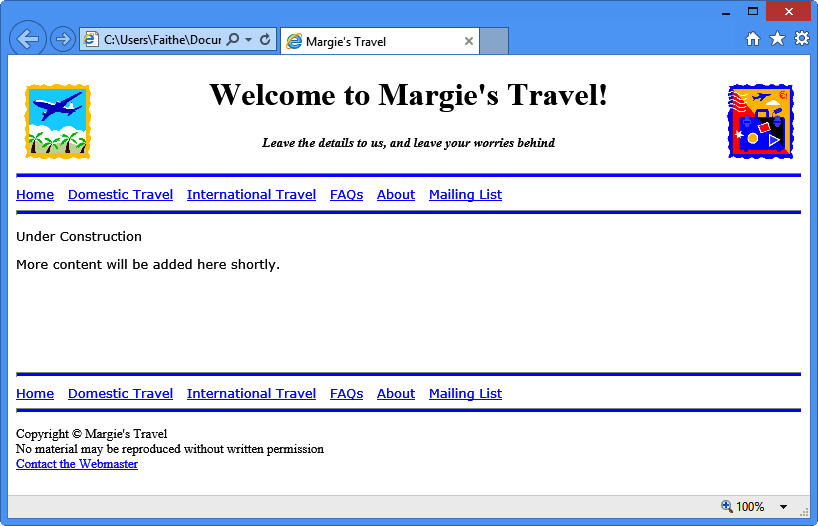
A text-based navigation bar is the simplest and easiest, and it is also very user-friendly for all browsers and all users (including those with special needs). On simple webpages, text-based navigation bars are usually placed at the top of the page, in a single horizontal line (see Figure 10-3). Some web designers also place a copy at the bottom of each page so visitors don’t have to scroll back up to the top of a page to access the links.

Tip
When you place a navigation bar at the bottom of a page, it is customarily a text-based bar rather than a graphical one.
HTML5 includes a <nav> tag, a two-sided container tag in which you can optionally place the code for a navigation bar. The <nav> tag is designed to help browsers and style sheets identify sets of links as a navigational element and then handle them appropriately. If the browser does not support the <nav> tag, it is ignored. You’ll use the <nav> tag in this chapter because it’s good practice to start including HTML5 tags in your code, but you won’t be doing anything special with the <nav> tag’s attributes. However, in sites you create yourself, you are free to define style attributes for the <nav> tag in internal or external style sheets; this can be a way to help ensure consistency among the navigation bars throughout all the pages in your website.
In the following exercise, you will add a text-based navigation bar to the top and bottom of a webpage.
Create a Text-Based Navigation Bar
Create a Text-Based Navigation Bar
In Notepad and Internet Explorer, open the navbar.htm file located in the DocumentsMicrosoft PressHTML5 Start Here10NavigationCreatingTextBar folder.
Above the Under Construction paragraph, add a two-sided <nav> tag and then add two <hr> tags within it:
<nav><hr><hr></nav>Between the two <hr> tags, add the following line:
<p>Home Domestic Travel International Travel FAQs About Mailing List</p>Save the file and then refresh Internet Explorer.
The text of the intended navigation bar displays, but the items are not clearly separated.
HTML ignores multiple spaces, so you must instead use the nonbreaking space code ( ) when you want to insert extra spaces between words without creating a table or some other structural container.
Insert a nonbreaking space (and a normal space following it) between each section title:
<p>Home
Domestic Trave l International Trave l FAQs About Mailing List</p>Save the file and then refresh Internet Explorer.
The horizontal spacing looks okay, but the navigation bar would look better if the blue lines were closer to it at the top and bottom.
Set the margin for the paragraph to zero:
<p
style="margin:0px">Home Domestic Travel International Travel FAQs About Mailing List</p>Save the file and then refresh Internet Explorer.
Add hyperlinks to each of the six items in the navigation bar to the corresponding pages. Some of the pages being referenced do not exist yet, but that’s okay.
Note
Make sure the @nbsp; codes are outside of the <a> tag, so the spaces won’t be underlined as part of the hyperlink.
<nav> <hr> <p style="margin:0px">
<a href="index.htm">Home</a> <a href="domestic.htm">Domestic Travel</a> <a href="international.htm">International Travel</a> <a href="faqs.htm">FAQs</a> <a href="about.htm">About</a> <a href="mailing.htm">Mailing List</a></p> <hr> </nav>Save the file and then refresh Internet Explorer.
The navigation bar is complete. Point to each of the hyperlinks on it to check the links.
In Notepad, select the code for the entire navigation bar, including the <nav> and </nav> tags, and then press Ctrl+C to copy it to the Clipboard.
Position the insertion point immediately above the copyright information and then press Ctrl+V to copy the navigation bar there.
Save the file and then refresh Internet Explorer.
Two navigation bars display, one above and one below the main content of the page.
Close Notepad and Internet Explorer.


Creating a Graphical Navigation Bar
Text hyperlinks are clear and unambiguous but not all that attractive. You might prefer to create a navigation bar that uses buttons or other graphics instead of text links. You can create the graphics yourself in a graphics-editing program. If you do create your own, it’s a good idea to follow these guidelines:
Keep the size of each button small (150 pixels wide at the most).
Make each button the same size and shape. The only variation should be in the text that they present.
Save each button as a separate file in GIF or JPG format. GIF format has some advantages for buttons, such as the ability to use different shapes and transparency.
If you have no talent or inclination for art projects, search the web; there are thousands of sites with free graphical buttons that you can download. (Make sure the buttons you download are not copyrighted and are royalty-free, so the owner of them can’t charge you a fee for using them.) Make several copies of a button you like and then use a text tool in a graphics-editing program to place different text on each copy. Here are a couple of links to free button sites to get you started:
http://www.eosdev.com/eosdev_buttons.htm
Most professional website designers do not create their own buttons, nor do they acquire them from others; they instead use button-creation programs to generate them. Such programs make it very easy to create groups of identical buttons with different text on each one. There are commercial programs and standalone programs that make buttons; there also are free web utilities. Here are two sites; you can find many more with a simple web search.
Button Generator: http://www.buttongenerator.com
Crystal Button: http://www.crystalbutton.com
You set up a graphical navigation bar just like a text-based navigation bar, but instead of hyperlinking from the text, you can hyperlink from the graphic by placing the <img> tag within the <a> tag:
<a href="product.htm"><img src="product_button.gif"></a>
In the following exercise, you will convert a text-based navigation bar to a graphics-based one.
Create a Graphical Navigation Bar
Create a Graphical Navigation Bar
In Notepad and Internet Explorer, open the navbar.htm file located in the DocumentsMicrosoft PressHTML5 Start Here10NavigationCreatingGraphicBar folder.
In Notepad, in the upper navigation bar, change the hyperlinks so that they reference the button graphics in the /images folder rather than display text:
<nav> <hr> <p style="margin:0px"> <a href="index.htm">
<img src="images/home.png" style="border: none"></a> <a href="domestic.htm"><img src="images/domestic.png" style="border: none"></ a> <a href="international.htm"><img src="images/international.png"style="border:none"></a> <a href="faqs.htm"><img src="images/faqs.png" style="border:none"></a> <a href="about.htm"><img src="images/about.png" style="border:none"></a> <a href="mailing.htm"><img src="images/mailing.png" style="border:none"></a></p> <hr> </nav>Save the file and then refresh Internet Explorer to view your work. If the buttons wrap to two lines, don’t panic; the next exercise helps fix that.
Leave the files open in both Notepad and Internet Explorer for the next exercise.
Note
To make your page accessible, you will probably also want to include the alt attribute to each button, as you learned in Chapter 9. I have omitted it in these examples to keep the code as short and simple as possible.
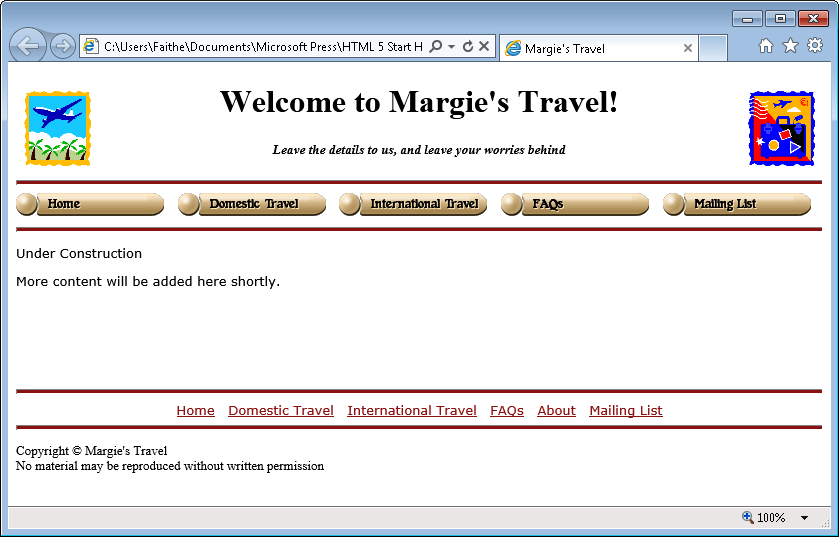
After creating the graphical navigation bar in the previous exercise, you might have noticed a few design issues. For example, the buttons might wrap to multiple lines and the blue horizontal rules and blue hyperlinks don’t display particularly well with the tan buttons. The navigation bar at the bottom of the page also looks bunched up at the left. In the following steps, you’ll fix these problems.
In Notepad, delete the About button’s code.
Save the file and then refresh Internet Explorer.
The buttons all fit on one line now. The About hyperlink remains in the text-based navigation bar at the bottom of the page, so that topic will still be accessible to your visitors; you’ve just demoted it in prominence by removing it from the top navigation bar.
Change the style of the opening paragraph tag for the bottom navigation bar to include a text-align style:
<p style="margin:0px;
text-align:center">Open default.css in Notepad and change the color of the horizontal rules to brown:
hr {color: blue; background-color:brown; height: 3px;}Delete the a:hover and a:active styles in default.css.
Change the a:link and a:visited colors to brown.
a:link {color:brown} a:visited {color:brown}Save and close default.css, and then refresh Internet Explorer to see the effect of the line color change.
Save your work and then refresh Internet Explorer again. The bottom navigation bar is now centered.
Close Notepad and Internet Explorer.
Redirecting to Another URL
After you have managed your own website for a while, you might decide you want to restructure its organization by renaming some pages, placing pages in folders, or hosting your site at a different location with a different URL. That is fine, but what about the people who bookmarked the original page? If you remove the old content entirely, they’ll be faced with an unfriendly Page Not Found message and they won’t have any way of finding the page in its new location.
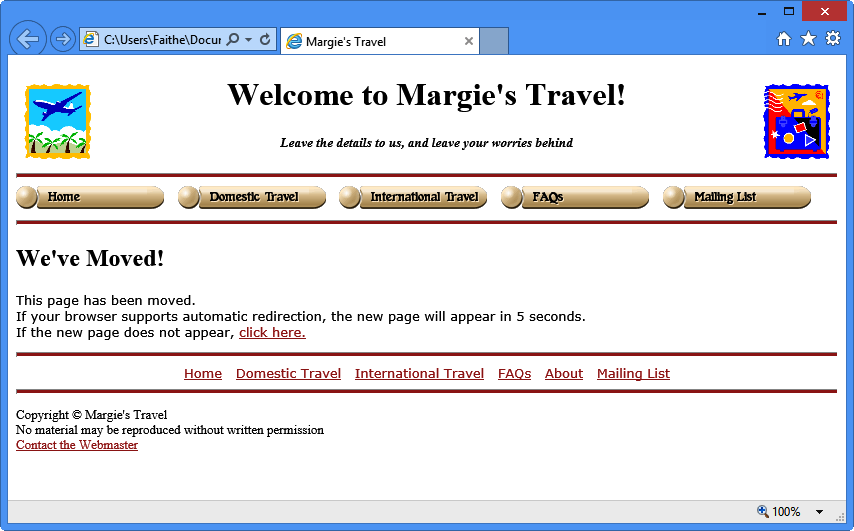
To help your past visitors find the new page, you can leave the old page in place and replace its text with a hyperlink that tells them where the new page is located. You already know how to create a hyperlink—that’s simple. But you can take it one step further by setting up the old page to actually redirect to the new page. In other words, you can make the old page automatically display the new page.
It is customary for a redirection to include five seconds of delay, so users can cancel the redirect operation if desired. It is also customary to include a text hyperlink to the new page, in case the redirect operation fails for some reason (such as the browser not supporting it, although this is uncommon).
You implement a redirect operation by adding an attribute to a <meta> tag in the <head> section of the page (as you learned in Chapter 2). You must create a new <meta> tag for this operation; you cannot add the attributes to any existing <meta> tag that the document might have. For example, to redirect to the page support.microsoft.com after a five-second delay, use the following:
<meta http-equiv="refresh" content="5; url=http://support.microsoft.com">
Be sure to use a semicolon (not a comma) between the delay (the content attribute) and the url attribute.
In the following exercise, you will redirect one page to another page automatically after five seconds.
Redirect to Another URL
Redirect to Another URL
In Notepad and Internet Explorer, open the oldpage.htm file located in the DocumentsMicrosoft PressHTML5 Start Here10NavigationRedirecting folder.
In the <head> section, add a new <meta> tag:
<meta http-equiv="refresh" content="5; url=index.htm">Note
Pay special attention to the syntax of the meta tag here. Notice that there is no closing quote after 5 and no opening quote before index.htm. That’s because the content attribute’s multiple properties are all enclosed within a single set of quotes. If your page won’t redirect properly in step 4, check the placement of your quotation marks.
In the <body> section, make the text click here into a hyperlink to index.htm:
<p>This page has been moved. <br>
If your browser supports automatic redirection, the new page will appear
in 5 seconds. <br>
If the new page does not appear, <a href="index.htm">click h
ere</a>.</p>
Save the file and then refresh Internet Explorer.
Click the browser’s Back button and then quickly click the click here hyperlink to test it.
Close Notepad and Internet Explorer.
Creating Custom Error Pages
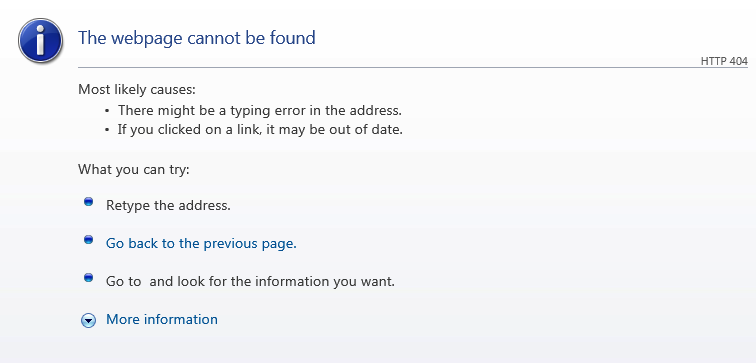
When a site visitor requests a page that doesn’t exist, the browser displays a 404 File Not Found error message. It’s not a very friendly-looking message (see Figure 10-4).
You can avoid users encountering such messages due to outdated links and information by keeping old pages up and redirecting, as you learned in the previous exercise. However, that won’t help users who have the wrong URL due to typing mistakes—yours or theirs.
Most web-hosting companies enable you to create a custom error page—in place of the generic one—that automatically displays when someone has the domain name right but the page name wrong. A two-step process is involved: first you create and upload the page to your server, and then you log into the configuration tools for your web-hosting account and set your 404 error page preferences. The steps for doing that latter part are different, depending on the hosting company. Figure 10-5 shows a sample from GoDaddy.com, a popular web-hosting company, but yours might look very different.
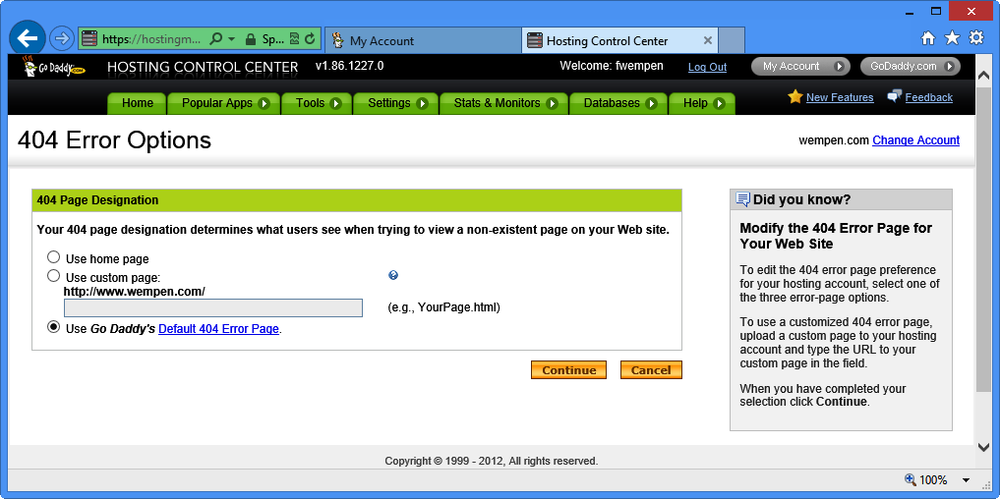
Note
You can name your error page anything you like; when you set up the 404 error page preferences for your site, you specify the file name. For example, in Figure 10-5, you could enter your own custom page in the Use Custom Page text box.
In the following exercise, you will use the redirect page you created in the previous exercise as the basis for a new page that will display whenever a user requests a page that does not exist.
Create a Custom 404 Error Page
Create a Custom 404 Error Page
In Notepad, reopen the oldpage.htm file from the previous exercise and then save it as error.htm. If you did not do the previous exercise, open the oldpage.htm file located in the DocumentsMicrosoft PressHTML5 Start Here10NavigationCreating404 folder.
Replace all the text between the two navigation bars with the following:
<h2>Oops!</h2><p>Something's not quite right here.</p><p>You may have typed the URL incorrectly, or there may be anerror in thelink that brought you here. You will be redirected to our Home pagein 5seconds.</p><p>If you are not redirected automatically, <a href="index.htm">click here</a>.</p>Save your work and then open error.htm in Internet Explorer to make sure the redirection works.
Close Notepad and Internet Explorer.
Key Points
A navigation bar contains a list of hyperlinks to the major pages on your site. It need not include every page in the site. The optimal number of links is between four and seven.
In HTML5, you can use the <nav> tag as a container to indicate that a group of links constitutes a navigation element.
Plan your site’s organization before you create the navigation bar. Draw a diagram of all the pages and their connections to one another and then choose a file name for each page.
Navigation bars are traditionally placed at the top or left side of a page. Placing a bar to the side requires the use of layout techniques discussed later in this book.
Many web designers place a text version of their navigation bar at the bottom of each page for user convenience.
A text-based navigation bar is simply a series of hyperlinks.
A graphical navigation bar uses small graphics for the hyperlinks. You can create these graphics using a graphics program such as Photoshop or a utility designed specifically for creating web buttons.
To redirect a page to a different URL, create a <meta> tag in the <head> section with the http-equiv attribute, like this:
<meta http-equiv="refresh" content="5; url=http://support.microsoft.com">A 404 error means that the page cannot be found. You can create a custom 404 error message page that redirects to your Home page (or any other page) and then use the configuration tools for your web-hosting account to specify that your custom page be used.