CHAPTER 13
Creating a Presentation
Create a New Presentation
When you first start PowerPoint, the PowerPoint Start screen appears. From it — or, if PowerPoint is open, from Backstage view — you can choose to create a new blank presentation. Or, you can use a presentation template or theme as the foundation of your presentation.
Templates contain themes that make up the design of the slide. Themes are groups of coordinated colors, fonts, and effects such as shadows, reflections, and glows. (See Chapter 14 for more information on themes.) Templates can contain more than just themes, though. For example, they can contain prompts to help you set up the slides in the presentation for a particular subject.
Create a New Presentation
Create a Blank Presentation
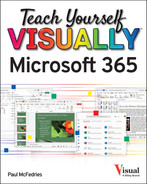
![]() Start PowerPoint.
Start PowerPoint.
The PowerPoint Start screen appears.
![]() Click Blank Presentation.
Click Blank Presentation.
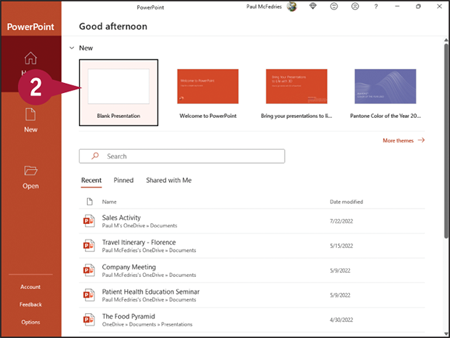
![]() PowerPoint creates a new presentation with one blank slide.
PowerPoint creates a new presentation with one blank slide.
Using a Template
![]() With the new presentation from the previous subsection open, click the File tab (not shown).
With the new presentation from the previous subsection open, click the File tab (not shown).
Backstage view appears.
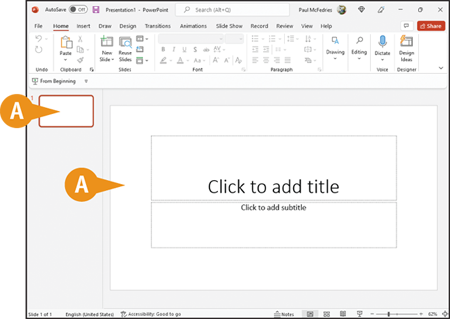
![]() Click New.
Click New.
![]() Potential templates appear here.
Potential templates appear here.
![]() If you are signed into Microsoft 365, you can type a search term and click
If you are signed into Microsoft 365, you can type a search term and click ![]() or press
or press ![]() .
.
Note: See Chapter 4 for details about signing in to Office 365.
![]() Click a template to display a preview of the template design.
Click a template to display a preview of the template design.
![]() Click Create.
Click Create.
![]() PowerPoint creates a new presentation with one or two blank slides.
PowerPoint creates a new presentation with one or two blank slides.
Create a Photo Album Presentation
You can quickly turn any collection of digital photos on your computer into a slideshow presentation in PowerPoint. For example, you might compile your photos from a recent vacation into a presentation. Alternatively, you might gather your favorite photos of a friend or loved one in a presentation. To liven up the presentation, you can include captions with your photos. You can also vary the layout of slides, including having one (the default), two, three, or more photos per slide. You can then share the presentation with others or e-mail the file to family and friends.
Create a Photo Album Presentation
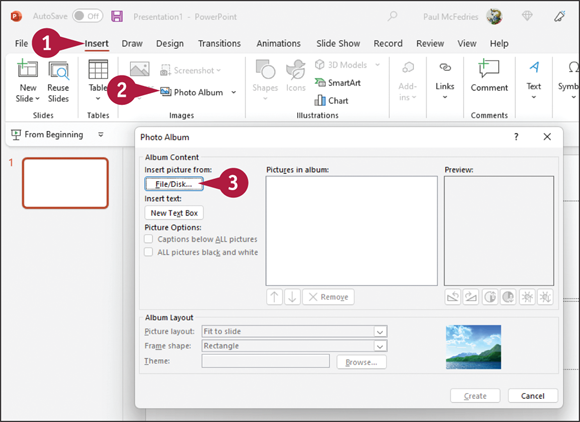
![]() Click the Insert tab.
Click the Insert tab.
![]() Click Photo Album.
Click Photo Album.
The Photo Album dialog box appears.
![]() Click File/Disk.
Click File/Disk.

The Insert New Pictures dialog box appears.
![]() Navigate to the folder or drive containing the digital pictures that you want to use.
Navigate to the folder or drive containing the digital pictures that you want to use.
![]() Click the pictures that you want to use.
Click the pictures that you want to use.
To use multiple pictures, you can press and hold ![]() while clicking the pictures.
while clicking the pictures.
![]() Click Insert.
Click Insert.
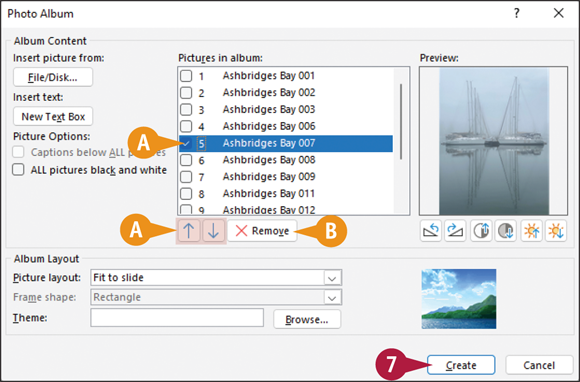
![]() To change a picture’s position within the album, select the picture (
To change a picture’s position within the album, select the picture (![]() changes to
changes to ![]() ) and then click Move Up (
) and then click Move Up (![]() ) or Move Down (
) or Move Down (![]() ).
).
![]() To remove a picture, select (
To remove a picture, select (![]() changes to
changes to ![]() ) and then click Remove.
) and then click Remove.
![]() Click Create.
Click Create.
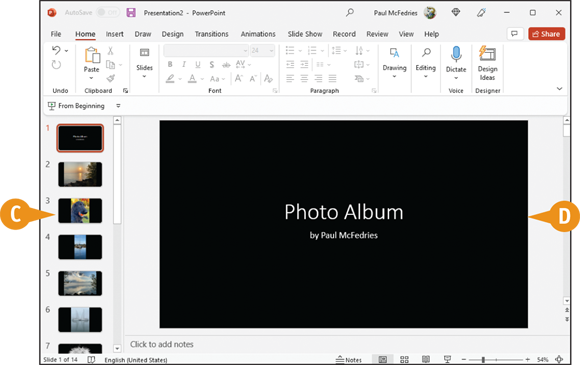
PowerPoint creates the slideshow as a new presentation file.
![]() Each picture appears on its own slide.
Each picture appears on its own slide.
![]() The first slide in the show is a title slide, containing the title “Photo Album” and your username.
The first slide in the show is a title slide, containing the title “Photo Album” and your username.
Change PowerPoint Views
You can use views in PowerPoint to change how your presentation appears on-screen. By default, PowerPoint displays your presentation in Normal view, with thumbnails of each slide showing the order of slides in your presentation. You can click the View tab to see your presentation in an outline format, or you can switch to Slide Sorter view to see all the slides at the same time.
In addition to changing PowerPoint views, you can use the PowerPoint Zoom settings to change the magnification of a slide. You can also change the size of the panes in the PowerPoint window, making them larger or smaller as needed.
Change PowerPoint Views
Using Normal View
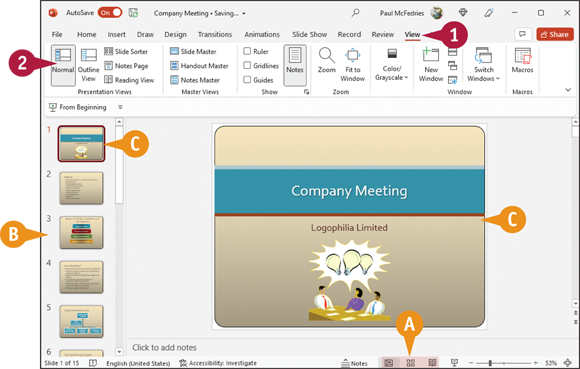
![]() Click View.
Click View.
![]() Click Normal.
Click Normal.
![]() You can also use these buttons to switch between Normal (
You can also use these buttons to switch between Normal (![]() ), Slide Sorter (
), Slide Sorter (![]() ), and Reading (
), and Reading (![]() ) views.
) views.
![]() Thumbnails of slides appear here.
Thumbnails of slides appear here.
![]() The currently selected slide appears in the main PowerPoint work area; the selected slide’s thumbnail displays an orange border.
The currently selected slide appears in the main PowerPoint work area; the selected slide’s thumbnail displays an orange border.
Using Outline View
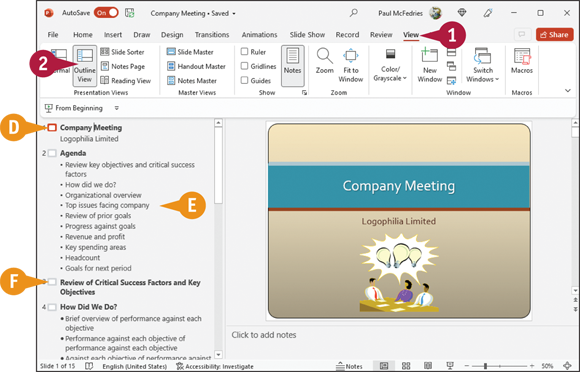
![]() Click View.
Click View.
![]() Click Outline View.
Click Outline View.
![]() The presentation appears in an outline format.
The presentation appears in an outline format.
![]() You can click the outline text to edit it.
You can click the outline text to edit it.
![]() You can click a slide icon to view the slide.
You can click a slide icon to view the slide.
Using Reading View
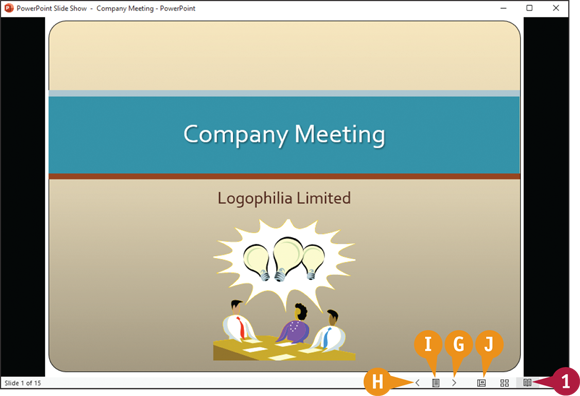
![]() Click
Click ![]() to display the document in Reading view.
to display the document in Reading view.
PowerPoint fills the screen with the first slide in the presentation.
![]() To view the next slide, click the slide or click
To view the next slide, click the slide or click ![]() .
.
![]() To view the previous slide, click
To view the previous slide, click ![]() .
.
![]() To display a menu of reading options, click
To display a menu of reading options, click ![]() .
.
![]() You can click
You can click ![]() to return to Normal view.
to return to Normal view.
Using Slide Sorter View
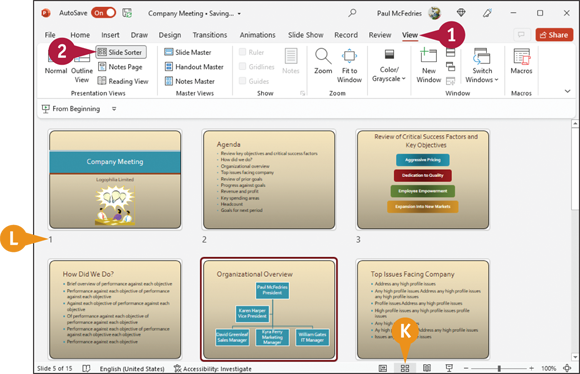
![]() Click View.
Click View.
![]() Click Slide Sorter.
Click Slide Sorter.
![]() You can also click Slide Sorter (
You can also click Slide Sorter (![]() ).
).
PowerPoint displays thumbnails of the slides.
![]() A number appears under each slide representing its position in the presentation.
A number appears under each slide representing its position in the presentation.
You can double-click a slide to switch to Normal view and display the slide’s content.
Insert Slides
PowerPoint makes it easy to add slides to a presentation. To add a slide, you use the New Slide button on the Home tab. Clicking the top half of the New Slide button adds a slide with the same layout as the one you selected in the Slides pane; alternatively, you can click the bottom half of the button and select a different layout.
You can add and remove slides on the Slides tab in Normal view, or you can switch to Slide Sorter view and manage your presentation’s slides.
Insert Slides
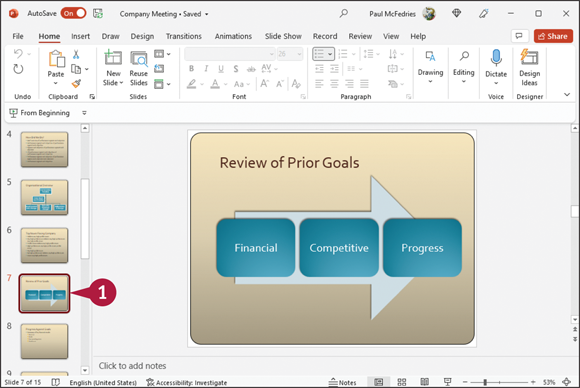
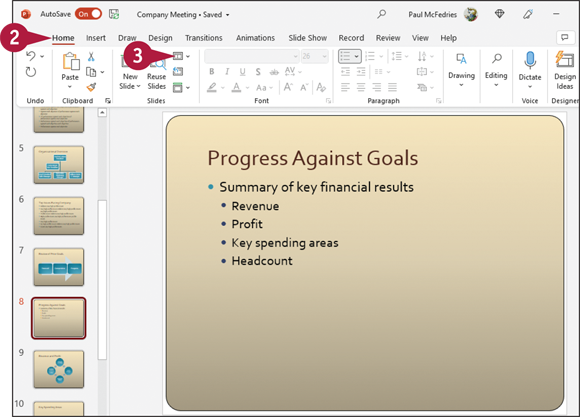
![]() Click the thumbnail of the slide after which you want to insert a new slide.
Click the thumbnail of the slide after which you want to insert a new slide.

![]() Click Home.
Click Home.
![]() Click the bottom half of the New Slide button.
Click the bottom half of the New Slide button.
Note: Clicking the top half of the New Slide button adds a slide with the same layout as the one you selected in step 1.
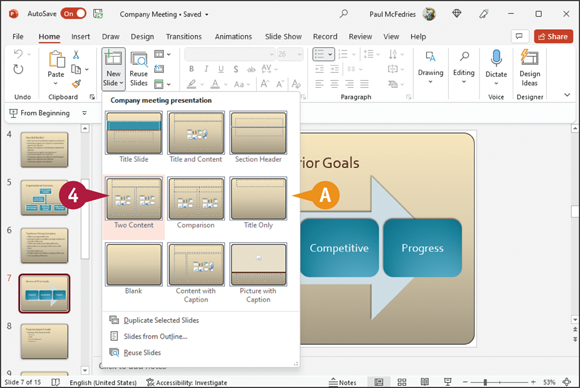
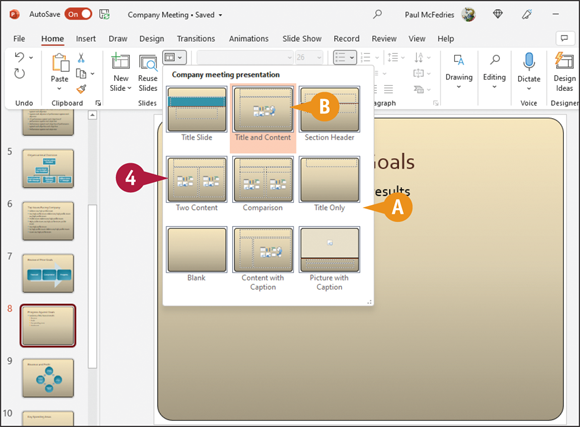
![]() A gallery of slide layouts appears.
A gallery of slide layouts appears.
![]() Click a slide layout.
Click a slide layout.
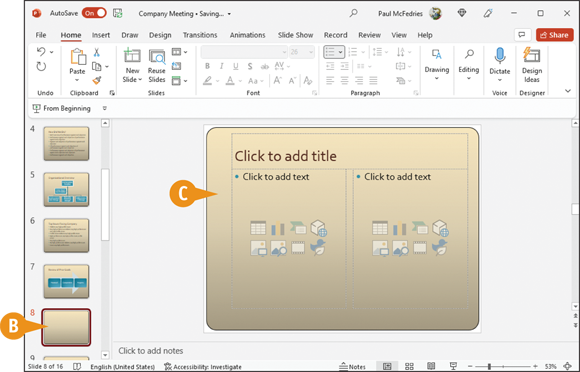
![]() PowerPoint adds a new slide after the one you selected in step 1.
PowerPoint adds a new slide after the one you selected in step 1.
![]() The new slide uses the layout you selected in step 4.
The new slide uses the layout you selected in step 4.
Change the Slide Layout
PowerPoint includes several predesigned slide layouts that you can apply to your slide. For example, you might apply a layout that includes a title with two content sections or a picture with a caption. For best results, you should assign a new layout before adding content to your slides; otherwise, you may need to make a few adjustments to the content’s position and size to fit the new layout.
If you find that you do not like a style element, you can make style changes to all slides in your presentation so that you maintain a uniform appearance throughout your presentation.
Change the Slide Layout
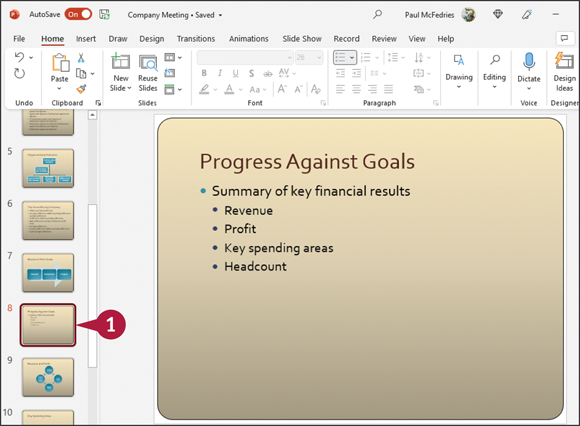
![]() Click the slide whose layout you want to change in the thumbnail pane.
Click the slide whose layout you want to change in the thumbnail pane.
![]() Click Home.
Click Home.
![]() Click Layout (
Click Layout (![]() ).
).
![]() A gallery of slide layouts appears.
A gallery of slide layouts appears.
![]() The currently selected layout is highlighted.
The currently selected layout is highlighted.
![]() Click a layout.
Click a layout.

![]() PowerPoint assigns the layout to the slide.
PowerPoint assigns the layout to the slide.
Change the Slide Size
You can change the size of your presentation’s slides. Specifically, you can change the aspect ratio, which is the ratio of width to height. The default slide aspect ratio is 16:9.
If you change the size of a slide that contains content, PowerPoint attempts to automatically scale your content; if it cannot, PowerPoint offers two options: Maximize and Ensure Fit. If you apply the Maximize option, your content is displayed full size, but it might not fit on the slide; if you apply the Ensure Fit option, your content fits on the slide, but it might be too small.
Change the Slide Size
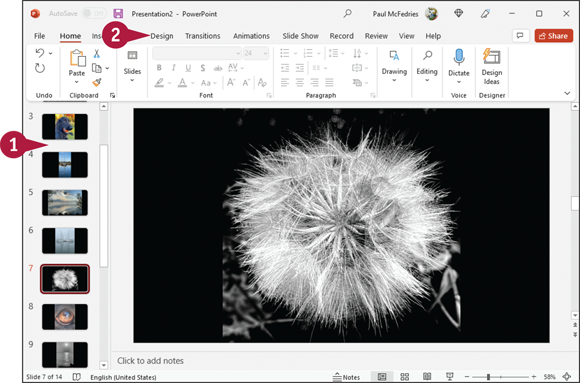
![]() Open the presentation containing the slides you want to resize.
Open the presentation containing the slides you want to resize.
![]() Click Design.
Click Design.
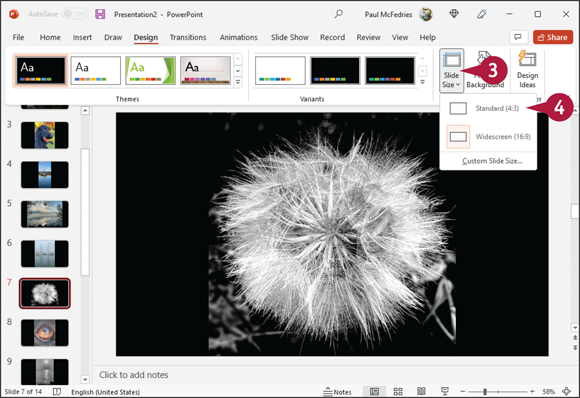
![]() Click Slide Size.
Click Slide Size.
![]() Click the aspect ratio you want to apply.
Click the aspect ratio you want to apply.
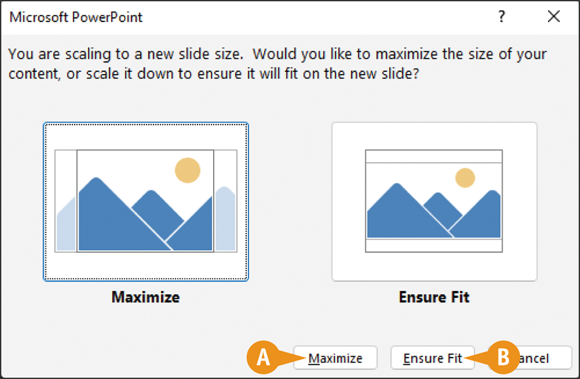
If PowerPoint cannot scale the presentation content automatically, it displays a message asking how you want to scale your content for the new slide size.
![]() You can click Maximize to increase the size of the slide content when you scale to a larger slide size. Be aware that your content might not fit on the slide.
You can click Maximize to increase the size of the slide content when you scale to a larger slide size. Be aware that your content might not fit on the slide.
![]() You can click Ensure Fit to decrease the size of your content when you scale to a smaller slide size. Although the slide content might appear smaller, you can see all content on your slide.
You can click Ensure Fit to decrease the size of your content when you scale to a smaller slide size. Although the slide content might appear smaller, you can see all content on your slide.
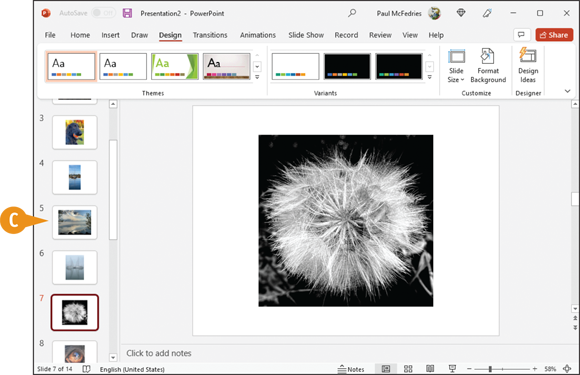
![]() PowerPoint resizes all the slides in the presentation.
PowerPoint resizes all the slides in the presentation.
Note: You might need to reapply a theme.