
Device Driver Modules
One of the main jobs of the Linux operating system is to provide a standard interface for applications to work with hardware. Lots of different types of hardware devices are available, making it impossible for each application to include software to interact with all of them.
Instead, the Linux operating system provides a generic interface to all the different types of hardware that applications can face. Application programmers just need to know how to interface with the Linux system and then Linux takes over from there. This makes tasks such as printing to a printer or writing to a DVD drive much easier for application developers.
Similar to the Microsoft Windows world, the Linux kernel interfaces with hardware devices using what’s called a device driver. A device driver is a small piece of software written to interact with a specific hardware device. Each device that connects to the Linux system must have a Linux device driver. Fortunately, with the growing popularity of Linux, most hardware manufacturers provide device drivers for their own devices so that Linux users can use the hardware on their Linux systems. There are also a few open source projects for creating device drivers for specific devices where the manufacturer has failed to produce a Linux device driver. This is especially true with printers.
Once you obtain the device driver necessary for the hardware you want to install on your Linux system, there are two ways to include it in the Linux kernel:•
Compile it into the kernel software
Plug a module into the kernel software
Compiled device drivers are device driver software that you must compile directly into the Linux kernel software. This method requires the source code for the device driver as well as the source code for the kernel. When the kernel program is recompiled, you must specify the additional device driver software to include in the kernel.
The downside to compiling device drivers into the kernel is that every time you need to add a new hardware device to your Linux system, you must recompile the entire kernel software program. That can get old after a while, not to mention it’s a great way to introduce bugs into the running kernel!
As a solution, Linux developers created Linux kernel modules. A kernel module can be inserted into a running kernel at any time without affecting the system operation. Similarly, you can also remove a module from the kernel at any time without affecting other operations of the kernel. This provides the flexibility to install only the device drivers that you need for your system to interact with exactly the hardware you use, without the ugliness of having to recompile the kernel for each device.
Device driver modules are now pretty much the default way of handling hardware devices. Linux systems provide a few different utilities for working with device driver modules from the command line. The following sections walk through the commands that you can use to manage hardware modules in your Linux system.
Listing Installed Modules
Before you get too far with your Linux system, you may need to determine just what devices it can support by default. Most Linux distributions include a set of pre-installed device driver modules for most common hardware.
You can take a peek at what device modules are already loaded in the Linux kernel by using the lsmod command line command:
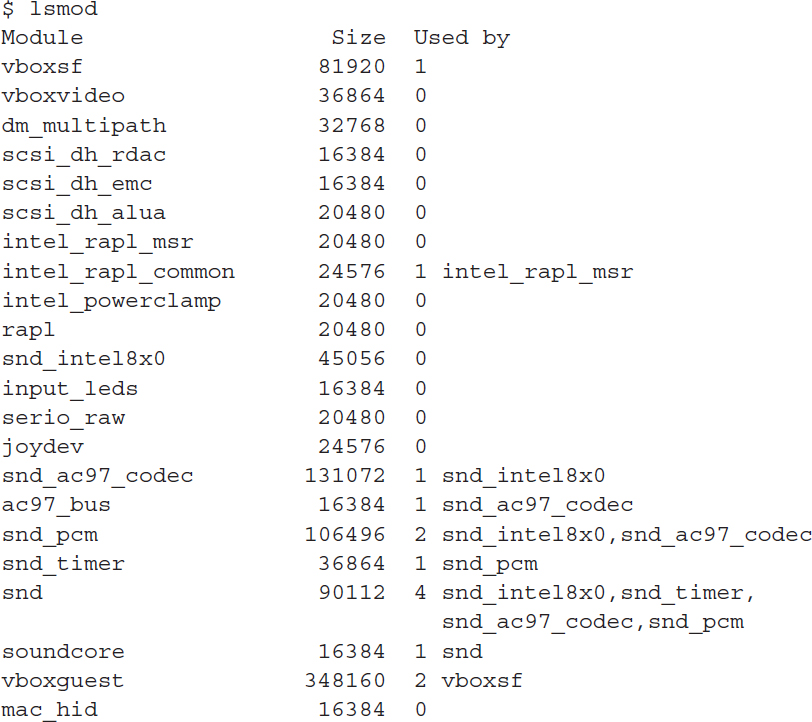
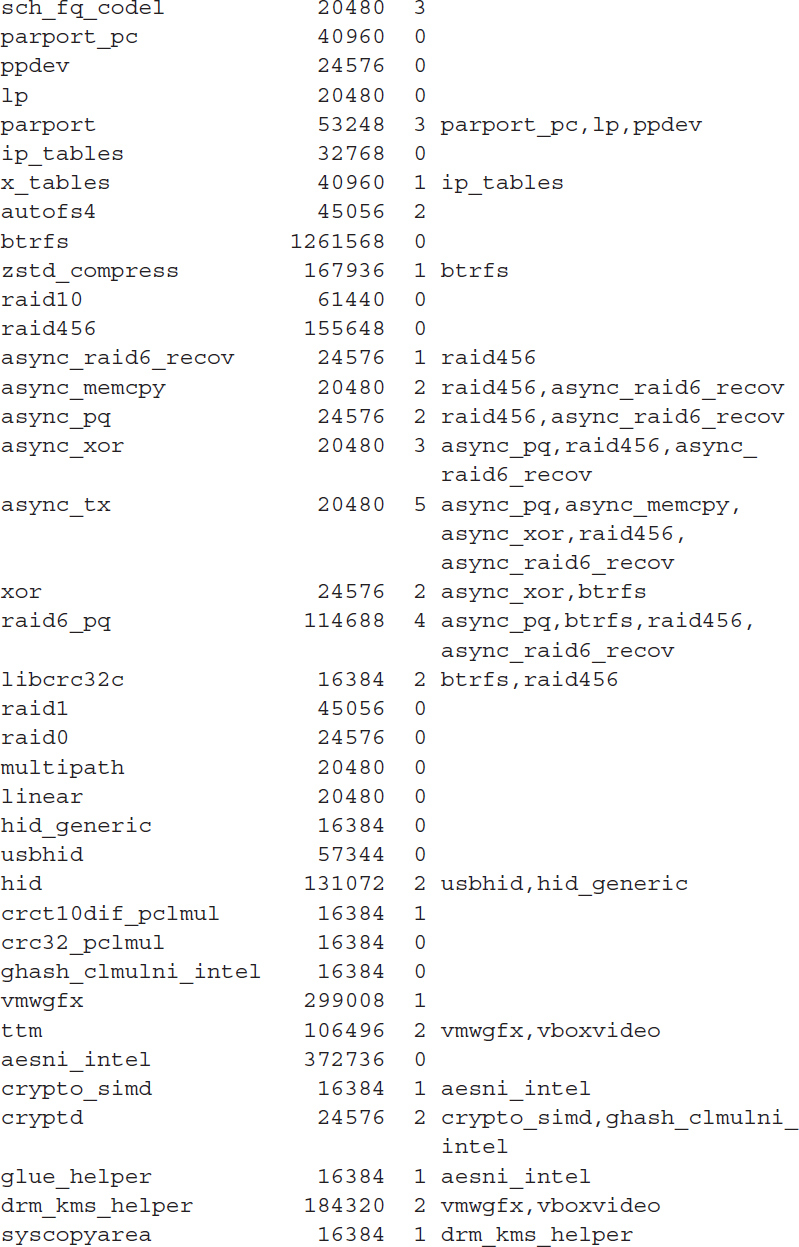
The output of the lsmod command has three columns. The Module column shows the name of the module. The Used by column shows the number of other modules or processes that use the module, and what their names are. This helps you determine module dependencies in case you try to remove a module without knowing just what other modules or processes rely on it.
Knowing what device modules your Linux distribution pre-installs can help with troubleshooting hardware issues, as well as giving you an idea of what drivers you’ll need to track down for your specific hardware.
Installing New Modules
Once you obtain a device driver module file for your hardware you can install it in your Linux system kernel using one of two common commands:
insmod
modprobe
While each of these commands can insert a module, they each work a little differently. The following sections describe what you’ll need to know to use each command.
Using insmod
The insmod command inserts a single device module file into the kernel. You must have the device module file copied onto your Linux system to use this command. Most Linux distributions use the /lib/modules folder structure to store module files. If you look in that folder on your Linux system, you’ll see a folder tree structure that separates the device drivers for each kernel version as well as the different types of hardware.
For example, on my Ubuntu Linux server system I have the following folder for Bluetooth hardware drivers:
![]()
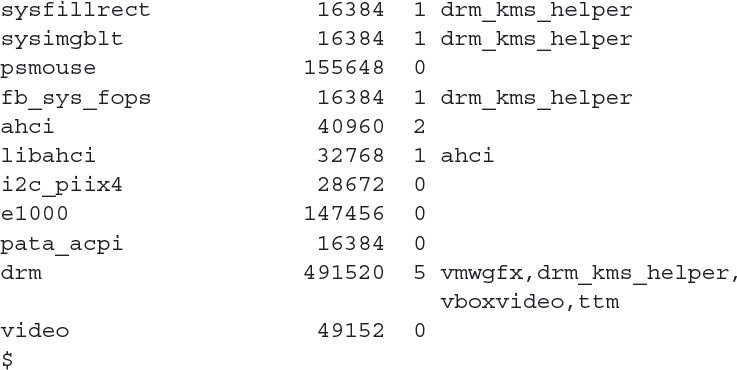
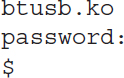
This folder is for the currently installed Linux kernel on my system—5.4.0-80. Inside that folder are lots of different device driver module files for various types of Bluetooth systems:
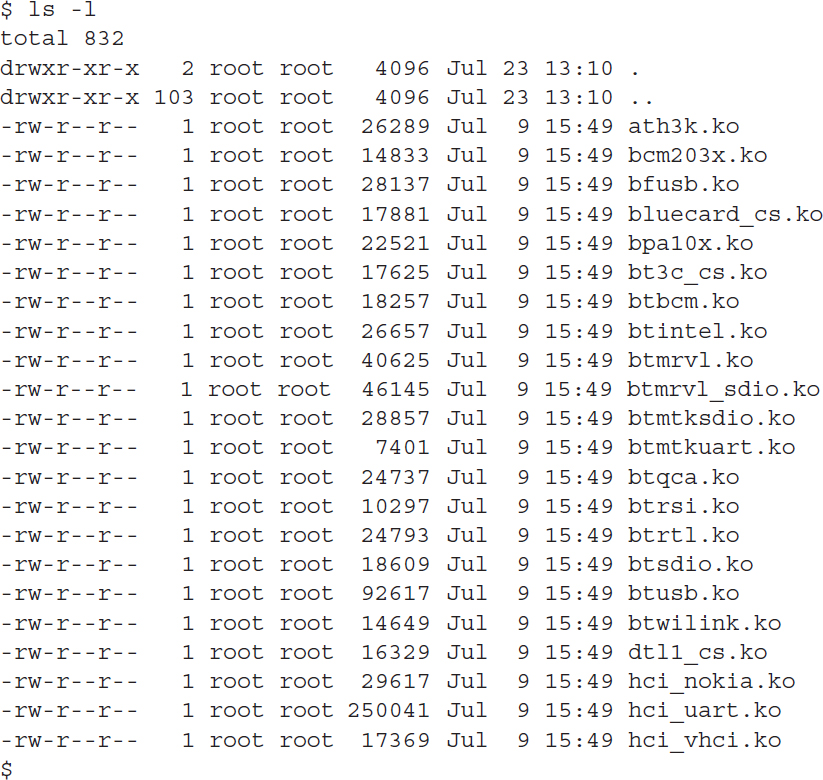
Each .ko file is a separate device driver module file that you can install into the 5.4.0-80 kernel. To install the module, just specify the filename on the insmod command line. Some modules also require parameters, which you must specify on the command line as well:

To install a module you must have root user privileges on the system, which for most Linux systems that’s done using the sudo command. After you install the module you can check for it using the lsmod program.
Using modprobe
The downside to using the insmod program is that you may run into modules that depend on other modules, and the insmod program will fail if those other modules aren’t already installed. To make the process easier, the modprobe command helps resolve module dependencies for you.
Another nice feature of the modprobe command is that it understands module names and will search the module library for the module file that provides the driver for the module name.
Because of this versatility there are lots of options available for the modprobe command. TABLE 3-1 shows the command line options that you can use.
TABLE 3-1 The modprobe command options.
| Option | Description |
|---|---|
| -a | Insert all modules listed on the command line |
| -b | Apply the blacklist commands specified in the configuration file |
| -C | Specify a different configuration file other than the default |
| -c | Display the current configuration used |
| -d | Specify the root directory to use for installing modules. The default is / |
| -f | Force the module installation even if there are version issues |
| -i | Ignore the install and remove commands specified in the configuration file for the module |
| -n | Perform a dry run of the module install to see if it will work, without actually installing it |
| -q | Quiet mode—doesn’t display any error messages if the module installation or removal fails |
| -r | Remove the module listed |
| -s | Send any error messages to the syslog facility on the system |
| -V | Display the program version and exit |
| -v | Provide additional information (verbose) as the module is processed |
As you can see, the modprobe command is a full-featured tool all by itself. Perhaps the handiest feature is that it allows you to handle modules based on the module name and not have to list the full module filename:

Notice that by adding the –v option for verbose mode the output shows the insmod command automatically generated by the modprobe command. The insmod command shows the specific module file used to install the module.
Removing Modules
Normally it does no harm to install a module in the system even if the hardware device is not present. The kernel ignores unused modules. However, some Linux administrators prefer to keep the kernel as lightweight as possible, so the Linux developers created a method for removing unnecessary modules—the rmmod command.
However, our friend the modprobe command can also remove modules for us, so you don’t really need to memorize another command. Instead, just use the –r option with the modprobe command:
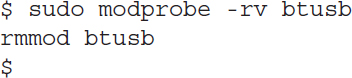
The modprobe –r command invokes the rmmod command automatically, removing the module by name. You can verify that the module has been removed by using the lsmod command.