![]()
Setting Up a PHP Development Environment
Getting a working development environment put together can be intimidating, especially for the absolute beginner. To follow along with the project in this book, you’ll need to have access to a working installation of Apache, PHP, and MySQL, preferably on your local machine. It’s always desirable to test locally, both for speed and security. Doing this both shelters your work-in-progress from the open Internet and decreases the amount of time spent uploading files to an FTP server and waiting for pages to reload.
Why You Need Apache, MySQL, and PHP
PHP is a powerful scripting language that can be run by itself in the command line of any computer with PHP installed. However, PHP alone isn’t sufficient for building dynamic web sites. To use PHP on a web site, you need a server that can process PHP scripts. Apache is a free web server that, once installed on a computer, allows developers to test PHP scripts locally; this makes it an invaluable piece of your local development environment.
Additionally, web sites developed with PHP often rely on information stored in a database, so it can be modified quickly and easily. This is a significant difference between a PHP site and an HTML site. This is where a relational database management system such as MySQL comes into play. This book’s examples rely on MySQL. I chose this database because PHP provides native support for it, and because MySQL is a free, open source project.
![]() Note An open source project is available for free to end users and ships with the code required to create that software. Users are free to inspect, modify, and improve the code, albeit with certain conditions attached. The Open Source Initiative lists ten key provisions that define open source software. You can view this list at www.opensource.org/docs/osd.
Note An open source project is available for free to end users and ships with the code required to create that software. Users are free to inspect, modify, and improve the code, albeit with certain conditions attached. The Open Source Initiative lists ten key provisions that define open source software. You can view this list at www.opensource.org/docs/osd.
PHP is a general-purpose scripting language that was originally conceived by Rasmus Lerdorf in 1995. Lerdorf created PHP to satisfy the need for an easy way to process data when creating pages for the World Wide Web.
![]() Note PHP was born out of Rasmus Lerdorf’s desire to create a script that would keep track of how many visits his online résumé received. Due to the wild popularity of the script he created, Lerdorf continued developing the language. Over time, other developers joined him in creating the software. Today, PHP is one of the most popular scripting languages in use on the Internet.
Note PHP was born out of Rasmus Lerdorf’s desire to create a script that would keep track of how many visits his online résumé received. Due to the wild popularity of the script he created, Lerdorf continued developing the language. Over time, other developers joined him in creating the software. Today, PHP is one of the most popular scripting languages in use on the Internet.
PHP originally stood for Personal Home Page and was released as a free, open source project. Over time, the language was reworked to meet the needs of its users. In 1997, PHP was renamedPHP: Hypertext Preprocessor, as it is known currently. At the time I write this, PHP 5.5.7 is the current stable version. Older versions of PHP are still in use on many servers.
How PHP Works
PHP is generally used as a server-side scripting language; it is especially well-suited for creating dynamic web pages. The scripting language features integrated support for interfacing with databases, such as MySQL, which makes it a prime candidate for building all manner of web applications, from simple personal web sites to complex enterprise-level applications.
HTML is parsed by a browser when a page loads. Browsers cannot process PHP at all. PHP is processed by the machine that serves the document (this machine is referred to as a server). All PHP code in the document is processed by the server before the document is sent to the visitor’s browser. Because PHP is processed by a server, it is a server-side scripting language.
With PHP, you can create dynamic web pages—web pages that can change according to conditions. For example: When I log in to my Facebook account, I see my content. When you log in to your Facebook account, you see your content. We would be loading the same resource (www.facebook.com), but we would be served different content dynamically. This would be impossible with HTML web documents, because they are static, meaning they can’t change. Every user would see exactly the same HTML page. The rest of this book explores some of the things you can achieve with dynamic web pages.
PHP is an interpreted language, which is another great advantage for PHP programmers. Many programming languages require that you compile files into machine code before they can be run, which is a time-consuming process. Bypassing the need to compile means you’re able to edit and test code much more quickly.
Because PHP is a server-side language, running PHP scripts requires a server. To develop PHP projects on your local machine means installing a server on your local machine. The examples in this book rely on the Apache Web Server to deliver your web pages.
Apache and What It Does
Apache is the most popular web server software on the Web; it hosts nearly half of all web sites that exist today. Apache is an open source project that runs on virtually all available operating systems. Apache is a community-driven project, with many developers contributing to its progress. Apache’s open source roots also means that the software is available free of charge, which probably contributes heavily to Apache’s overwhelming popularity relative to its competitors, including Microsoft’s IIS and Google’s GWS, among others.
On the Apache HTTP Server Project web site (http://httpd.apache.org), Apache HTTP Server is described as “an effort to develop and maintain an open-source HTTP server for modern operating systems including UNIX and Windows NT. The goal of this project is to provide a secure, efficient, and extensible server that provides HTTP services in sync with the current HTTP standards.”
As with all web servers, Apache accepts an HTTP request and serves an HTTP response. The World Wide Web is founded on web servers, and every web site you visit demonstrates the functionality of web servers. I’ve already mentioned that while HTML can be processed by a web browser, server-side scripting languages such as PHP have to be handled by a web server. Due to its overwhelming popularity, Apache is used for testing purposes throughout this book.
Storing Info with MySQL
MySQL is a relational database management system (RDBMS). Essentially, this means that MySQL allows users to store information in a table-based structure, using rows and columns to organize different pieces of data. There are many other relational database management systems. The examples in this book rely on MySQL to store the information you’ll use in your PHP scripts, from blog entries to administrator information. This approach has great advantages, which we will explore in detail.
![]() Note Blog is short for weblog, which is an online journal produced by an individual or a business.
Note Blog is short for weblog, which is an online journal produced by an individual or a business.
Installing PHP, Apache, and MySQL
One of the biggest hurdles for new programmers is starting. Before you can write your first line of PHP, you must download Apache and PHP, and usually MySQL, and then fight through installation instructions that are full of technical jargon you might not understand yet. This experience can leave many developers feeling unsure of themselves, doubting whether they’ve installed the required software correctly.
In my own case, this hurdle kept me from learning programming for months, even though I desperately wanted to move beyond plain ole HTML. I unsuccessfully attempted to install PHP on my local machine not once, but three different times before I was able to run my first PHP command successfully.
Fortunately, the development community has responded to the frustration of beginning developers with several options that take all the pain out of setting up your development environment, whether you create applications for Windows, Mac, or Linux machines. These options include all-in-one solutions for setting up Apache, MySQL, and PHP installations.
The most common all-in-one solution is a program called XAMPP (www.apachefriends.org/en/xampp.html), which rolls Apache, MySQL, PHP, and a few other useful tools together into one easy installer. XAMPP is free and available for Windows, Mac, and Linux. This book assumes that you will use it as your development environment.
![]() Note Most Linux distributions ship with one flavor or another of the LAMP stack (Linux-specific software that functions similarly to XAMPP) bundled in by default. Certain versions of Mac OS X also have PHP and Apache installed by default.
Note Most Linux distributions ship with one flavor or another of the LAMP stack (Linux-specific software that functions similarly to XAMPP) bundled in by default. Certain versions of Mac OS X also have PHP and Apache installed by default.
Installing XAMPP
Enough background. You’re now ready to install XAMPP on your development machine. This process should take about five minutes and is completely painless.
Step 1: Download XAMPP
Your first task is to obtain a copy of the XAMPP software. Head over to the XAMPP site (www.apachefriends.org/en/xampp.html) and download the latest version (1.8.3 at publication time).
Step 2: Open the Installer and Follow the Instructions
After downloading XAMPP, find the newly downloaded installer and run it. You should be greeted with a screen similar to the one shown in Figure 1-1.
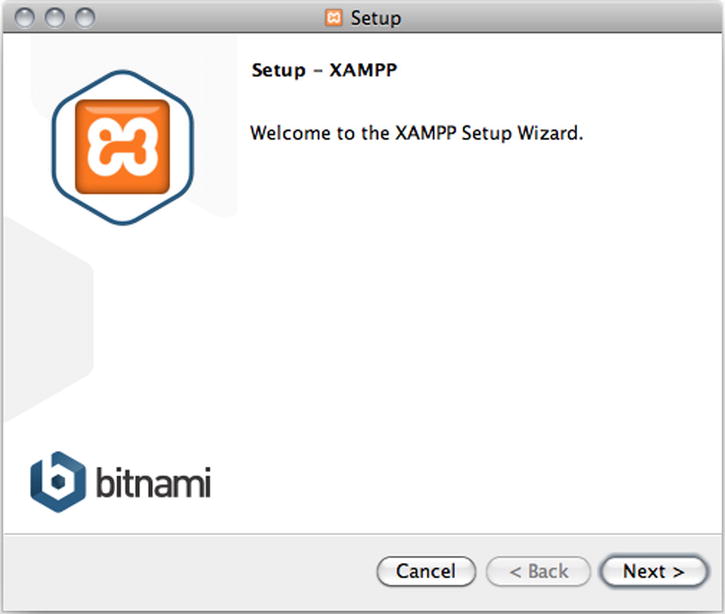
Figure 1-1. The introductory screen for the XAMPP installer on Mac OS X
![]() Note All screenshots used in this book were taken on a computer running Mac OS X 10.6.8. Your installation might differ slightly, if you use a different operating system. XAMPP for Windows offers additional options, such as the ability to install Apache, MySQL, and Filezilla (an FTP server) as services. This is unnecessary and will consume computer resources, even when they are not being used, so it’s probably best to leave these services off. Additionally, Windows users should keep the c:xampp install directory for the sake of following this book’s examples more easily.
Note All screenshots used in this book were taken on a computer running Mac OS X 10.6.8. Your installation might differ slightly, if you use a different operating system. XAMPP for Windows offers additional options, such as the ability to install Apache, MySQL, and Filezilla (an FTP server) as services. This is unnecessary and will consume computer resources, even when they are not being used, so it’s probably best to leave these services off. Additionally, Windows users should keep the c:xampp install directory for the sake of following this book’s examples more easily.
Click the Next button to move to the next screen (see Figure 1-2), where you can choose which components to install. Just go with the default selection. The XAMPP installer will guide you through the installation process. Figures 1-3 through 1-5 show the remaining steps.
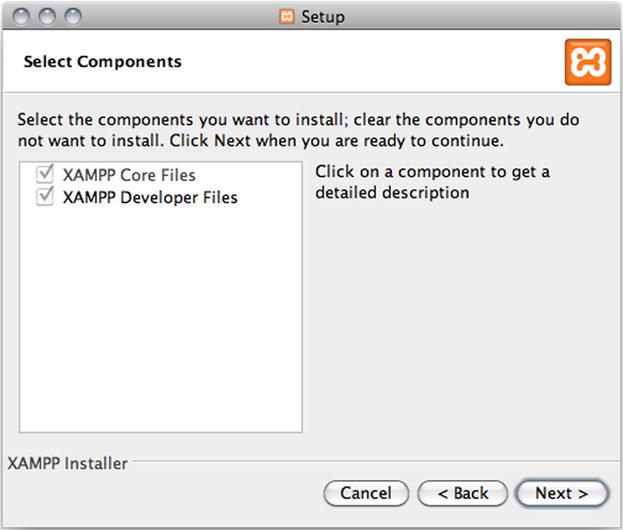
Figure 1-2. Select components to install
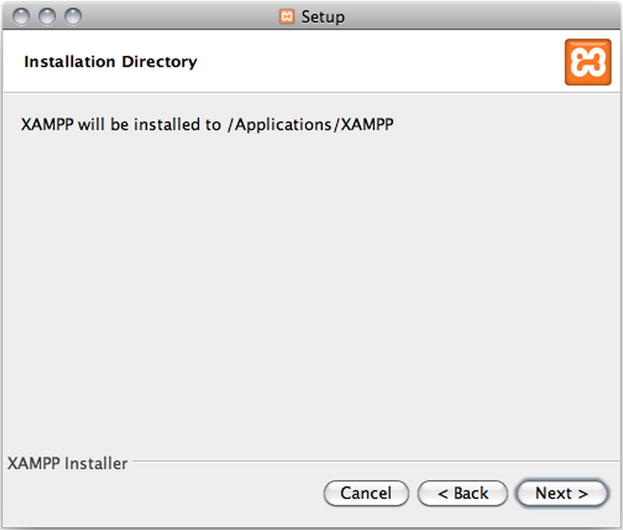
Figure 1-3. XAMPP installation directory
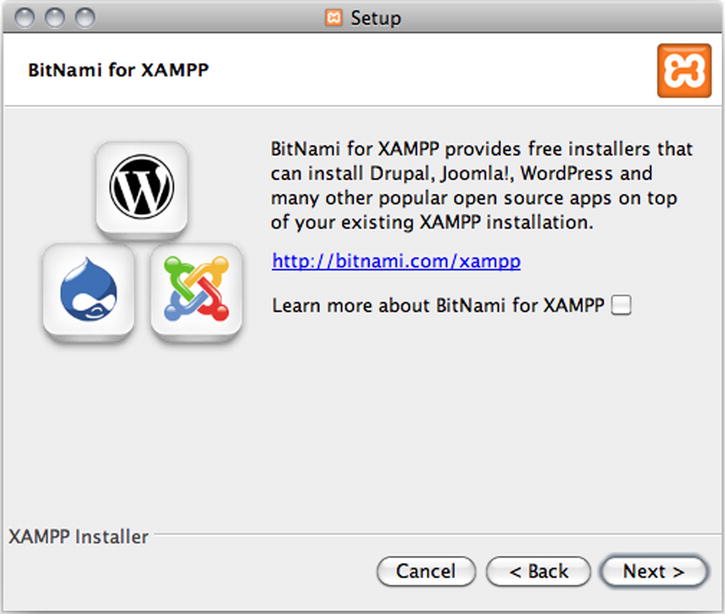
Figure 1-4. You don’t have to learn more about BitNami at this point
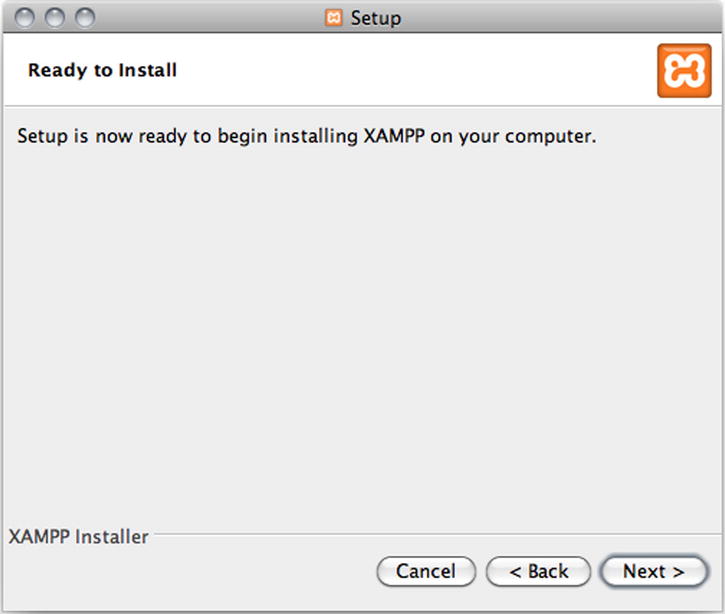
Figure 1-5. When you’re ready to install, click Next
Installation requires a minute or two to complete, whereupon the installer displays the final screen (see Figure 1-6), which confirms that the installation was successful.

Figure 1-6. Installation is complete
Step 3: Test XAMPP to Ensure Proper Installation
So far, you’ve used the XAMPP wizard to install Apache, PHP, and MySQL. The next step is to activate Apache, so you can write some PHP.
Open the XAMPP Control Panel
You can activate the just-installed applications by navigating to the newly installed XAMPP folder and opening the XAMPP manager (see Figure 1-7).
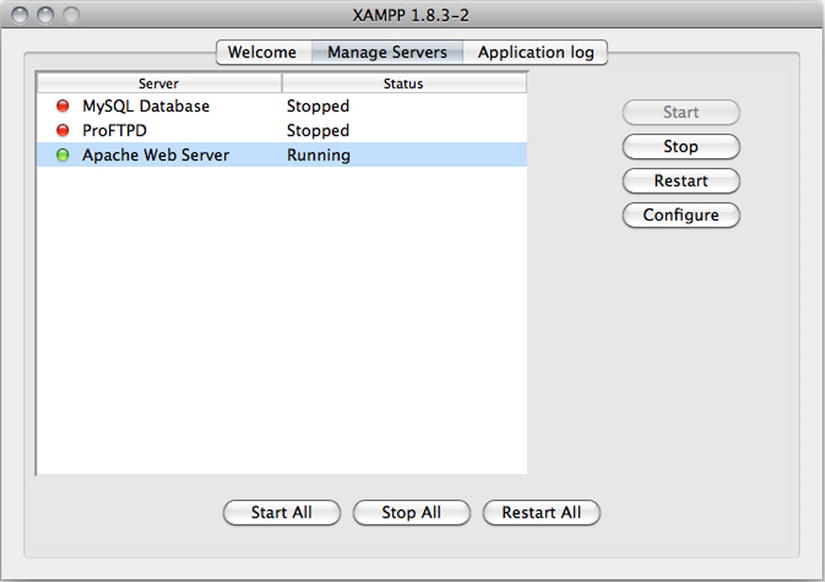
Figure 1-7. The XAMPP manager shows that the local Apache Web Server is running
![]() Note When opening the XAMPP control panel, you may be prompted for your password. This has no effect on the services themselves and should not affect the projects covered in this book.
Note When opening the XAMPP control panel, you may be prompted for your password. This has no effect on the services themselves and should not affect the projects covered in this book.
Activating Apache, PHP, and MySQL on your development machine is as simple as clicking the Start button next to Apache in the XAMPP manager. You might be prompted to confirm that the server is allowed to run on your computer, and you might be required to enter your system password. After you do this, the Status should indicate that Apache is running, as shown in Figure 1-7.
![]() Note There is an FTP (file transfer protocol) option available in XAMPP. FTP provides a method for moving files between networks. The examples in this book don’t require this option, so there is no need to activate it in the XAMPP control panel. The first few chapters don’t even require a MySQL database.
Note There is an FTP (file transfer protocol) option available in XAMPP. FTP provides a method for moving files between networks. The examples in this book don’t require this option, so there is no need to activate it in the XAMPP control panel. The first few chapters don’t even require a MySQL database.
What If Apache Isn’t Running?
Sometimes, XAMPP Apache Server doesn’t run, even if you try to start it. The most common problem is that it conflicts with some other service using the same port on your computer. Check if you have Skype or Messenger or some similar networking service running. Shut Skype completely down, and if you’re lucky, your Apache can run.
If it still doesn’t run, you could turn to the Internet for help. The XAMPP online community is extremely helpful, and most installation issues have been addressed in the Apache Friends forum at https://community.apachefriends.org/f/viewforum.php?f=34. You could also turn to search or ask at http://stackoverflow.com/.
Verify That Apache and PHP Are Running
It’s a simple matter to check whether Apache is running properly on your development machine. Simply open a browser and go to the following address: http://localhost. If everything has gone correctly, you’ll be redirected to http://localhost/xampp/splash.php (see Figure 1-8).
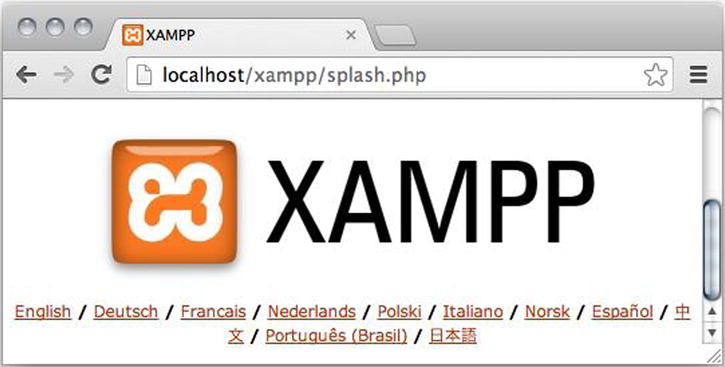
Figure 1-8. Check in your browser that your Apache Web Server is running
If this screen loads, you’ve installed Apache and PHP on your development machine successfully! The address, http://localhost, is an alias for the current computer you’re working on. When using XAMPP, navigating to http://localhost in a browser tells the server to open the root web directory. This is the htdocs folder contained in the XAMPP install directory. Another way to use your server to access the root web directory on your local machine is to navigate to the IP address—a numerical identifier assigned to any device connected to a computer network—that serves as the “home” address for all HTTP servers: http://127.0.0.1.
Choosing a PHP Editor
Your development machine is now running all the necessary programs for programming with PHP. The next step is to decide how you’re going to write your scripts. PHP scripts are text-based, so you have myriad options, ranging from the simple Notepad.exe and text-edit programs to highly specialized integrated development environments (IDEs).
Most experienced PHP developers use an IDE, because they offer many benefits. Many beginners have some difficulties using an IDE, perhaps because IDEs have so many features that beginners are simply left confused.
You can probably write PHP code using whichever program you have used for writing HTML and CSS. There are some features you should expect from a good editor.
- Syntax highlighting: This is the ability to recognize certain words in a programming language, such as variables, control structures, and various other special text. This special text is highlighted or otherwise differentiated to make scanning your code much easier.
- Built-in function references: When you enter the name of a function or an object method, this feature displays available parameters, as well as the file that declares the function, a short description of what the function does, and a more in-depth breakdown of parameters and return values. This feature proves invaluable when dealing with large libraries, and it can save you trips to the PHP manual to check the order of parameters or acceptable arguments for a function.
- Auto-complete features: This feature adds available PHP keywords to a drop-down list, allowing you to select the intended keyword from the list quickly and easily, saving you the effort of remembering and typing it out every time. When it comes to productivity, every second counts, and this feature is a great way to contribute to saved time.
- Code folding: This feature lets you collapse snippets of code, making your workspace clutter-free and your code easy to navigate.
- Auto-indent: This automatically indents the code you write in a consistent manner. Such indented code is vastly easier to read for human readers, because indentation indicates relationships between code blocks.
- Built-in ftp: You need ftp to upload your PHP files to an online web server when you want to publish your project on the World Wide Web. You can use a stand-alone ftp program, but if it is built into your IDE, you can upload an entire project with a single click.
You have many good IDEs and editors to choose from. NetBeans and Eclipse PDT are both excellent, free IDEs. Try one or both, if you want to get used to the tools professional developers often gravitate to. Beginners may find it easier to start with a simpler editor. I really like Komodo Edit: It is as easy to use as any editor, and it provides most of the features just listed out of the box, including excellent auto-complete for PHP and many other languages. Following are the download links for the three PHP editors just mentioned:
- Get NetBeans from https://netbeans.org/downloads/.
- Get Eclipse PDT from http://projects.eclipse.org/projects/tools.pdt.
- Get Komodo Edit from www.activestate.com/komodo-edit/downloads.
I will use Komodo Edit for the examples in this book. You should have no difficulties following the examples with any other editor. If you decide to use an IDE, you will have to consult online documentation to learn how to set up a new project in your chosen IDE.
Creating Your First PHP File
With everything set up and running as it should, it is time to take the plunge and write your first PHP script. As a server-side scripting language, PHP requires a web server such as Apache to run. You have just installed Apache on your local computer, so your system is ready.
Apache will interpret any PHP files saved inside a folder called htdocs. You can find it inside your XAMPP installation in XAMPP/xamppfiles/htdocs.
You’ll be making many PHP files soon, so it is a good idea to keep them organized. Create a new folder inside htdocs and call it ch1.
Now open Komodo Edit, or whichever editor or IDE you have decided to use. From Komodo Edit, you can select File ![]() New
New ![]() New File from the main menu. In the new file you write the following:
New File from the main menu. In the new file you write the following:
<?php

echo "Hello from PHP";
In Komodo Edit, select File ![]() Save to see the file saving dialog box (Figure 1-9). Save the new file as test.php, in htdocs/ch1; set format to All Files; and then click Save.
Save to see the file saving dialog box (Figure 1-9). Save the new file as test.php, in htdocs/ch1; set format to All Files; and then click Save.

Figure 1-9. The Save As dialog box from Komodo Edit
Running Your First PHP Script
The next step is to get Apache to process your PHP script. That happens automatically, if you request the script through a browser. So, open a web browser and navigate to http://localhost/ch1/test.php and marvel at the PHP-generated output you should see in your browser (Figure 1-10). You have successfully created and executed your first PHP script!
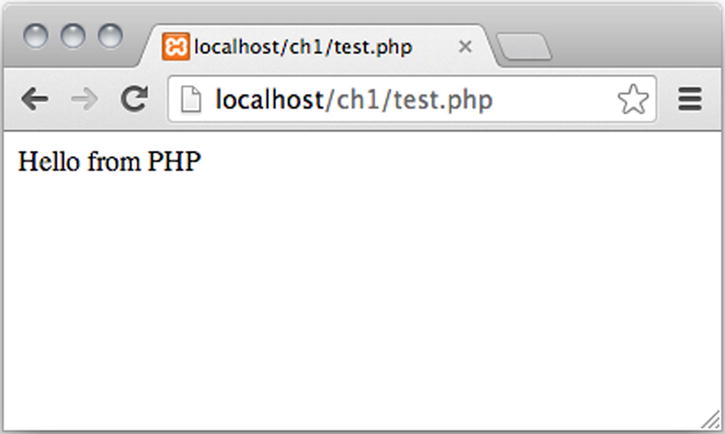
Figure 1-10. Seeing the output from test.php in the Chrome web browser
Summary
In this chapter, you learned a little bit about PHP, MySQL, and Apache. You found out what they are and what role they play in the development of dynamic web sites. You also learned a quick and easy way to install a fully functional development environment on your local computer, by installing XAMPP and Komodo Edit.
In the next chapter, you’ll learn a small but potent subset of PHP, including variables, objects, and some native language constructs and statements. Nearly everything you learn will be tested in your new development environment, so keep XAMPP’s Apache Server open and running.