Whether you’re a newbie or an expert in the programming space, you must have wondered one way or the other how other developers set up and configure their starting project application, right?
So this chapter tackles an efficient and intelligent way to set up a production-ready boilerplate.
We’ll look into how to choose the right boilerplate for our project with tools, frameworks, and modules that will allow us to manage the performance, styling, asynchrony, and other essential stuff we need to build an actual application.
Yes, we’re not merely starting with the ubiquitous ToDo list app for learning a new framework or language. It is a project that you can be confident that you’d likely see – particularly the configurations and even the folder arrangement – in a lot of enterprise-level React apps. More importantly, it will be well architected and highly scalable.
First, we will look at the criteria that I use to find the right boilerplate for a particular application. And then, let’s see the pros and cons of using a boilerplate.
How to Select a Good Boilerplate
Like many seasoned and “smart” developers that I know, I firmly believe in using a boilerplate, or at least being open-minded about it, right? The only trick – or maybe the hard part actually – is finding and selecting the right boilerplate for your project.
After deciding on a boilerplate, the first thing you need to do is to know every NPM package that you see in the package.json.
Check out the libraries and tools included in the boilerplate before deciding if it is the right boilerplate for you.
One easy way to get a brief definition of a package or dependency is to go to www.npmjs.com and search for it there.
- 1.
It contains MOST – if not all – of the core features I need. This is the most crucial process. Search for a boilerplate that practically checks all the major features that you need so you don’t have to do a lot of customization that could eat up a lot of your time. Always read the features and description of the boilerplate.
- 2.
It has a certain number of contributors or authors. This is another critical part of what makes a boilerplate good. Many experienced and active developers are contributing to the boilerplate and maintaining it for updates and other stuff.
- 3.
It contains frequent updates or commits. Check for the latest patch or commits on GitHub. A well-maintained template or boilerplate will have regular updates or commits from contributors.
Keep in mind that every project or even project team can mean many different boilerplate apps. Most of the time, the boilerplate you decide on would depend on the project itself, the people you work with, and even the client.
But the point is you would want to start from a standard base of code to get up and running quickly.
Pros of Using a Boilerplate
As a developer, I’m sure that you’ve experienced the seemingly endless torture of setting up all the libraries, themes, and required dependencies that you need at the get-go. It would take hours and hours just to configure them all up without any errors.
Trust me. If we were to implement ourselves the full suite of React, TypeScript, Redux, Redux Toolkit, the testing, and all the other essential stuff, it would take us a whole lot longer than the time we would like to spend. And this is assuming that everything works out smoothly as we install them one by one. No errors, and all the library versions integrate well together.
- 1.
You can reduce setup and development time. As developers, we all know that it makes perfect sense to reuse codes or templates. Using a boilerplate reduces setup and development time using the same code pattern and avoiding rewriting from scratch.
- 2.
You can fork a boilerplate and customize it based on your needs. When I was starting as a junior developer, one way for me to quickly learn a new library or a framework was to look at two or more popular apps. I would study and compare them, including all the dependencies used. Afterward, I’d build something based on my requirements.
- 3.
You can study the app’s well-architected structure. The boilerplate immediately introduces you to an excellent approach to design React projects. It’s like having a lead architect handing you over the blueprint to build your app.
- 4.
You can benefit from experts’ contributions in the field. Having a boilerplate is just like having a senior developer or a front-end architect already giving you guidelines on starting your project. This is priceless, especially if you’re just new to the team or particular tooling. You don’t have to go down the rabbit hole of doing the research and testing everything before settling on something that works for you.
Cons of Using a Boilerplate
Like any other good thing, there’s always an argument against it. Of course, there is, right? But the trick is recognizing and understanding the cons and weighing them against the pros in your list. That said, let’s take a look at some of the reasons against the use of boilerplates in your app instead of building your project from scratch.
- 1.
You might find yourself in a time sinkhole. You actually still need to check and understand how things run under the hood. Of course, before choosing a particular boilerplate, you need to see what are the included core features. Sometimes, you may find yourself either putting in additional base features or scraping off the excess for modules you don’t need.
- 2.
You might dig yourself into more complexity than necessary. You might get more features than you need and higher complexity than necessary.
After considering all the preceding points, it is now time to set up our chosen boilerplate.
Cloning a Boilerplate
First , go to my GitHub and clone the project’s starting point if you want to code along with the book. Make sure to start at Chapter-4/starter-boilerplate.
I forked this boilerplate just in case you’ll be reading this book a year or two years from now, so you’ll still have the same code base here in case you want to follow along with me. I’d recommend that you use my forked boilerplate to ensure that you get the same developing experience.

Practical Enterprise React from the source: https://github.com/webmasterdevlin/practical-enterprise-react/tree/master/chapter-4/starter-boilerplate
However, once you’ve finished this book and developed a good grasp of the process of building an enterprise-level React app, I strongly suggest that you go with the original boilerplate in Figure 4-2 when you’re ready to make your application.
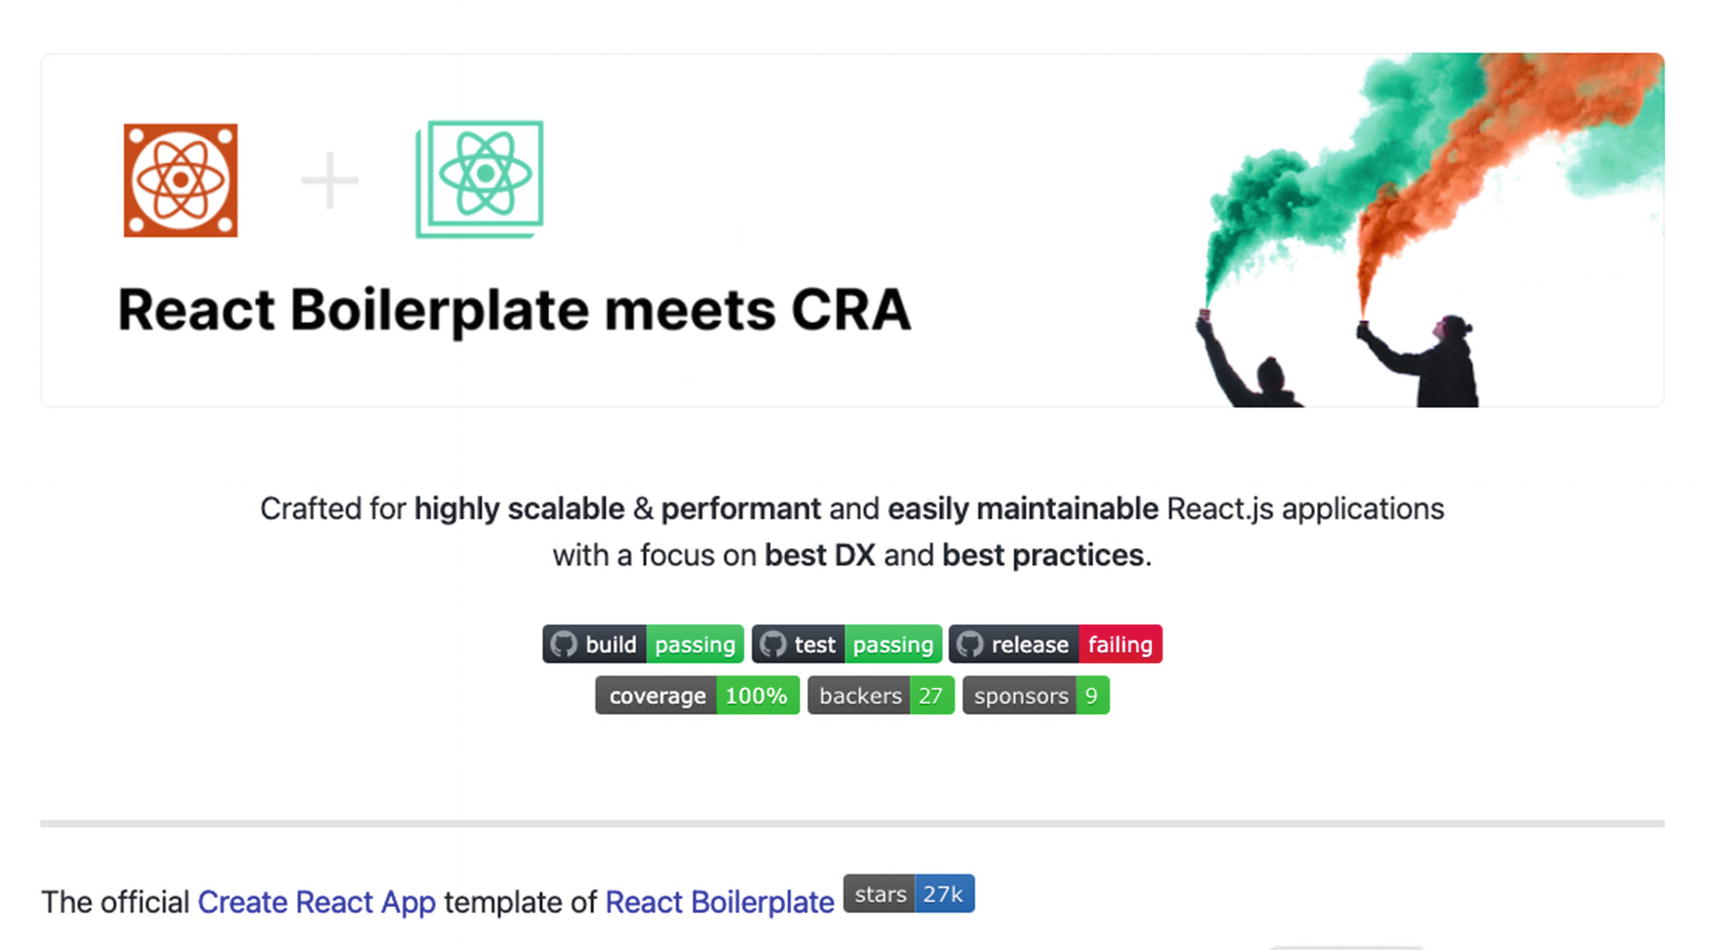
React boilerplate CRA template from the source: https://github.com/react-boilerplate/react-boilerplate-cra-template
Don’t forget to compare the versions of the libraries in the package.json to avoid any errors.
To be quite honest, you can even search for another boilerplate that suits your project specifications better.
My goal here is to provide you a step-by-step process of building a production-ready app and make you a more confident enterprise-level app developer by arming you with the right tools to use, or at least how to choose them.
React Boilerplate Meets CRA
Our chosen template for this project is an excellent collaboration of create-react-app (CRA) , the most popular and well-liked starter template, and React boilerplate, including all the industry-standard tools: Redux, Redux Toolkit, TypeScript, and many more.
create-react-app: Built with the React boilerplate, it can be ejected to make customized configurations.
Redux: A standalone library to manage the global state of the React app. The Redux store is the heart of the application. Redux is a much better implementation of a flux-like, unidirectional data flow.
TypeScript: Improves the developer’s experience by catching errors before hitting refresh. TS also prevents costly bugs by enforcing type safety. Lastly, TypeScript is self-documenting because of the typings of parameters and models.
Jest: A test runner that is quite popular in the React ecosystem.
Reselect: Used to slice Redux state and provide just the necessary subtree to a React component.
react-router: Used for routing in this boilerplate.
Material-UI is developed by Google in 2014 and offers an optional CssBaseline component for faster web development. It uses grid-based layouts, animations, transitions, padding, and many more.
clsx is a small utility for constructing className strings conditionally.
Formik is a very popular open source form library for React and React Native.
Yup is a JavaScript schema builder for value parsing and validation.
axios is a library that allows us to make HTTP requests to external resources.
Before we proceed, it is essential to understand the different tools and technologies that converge together to form a single working application.
Husky
Dependencies
A Closer Look at Some Dependencies
"cross-env": Runs scripts that set and use environment variables across various platforms
"eslint-config-prettier": Turns off all rules that might conflict with Prettier
"eslint-plugin-prettier": Runs Prettier and ESLint rules and logs differently
"fontfaceobserver": Monitors when a web font is loaded
"husky": Prevents bad commits or push
"i18next": An internationalization framework for any JavaScript environment or browser
"i18next-browser-language detector": Detects a user language in the browser
"jest-styled-components": Improves the testing experience
"lint-staged": Helps ensure that no errors go into the repository by enforcing the set code style
"node-plop": Helps automate code generations without using the command line
"plop": Facilitates the easy creation of files uniformly across the team
"prettier": Enforces consistency in style and code
"react-app-polyfill": Polyfills for various browsers including commonly used language features
"react-dom": React package for working with the DOM
"react-helmet-async": A fork of React Helmet
"react-i18next": Internationalization for React
"react-redux": Official React bindings for Redux
"react-router-dom": DOM bindings for React Router
"react-scripts": Configurations and scripts used by CRA
"react-test-renderer": React package for snapshot testing
"redux-injectors": Loads Redux reducers and redux-saga only as necessary and not as all at once
"redux-saga": Saga middleware for Redux to handle side effects
"sanitize.css": Ensures consistent styling of HTML elements and other style defaults
"serve": Gives a clean interface for listing the directory’s contents
"shelljs": A portable (Windows/Linux/OS X) implementation of Unix shell commands on top of the Node.js API
"stylelint": Helps prevent errors and ensures style conventions
"ts-node": TypeScript execution environment and REPL for Node.js, with source map support
"Cypress": For end-to-end testing
Types Dependencies
The preceding packages are not the only packages that we need in our application. We will be installing some third-party JS libraries along the way.
You may go to my GitHub at https://github.com/webmasterdevlin/practical-enterprise-react/ to check if we are working on identical installed package versions.
Now let’s set up your VS Code, but you can use your preferred IDE if you wish to do so.
Setting Up Your Visual Studio Code (Hybrid Text Editor)
We need to familiarize ourselves with our text editor, VS Code, to help us achieve an optimum developer experience.
vscode-icons: For light theme.
Material icon theme: For dark theme.
Code spell-checker: Helps you catch common spelling errors. One of the leading causes of bugs is a typo error.
Import cost: This gives you an idea of the file size of your library.
- Version lens: Gives you an easy way to update your packages and check if there are available updates. Be careful in making updates to major versions so as not to break your code. Minor versions or patches are likely safe:
Click the up arrow to update. After making the changes, run the npm install again.
Path autocomplete: Offers path autocompletion for VS Code.
ES7 React/Redux/GraphQL/React-Native snippets: Gives you confidence in your syntax as it provides snippers as you code.
Live Share: Allows you to collaboratively edit and debug with others in real time regardless of programming language or tools being used or developed.
ESLint: An excellent linter that detects and warns you of syntax errors before you run your code.
Debugger for Chrome: A VS Code extension to debug JS code in the Google Chrome browser or any target that supports the Chrome DevTools Protocol.
Summary
Let’s summarize what we’ve learned so far in this chapter.
We installed various extensions for our VS Code to help us achieve a better developer experience while building our application.
We discussed how to select the right boilerplate, the advantages and the disadvantages of using one when starting to build your application, and why we opted to use the React boilerplate CRA template for our app.
And last but not least, we listed all the installed package libraries with their corresponding version numbers to ensure that you would be using the same when coding along with the book.
In the next chapter, we will continue with React Router, the standard routing library for React, and create SPAs, or single-page apps, with dynamic routing capabilities.