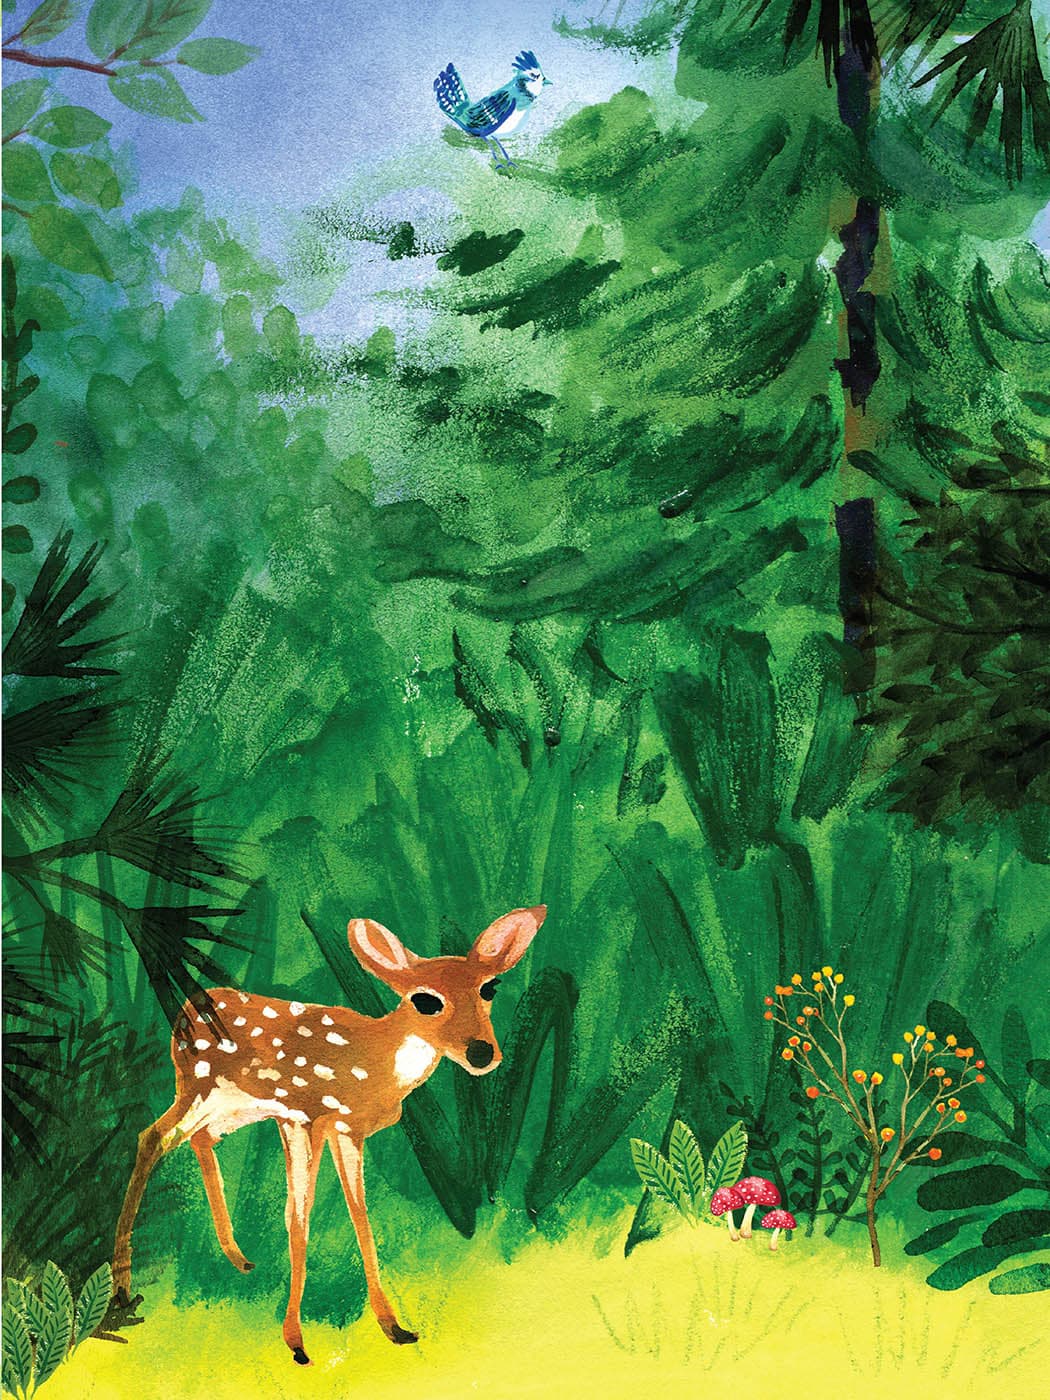
FEELIN’ OUTDOORSY
In this section, we will focus on the great outdoors—or more specifically, the items that you might find in your own backyard. There are so many fun objects to choose from outdoors: birdhouses, gardening tools, potting sheds, flowers, fences, deck furniture, beach umbrellas, and more!
If you can paint outside while working on this chapter, that’s even better! It’s always nice to hear the birds chirping and get some fresh air. We have some fun subjects to paint in this chapter, but as always, feel free to use the techniques I’ve described on any subject of your choice.
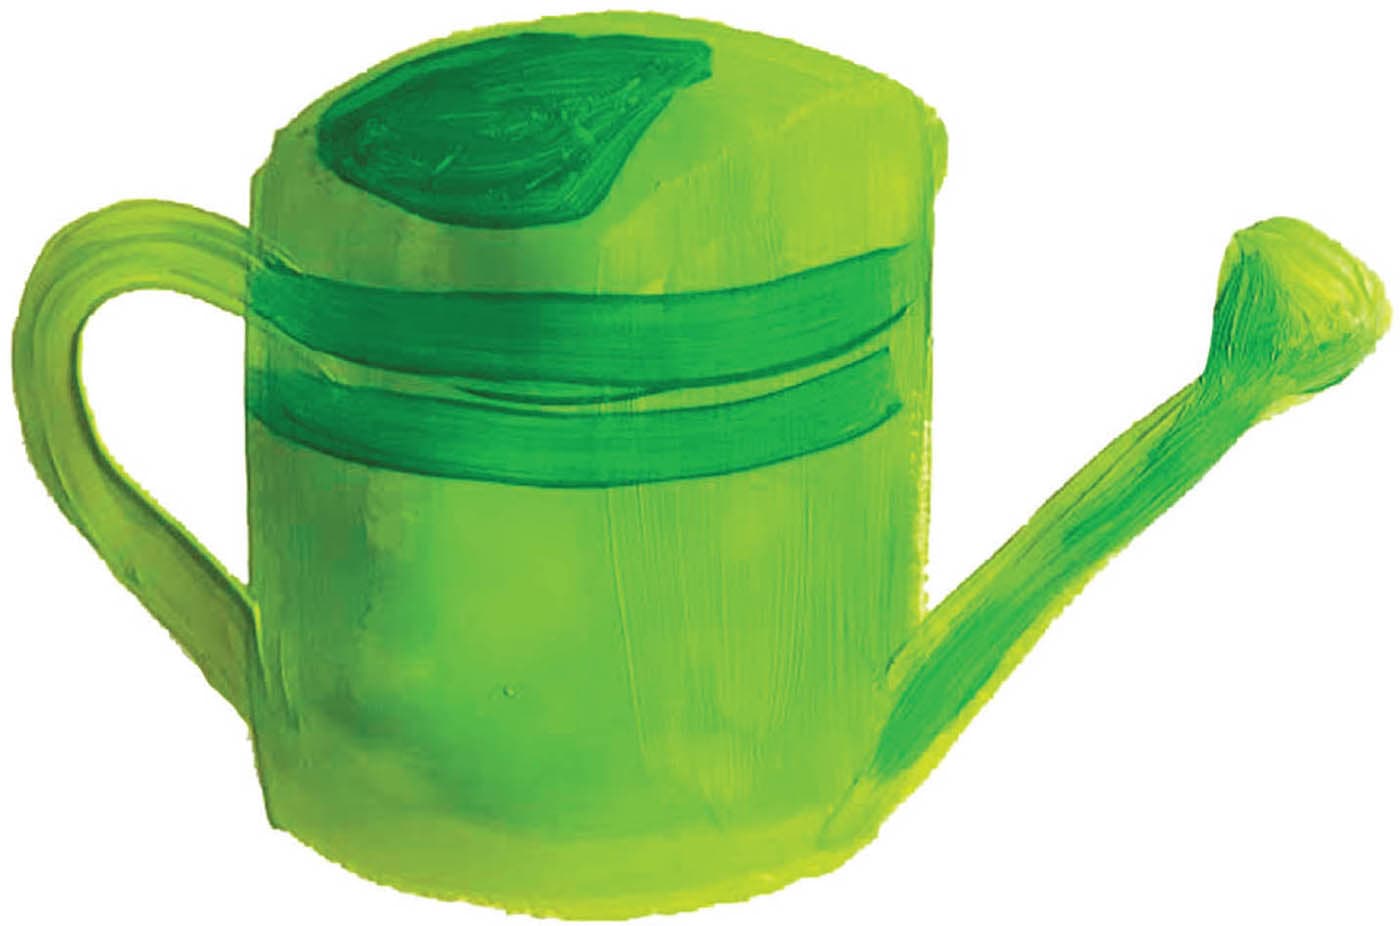
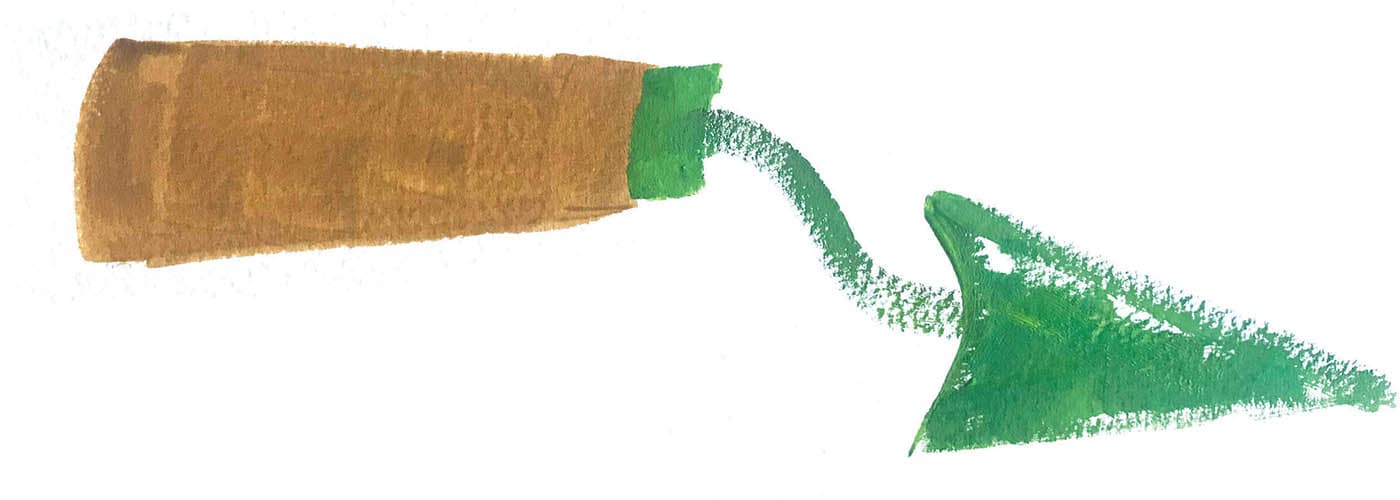
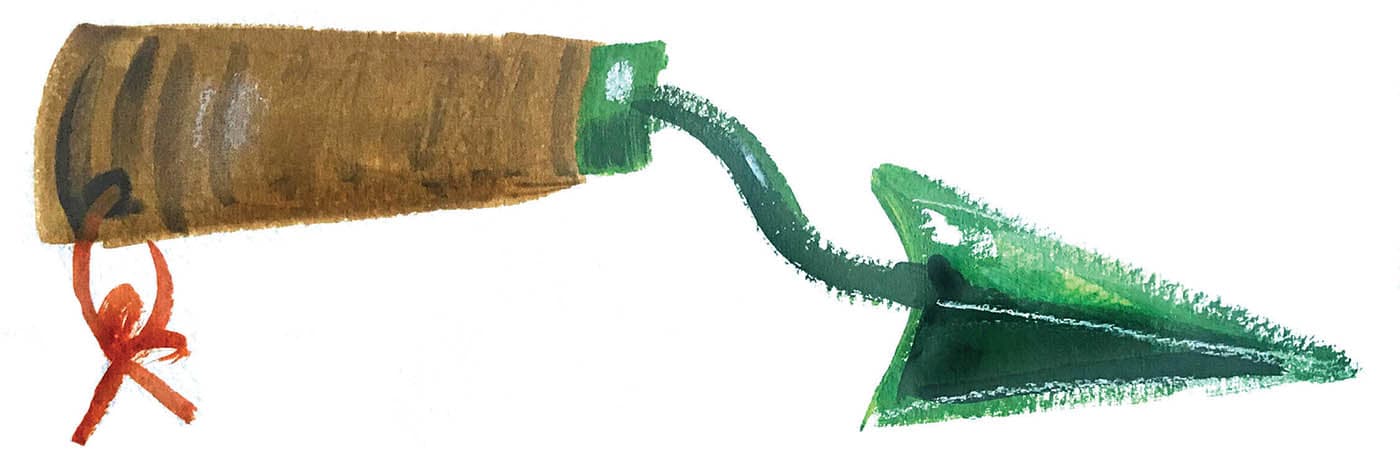
Gouache is the medium of choice for illustrating this classic green watering can. I’ve used light leaf-green and dark green, as well as a touch of white. Create the cylindrical shape of the container, and then add the neck at about a 45-degree angle, both using the lighter green. Add a handle and rounded spout at the top of the neck. Next, use the darker green paint to create two stripes near the top of the container and a half sphere at the top to form the opening. Using the darker shade of green, form a handle over the top of the container. You can also add another stripe at the bottom if you wish. With a liner brush and a small amount of white paint, create a decorative embellishment on the front of the can. Feel free to play here! You could paint your initials, a flower, or just decorative lines. Create a simple handle using warm brown, making sure to taper from left to right so that the narrow end is where the wood meets the metal part of the tool. Use a small, angled brush and medium green to create a downward curve, much like a slide. Add a triangle to the green curve. Then use darker green to give the tool more depth. Add detail to the handle, using sepia and the drybrushing technique. Finish by adding a leather cord in the color of your choice.
WATERING CAN & TROWELStep 1

Step 2
Step 3

Step 4

Step 1

Step 2
Step 3
A quaint garden needs an equally rustic watering can. Visit a local gardening store for ideas!
TRY THIS!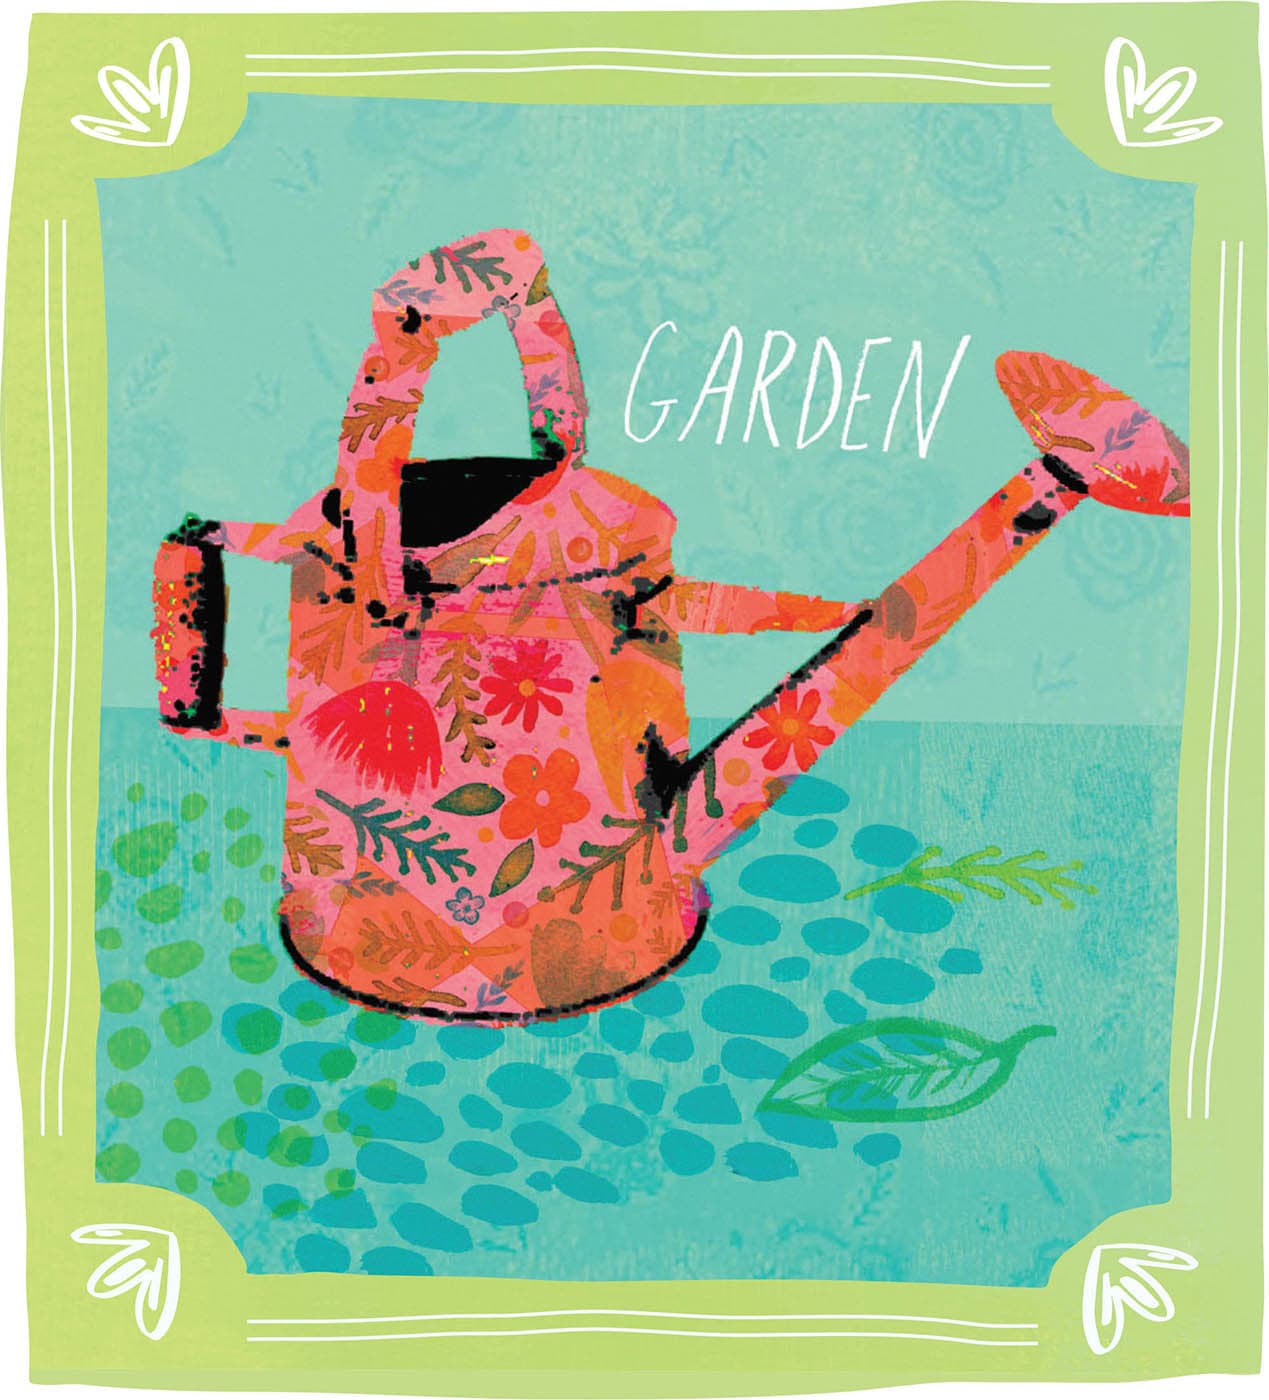
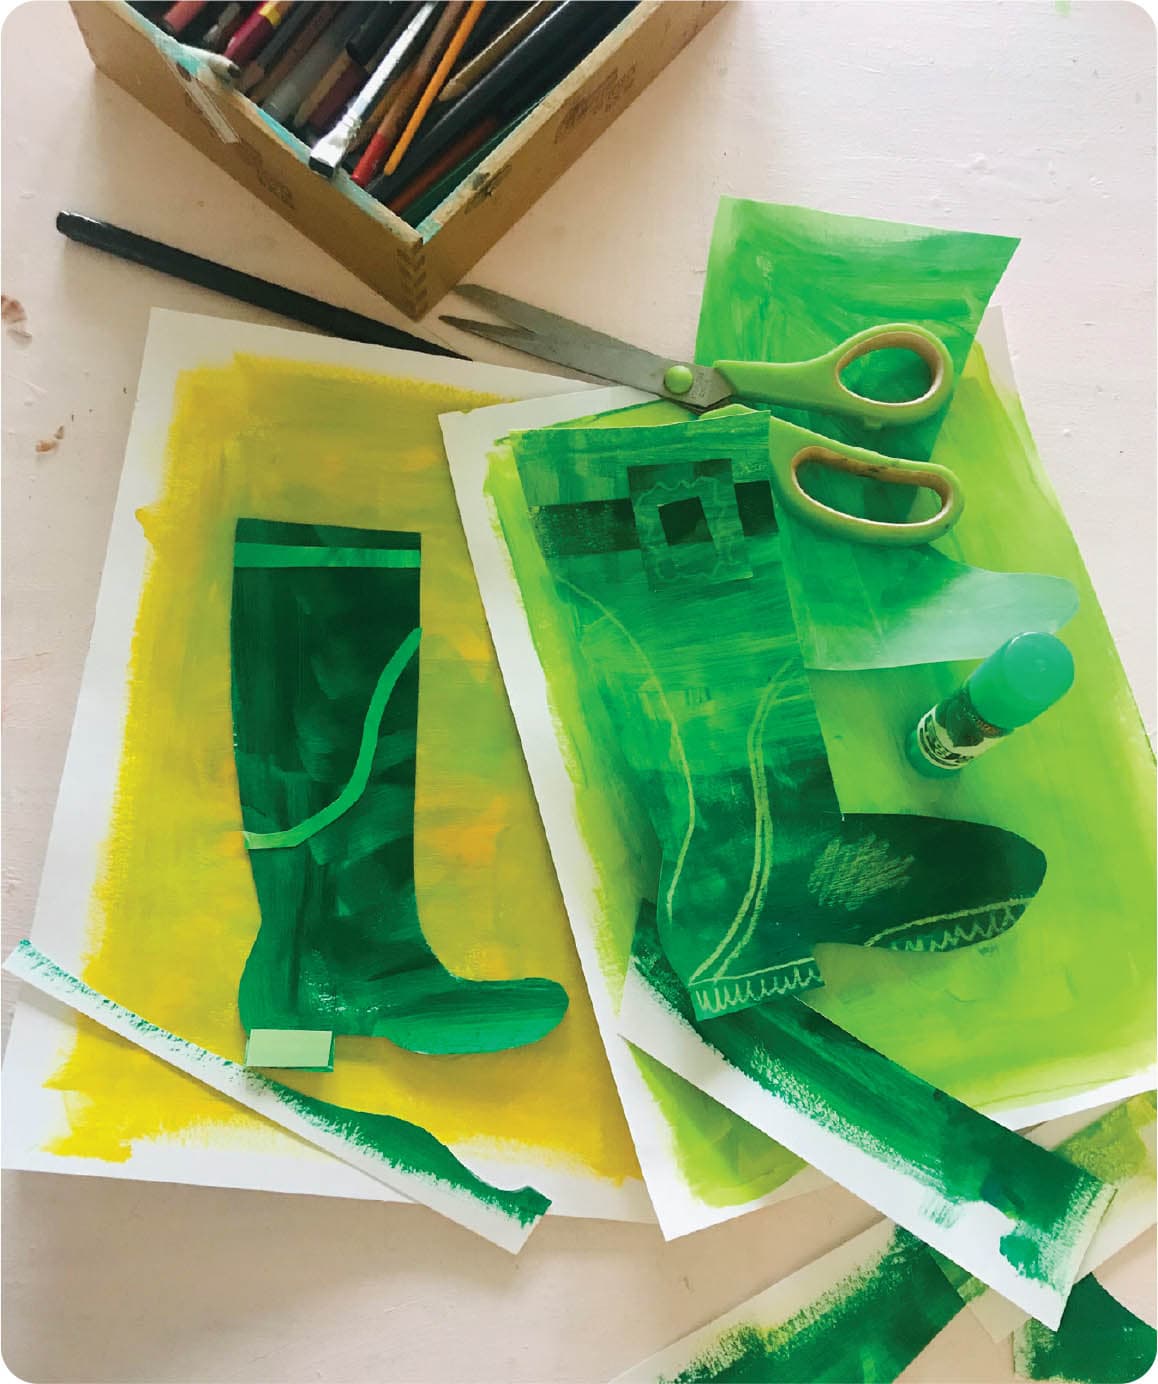
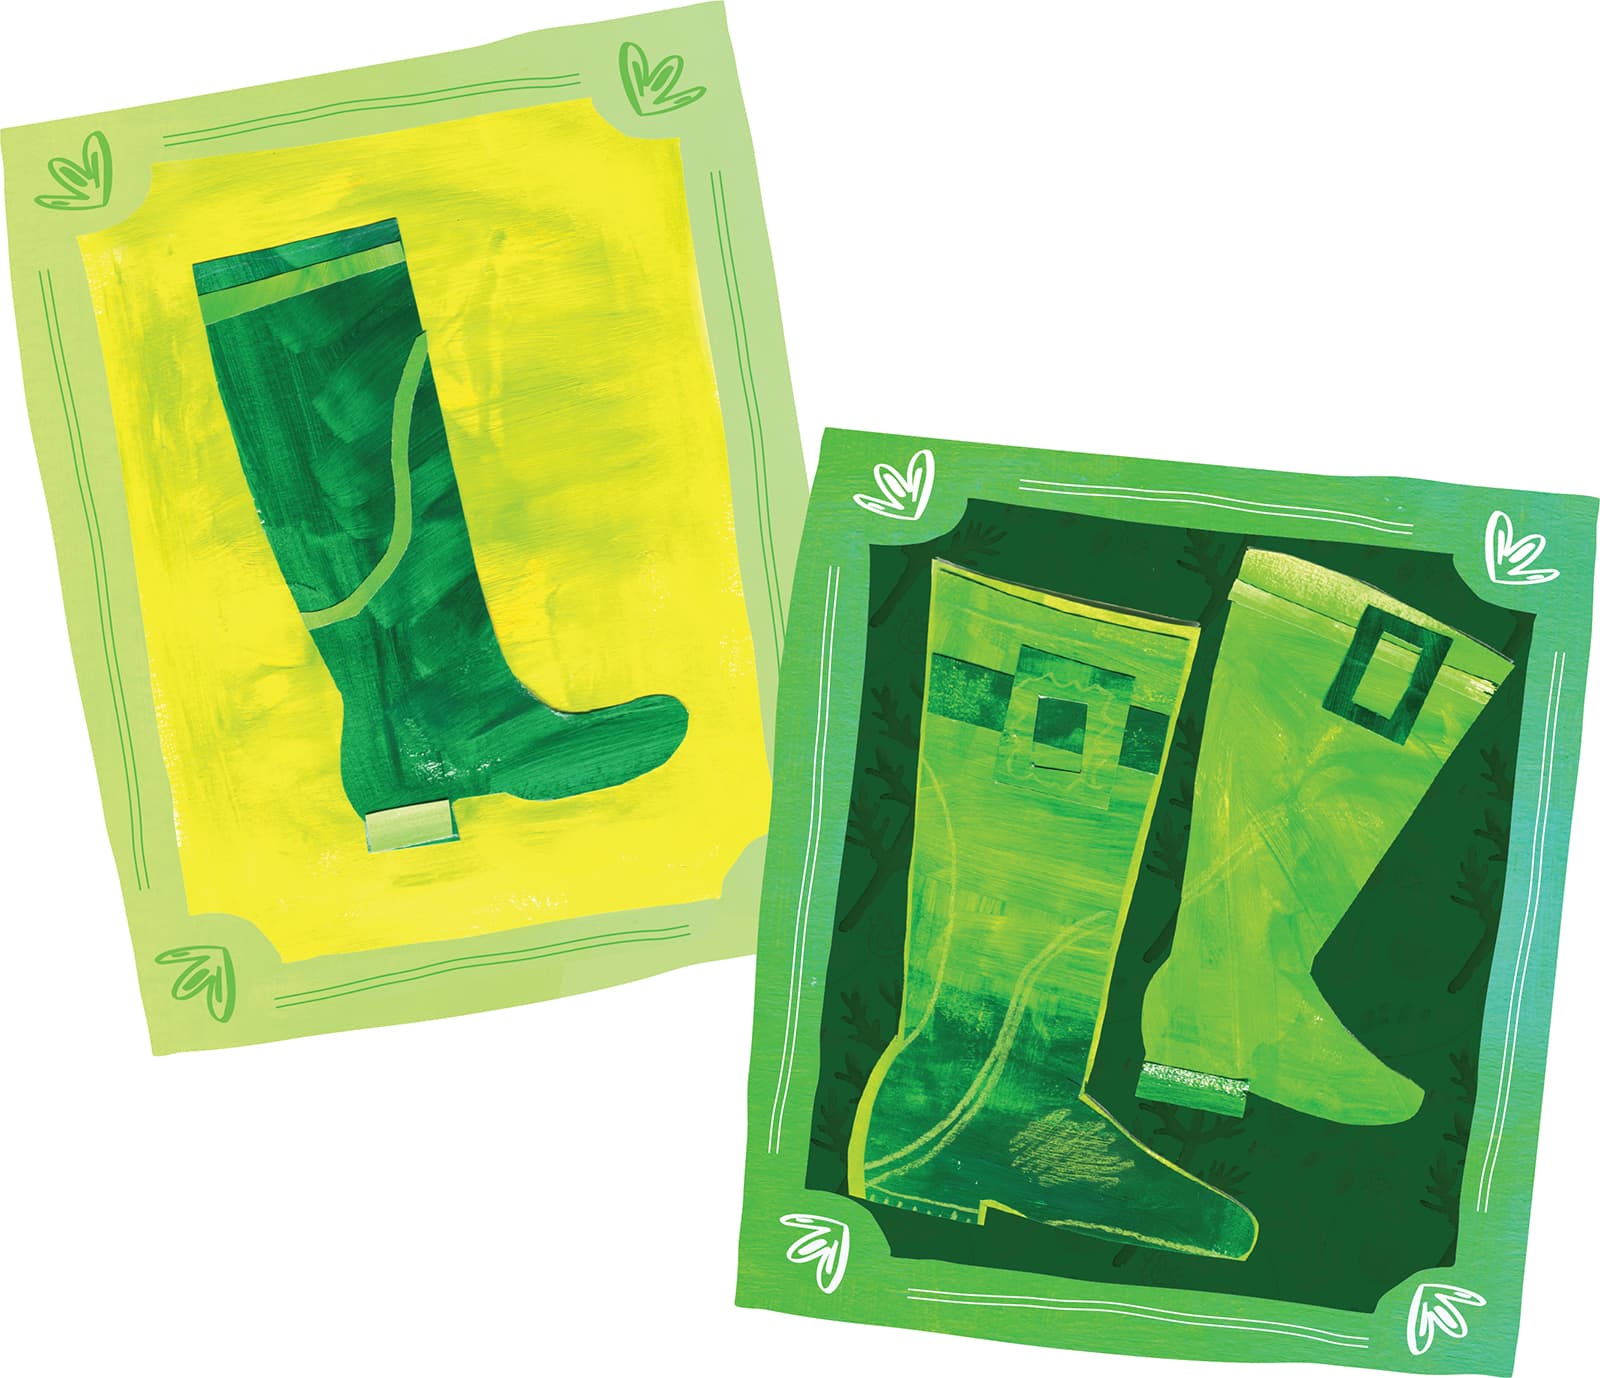
This is such a fun project that uses cut paper and acrylic. You can replace the acrylic with gouache if you prefer. Start by loading a generous amount of light and medium green paint onto a large brush, and make big sweeps of color onto your paper. Mix it up here! Alternate light and dark, drybrushing and full saturation, and so on. Draw the basic shape of a rain boot (you can find one online and draw from that reference, or go by memory and experiment) and start cutting! Play with cutting heels, buckles, and other details. Mix dark with light. You can also use colored pencils to draw extra details like ridges. Create a patterned or other colored background, and glue down the boots. There are no rules—just have fun!
RAIN BOOTSStep 1

Step 2
Step 3
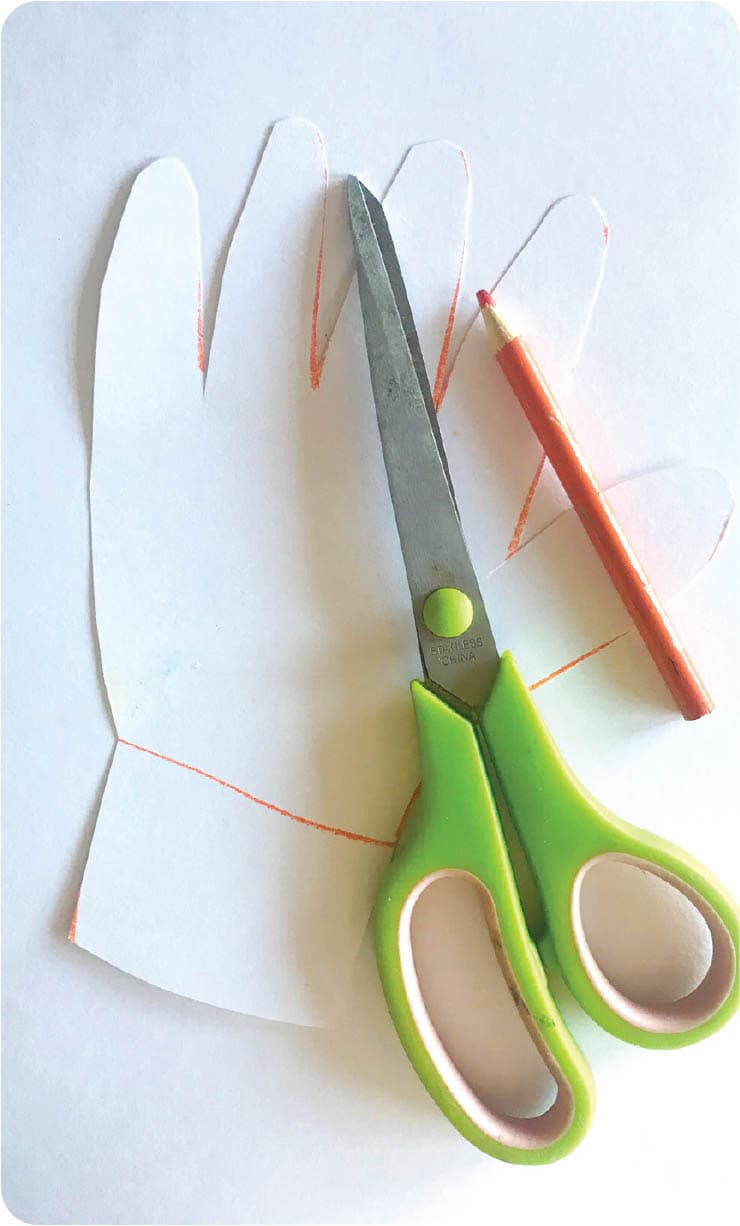
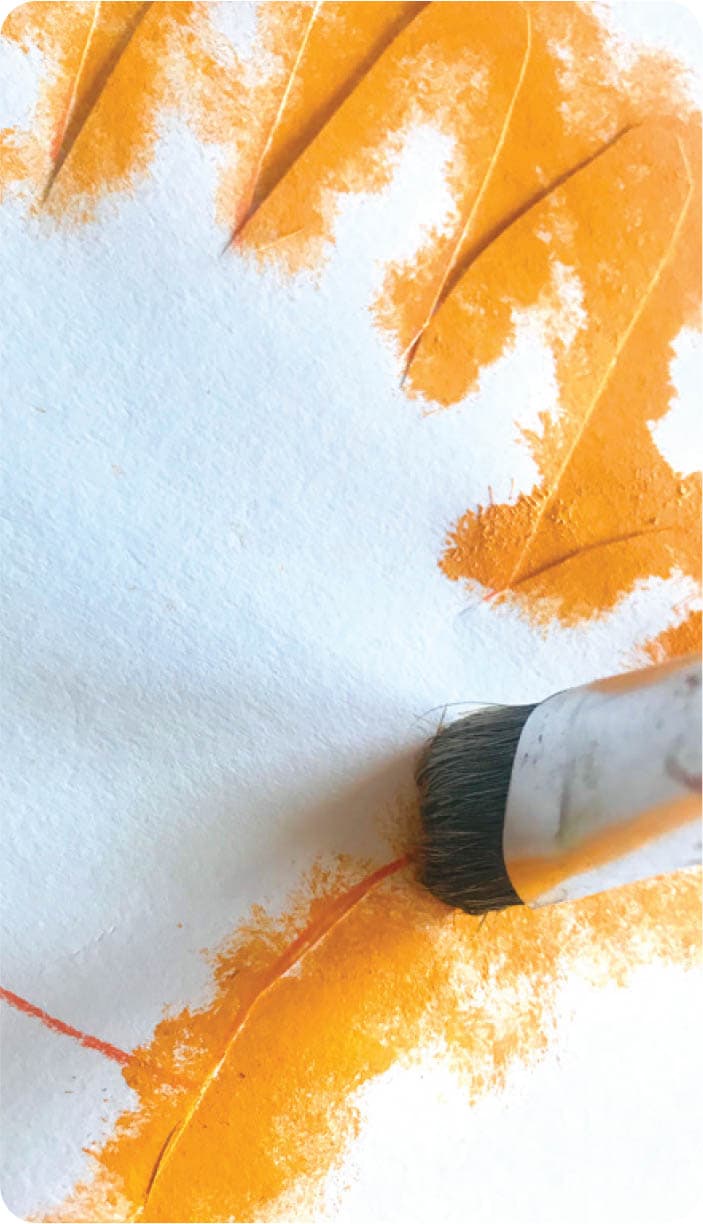
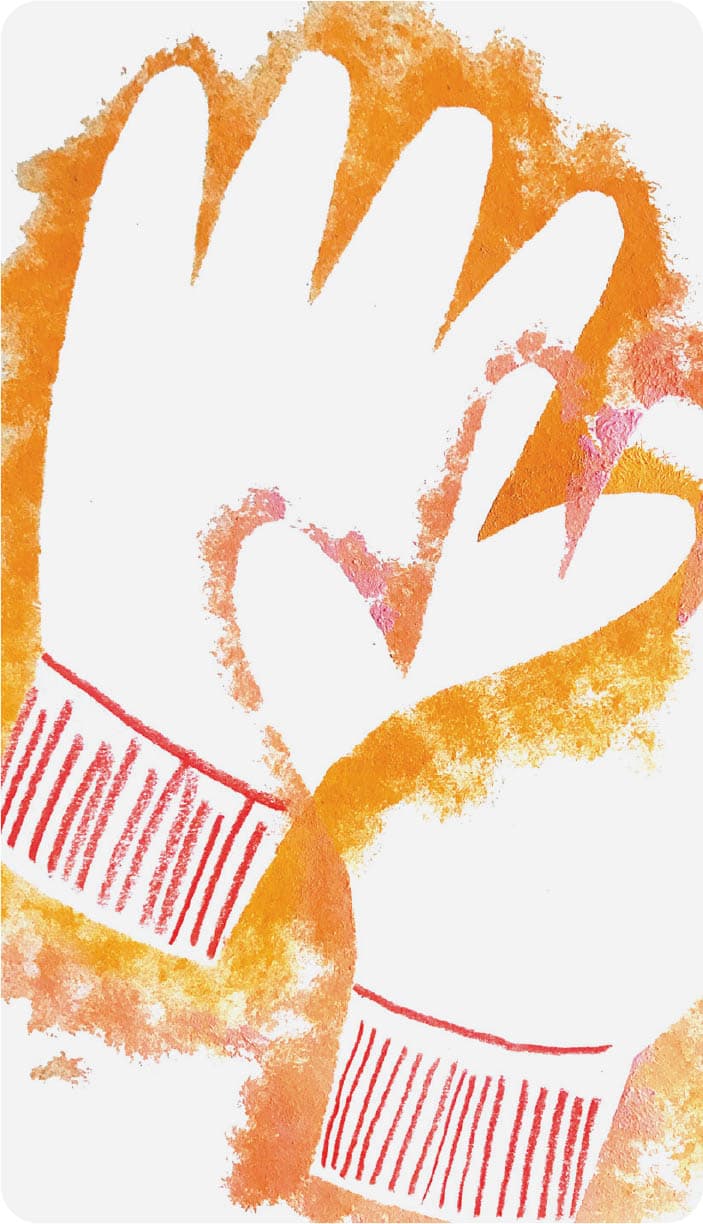
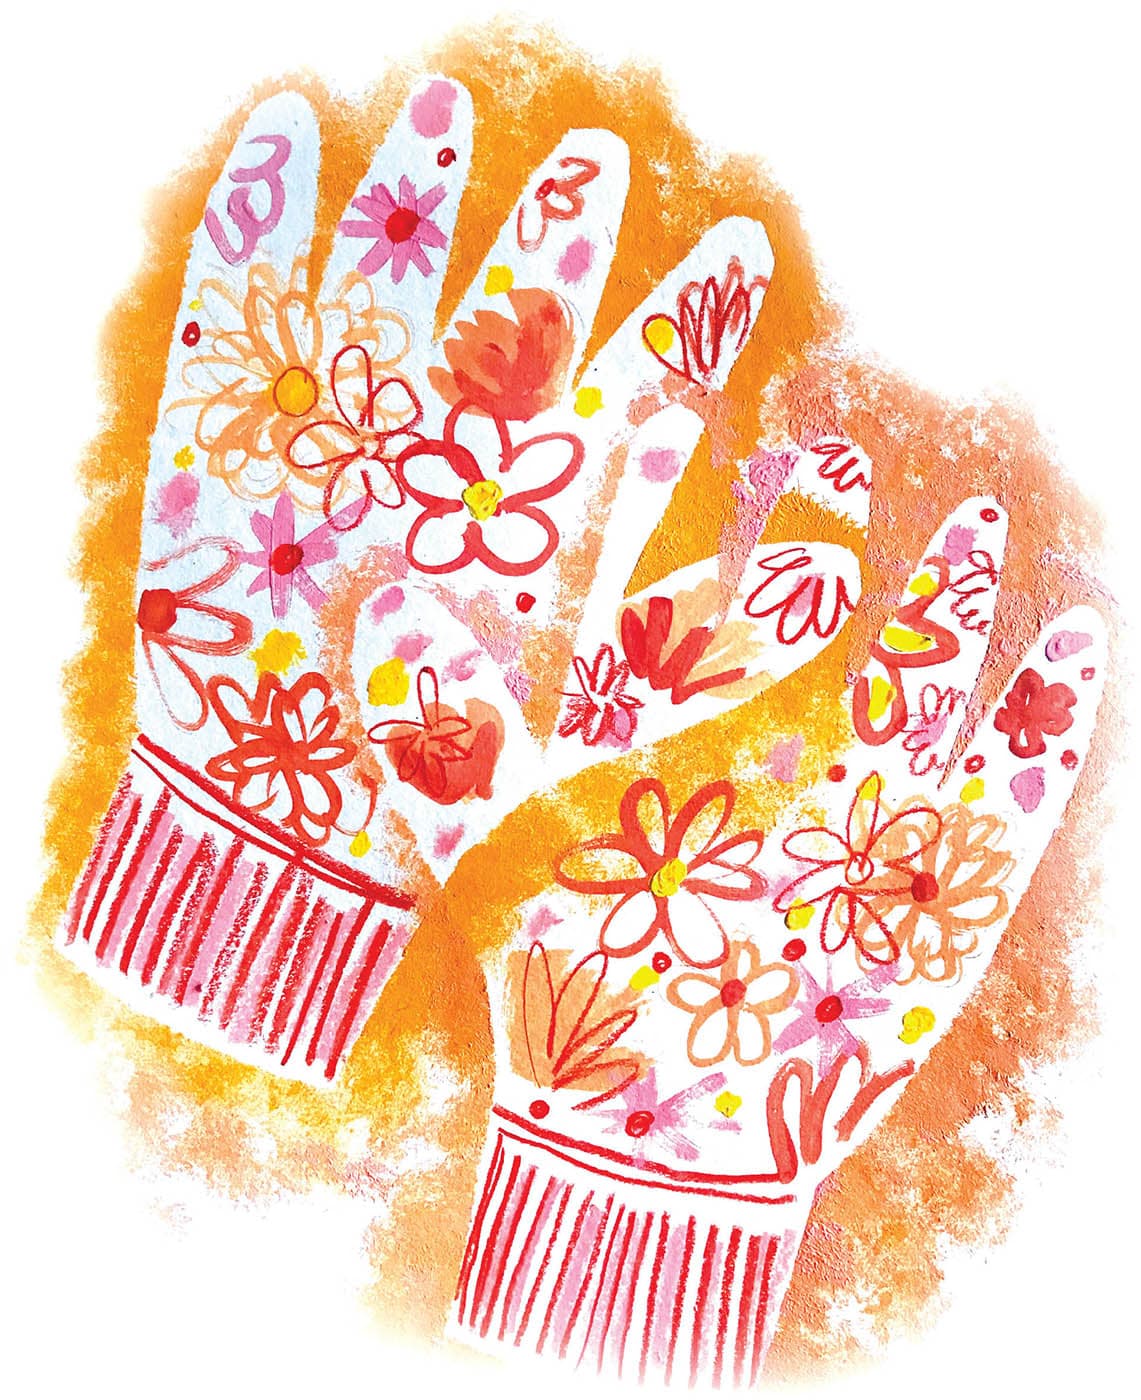
Keep those scissors and glue sticks around from the previous project! Here we’ll have even more fun cutting paper—this time creating a template for masking. Use gouache for this project. Draw a simple glove shape onto sturdy white card stock and cut it out. Load a very stiff brush with the color of your choice, and stipple around the edges of the glove. Make sure to hold it down securely so that the paint doesn’t get underneath the mask template. Let the paint dry. Once the paint is dry, flip over the glove to create another one, laying it slightly above the first glove. Now use a different paint color for the second glove, repeating step 2. Let the paint dry; then use colored pencil to draw in the grooves of the elastic wrists. It’s time to give the gloves a pattern! I’ve painted free-form flowers here, using a liner brush dipped in assorted hues of pinks and oranges. Give the pattern additional contrast by using a darker hue (red in my case). You can also add more details in colored pencil once it all dries. Weeding is far more fun when wearing cute accessories!
GARDENING GLOVESStep 1
Step 2
Step 3
Step 4
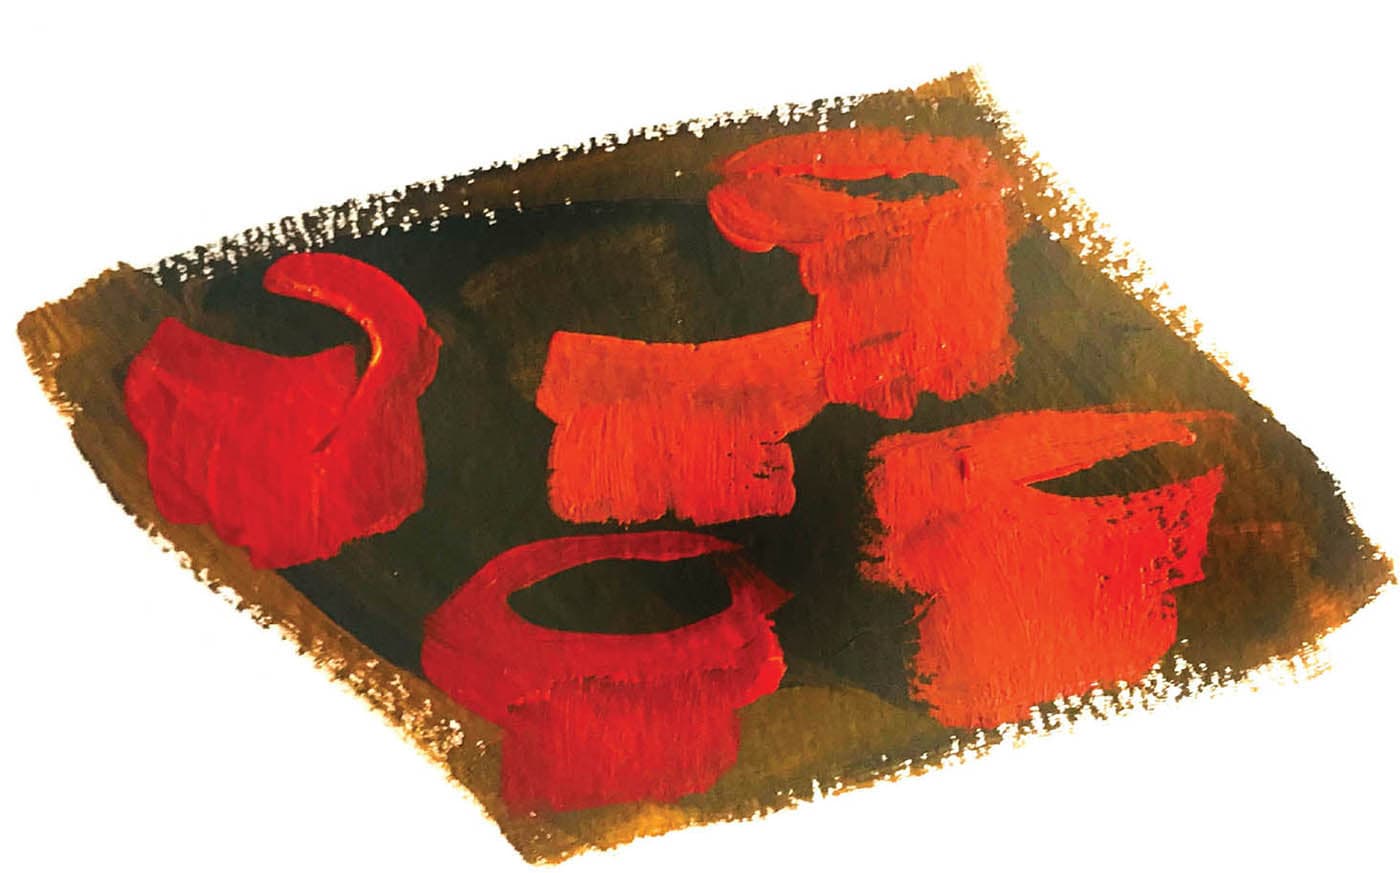
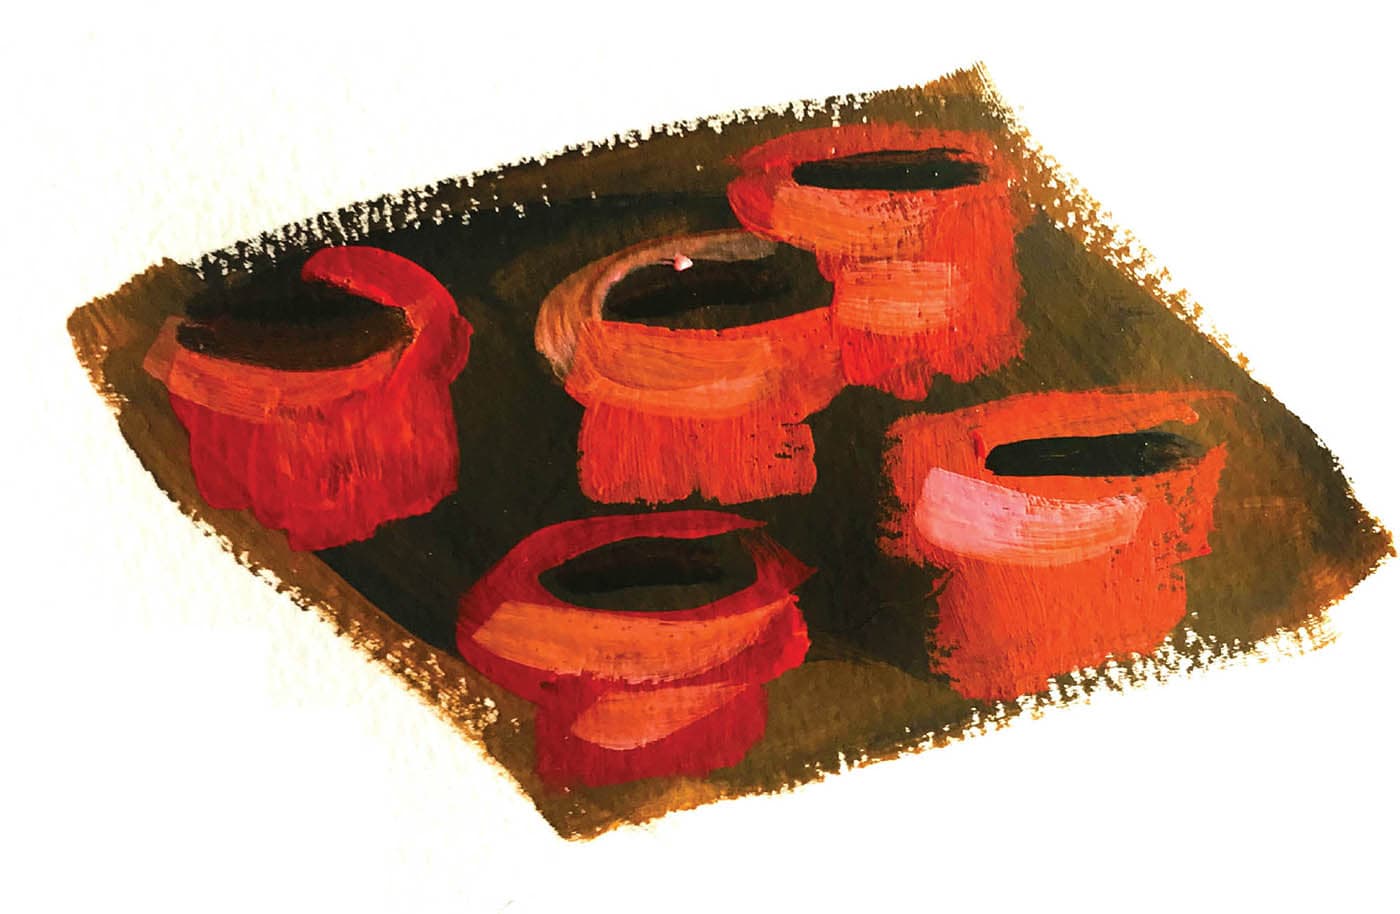
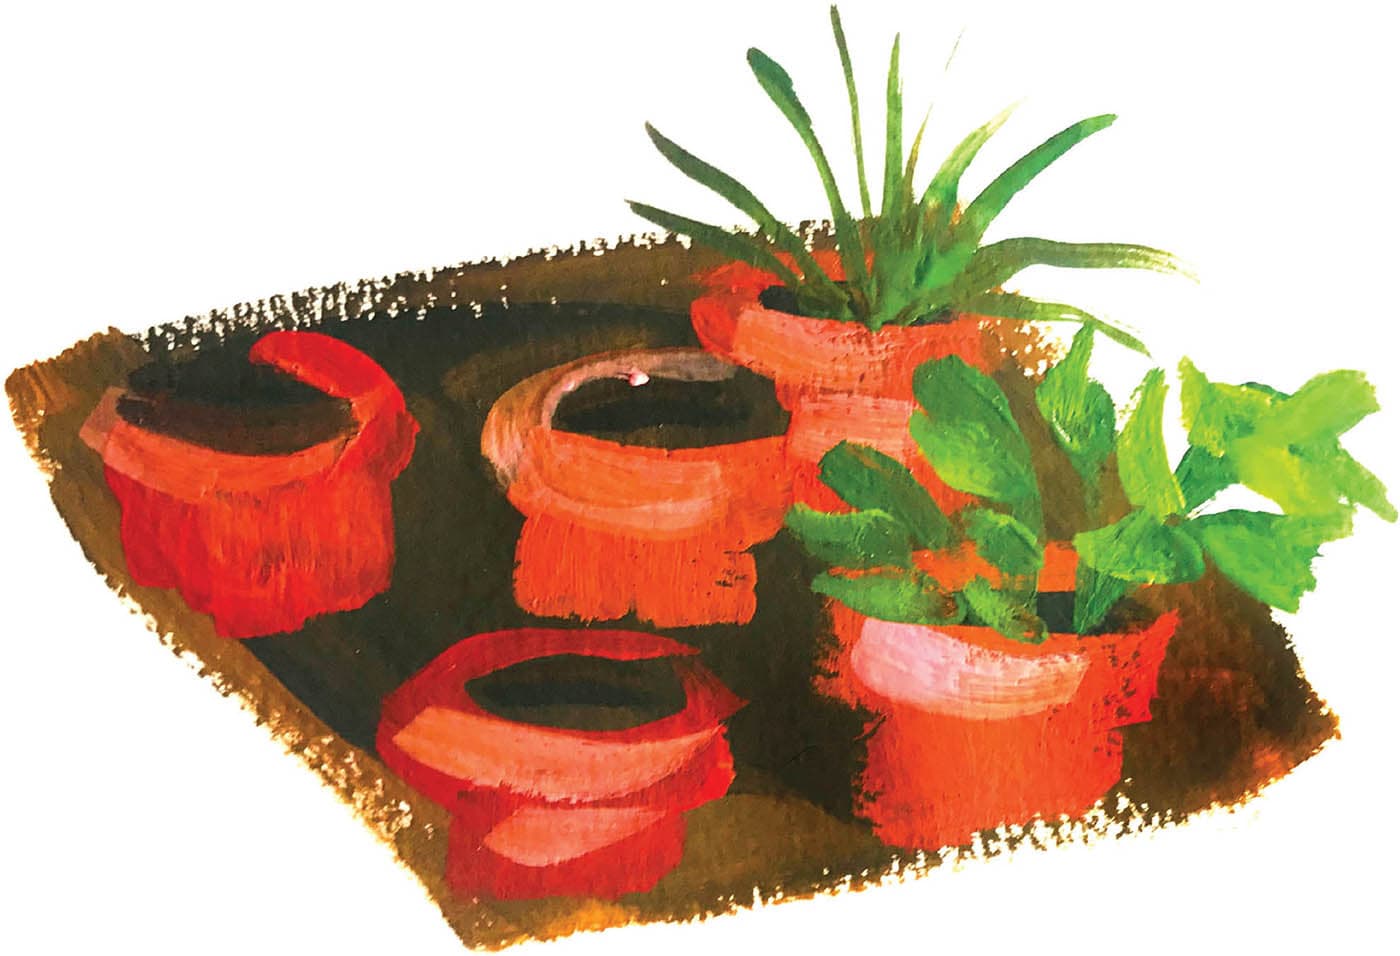
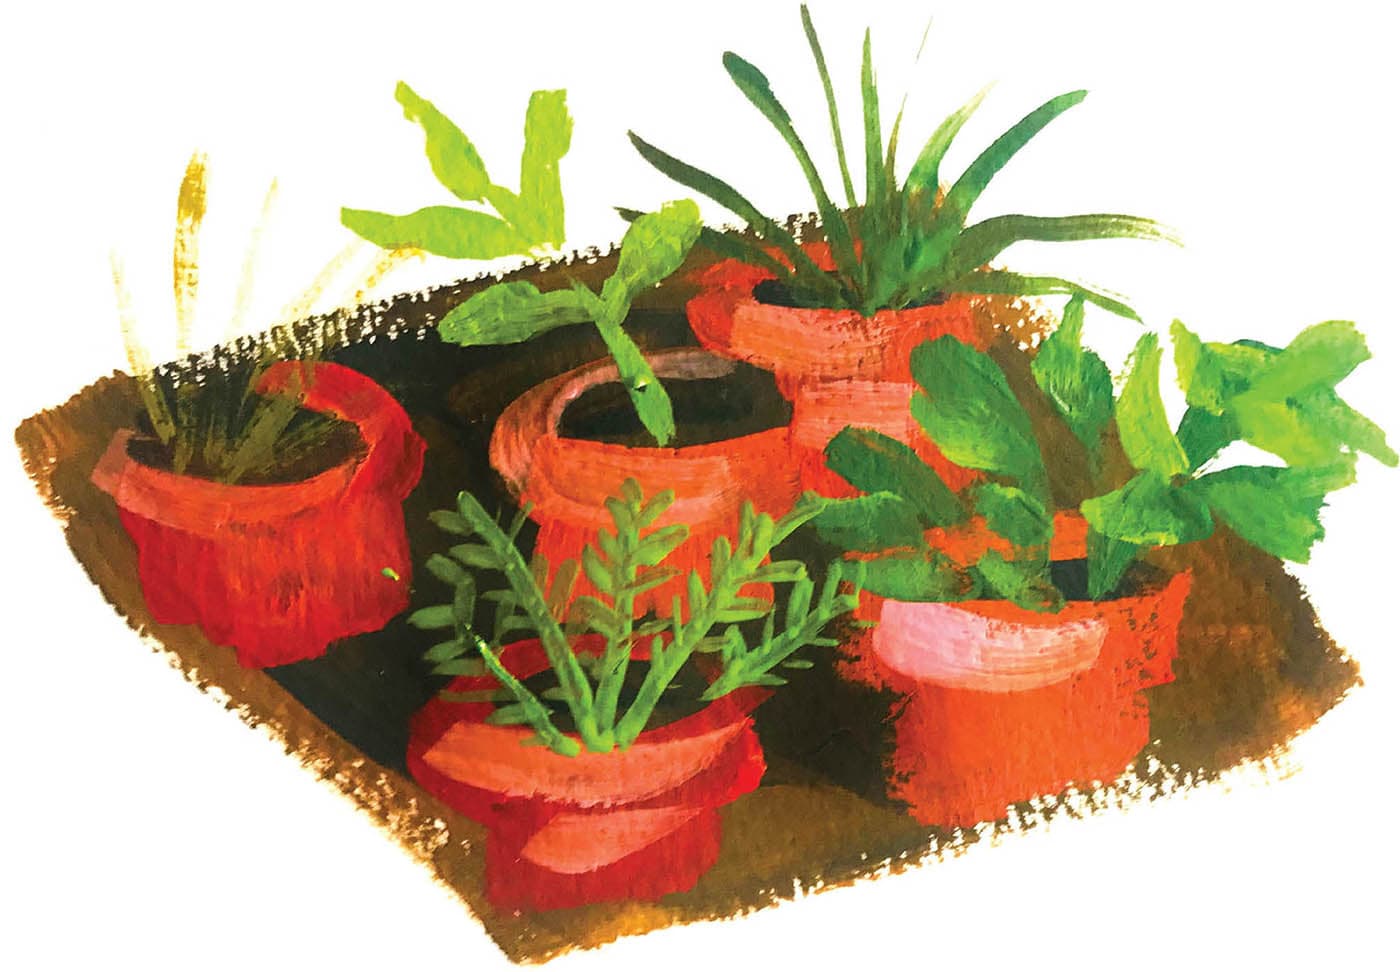
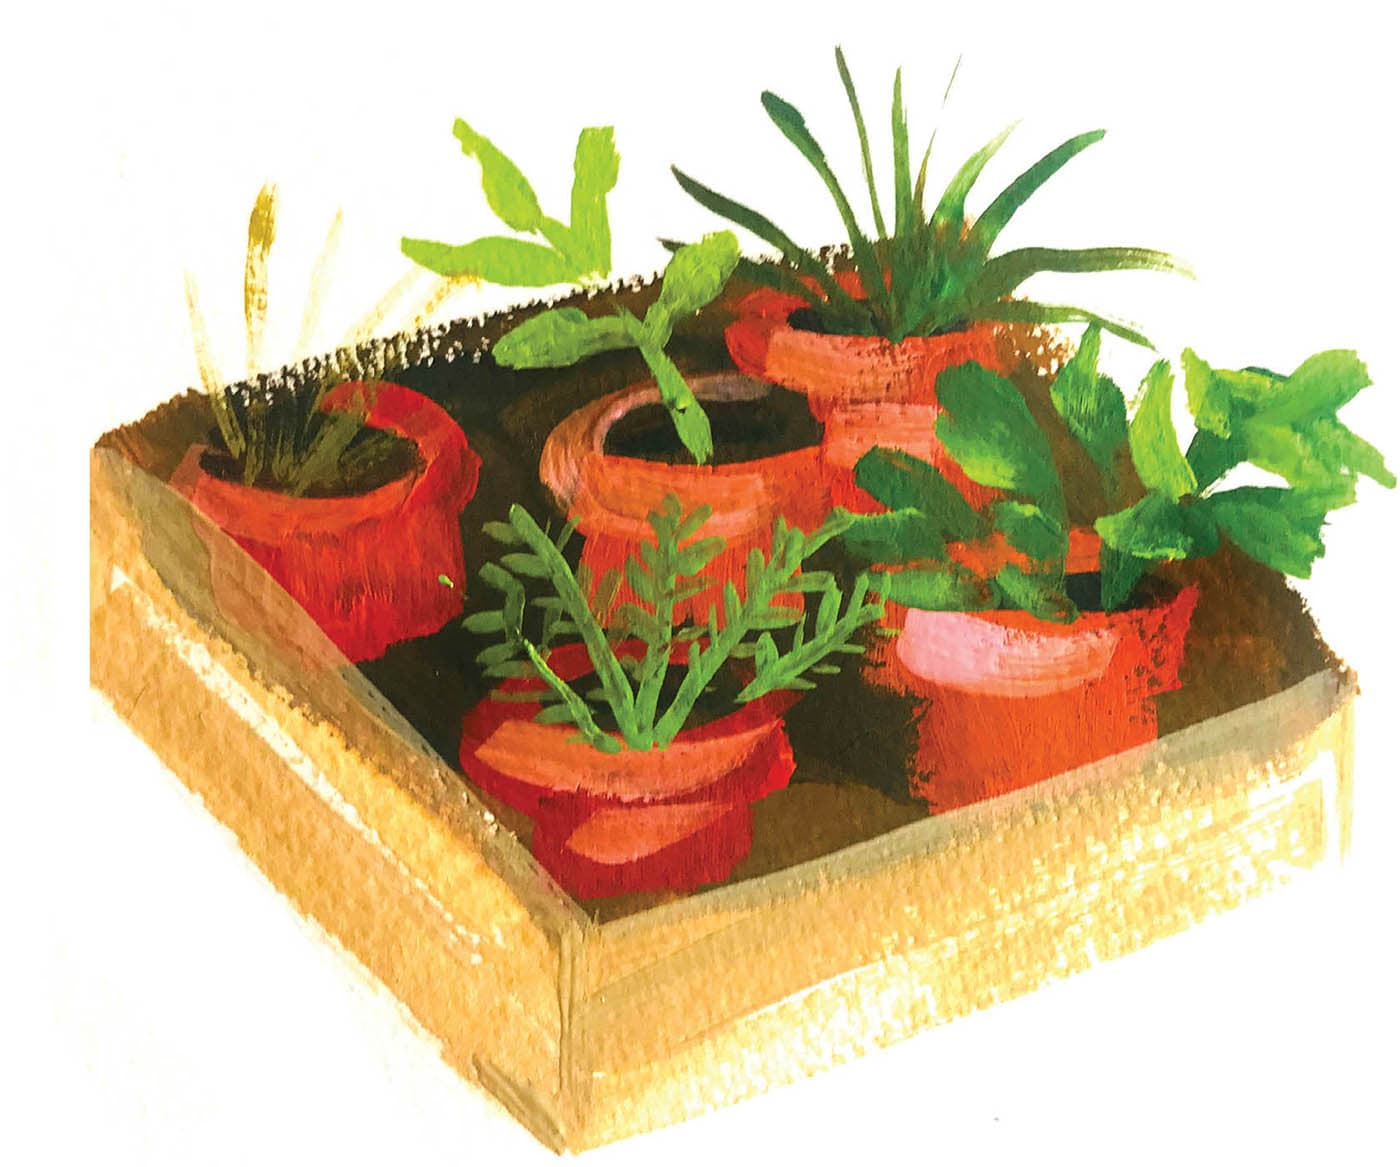
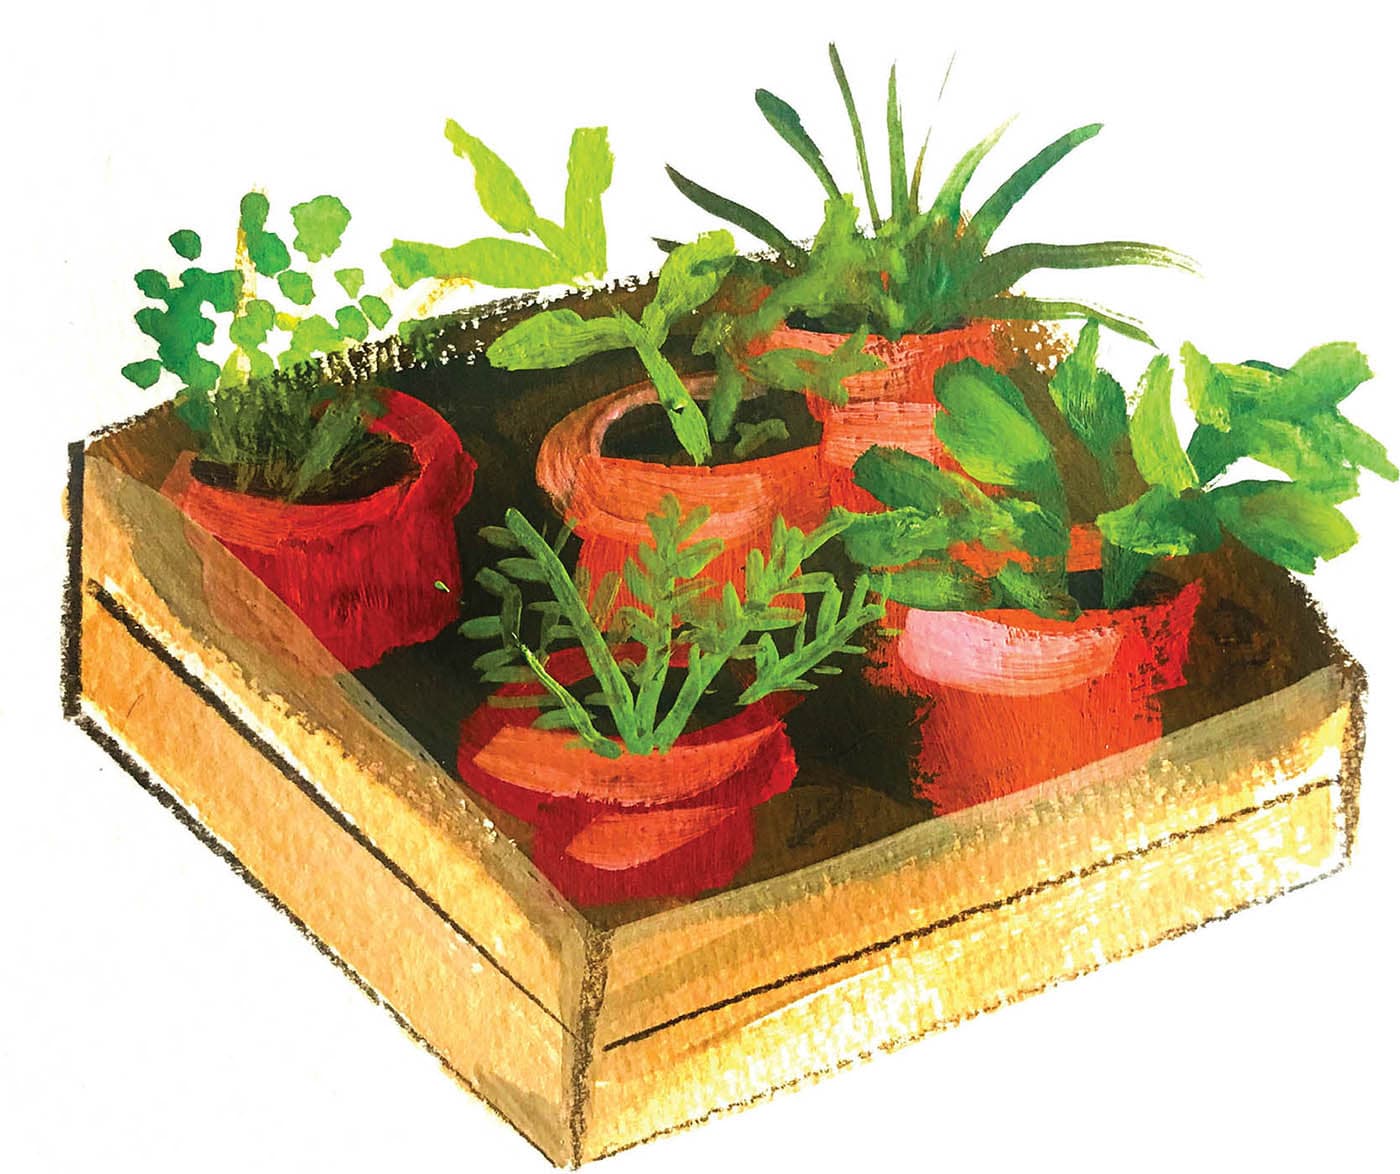
This project also uses gouache to paint a cute little herb garden, perfect for a small patio or balcony! Load an angled brush with brown paint and create an angled box. Using a smaller angled brush, create the impression of terra-cotta pots with a few simple swipes of red-orange. While the pots are still wet, swipe in a bit of pink for highlights. Use green paint to begin adding in the herbs. These are very loosely done, so don’t get too hung up on the details. Play with different hues and values of green, and continue adding various herb plants. It’s time to frame the plants in a raised garden bed. Mix some raw sienna and white gouache, and grab your angled brush. Dip parts of it in lighter or darker browns. Blot the brush a bit on paper. You want to use the drybrushing technique here so that the wood appears a bit coarse, with the help of the paper’s texture. Make one downward angled stroke for the side and one left-to-right angled stroke for the front. Once the paint is fully dry, you can make a few strokes with a brown colored pencil to add details to the grooves of the bed. Use a ruler here and follow the lines of the painted bed.
HERB GARDENStep 1
Step 2
Step 3
Step 4
Step 5
Step 6
 Nine Different Ways
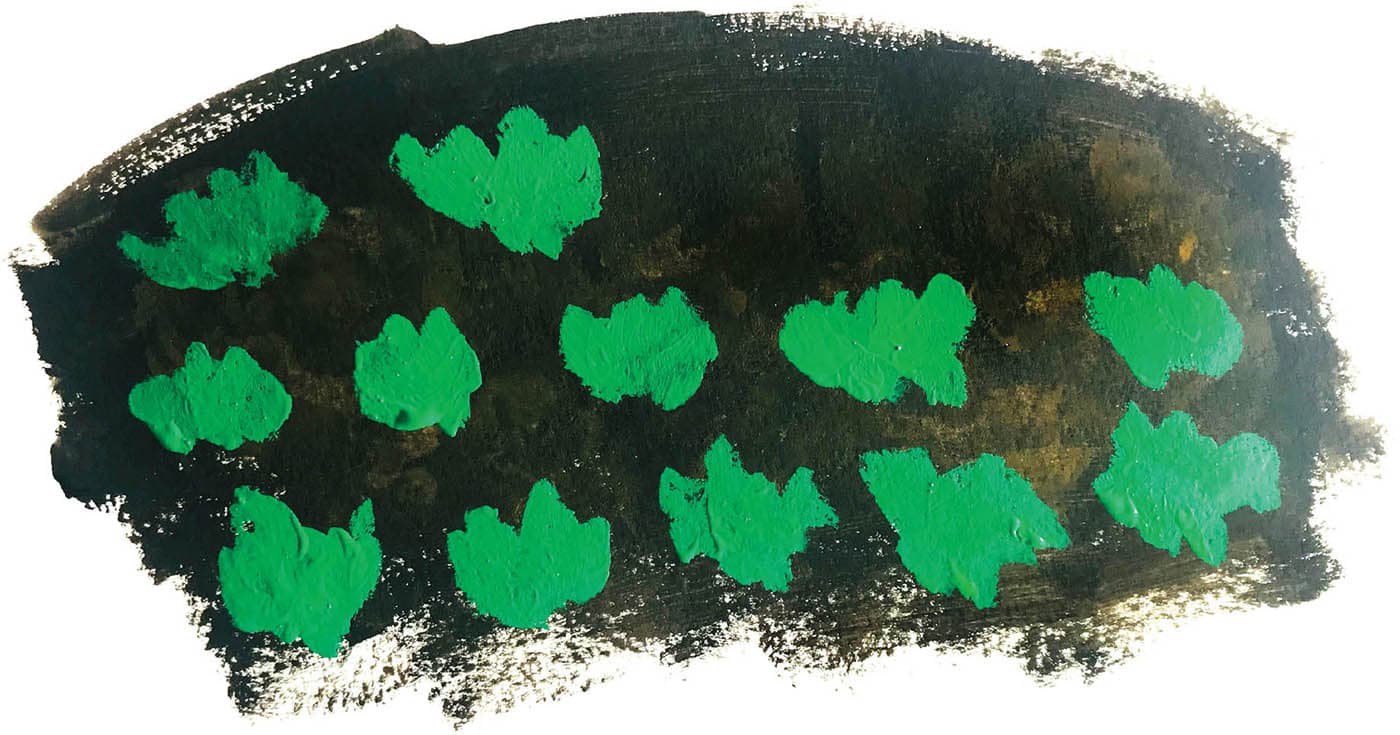
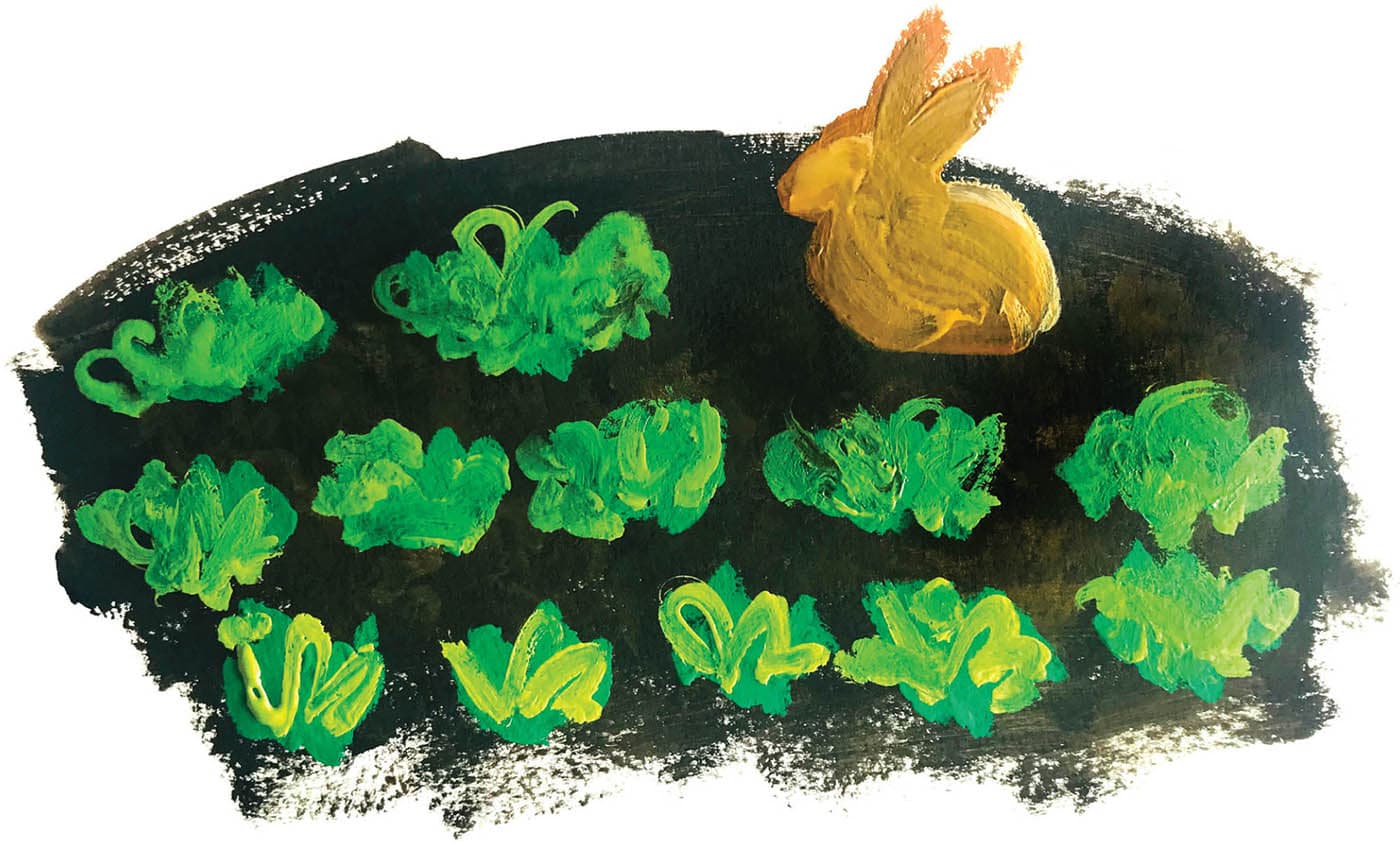
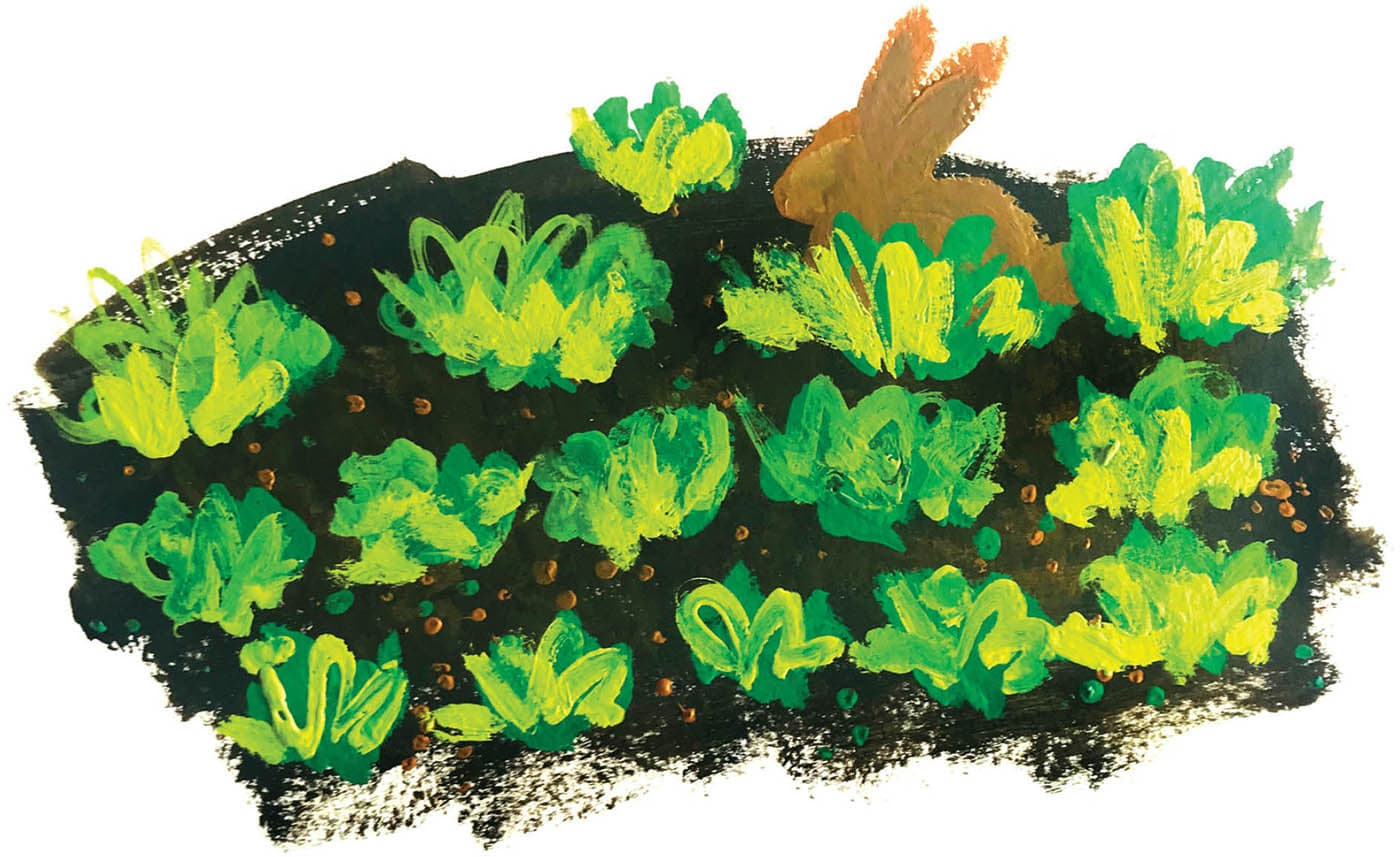
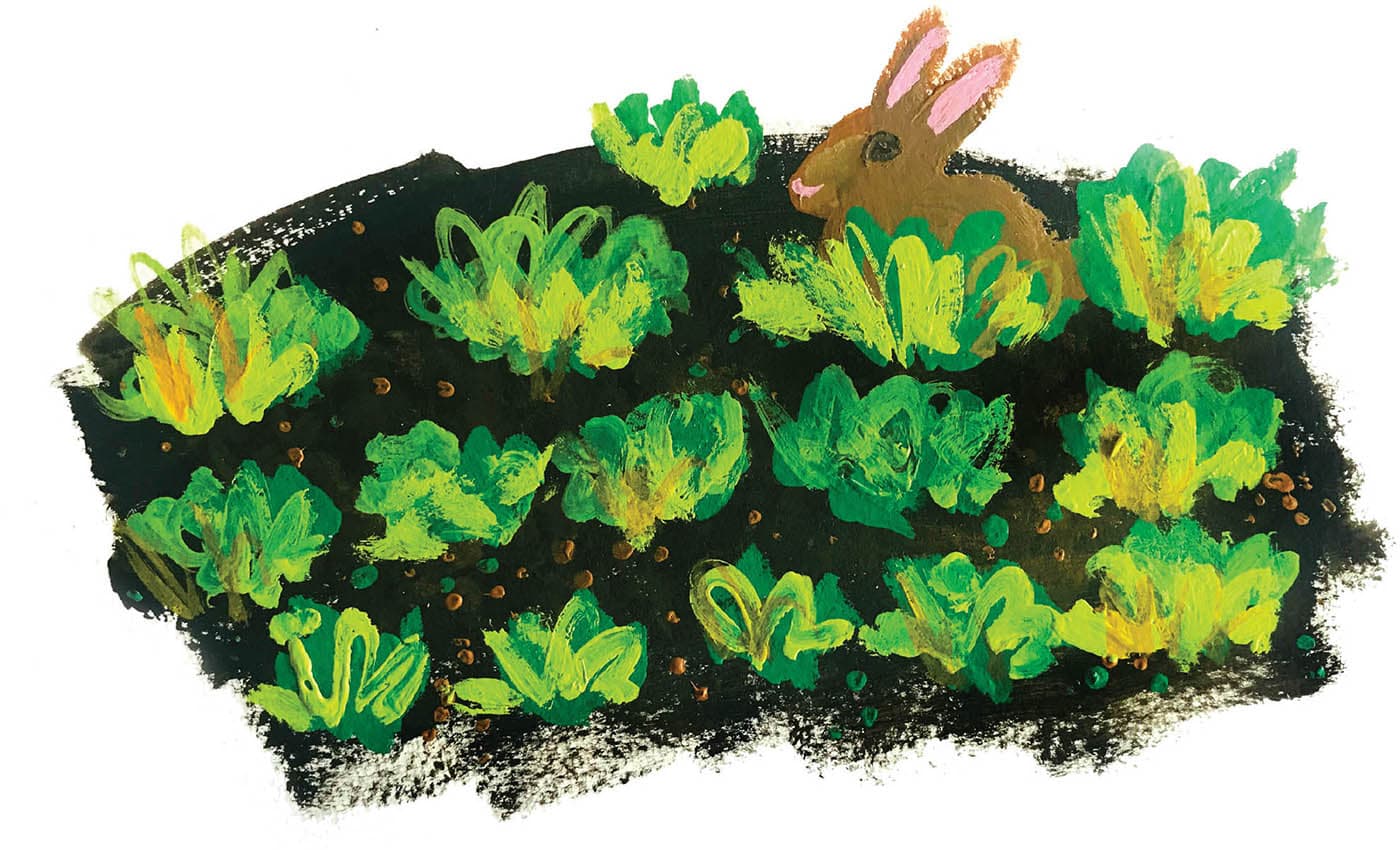
Now add a cute little bunny to your garden space! This project also uses gouache. Start with a very free-form swath of sepia, using a large, broad brush. You can stipple in some raw sienna too to give it a soil-like texture. Let the paint dry. Using wet cadmium green or any other medium green, create leafy little plants with your round brush. Using a round brush and raw sienna mixed with a touch of white, form the basic shape of a bunny. Go over the plants with a lighter hue of green for contrast and that leafy-lettuce look. You can also use the tip of your brush to tap into the browns and greens to create the appearance of tiny budding plants. Once the last step is dry, add a lettuce plant in front of the little bunny, as well as any other clusters where there may be empty space. Lastly, give the bunny some pink ear details and a tiny nose. Using the liner brush, create a small, almond-shaped eye. Add any other details as needed. I’ve lightly added a bit of raw sienna over the lettuce clusters.
GARDEN BUNNY IN A LETTUCE PATCHStep 1
Step 2
Step 3
Step 4

Step 5
Step 6
Terrariums are lots of fun to paint. Start by using masking tape to mask off a geometric shape, and then paint a variety of succulents inside. Let them dry; then remove the tape to paint the basic lines of the copper-fused glass and base. Now place in a sunny spot!
TRY THIS!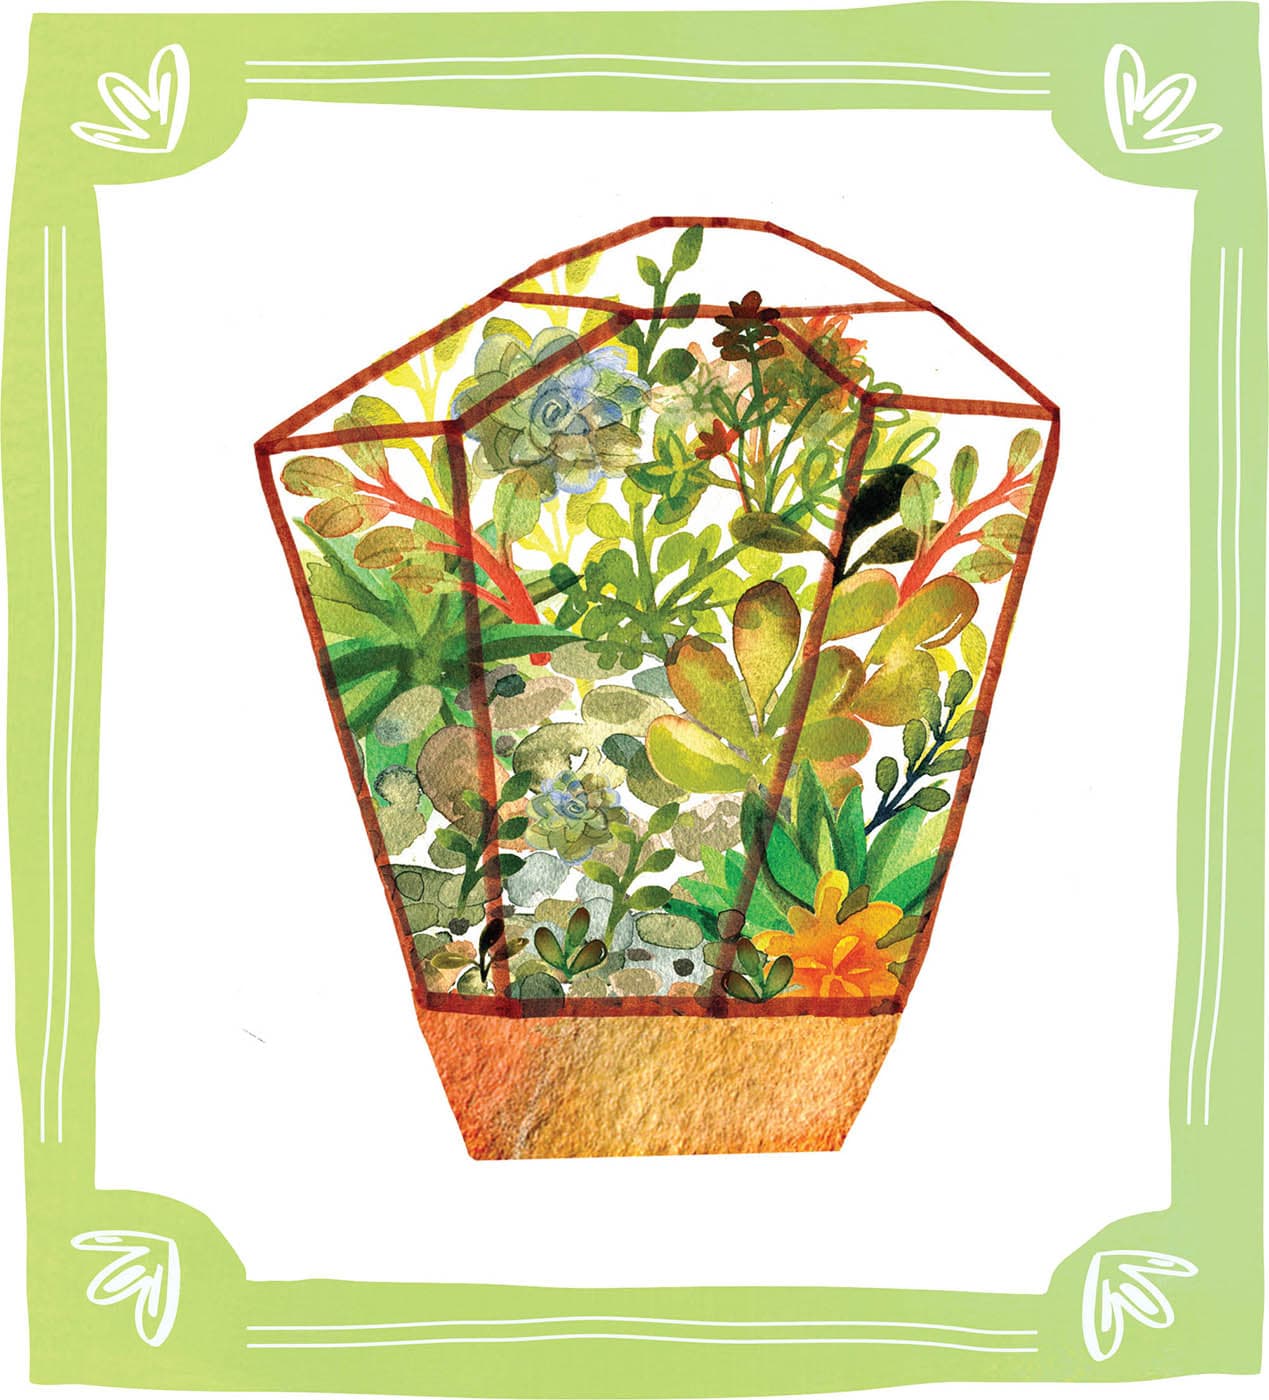
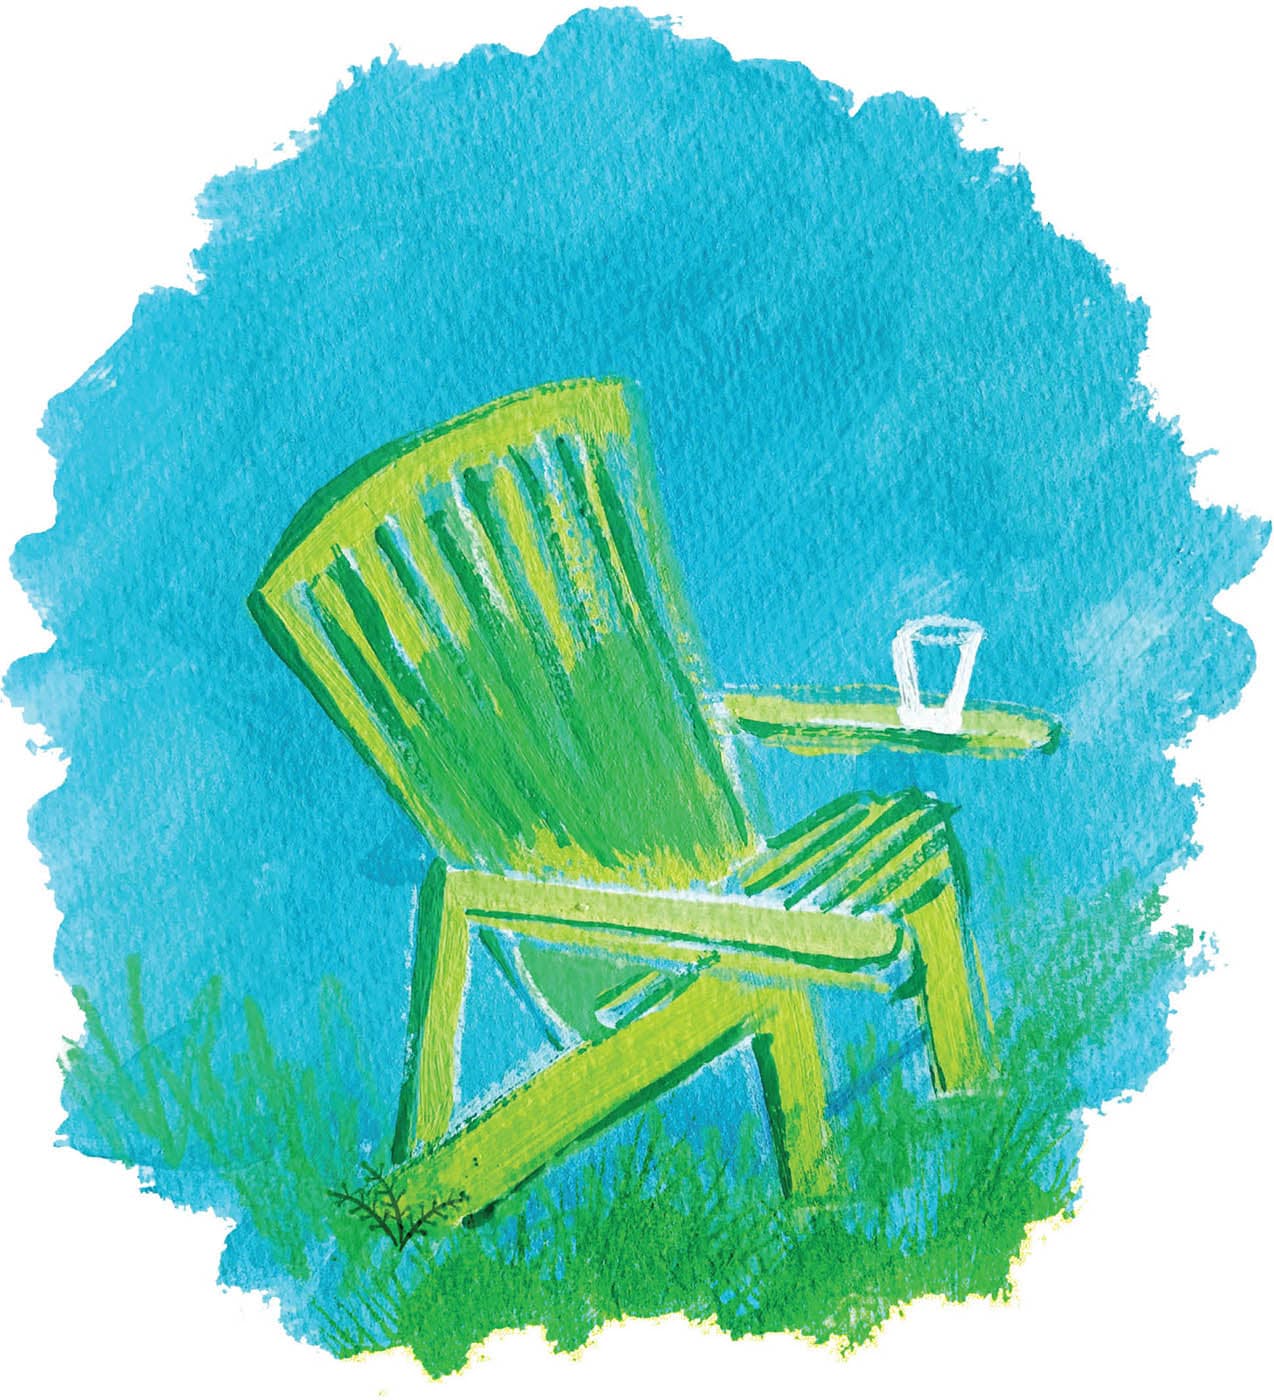
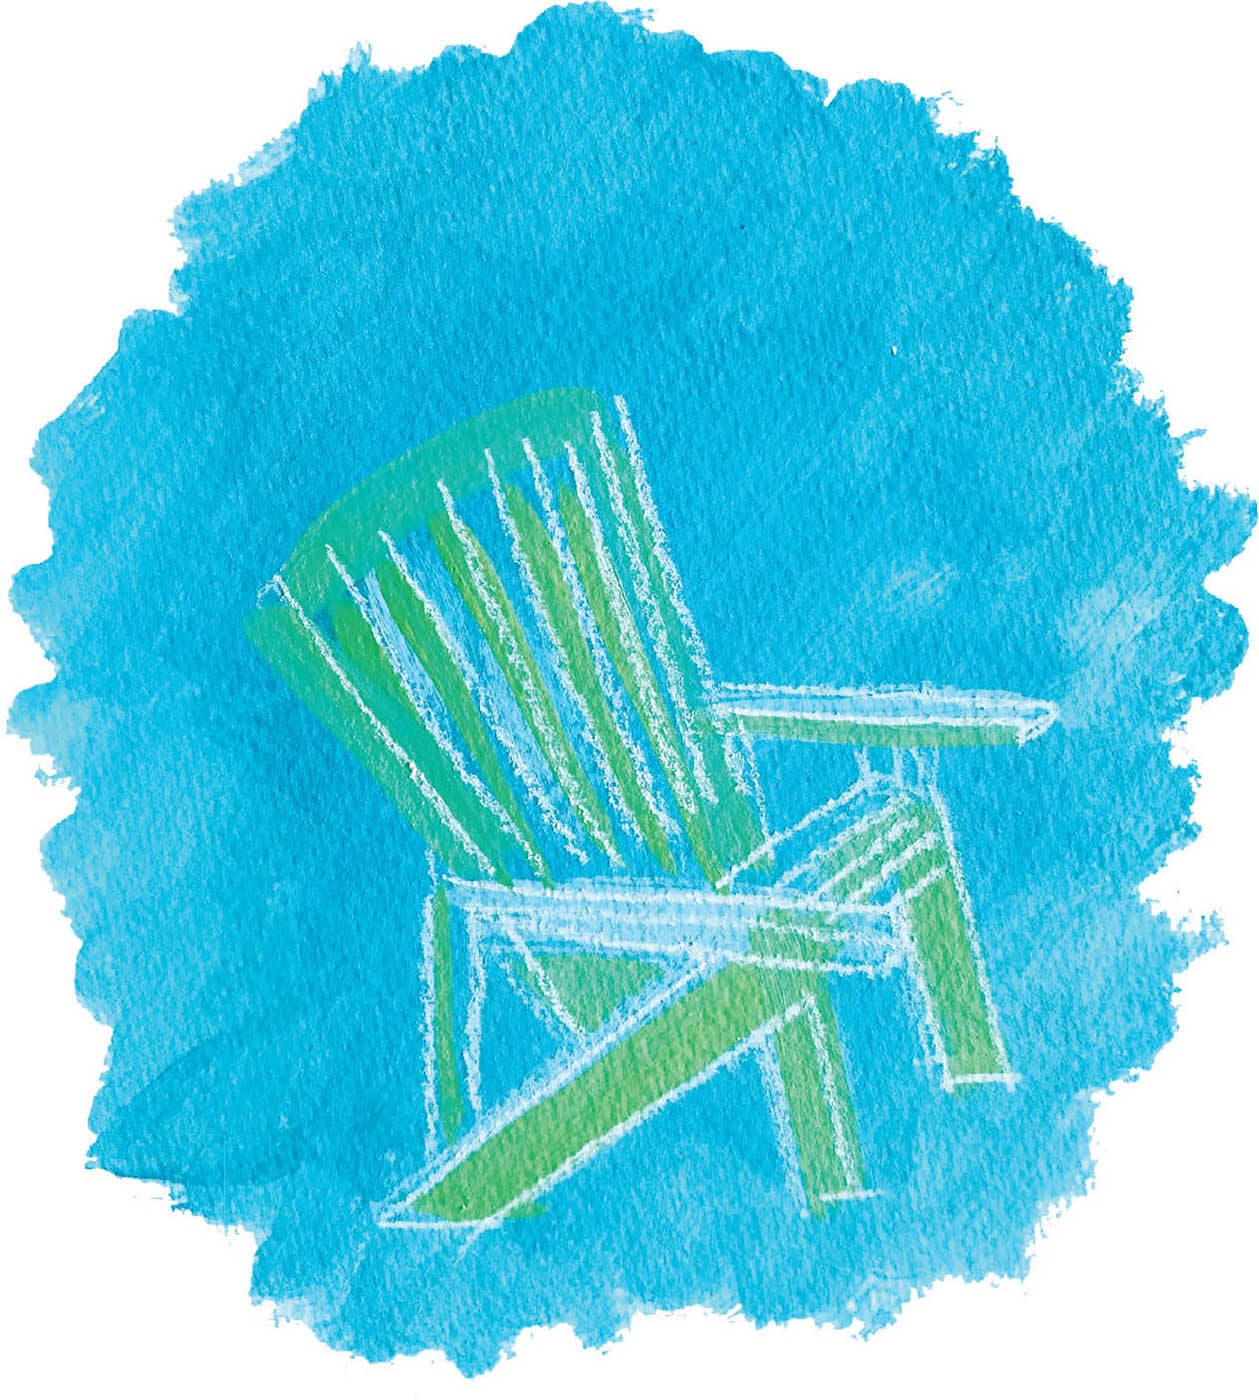
Sit back and put your feet in the grass . . . after painting this delightful-looking Adirondack chair using gouache. Start by creating an irregular background using a large, angled brush. Let the paint dry. Then, with a white charcoal pencil, draw the basic shape of the chair until it looks about right. It’s a complicated chair, but we’re not aiming for perfection here—a more stylized version is great. Mix up some medium-green paint and thin it down with water. Begin filling in some of the drawn areas. Mix a warmer green and go over the already-green areas with thicker paint. Let the paint dry; then take a green pencil and draw in some grass at the base of the chair. Using dark green and a liner brush, add details in the areas where the light isn’t hitting the chair. A lot of this is a back-and-forth process, so play with the different hues of green until the chair appears more dimensional. Add more detail to the grass, a glass on the left arm, and any other touches you’d like.
ADIRONDACK CHAIRStep 1
Step 2
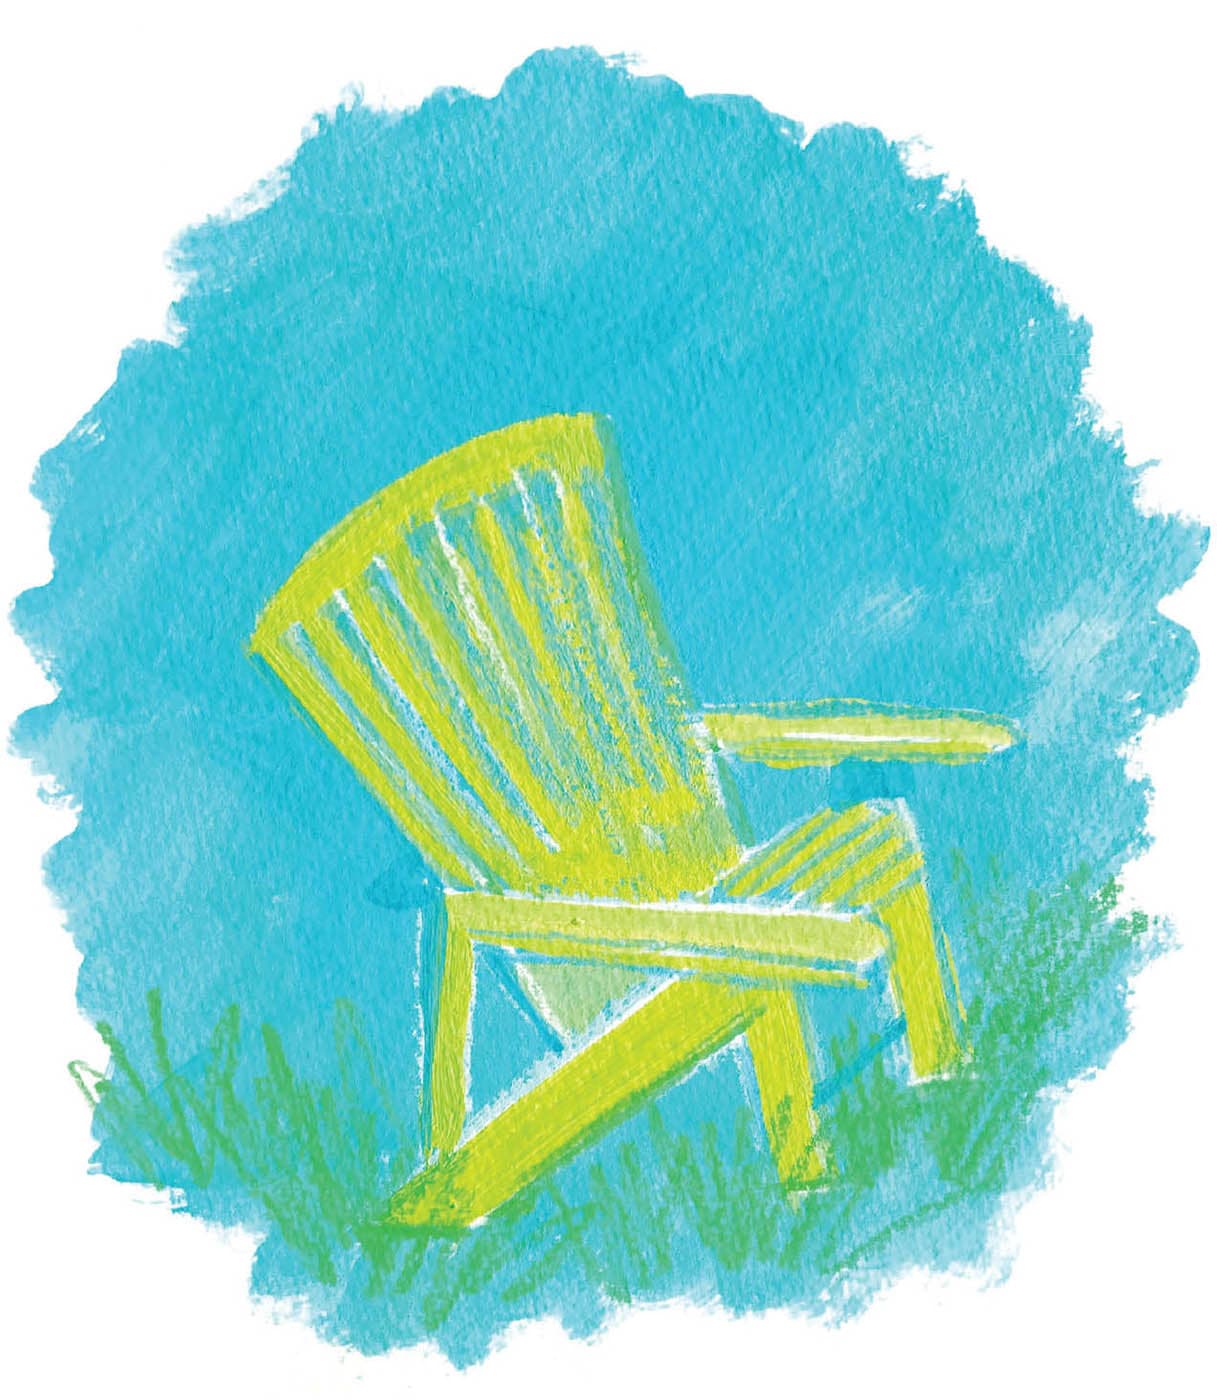
Step 3