
LEVEL: BEGINNER
Two Bluebirds
Painting birds is a fun and easy way to start with acrylic painting. With just a few bold brushstrokes, you can create a beautiful painting inspired by nature.
STEP ONE
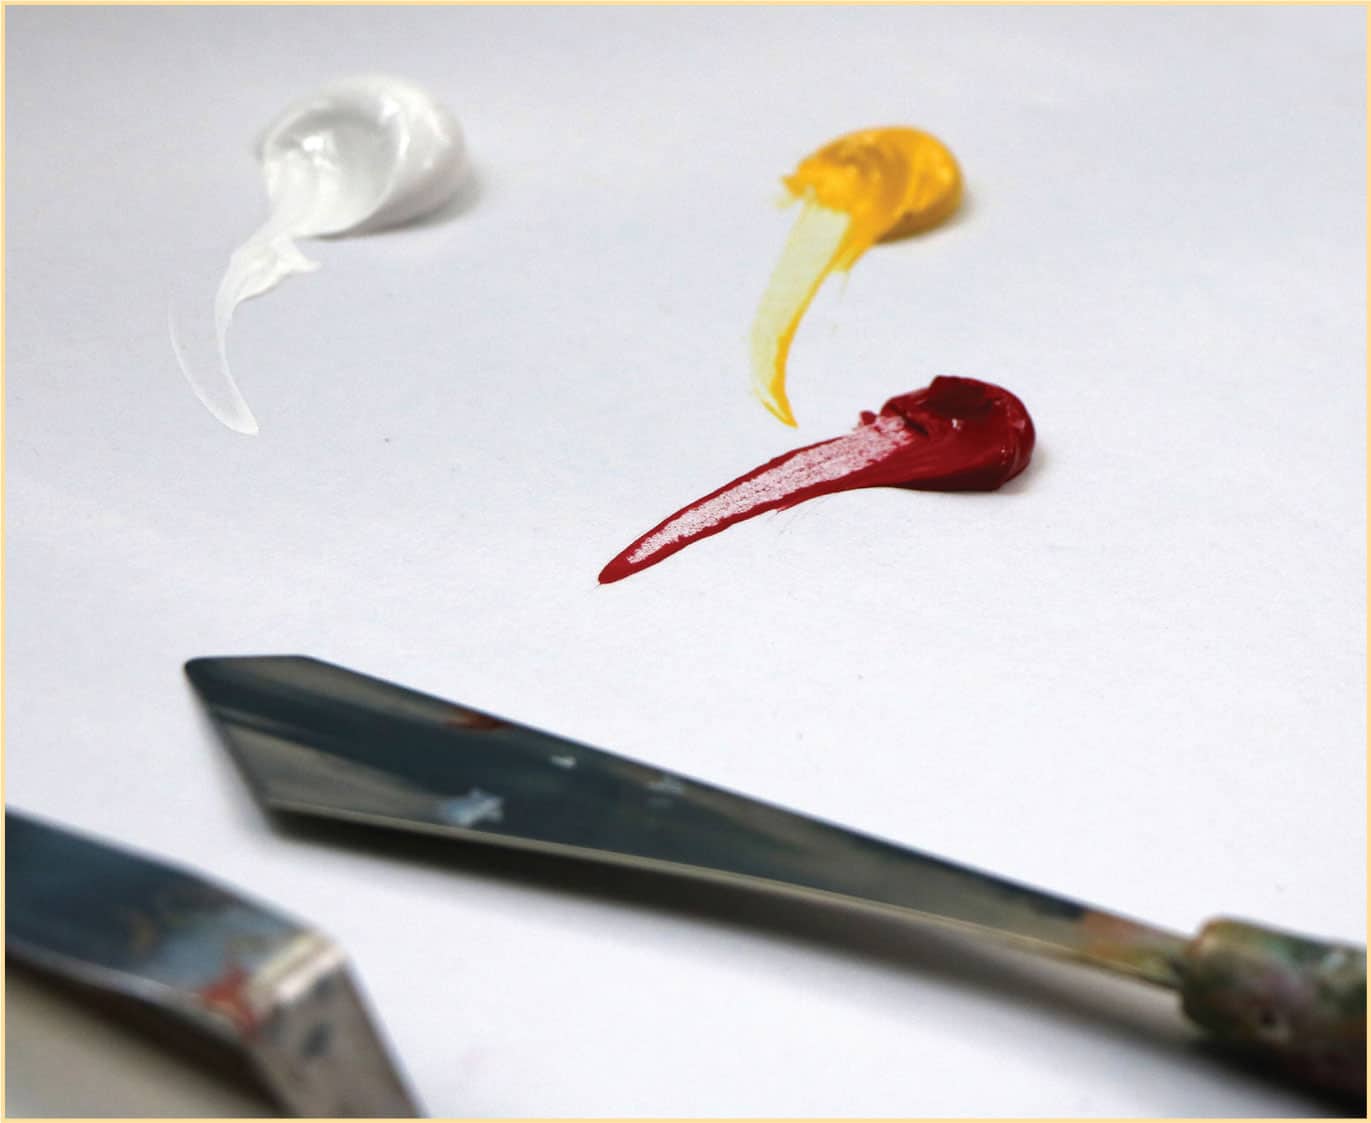
For the first layer, we will use red, yellow, and white paint to create an underpainting or first layer of paint that covers the entire surface of the canvas. Apply some red and yellow paint to your palette, each about the size of a large blueberry. Add twice or three times this much of the white paint.
STEP TWO
Spray each pile of paint with water to cover. Mix all three colors together with the palette knife until completely blended. Add more water, if needed, to create a soupy consistency for the first layer of paint.

STEP THREE
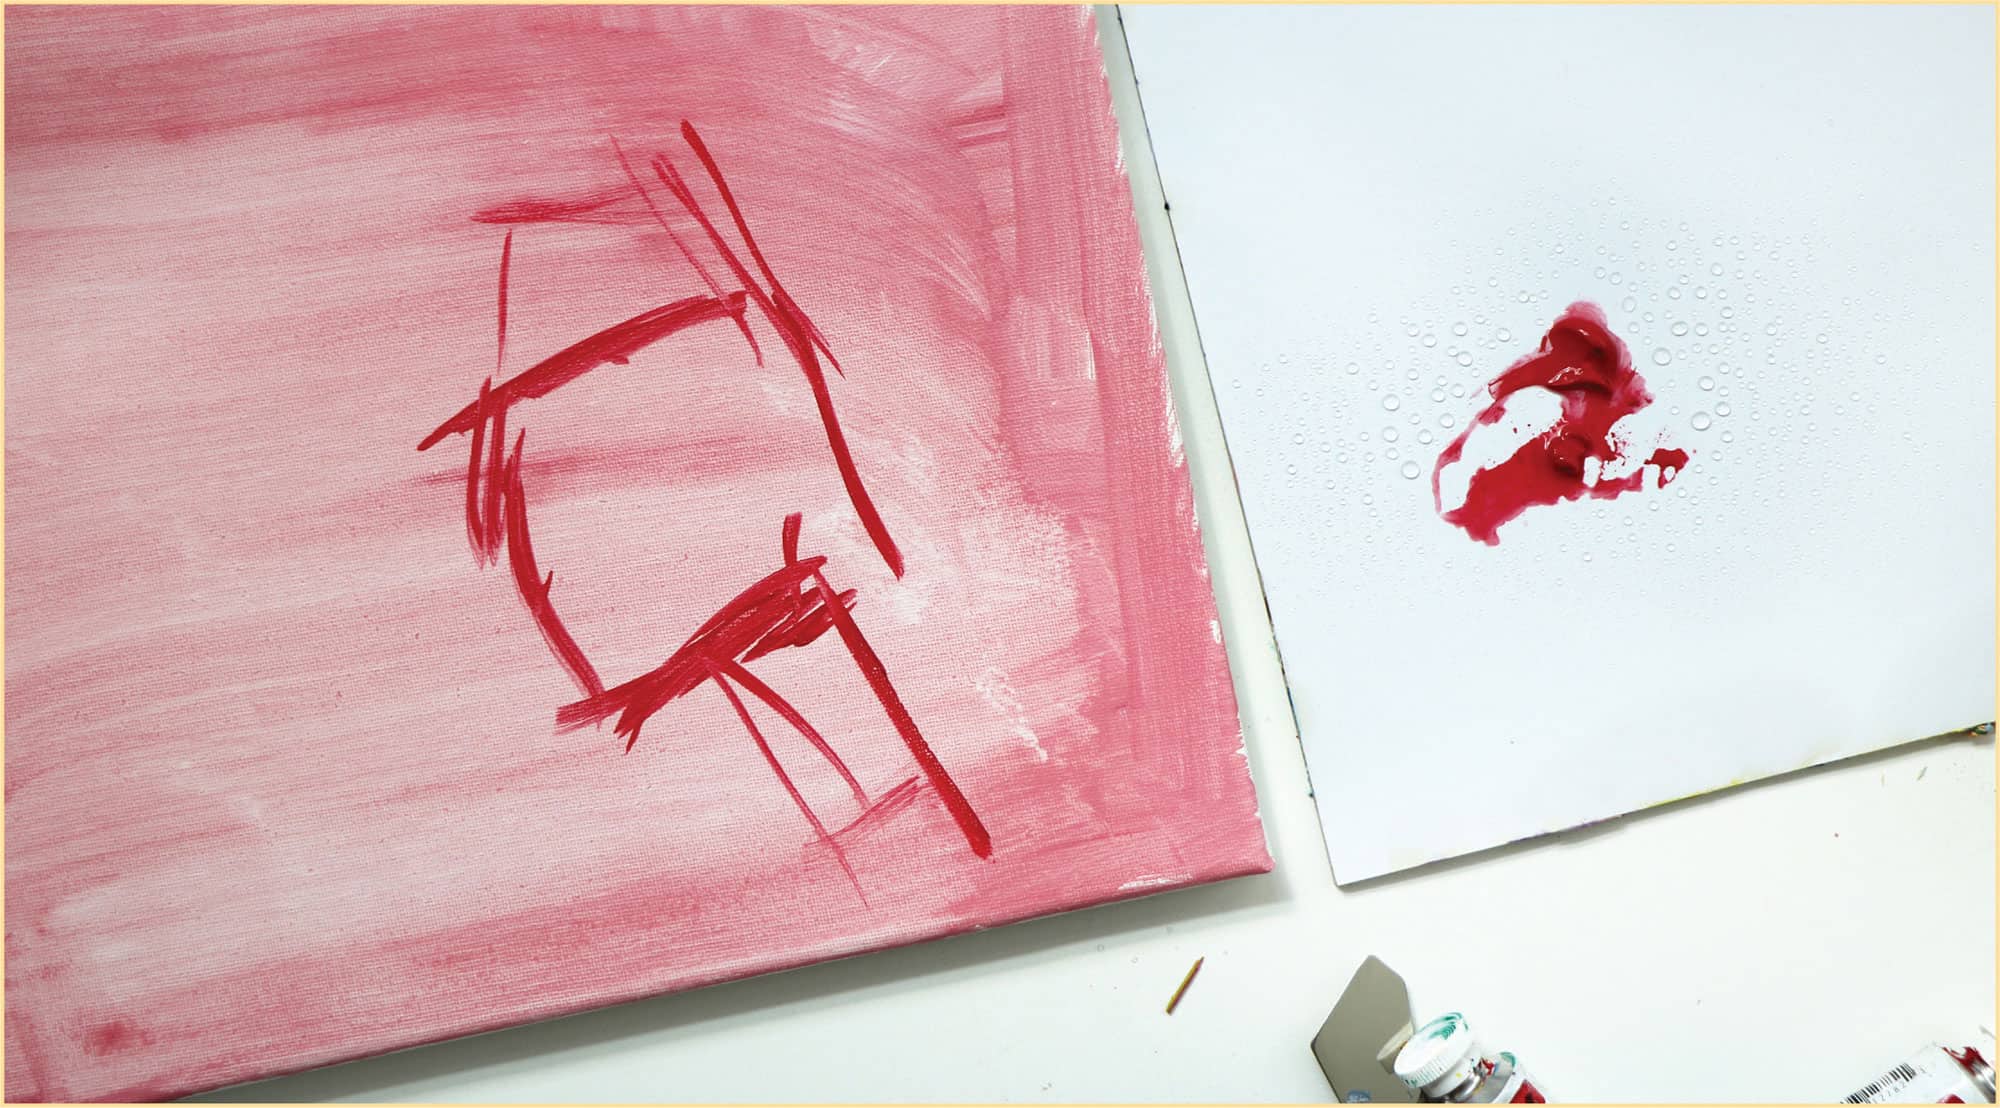
Using the larger bristle brush, apply the paint to the canvas in long, broad, vertical brushstrokes. Completely cover the surface of the canvas. If necessary, go back with the same long strokes in a horizontal direction to completely cover any gaps.
If there are thick areas of paint or excess water on the painted canvas, feel free to gently wipe or blot the surface with a paper towel.
After the first layer of paint has dried, use your red or brown paint to sketch the birds and branch with leaves. Spray the red paint to keep it thin and workable.
STEP FOUR
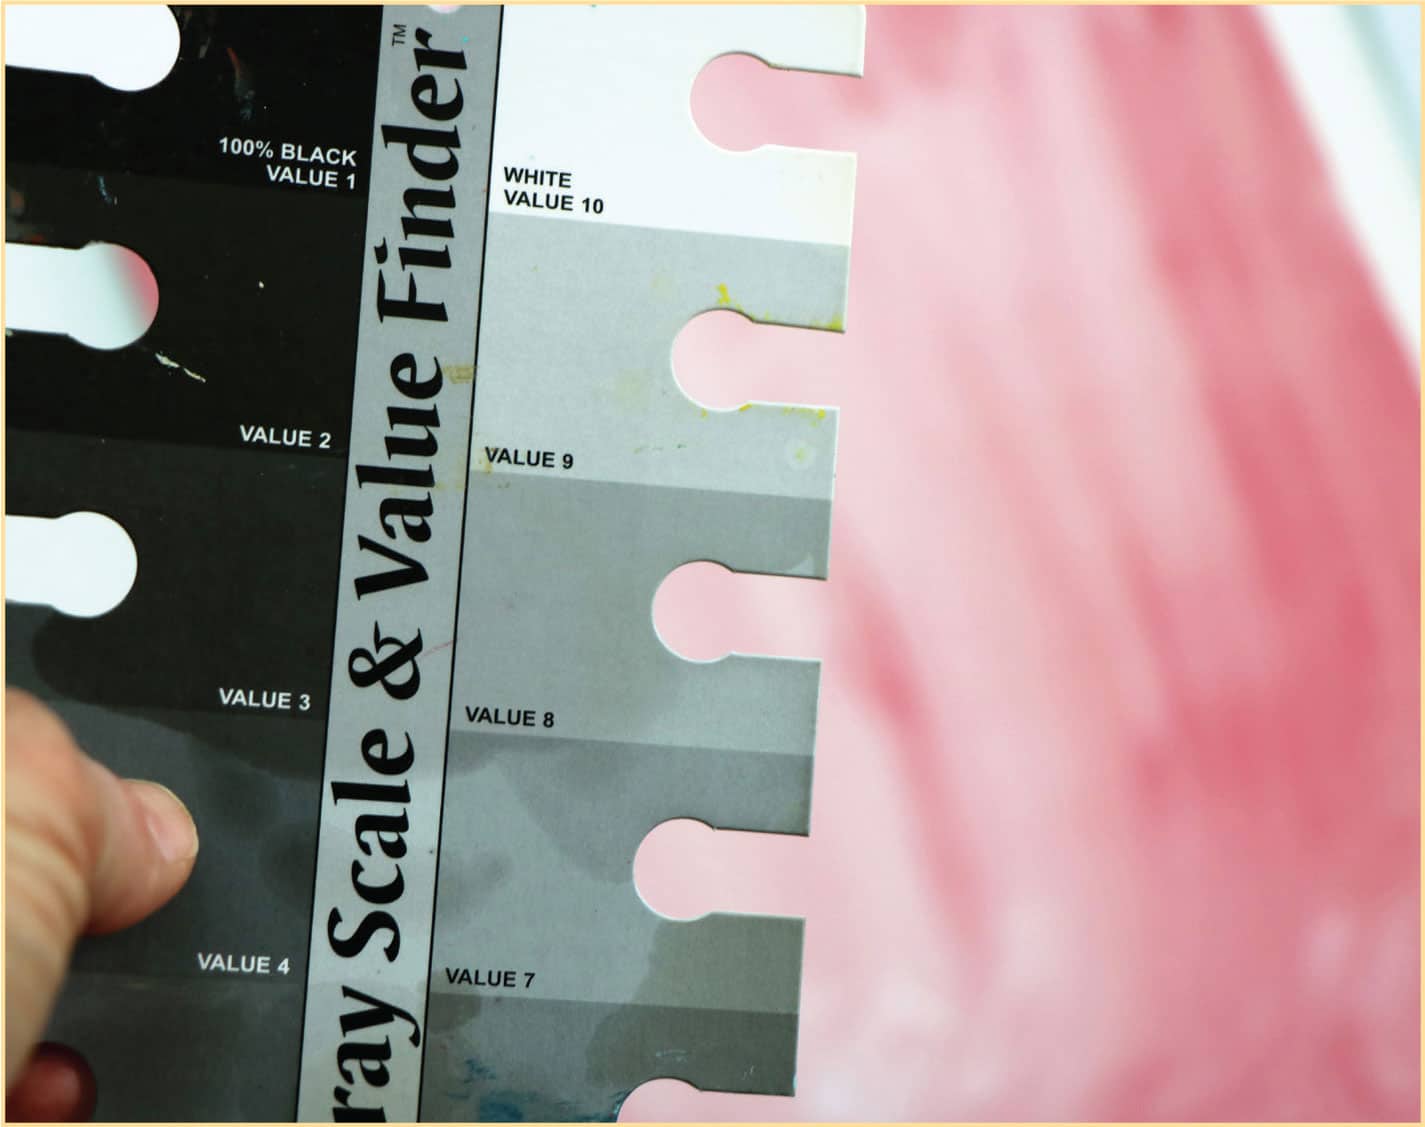
You can use a value finder to judge the darkness of your underpainting. The lighter the value, the higher the number. The color should be no darker than a value seven or eight. This will add dimension to your finished artwork.
STEP FIVE
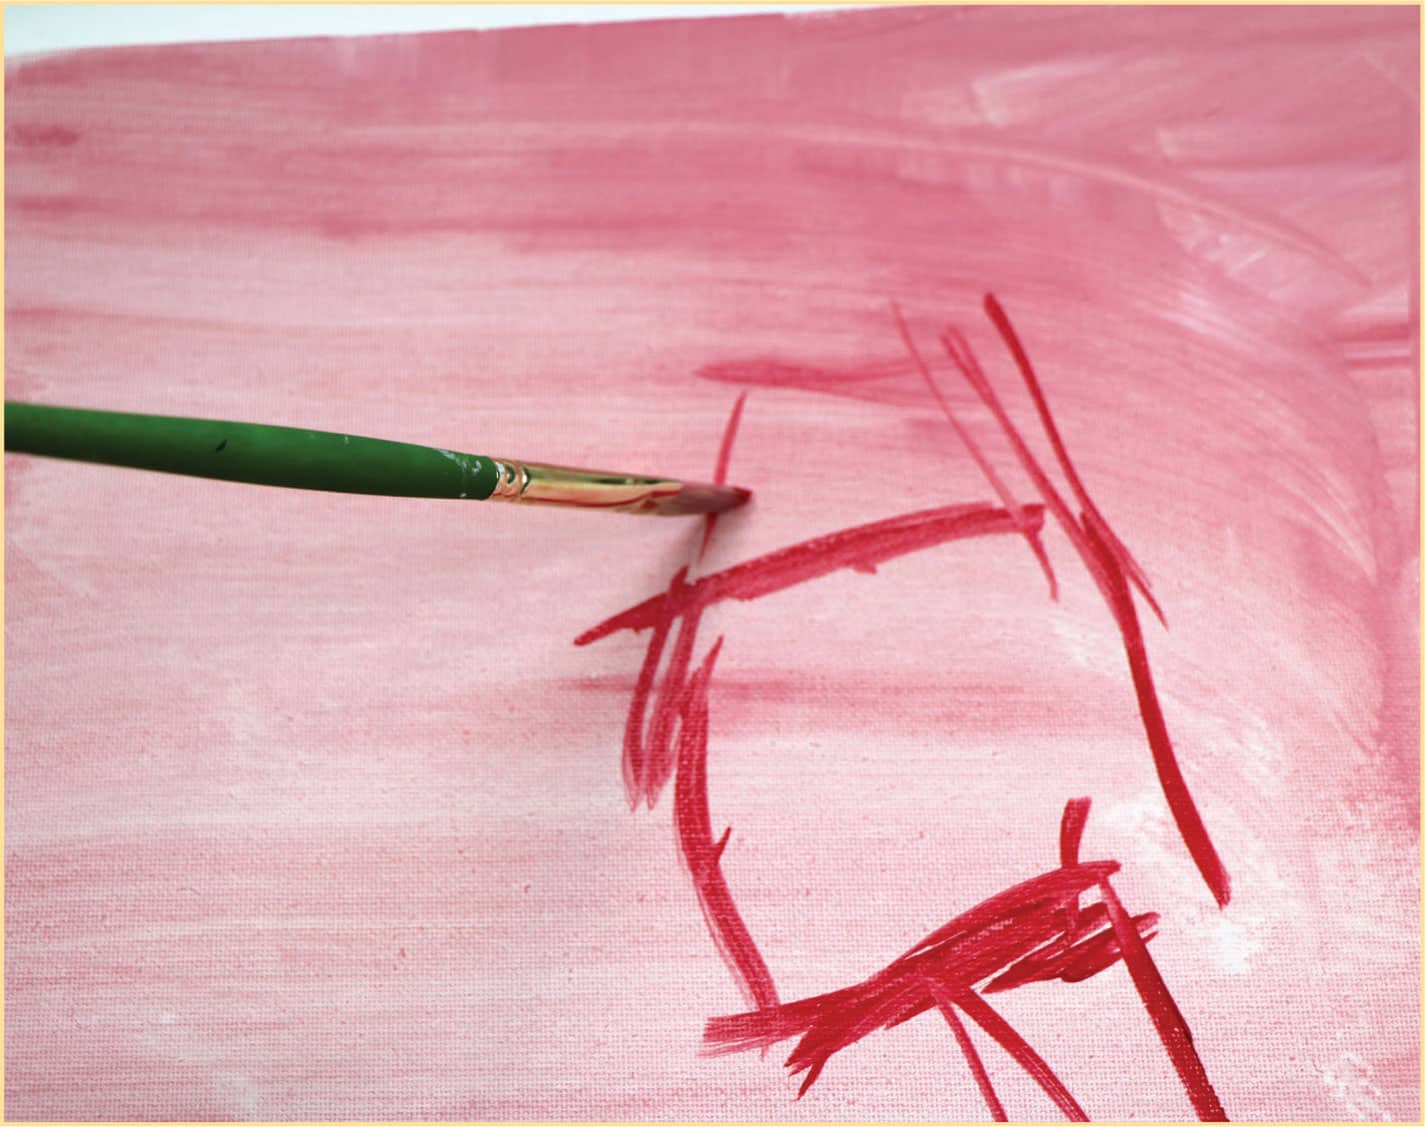
Using the thin brush, sketch out the birds by making a rounded shape for the belly and a half circle on top of that for the head. Use straight lines to keep the work loose. Finish by placing the beaks and eyes, and add the branch with leaves.
Hold the brush about six inches from the metal bristle base. This will help keep your brushstrokes loose and fluid.
STEP SIX
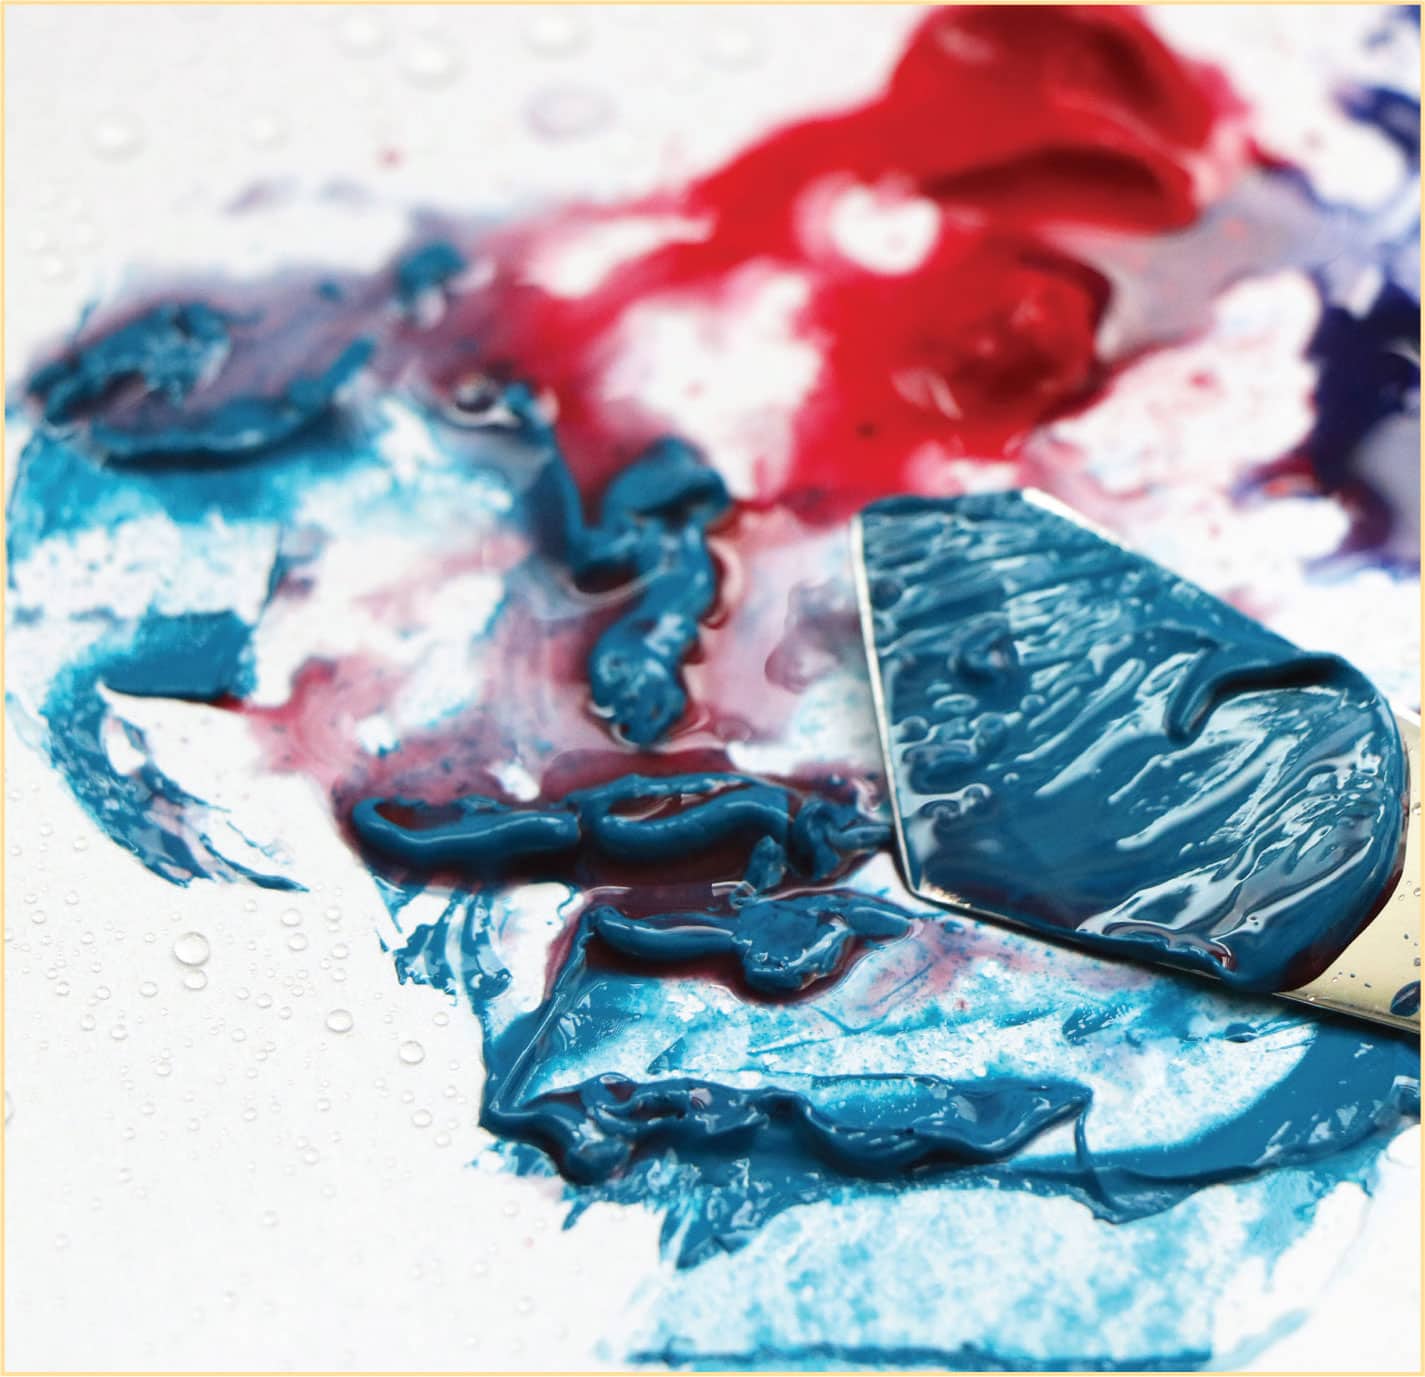
Squeeze a grape-sized pile of each paint color on the palette. Spray each pile with water, and then mix little piles of paint with the palette knife.
For the first pile, add a small amount of red to the cerulean blue paint. For the second pile, add an even smaller amount of yellow to a portion of the blue and red mixture. For the third pile, add a little black paint to the blue paint. For the fourth pile, add some white paint to the blue.
Continue to play around with the piles to make as many shades of blue as you’d like. Just remember to keep the proportions mostly blue.
STEP SEVEN
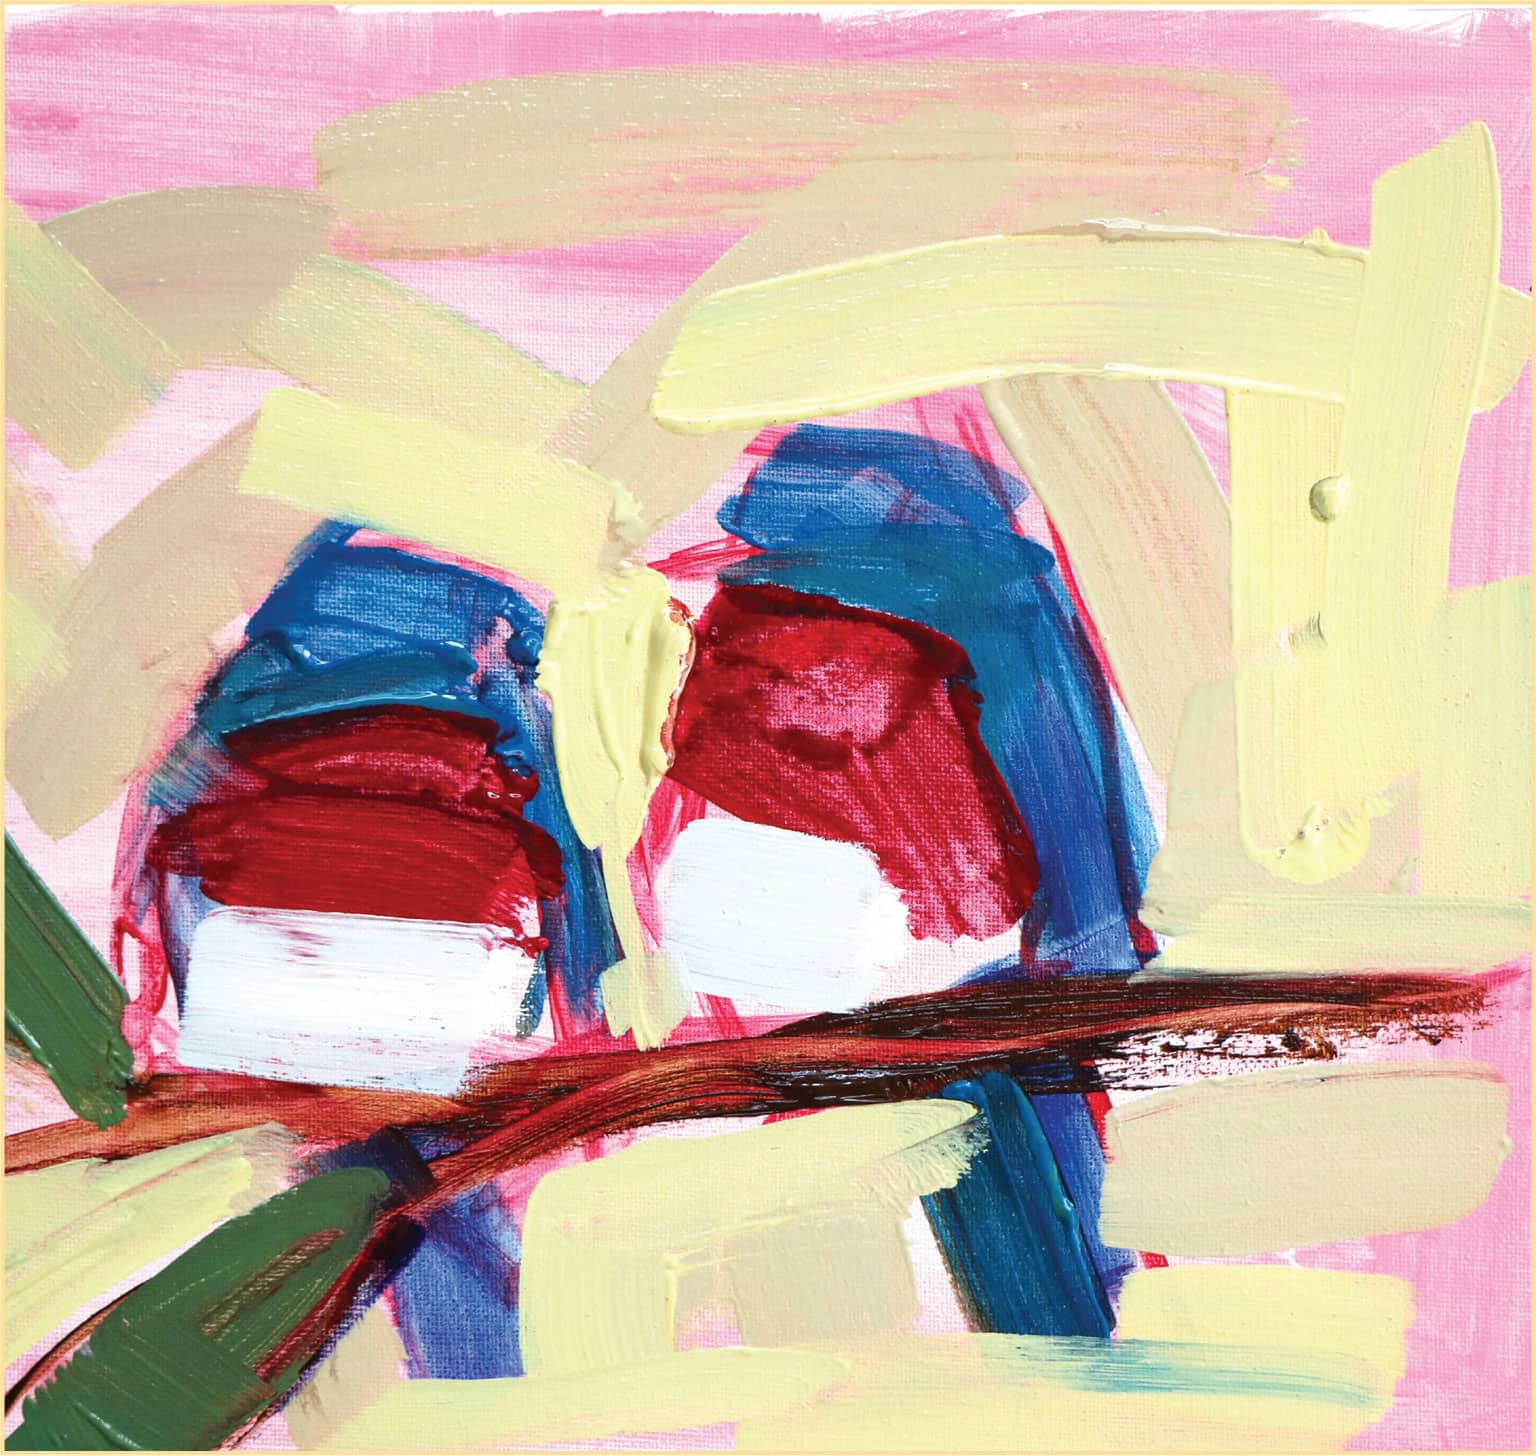
Using your large brush, begin to apply layers of blue paint to your sketch. Use thick, minimal brushstrokes. Use the darker blue piles for the shadow areas, like the tail and wings, and the lighter blue piles for the areas in sunlight.
Use brown paint for the branch and leaf stems and green for the leaves.
For the green leaves, blend equal amounts of ultramarine blue and yellow on your palette. Mix a second pile with a touch of red. Then add a touch of white to make three piles of green paint.

STEP EIGHT
Using the same mixing technique, mix up two or three piles of red paints and two or three piles of white paints. Keep the red piles mostly red and the white piles mostly white.
Using only two or three brushstrokes with your large brush, make horizontal brushstrokes with the red paint on the birds’ breasts. Add one or two brushstrokes of the white paint to the belly of each bird. It’s fine for some of the underpainting to show through.
STEP NINE
Mix large piles of pale yellow or cream-colored paints for the background. Use mostly yellow and white, with small amounts of your blue or red paint. You can even grab small amounts of paint from your other paint piles to tone down the background so it’s not bright yellow.
Apply the background with the large brush. Make long and bold brushstrokes. Add water to create a runny consistency that will spread across the canvas. You can also use the side of the flat brush or turn your canvas sideways if it helps to apply paint in tight areas.

STEP TEN
Mixing a small amount of black paint with water for a fluid (but not runny) consistency, use the thin brush to paint the beaks and feet.
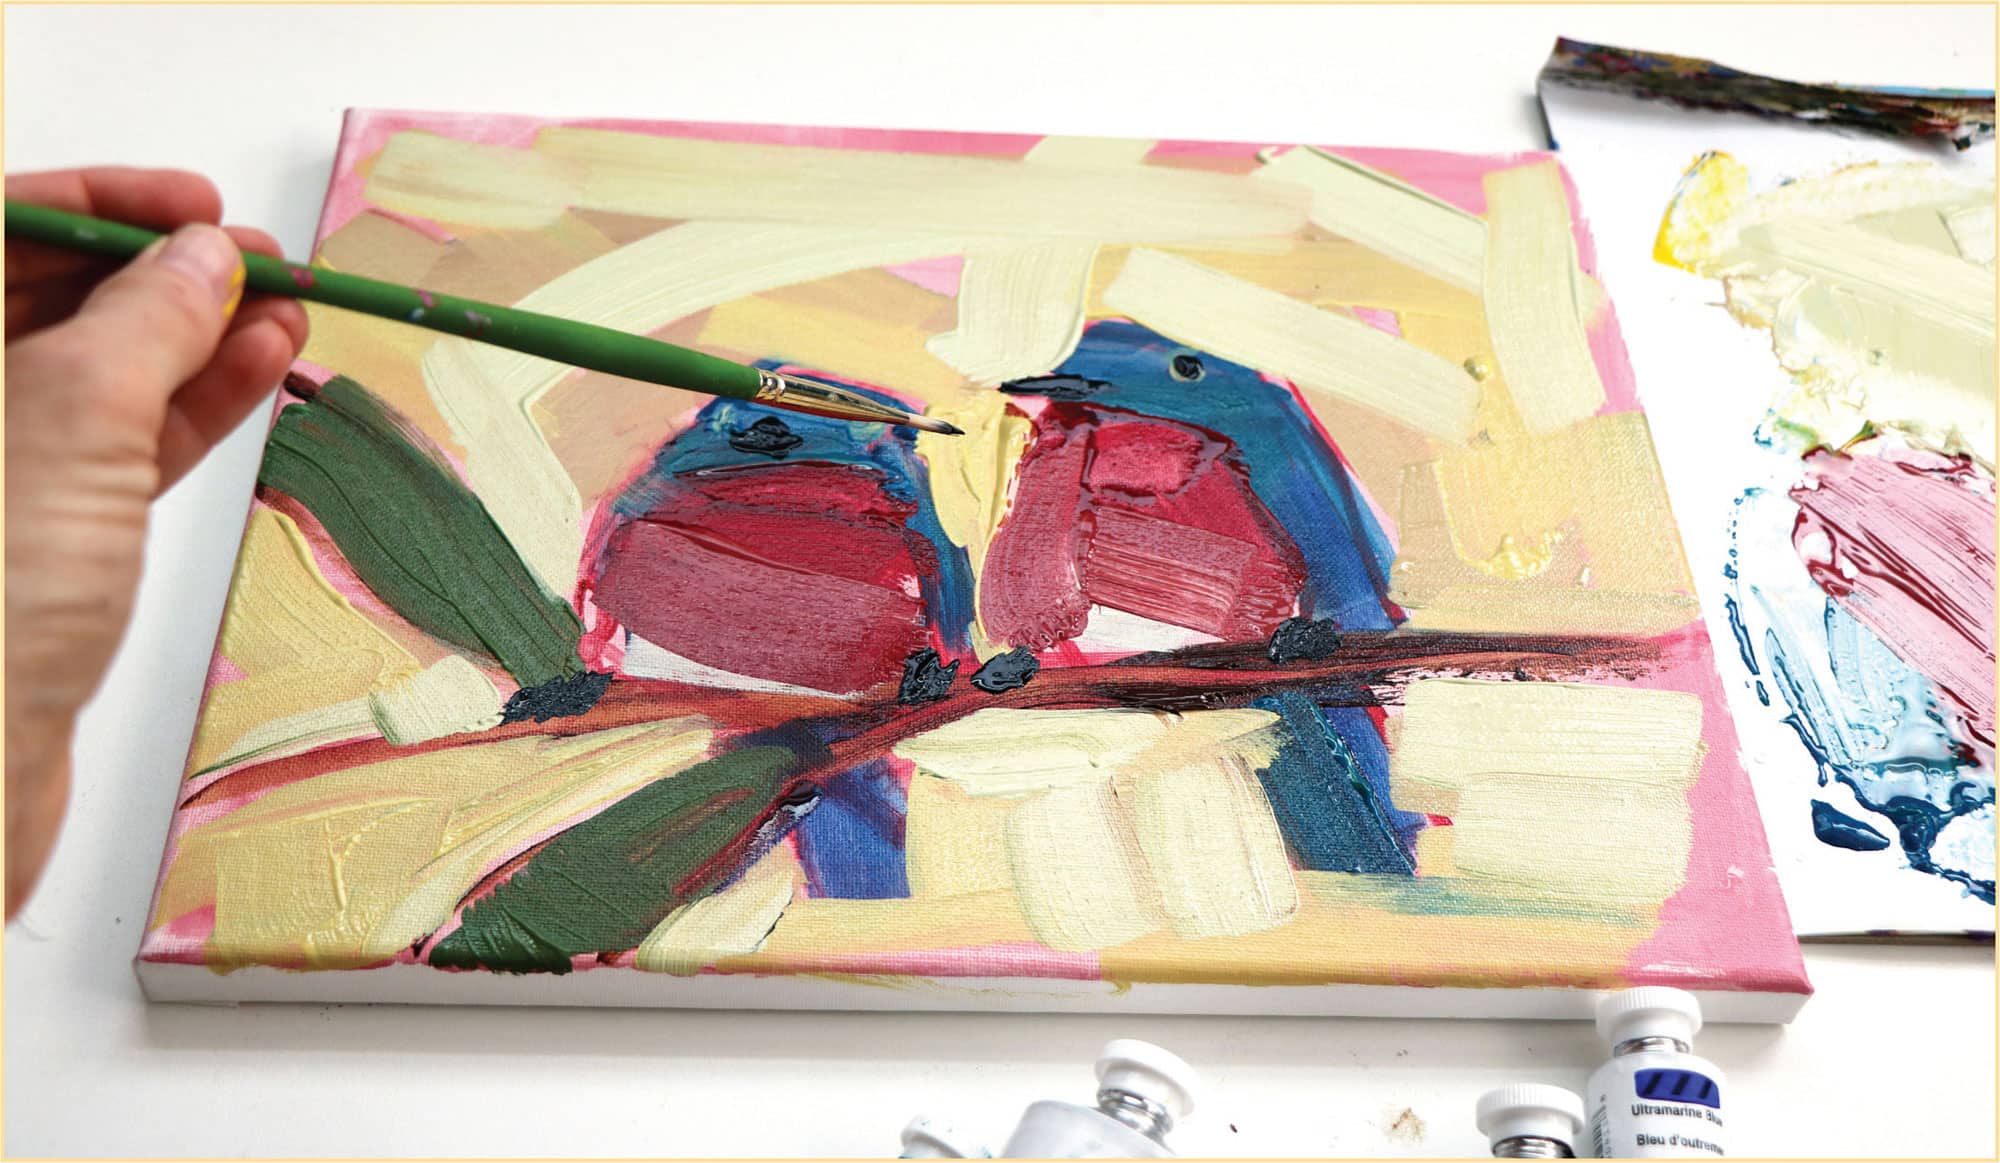

The beak of the bird on the left is a four-sided diamond shape. The beak of the bird on the right is a diamond with one very long side.

For the eyes, apply a touch of the white belly paint to place the eyes. Now place a round, black eye with the small brush. Hold your hand steady by resting it on the table.

For each foot, make three short, vertical brushstrokes with the edge of your smaller brush. Place one foot on each side of the belly.
STEP ELEVEN
Finish up the background. If necessary, use the small brush to paint around the beak or other tight areas. Try not to blend the brushstrokes.
With a touch of the background color added to one of your green piles, add a last brushstroke of green paint to the leaves.

With your large brush, mix a touch of the background paint to your lightest red mixture. Apply one or two more brushstrokes of red to each bird’s breast.
Using the white belly paint, add a tiny highlight to each eye, beak, and foot.
Lastly, sign or initial your painting using the edge of the small brush. You may also paint the sides of the canvas using any of the leftover paints.