
Giant Ice-Cream Cones
Do we need giant ice-cream cones? Probably not. But do we want them? Yes! This is a completely frivolous project—but also utterly wonderful. I love the paint possibilities with ice cream. You can paint sprinkles, various flavors, and so on.
Ice cream is fun to start with, but using the techniques in this book, you can also make your own favorite food in a giant size. My students have made giant cheeseburgers, a huge taco with a mustache, a massive cupcake, an extra-large bottle of hot sauce. What larger-than-life food would you like to make?
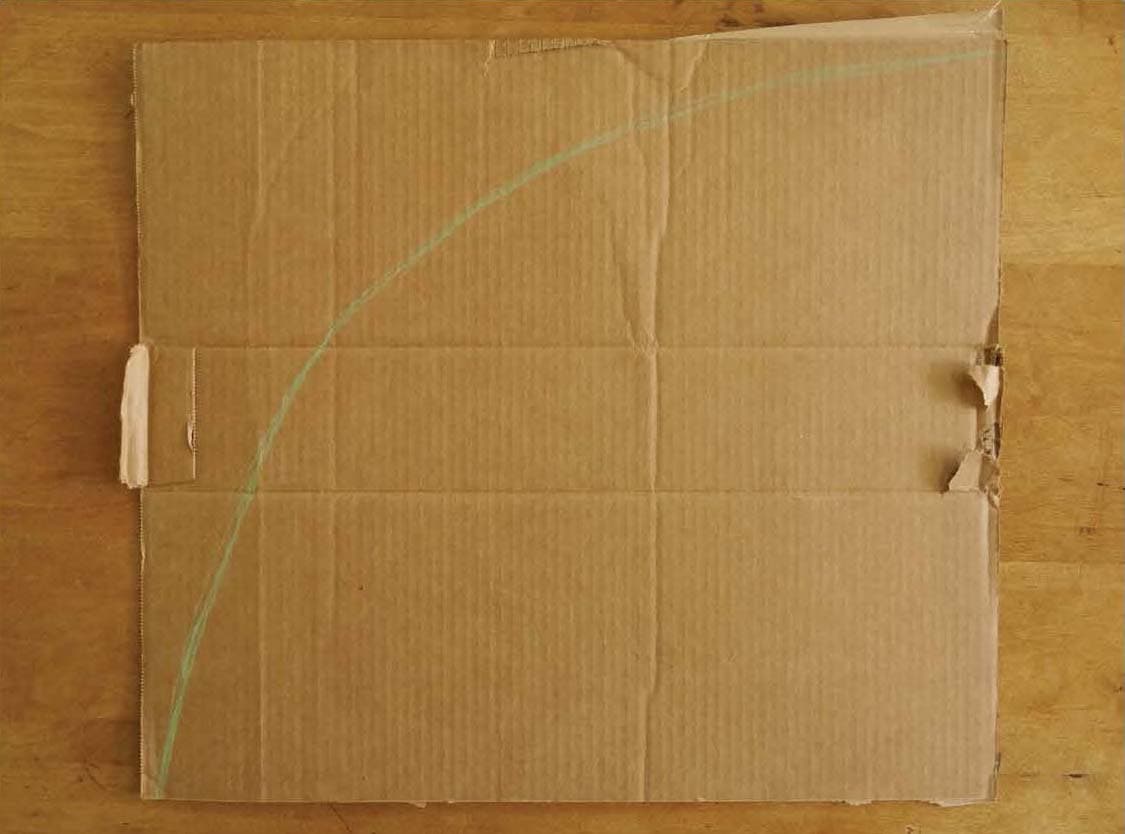
STEP 1
Draw a curved line on the piece of cardboard, as shown. I’ve used a 17” x 19” piece of cardboard, but any size will work.
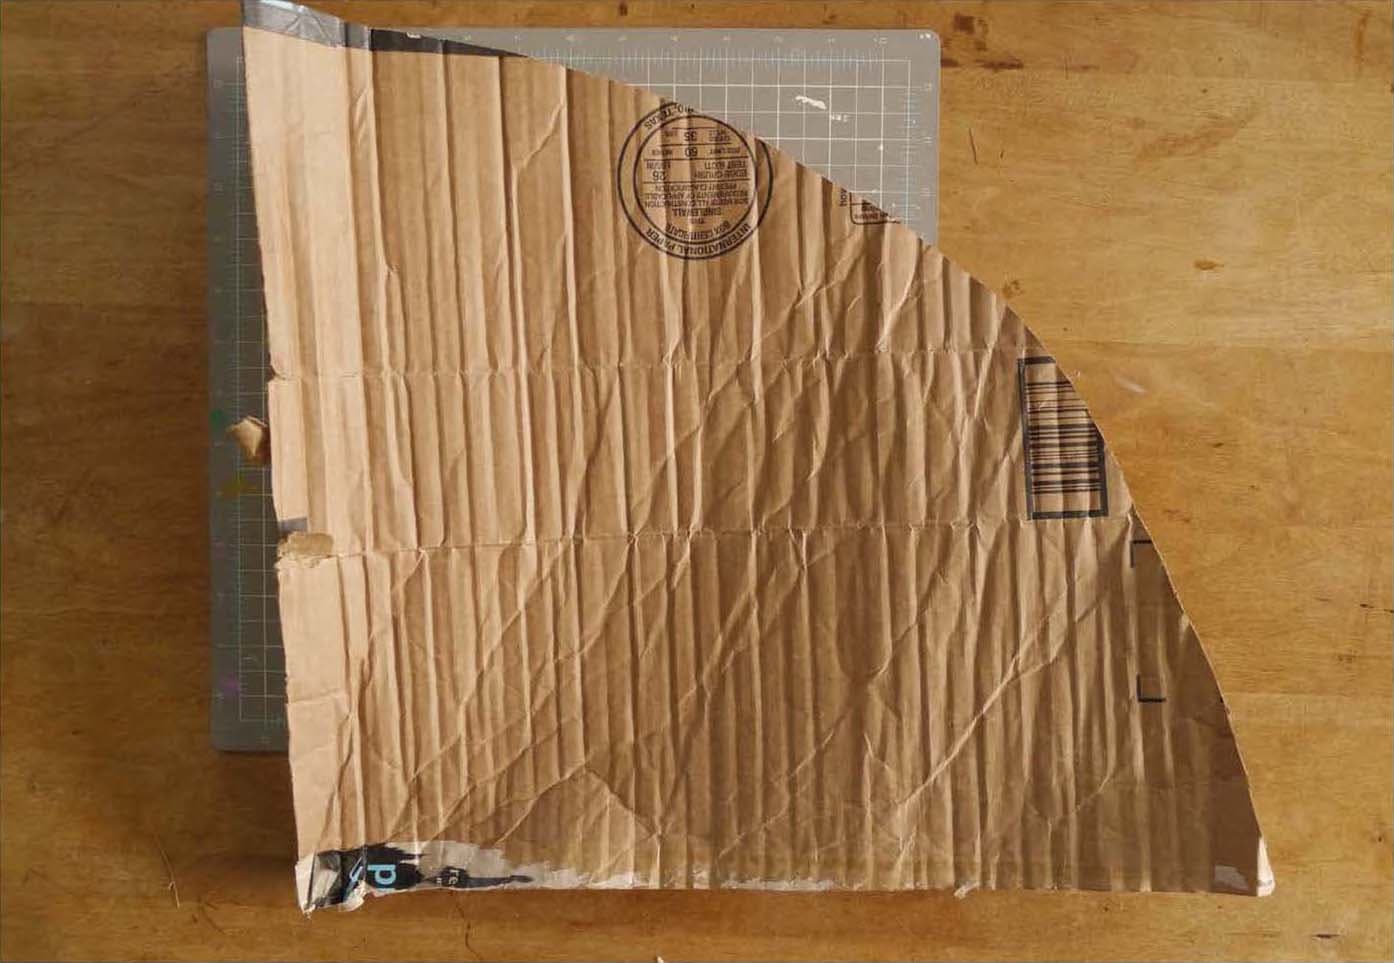
STEP 2
Cut away the excess cardboard.

STEP 3
Roll the cardboard back and forth a bit to make it flexible.
STEP 4
Curve the cardboard into a cone shape. This might be tough, but go ahead and beat up the cardboard to get it really flexible.
Once you have the right shape with a 1-inch overlap, run a bead of hot glue along the length of the seam and carefully hold it together until it dries.

STEP 5
Reinforce the seam with tape, as shown.


STEP 6
Now make the ice cream! You can make as many scoops as you like. Fill the plastic grocery bag with recyclable items, such as plastic bags, bubble wrap, crumpled paper, and so on. Make the bag very full, as you’ll crumple it down a bit when you add tape.
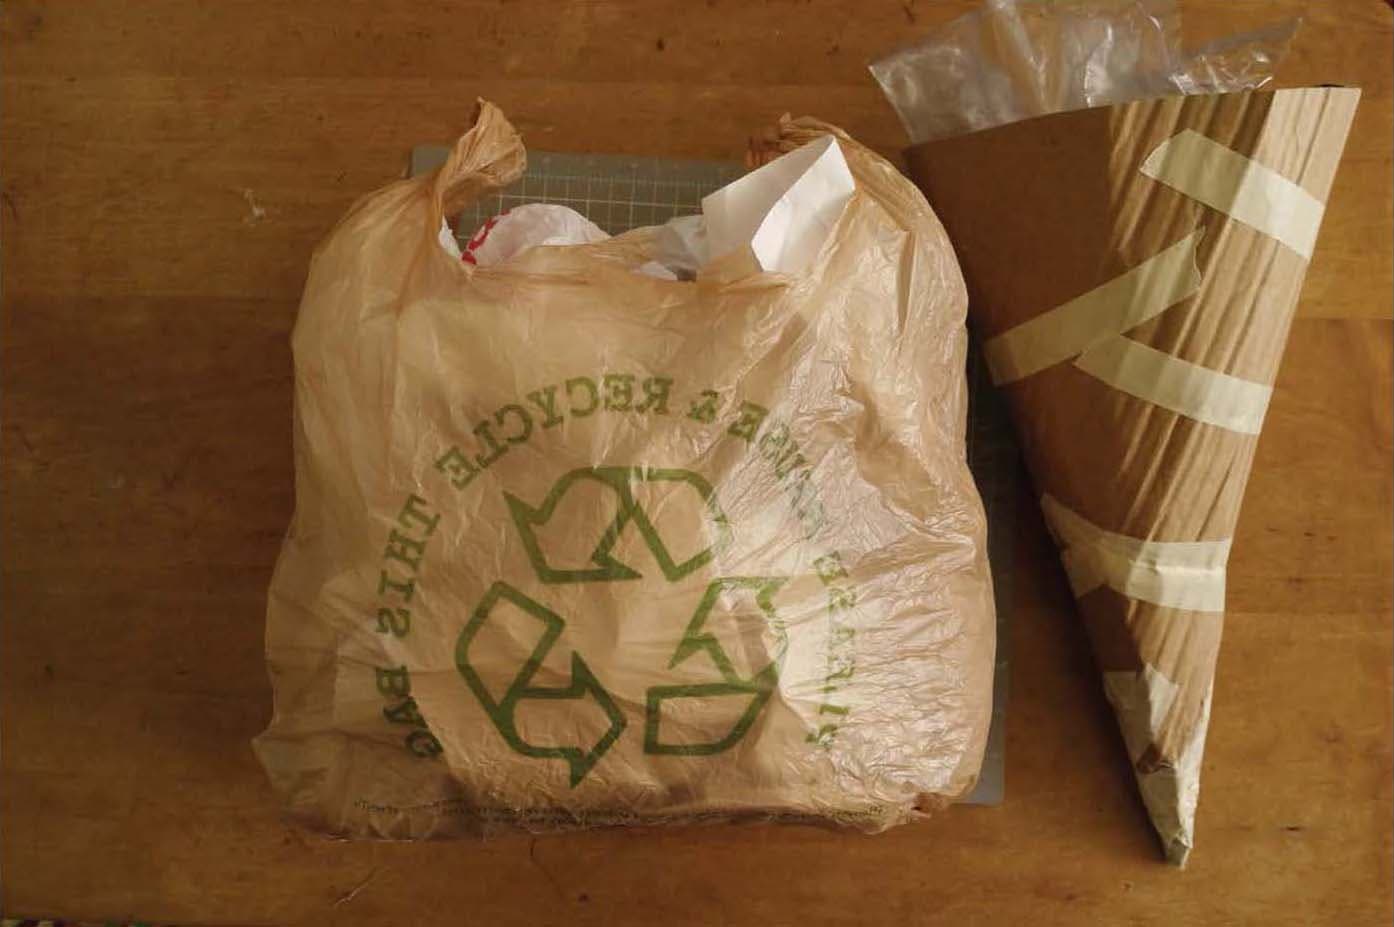
STEP 7
Tape the handles of the bag together to close it. My bag has a distinctive scoop shape, which I like, so I’ve kept it that way. If you want a rounder shape, squash and mold it with your hands, and then add tape.

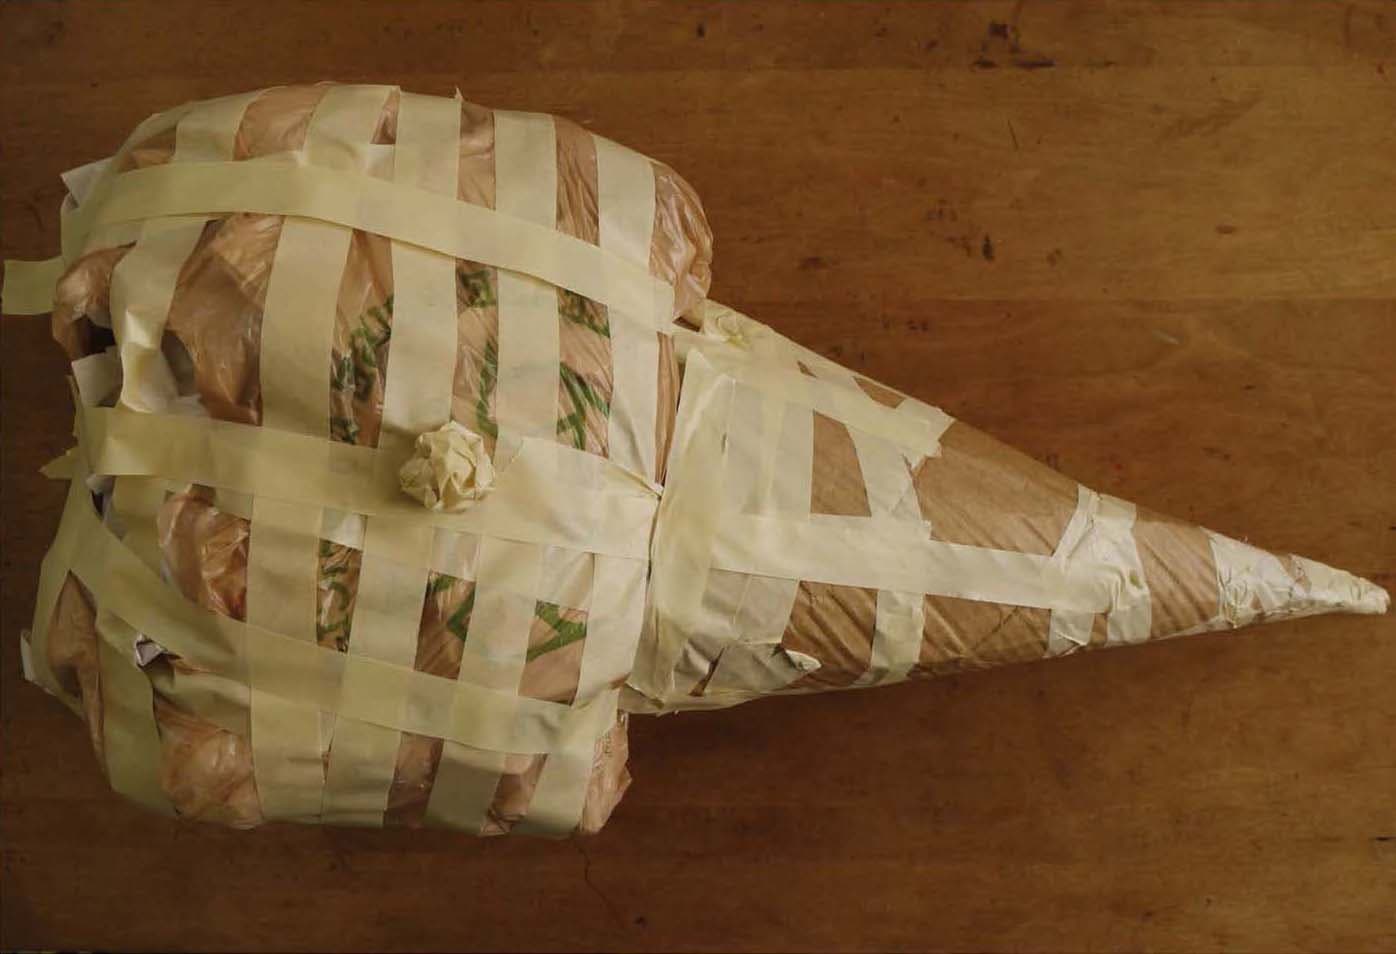
STEP 8
Tape the bag. Instead of fully encasing it, I recommend keeping space between the strips of tape.
Then add long strips of tape from the top of the bag/scoop to the cone to attach the scoop to the cone. Don’t pull the tape too tight to avoid distorting the scoop shape.

STEP 9
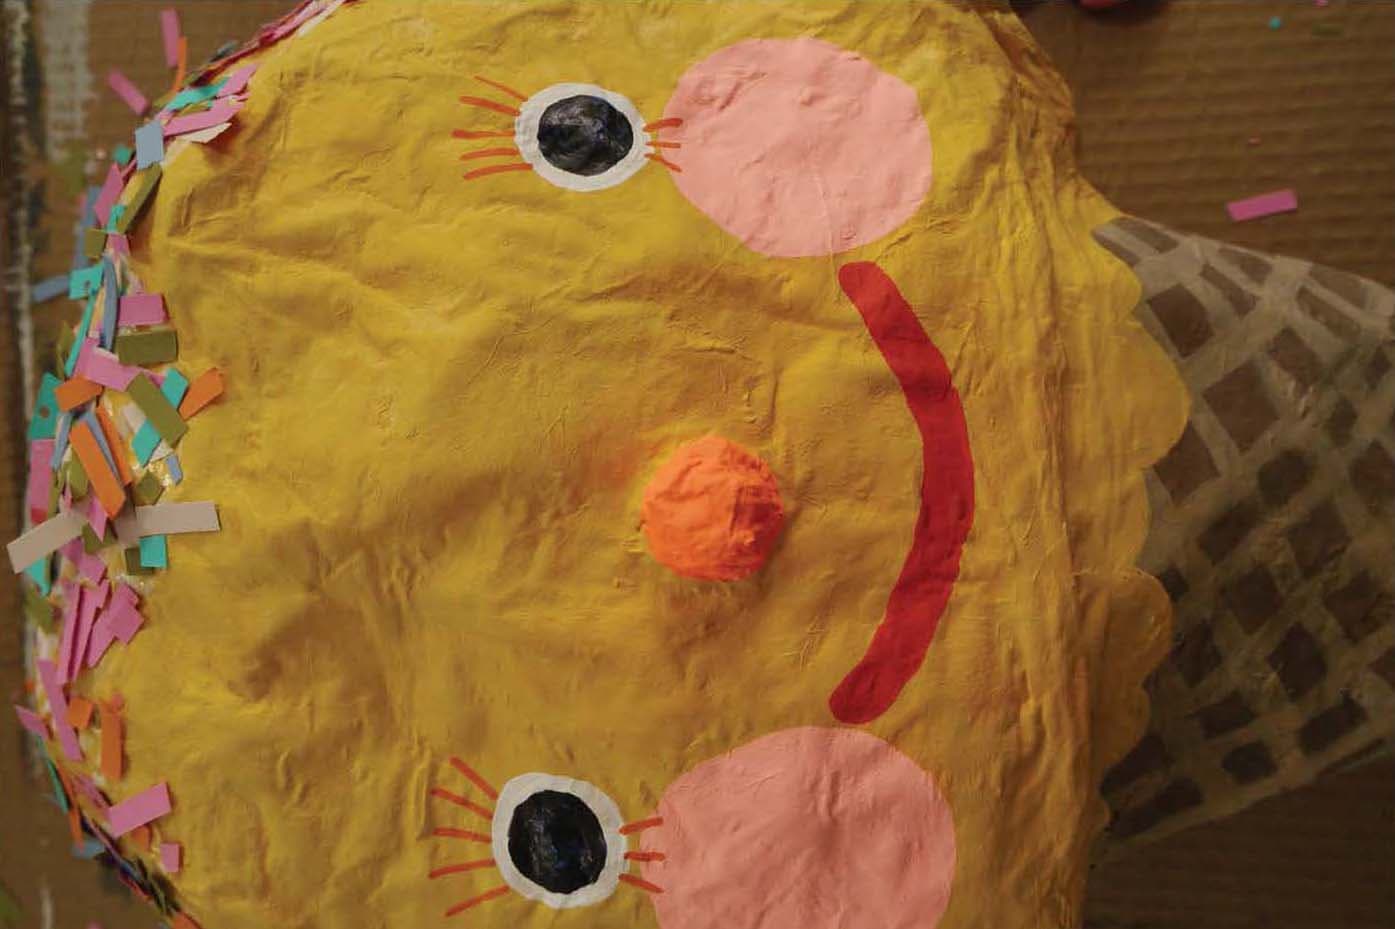
If your ice cream will feature a face, like mine, make a nose out of a bit of crumpled tape and place it on the scoop.
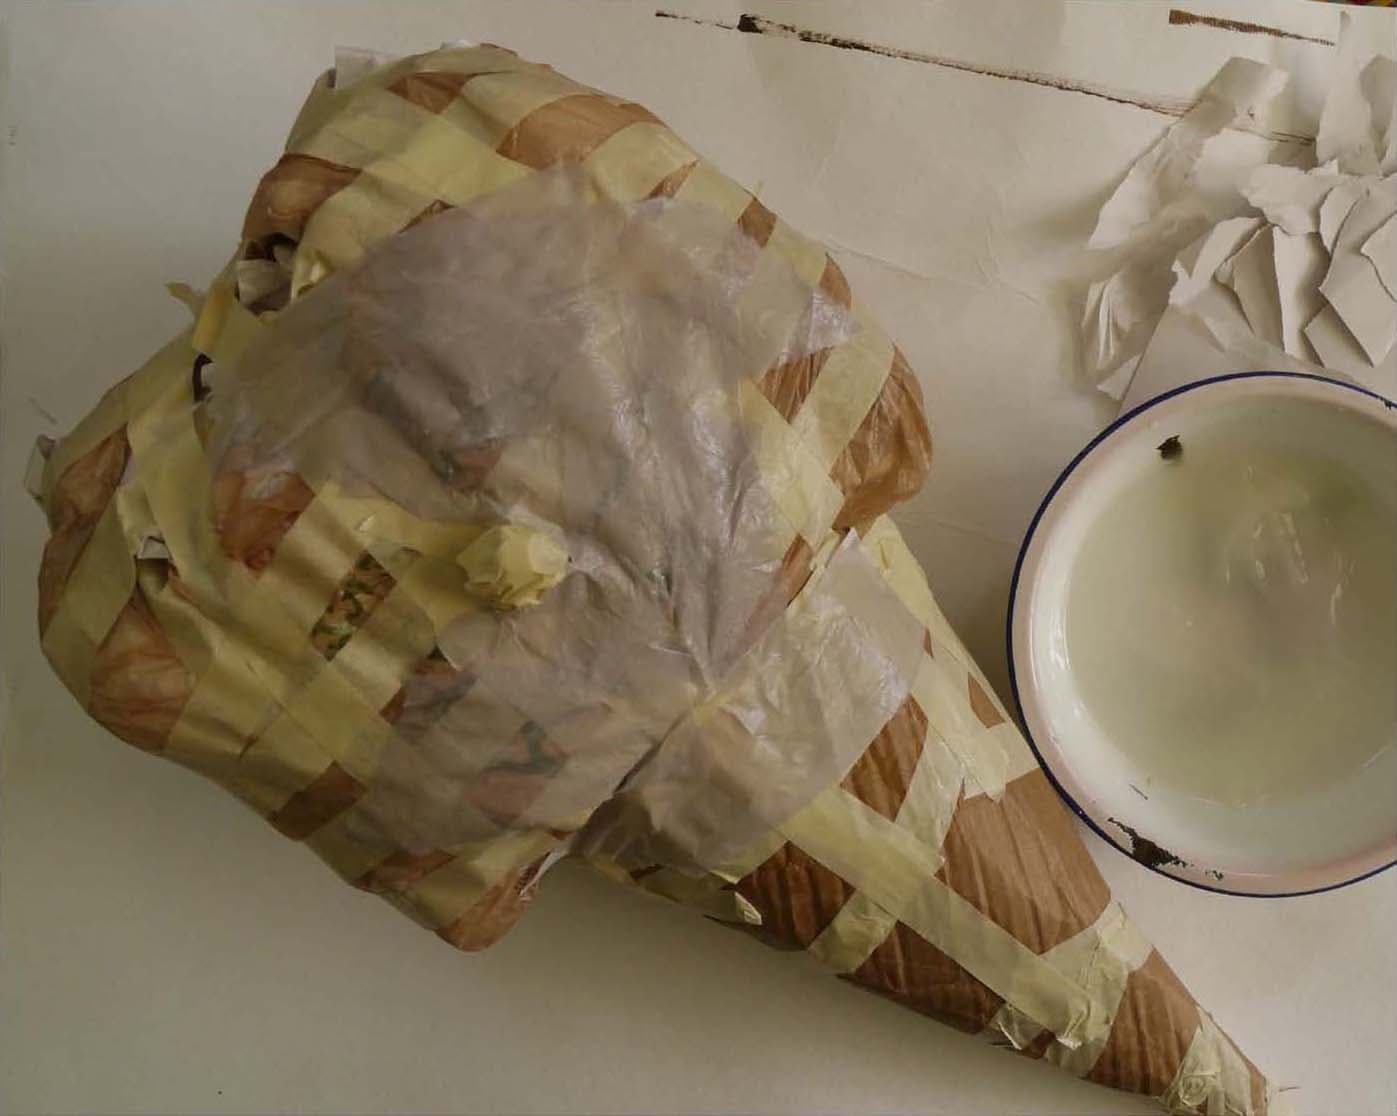
STEP 10
It’s papier-mâché time! Because this is a large sculpture, you will need to use big pieces of paper to cover it. Tear your preferred paper. I’ve used packing paper, but paper bags also make a great choice.
Now make your preferred paste; I’ve used cornstarch.
Then papier-mâché that ice-cream cone! The size might make this awkward, so if you prefer, papier-mâché one side at a time, letting the sculpture dry between sides. Use at least two layers of papier-mâché—or more if preferred.
Let everything dry; then sand down the sculpture, if you like.
STEP 11
Gesso and let it dry. You can set the sculpture in front of a fan to speed up the drying process.

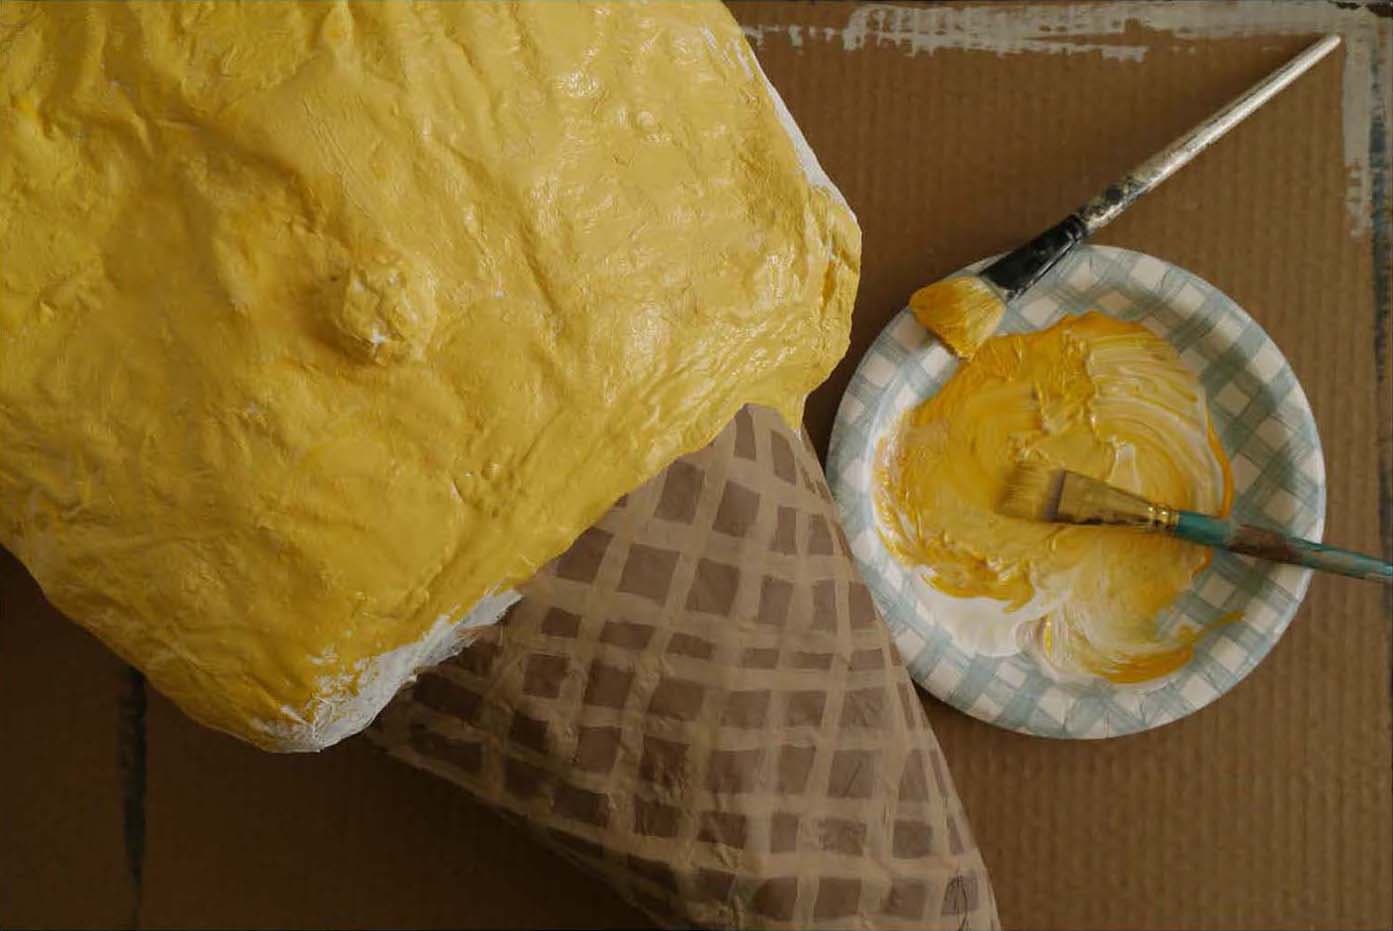
STEP 12
Add paint! I’ve started with a waffle pattern on the cone consisting of light and dark brown. Paint the cone first so that the paint on the ice-cream cone can drip down the cone. Let the paint dry.

STEP 13
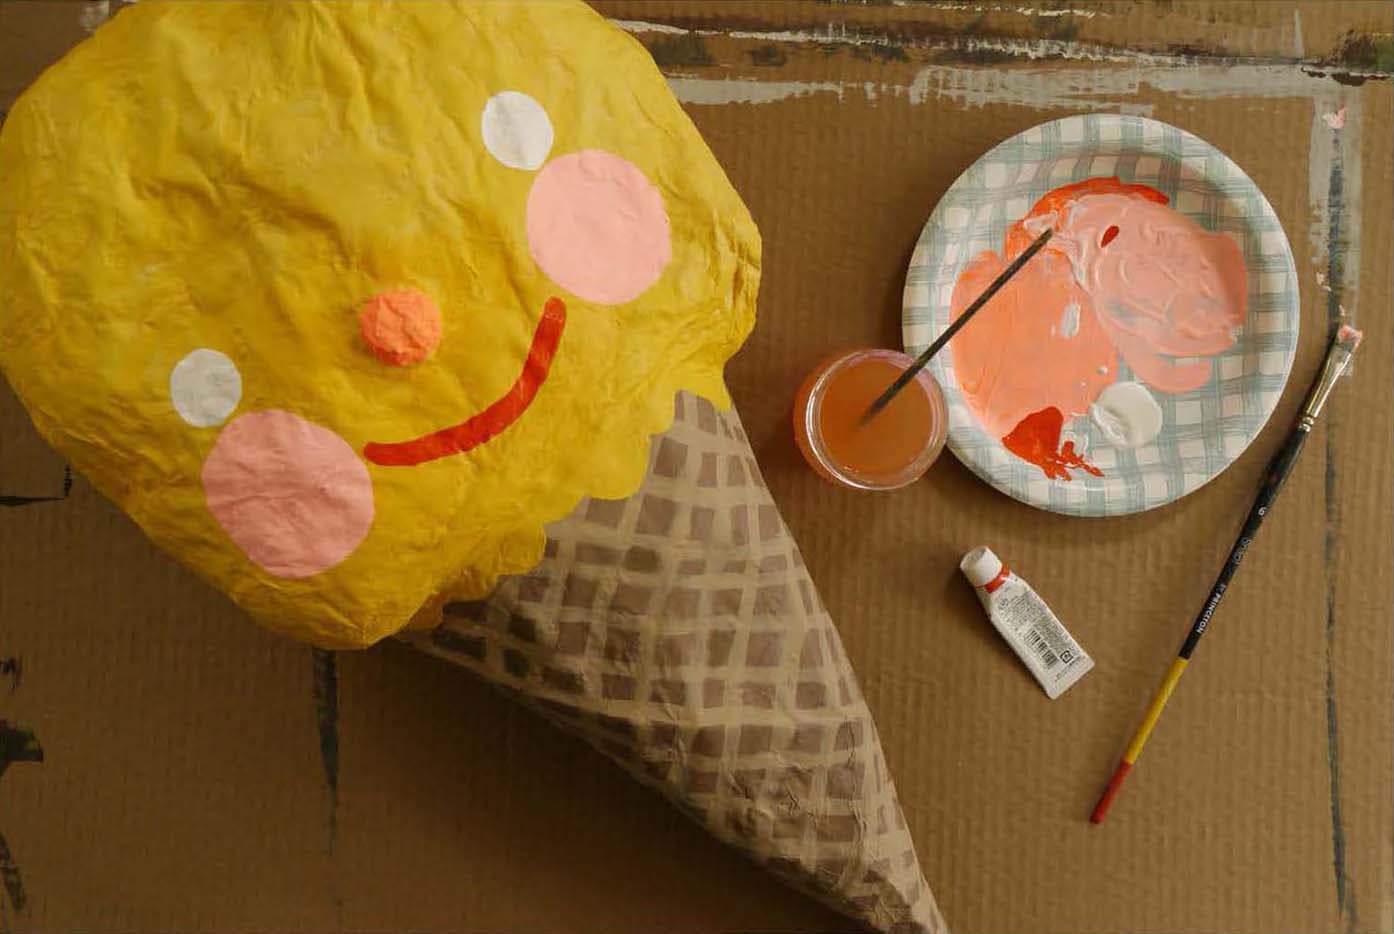
Pick your ice-cream flavor. Is it a real flavor or one that you’ve created from your imagination? Are there chunks of fruit, cookies, or chocolate chips in it? Paint the base color first, and add details and flavors afterward.
STEP 14
If your cone will have a face, add it now. Let the paint dry completely.
STEP 15
To add sprinkles, I started with a single hole punch and made lots of small, round sprinkles. After putting them on the scoop, I decided I wanted something a bit bolder, so I’ve used a paper shredder to make strips of colored paper. I’ve snipped them down to sprinkle size.
Brush a coat of white glue or Mod Podge Hard Coat on the top of the scoop, and then add as many sprinkles as you like! Let the glue dry, and then seal with the sealer of your choice, if you wish.