
Pins
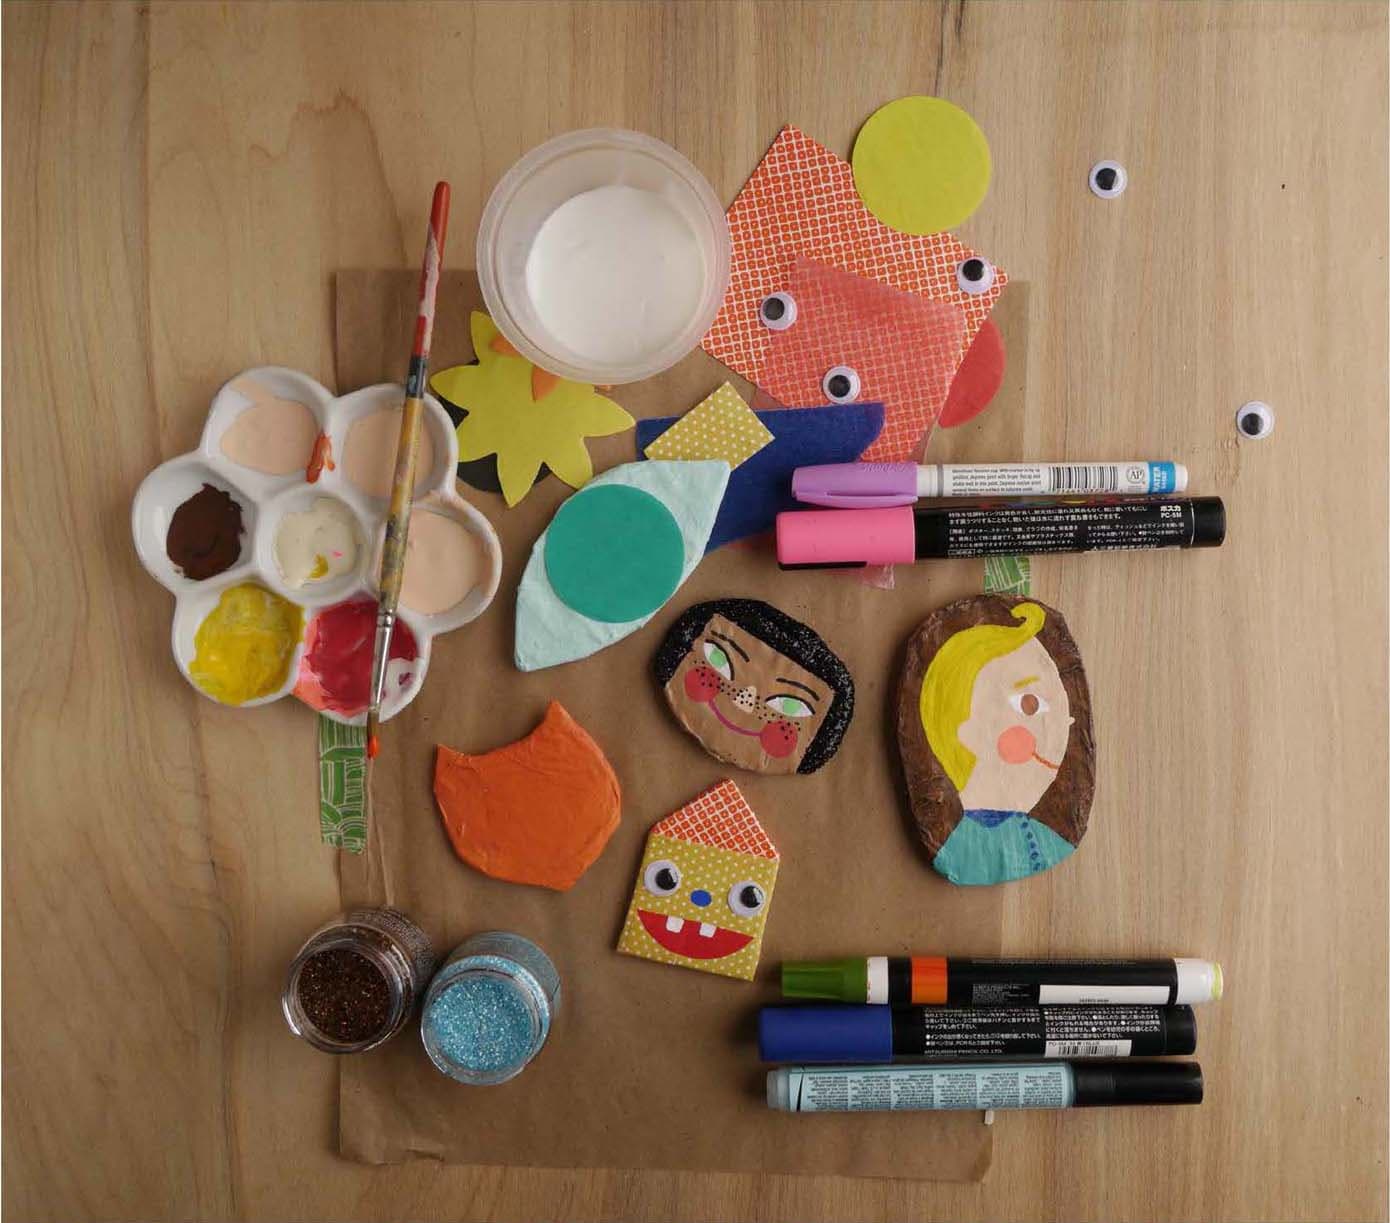
Papier-mâché pins are quick and simple to make. Simple shapes are best—think animals, houses, hearts, ovals, and so on. Create a whole batch and go wild decorating them. Get out all that glitter, collage paper, and even googly eyes! Pins are fun to wear and they make great gifts!
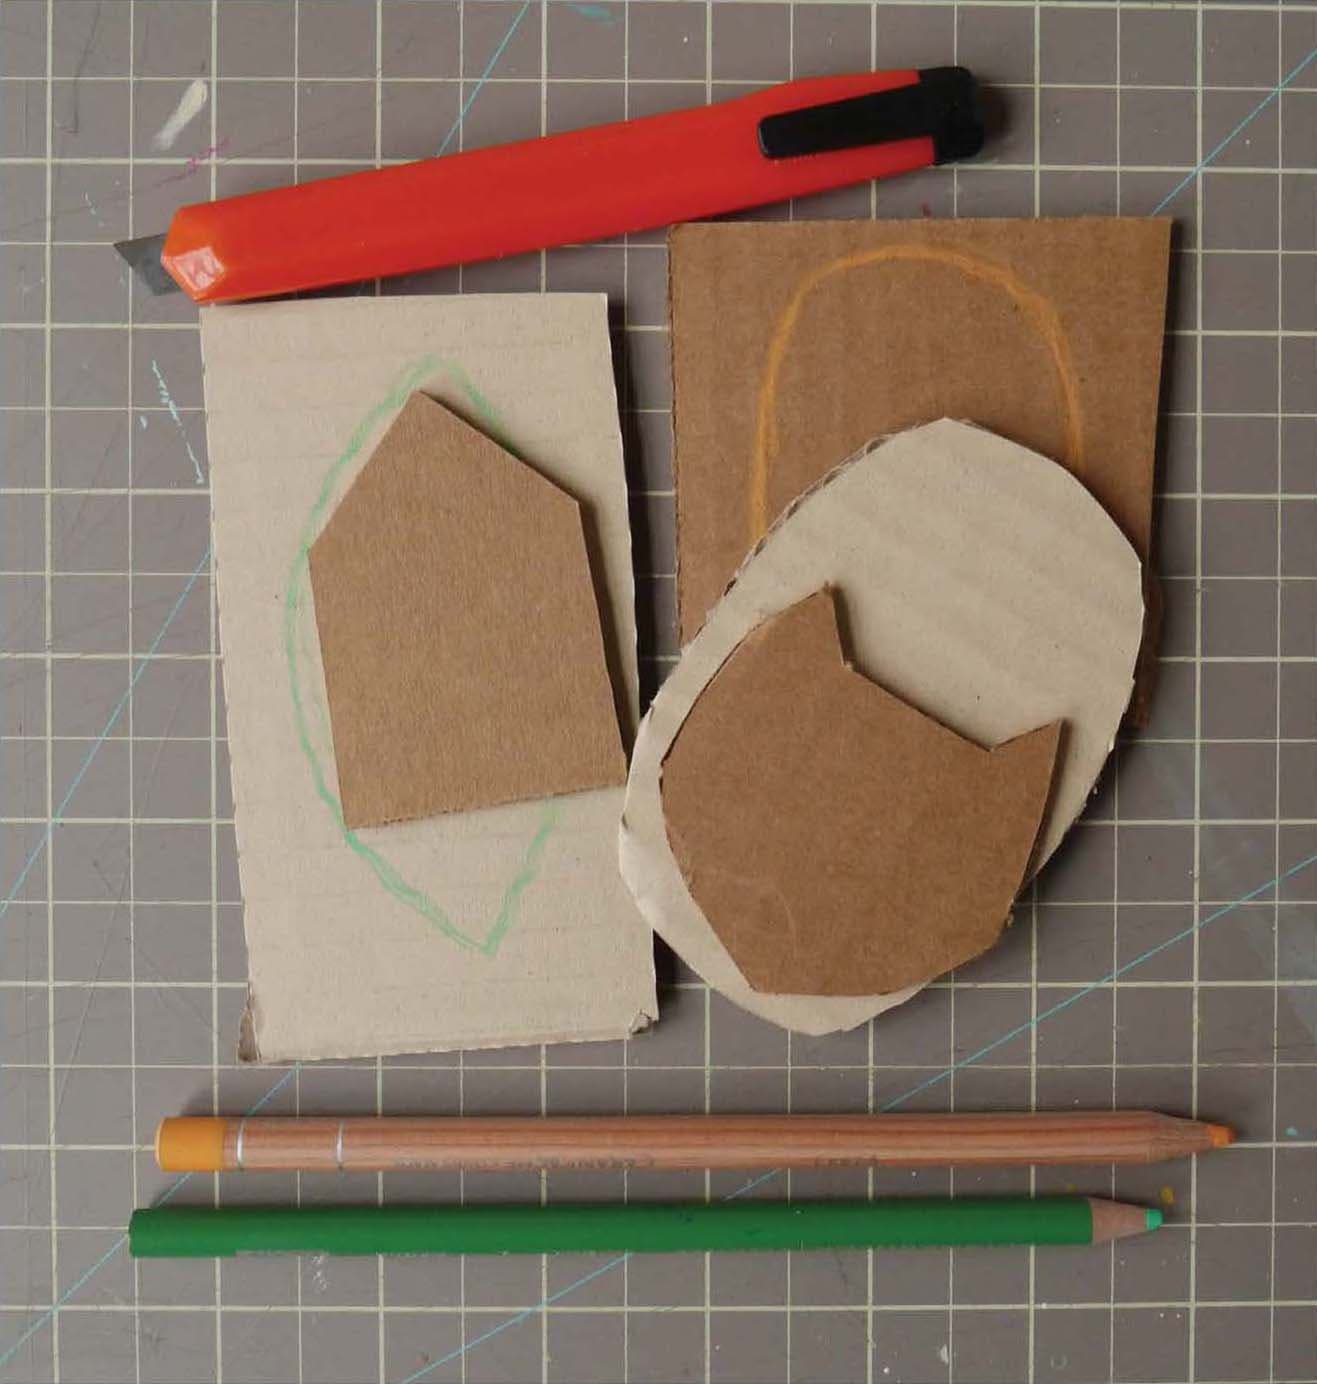
STEP 1
Sketch the shapes of your pins onto cardboard; then cut them out with a sharp craft knife.
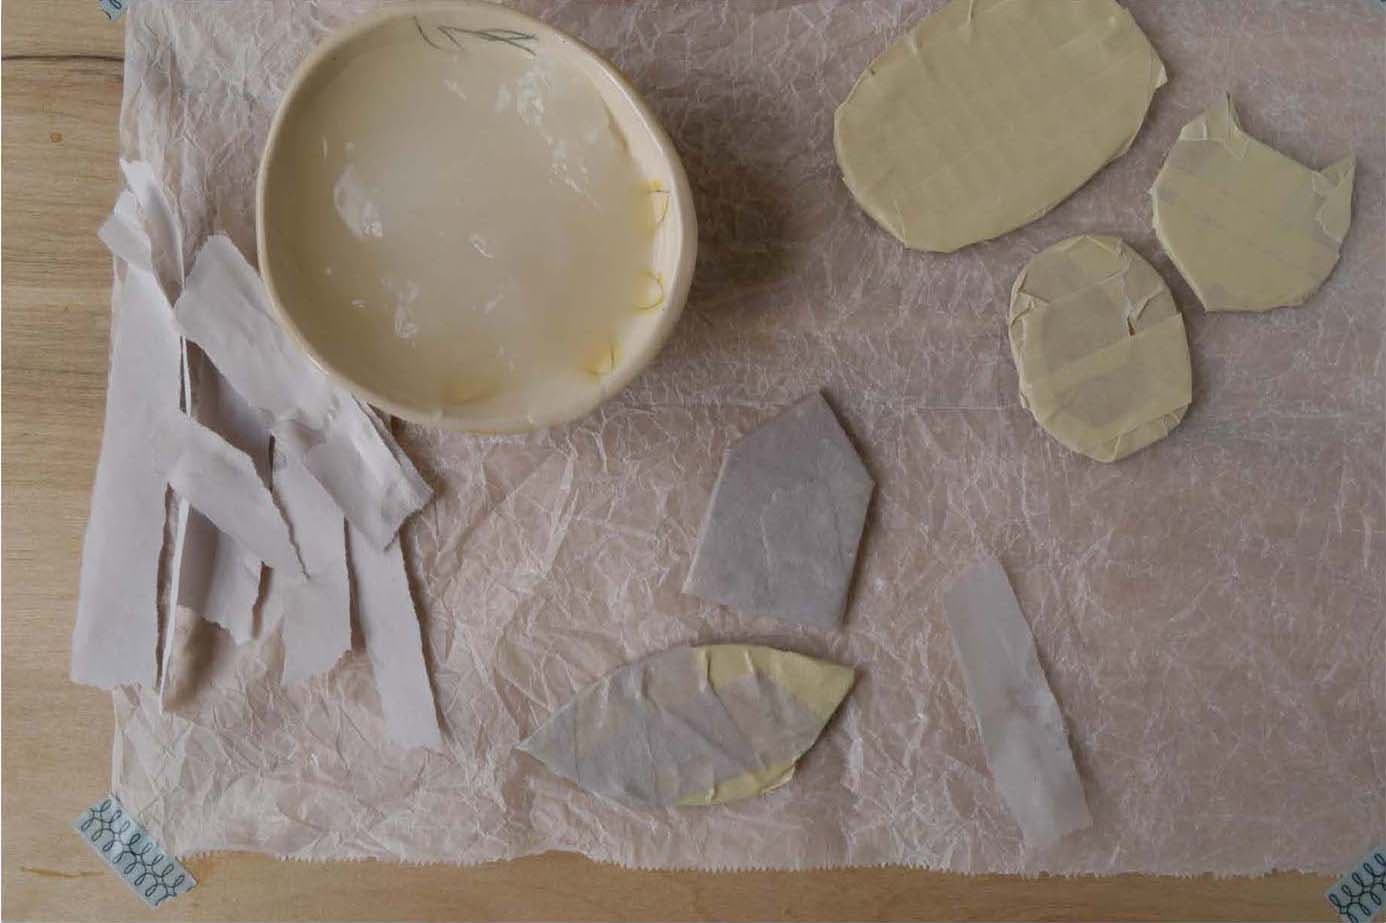
STEP 2
Cover the shapes, including the edges, with masking tape.

STEP 3
Gather paste and torn paper, and add at least one layer of papier-mâché to each pin. Let dry completely.
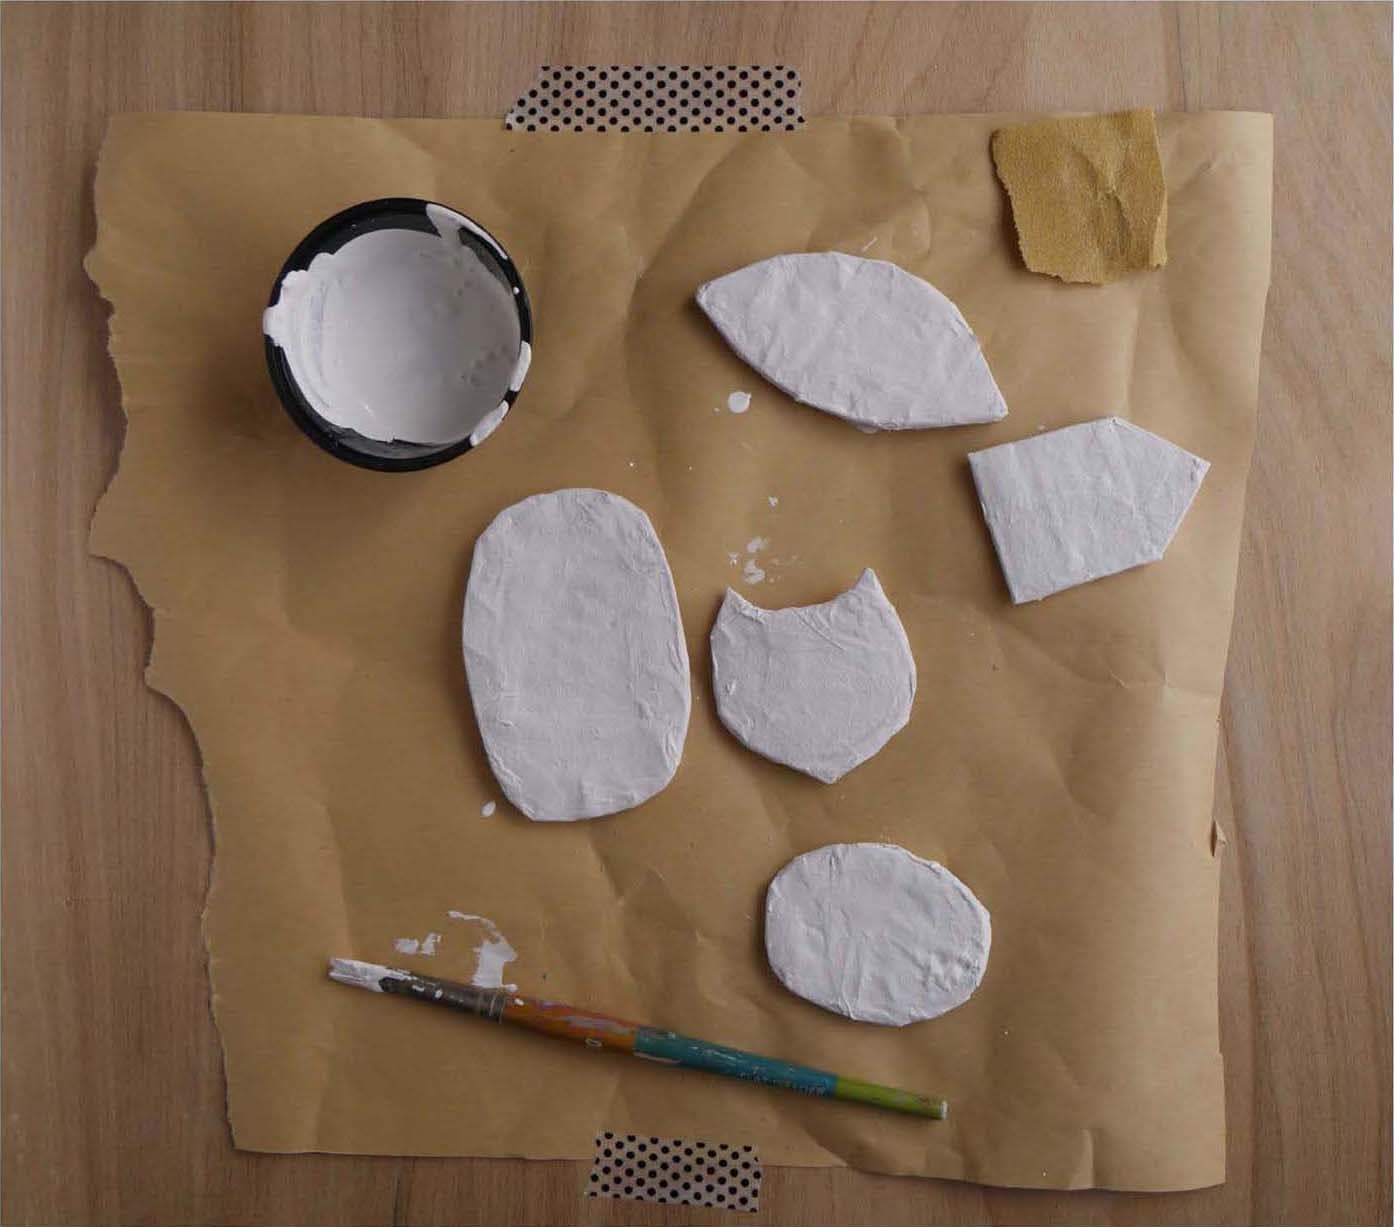
STEP 4
Lightly sand the pins to remove any sharp bits of paper, and wipe away the dust. Apply a thin coat of gesso on all sides, and let it dry.
STEP 5
Decorate! Think of these pins as little canvases. Paint, collage, pencil, glitter, googly eyes—use whatever you’ve got! Once the pins are decorated, apply the sealer of your choice and let it dry.
STEP 6
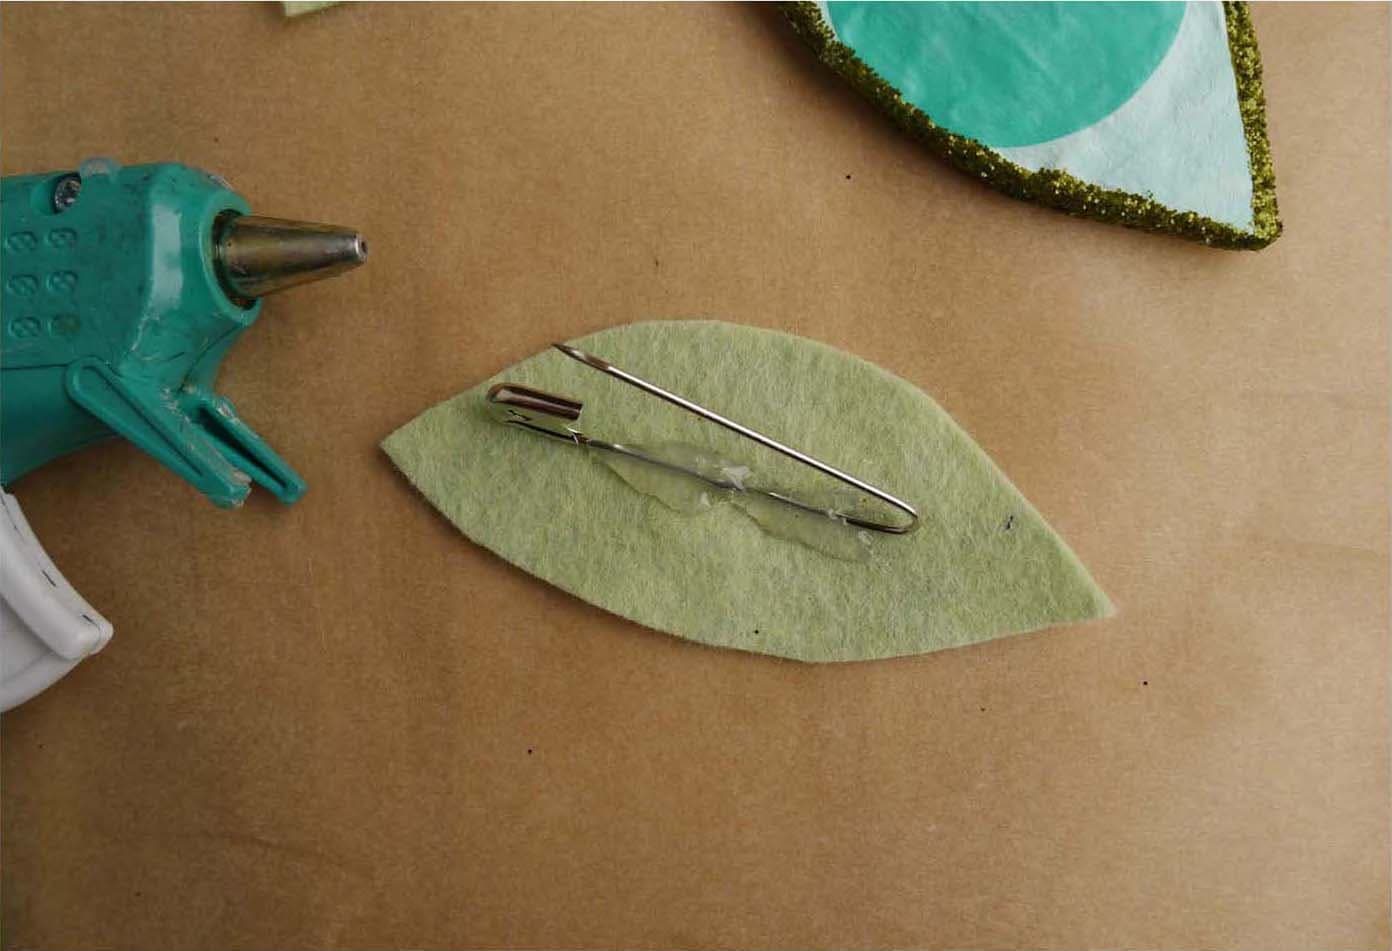
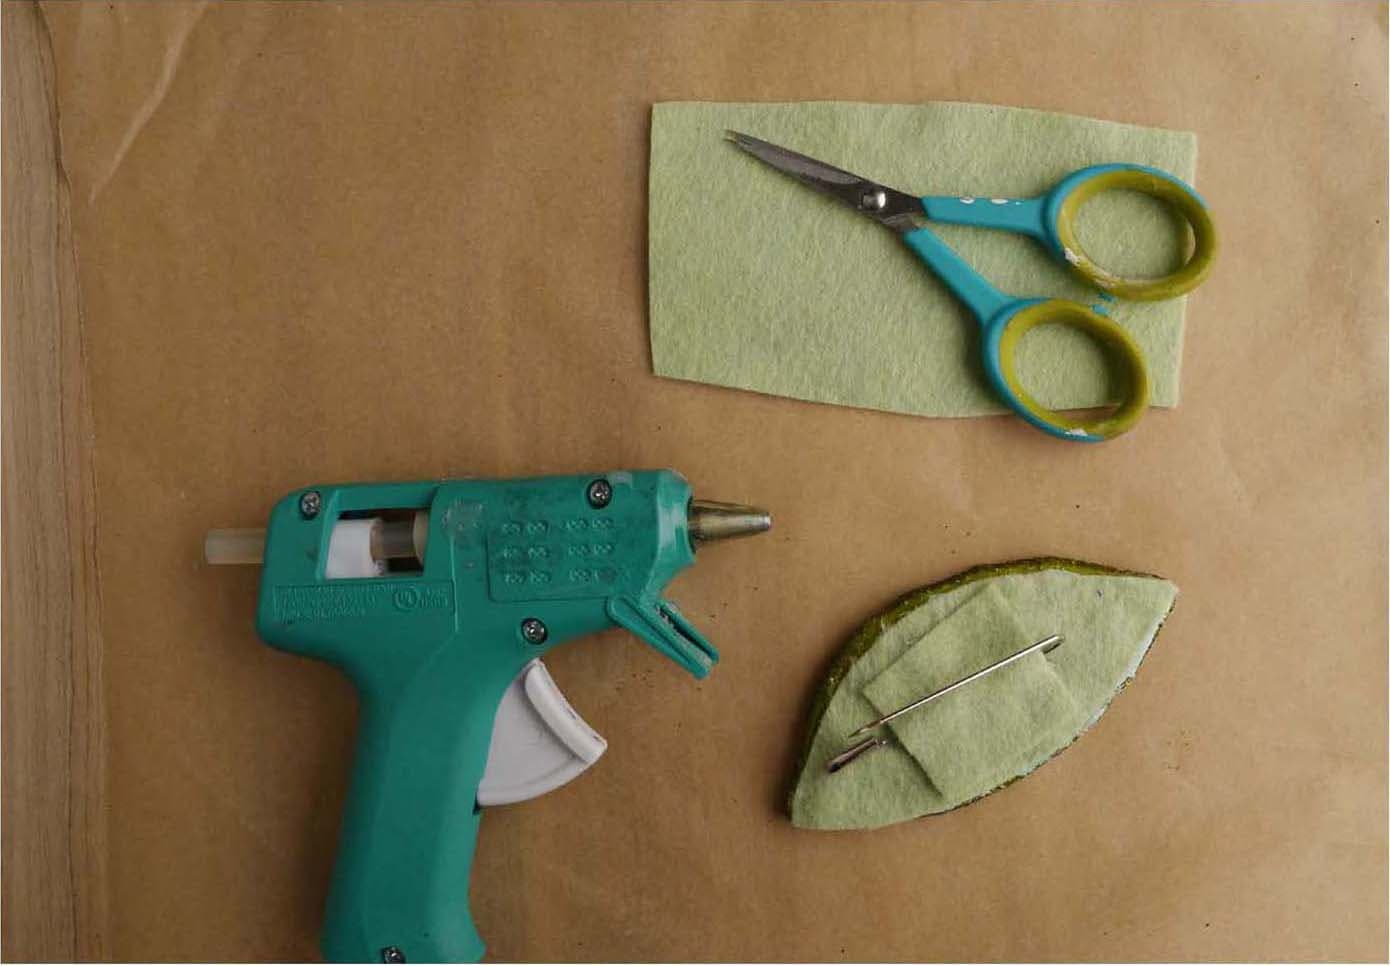
Cut a piece of felt to go on the back of each pin.

STEP 7
Use a hot-glue gun to attach a pin back or safety pin to each piece of felt.
STEP 8
Cut a piece of felt big enough to cover each pin back, glue it down, and glue the whole thing to the back of each papier-mâché pin.
STEP 9
Wear your pins and be the envy of all your friends and loved ones!
