
TIPS FOR
SUCCESS IN FDM
PRINTING AND
VISUAL TROUBLE-
SHOOTING GUIDE
5
CHAPTER
Getting Started with 3D Printing 56
INTERIOR_3DPrinting_v21.indd 56INTERIOR_3DPrinting_v21.indd 56 4/14/2021 3:00:18 PM4/14/2021 3:00:18 PM

This chapter is meant to reiterate one point: 3D printing takes time to master and when you are practicing
your skills, 3D prints will fail, sometimes quite often. Even though the authors of this book are considered
experts, we still get failed prints from time to time: sometimes the filament or resin went bad, sometimes
the first later didn’t stick to the build plate. When we first started our 3D printing journey years ago, we had
a lot more 3D print failures, and this chapter is intended to help you learn from our mistakes so that you can
hopefully shorten your learning curve.
In this chapter, learn about specific details on how to set up your 3D printing-related tasks before you even
start printing. Later in the chapter, you will be able to visually see our guide to common print problems. This
is a newly-added chapter from the first edition of this book, as readers asked for some good starter advice.
Let’s start with what you need to know before you begin the printing process.
BEFORE YOU START PRINTING
All FDM printers use various types of filament. We discussed what filament is in the previous chapter, but
we need to state one point here: Proper storage of your filament is key. Success in 3D printing is about
reducing the number of variables that change between prints so that your settings are successful each
time. In terms of filament, between prints you want your filament to remain as new as when it was first
delivered to you.
Make sure that your filament does not accumulate dust and debris, because they will then get drawn into
FIGURE 51: Spools of filament stored in a mostly airtight container, with desiccant silver rectangular pouches added
57 Chapter 5: Tips for Success in FDM Printing and Visual Troubleshooting Guide
Getting Started with 3D Printing 58
INTERIOR_3DPrinting_v21.indd 57INTERIOR_3DPrinting_v21.indd 57 4/14/2021 3:00:18 PM4/14/2021 3:00:18 PM

your nozzle, clogging it. Storing filament in a clean, temperature-controlled environment is one of the best
ways to protect your filament when not in use.
Many FDM materials, like PLA and nylon, are hygroscopic materials, which means they absorb moisture
from the ambient air. If you live in a humid area, this could be even more of an issue for you than dust. For
all the reasons mentioned, it is best to store filament you are not using in an airtight container like the one
shown in Figure 5-1. The desiccant canister you see in Figure 5-2 is inexpensive, can be purchased online,
and can be “recharged” if it absorbs too much water by drying it in a kitchen oven for a few hours. Two to
three of these desiccant pouches per container are ideal for filament preservation.
BUILD PLATE ADHESION
In the 3D printing world, there are many instances where users have discovered some new and innovative
ways to make 3D prints more successful. Thankfully, these finders of knowledge then spread that informa-
tion to others in the community through forums, user groups and media. Experiencing and finding different
ways to get 3D prints to stick to the print bed is one such area many people have focused on. A good tip is to
first clean your fingers that can get on the plate with normal isopropyl alcohol to get the oil off.
The following are some techniques that people have discovered to successfully enhance build plate adhe-
sion:
FIGURE 52: Desiccant canister displaying instructions on how to refresh the humidity-absorbing material inside the metal case
Getting Started with 3D Printing 58
INTERIOR_3DPrinting_v21.indd 58INTERIOR_3DPrinting_v21.indd 58 4/14/2021 3:00:19 PM4/14/2021 3:00:19 PM

PEI COATING OR SHEET
PEI is a specific type of material which is sticky to most 3D print materials (For example, PLA, ABS, and
PETG). Keep in mind, with a heated bed, you generally would not need to use any type of adhesion technique
-- you can just start printing.
Note though: PEI sticks TOO well to some materials (like flexible filaments), so you would need to use one
of the below methods in addition to PEI for those materials. The slight amber color in Figure 5-3 is the PEI
film with a sticky back that has been applied over a build plate. Once applied, the PEI material should last
for over a year of constant printing, if not longer.
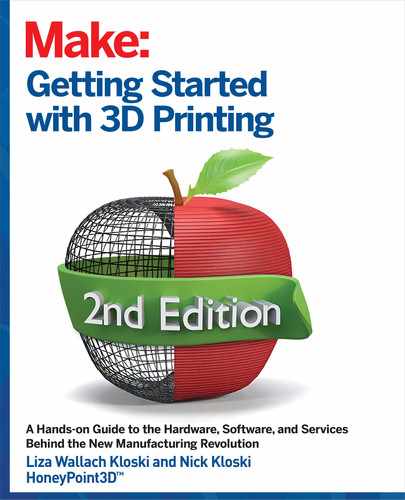
BLUE PAINTER’S TAPE
Applying this (blue) tape to the top of the print bed, as shown in Figure 5-4, has been shown to be a good
way to get prints to stick. This tape is still removable, and sometimes the tape can peel up while printing.
Unfortunately, it can take your model with it, so make sure the edges of the tape are pressed down well to
prevent peeling. If you are lucky, it will not rip off when you remove your completed print from the print bed,
allowing you to re-use that tape for the next few prints.
FIGURE 53: PEI film applied over a glass build plate
59 Chapter 5: Tips for Success in FDM Printing and Visual Troubleshooting Guide
Getting Started with 3D Printing 60
INTERIOR_3DPrinting_v21.indd 59INTERIOR_3DPrinting_v21.indd 59 4/14/2021 3:00:19 PM4/14/2021 3:00:19 PM
WHITE GLUE STICK
As shown in Figure 5-5, this is a great method to
use: it is much less expensive than even blue paint-
er’s tape. The downside is that it requires you to
wash your print bed with a wet paper towel every
few prints to remove excess glue buildup. And if your
build plate is non-removable, then you need to be
more careful, because you run the risk of dripping
water on sensitive electronic components that are
underneath. This type of glue is water-soluble, so if
you live in a humid climate, or where it rains a lot, it
will not perform as well.
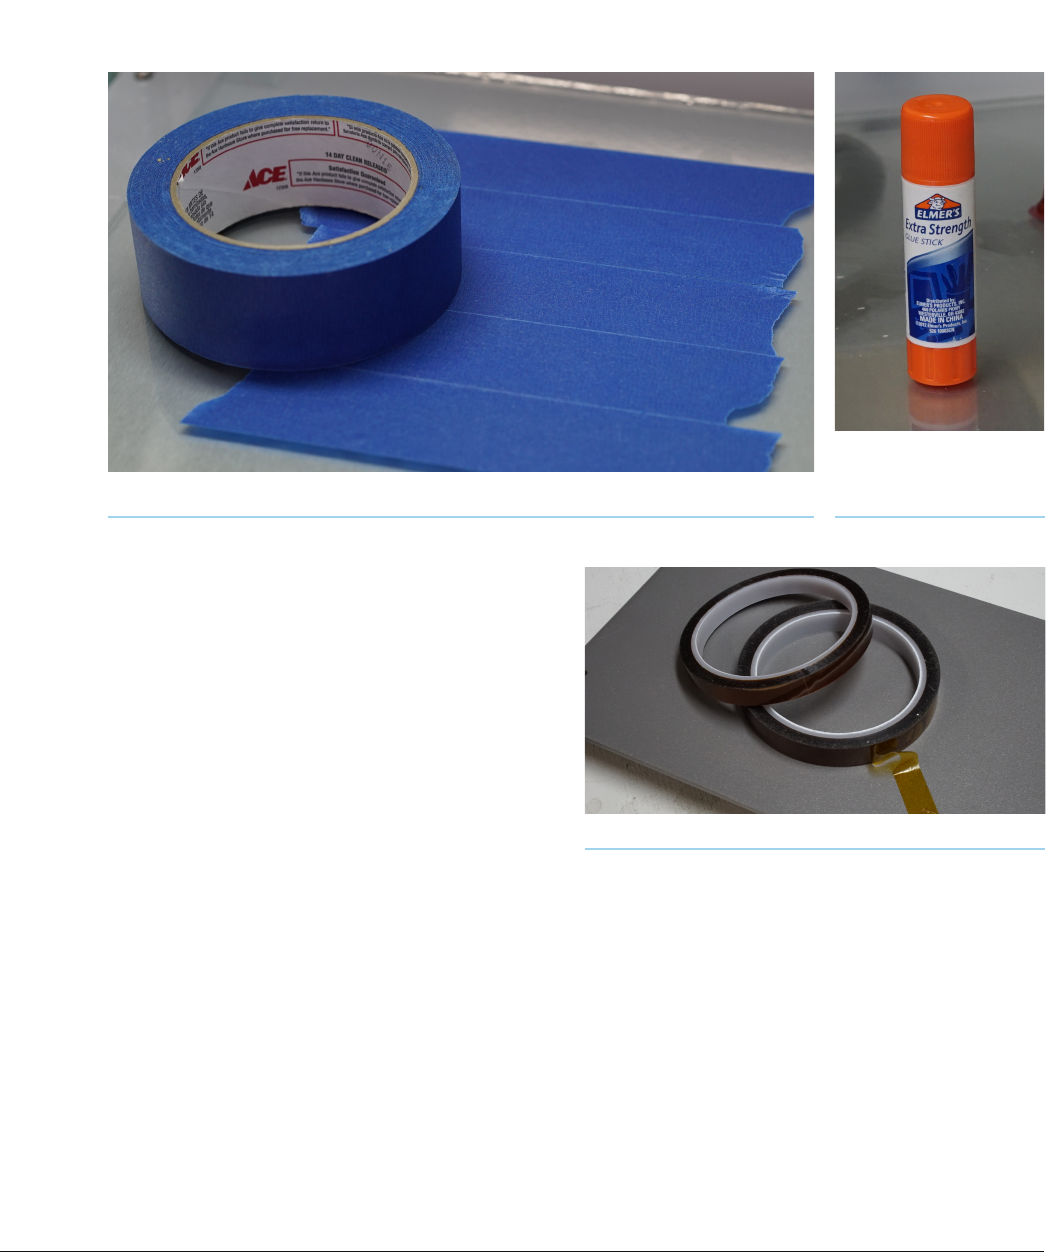
KAPTON TAPE
This is a transparent orange, special type of
high-temperature tape that was originally designed
for use in NASA space missions. It can handle the
high temperatures of heated print beds, and is tacky
enough for some materials to stick directly onto it.
Kapton tape is primarily used in conjunction with a
heated build plate to allow materials like ABS (and
to a lesser extent PLA) to increase print adhesion to
the build plate. A thin roll of Kapton tape is shown
FIGURE 53: PEI film applied over a glass build plate
FIGURE 54: Blue painter’s tape applied to the print bed in even, parallel lines
FIGURE 55: Consumer glue
stick used to adhere prints to
the build plate
FIGURE 56: Kapton tape that can be purchased in various widths
Getting Started with 3D Printing 60
INTERIOR_3DPrinting_v21.indd 60INTERIOR_3DPrinting_v21.indd 60 4/14/2021 3:00:20 PM4/14/2021 3:00:20 PM
..................Content has been hidden....................
You can't read the all page of ebook, please click here login for view all page.