
CHAPTER 1
THE PHOTOSHOP WORKSPACE
To kick things off, just in case you’re not completely familiar with the Photoshop workspace, I thought it would be a good idea to point out where you’ll find menus, tools, filters, and all that stuff you’ll be using on a regular basis.
We’ll take a look at the default layout of Photoshop, and I’ll show you how you can rearrange things to your liking. Oh, and I’ll also show you how to get everything back in order if you can’t find something.
Of course, if you already know this stuff, feel free to jump ahead to chapter 2.
THE HOME SCREEN
When you first open Photoshop (CC) you’re presented with the Home screen, which used to be called the Start screen (Figure 1.1).
From here, you have access to Adobe tutorials on using Photoshop, your recent opened images, your Lightroom photos (if you use Lightroom), and images in the Creative Cloud library that you’re working on with others. You can also create a new document and see what’s new in the current version of Photoshop.
If you’d rather go straight to the main workspace when you open Photoshop, all you need to do is press the Escape key on your keyboard.

FIGURE 1.1
If, on the other hand, you’d rather not see the Home screen at all, you can disable it by going to Photoshop > Preferences > General and removing the check mark next to the box that reads “Auto show the Home Screen” (Figure 1.2).
In the center of the Home screen is the Welcome message, and directly beneath that is a section where you can browse Adobe’s Photoshop tutorials. Clicking on the Browse tutorials button will send you to the main Photoshop workspace. A new document will open, along with a Discover dialog box. Here, you can type in a keyword relevant to what you wish to learn about, and Photoshop will then list all the available tutorials related to that topic (Figure 1.3).
If you click on the back arrow to the left of the search field, you’ll be presented with tutorials and resource link headings for you to look into (Figure 1.4).
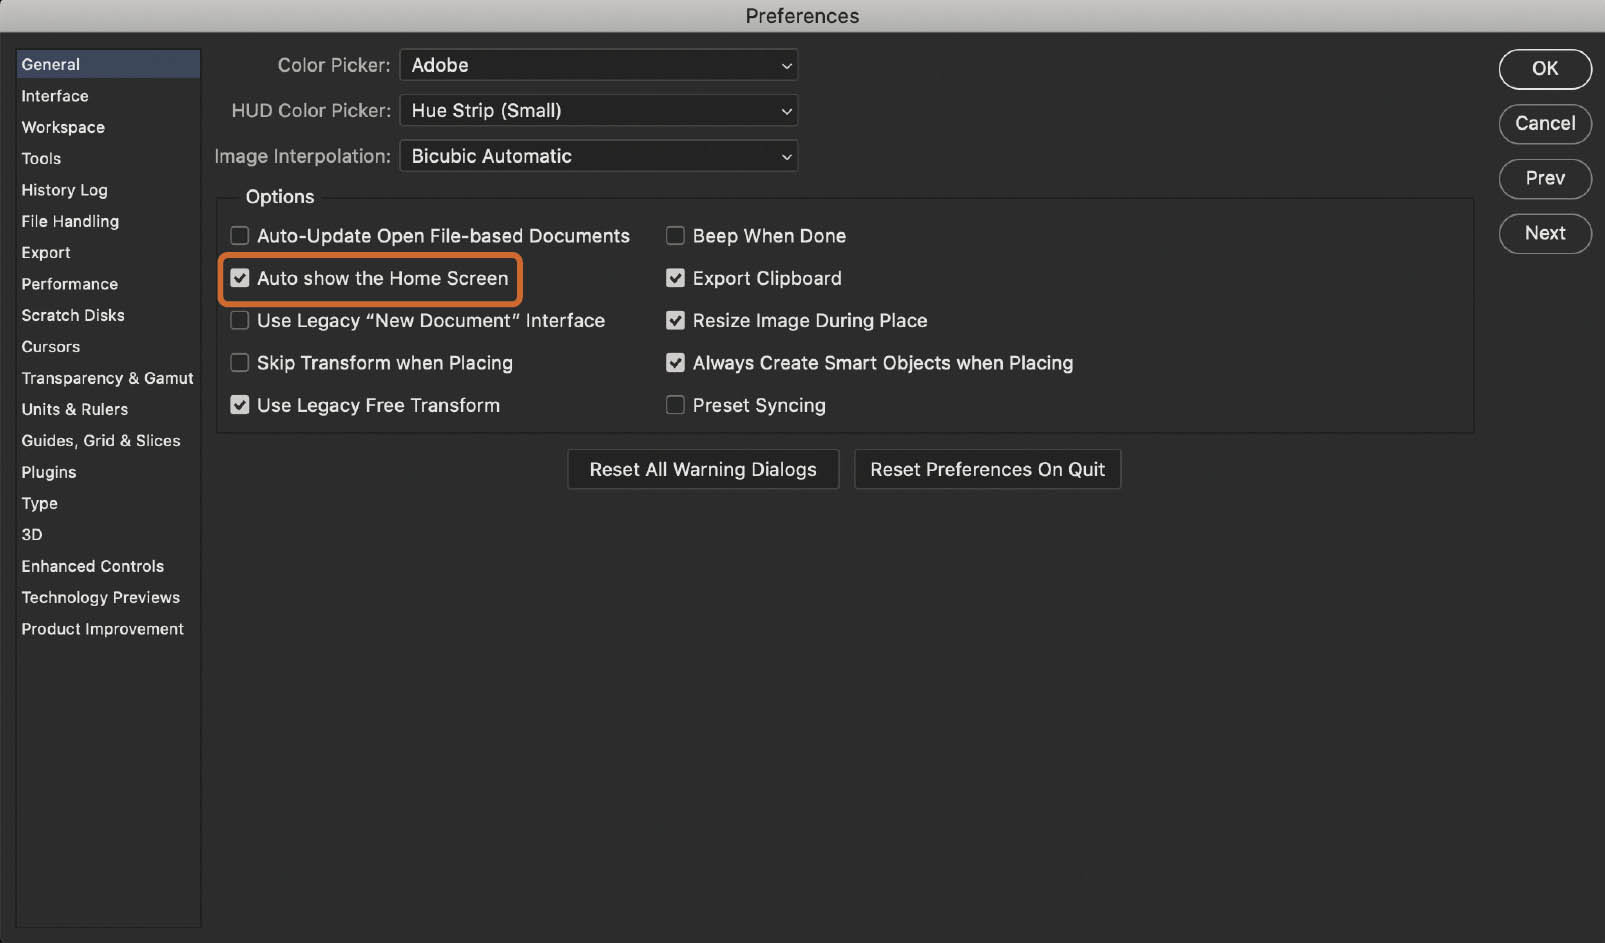
FIGURE 1.2
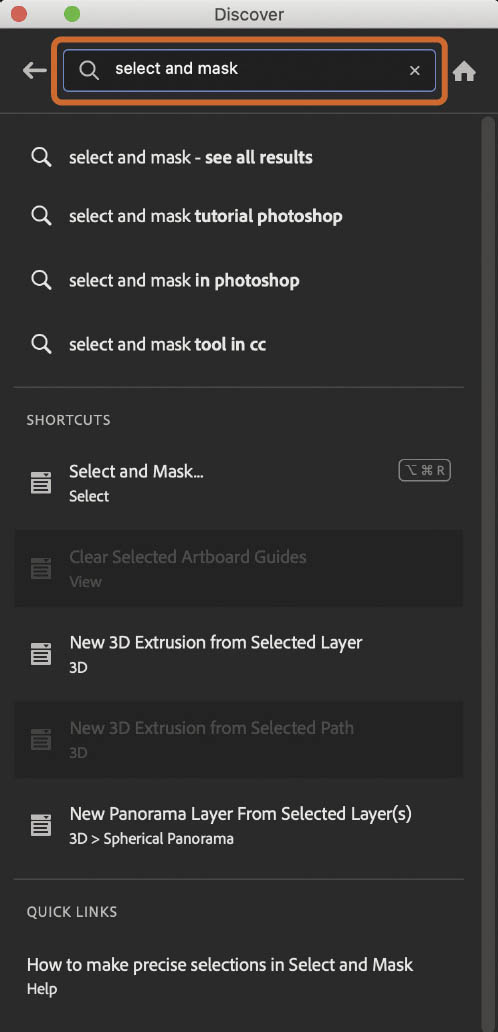
FIGURE 1.3

FIGURE 1.4
To head back to the main Home screen again, you’ll need to close and re-open Photoshop. Again, in the middle of the screen is where you will see thumbnails of your recently opened images (Figure 1.5).
You can use the Sort drop-down menu to display these in order of Recent, Name, Size, or Kind. On the right-hand side of the screen, you can also choose to display them as thumbnails or in a list view.
You can change how many recent images are displayed by going to Photoshop > Preferences > File Handling and typing any number from 0 to 100 into the Recent File List Contains field at the bottom of the Preferences box (Figure 1.6)
In the top right of the Home screen are a cloud (Cloud storage) icon and a magnifying glass (Search) icon (Figure 1.7). Positioning your cursor on top of the cloud icon will reveal how much Creative Cloud storage you have used and how much is available, and will also show the Synced and backed up status of your files.
Click on the magnifying glass/search icon to search for your own files and files on Adobe Stock.
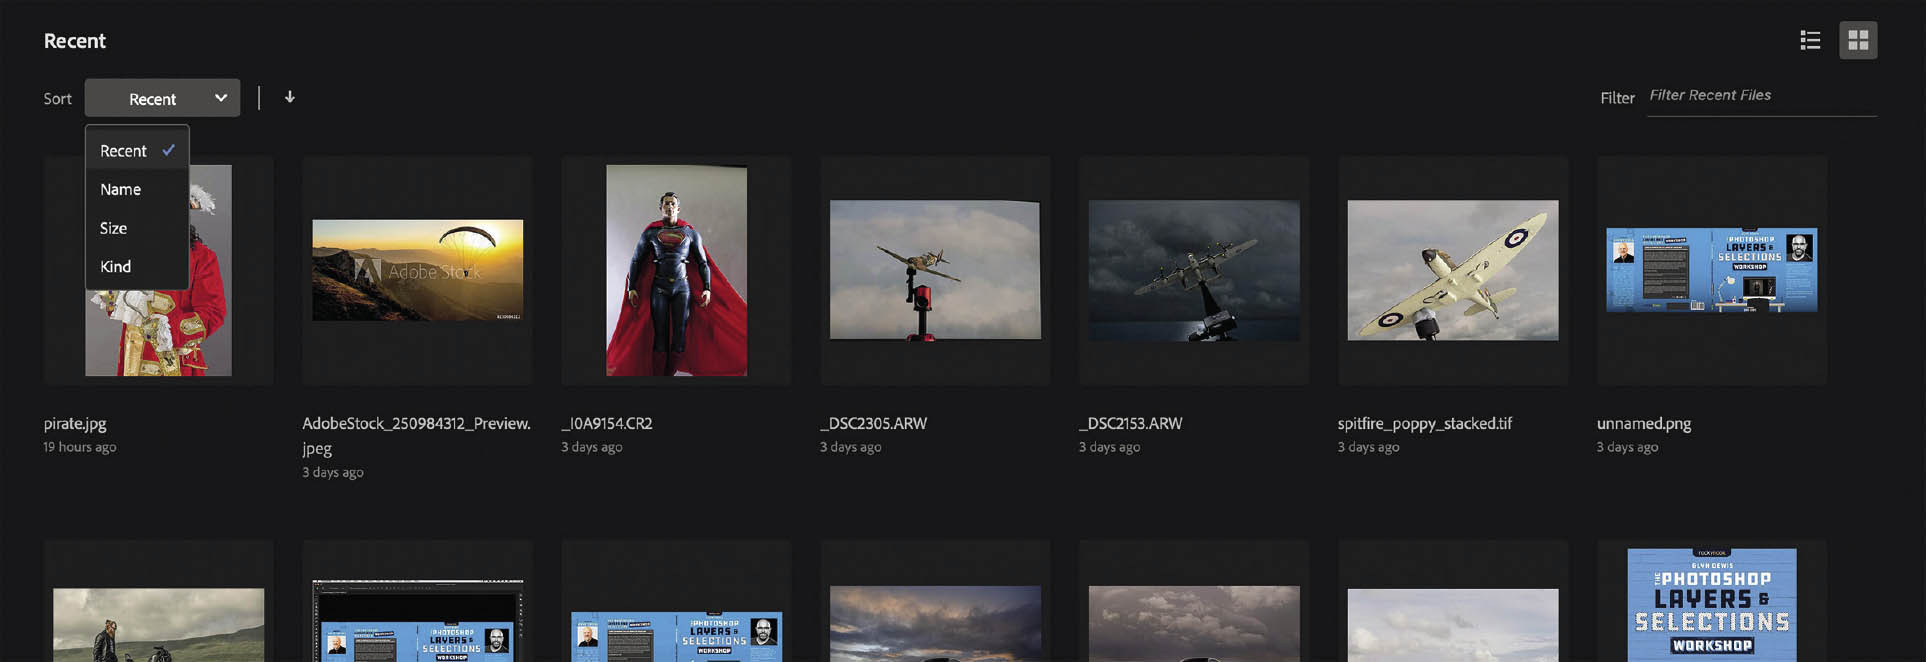
FIGURE 1.5
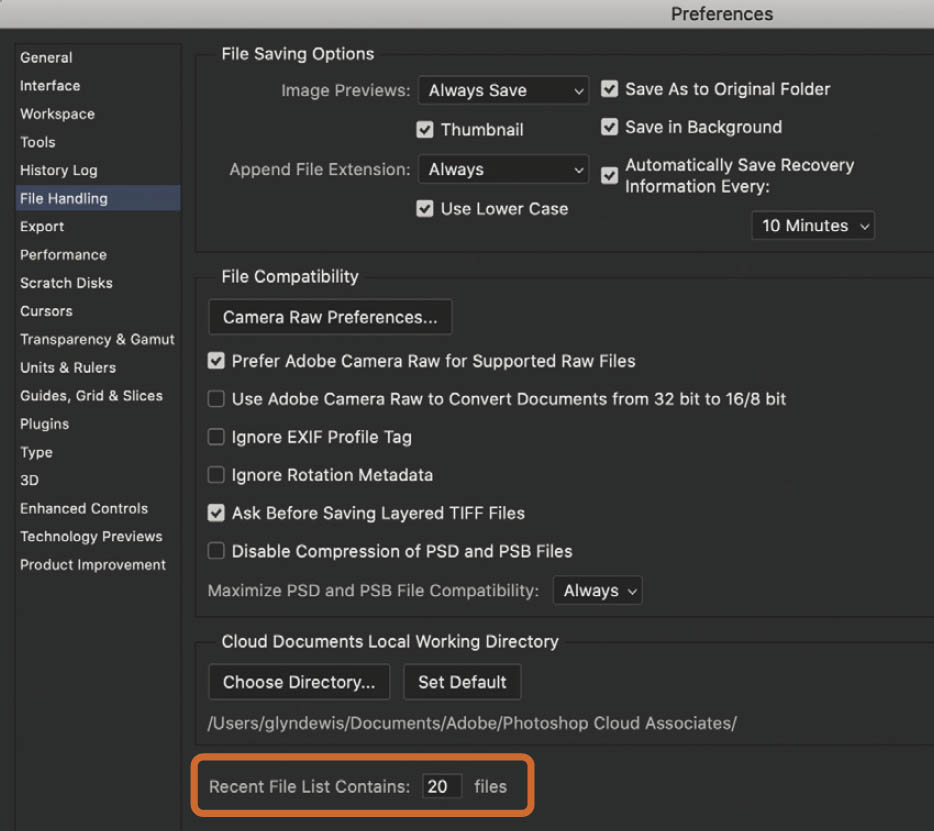
FIGURE 1.6

FIGURE 1.7
CREATE A NEW DOCUMENT
Clicking on Create new on the left side of the Home screen allows you to set up a new Photoshop document to work on. You can define the size, orientation, resolution, color mode, and more (Figure 1.8).
Across the top of the New Document dialog box are categories of Photoshop documents you may want to create. Within each category, there are presets for varying document sizes.
If you’ve created a new document with settings you’d like to reuse, you can save these parameters as a template, or preset, so you don’t have to keep inputting the dimensions and other settings over and over again. These saved custom presets are found in the Saved tab.

FIGURE 1.8
To save your own Photoshop document presets, add in all of the dimensions in the Preset Details section on the right side of the New Document dialog box, and then click on the Save Document Preset icon in the upper-right corner (Figure 1.9).
You can also search for document templates on Adobe Stock by using the search field at the bottom of the New Document dialog box.
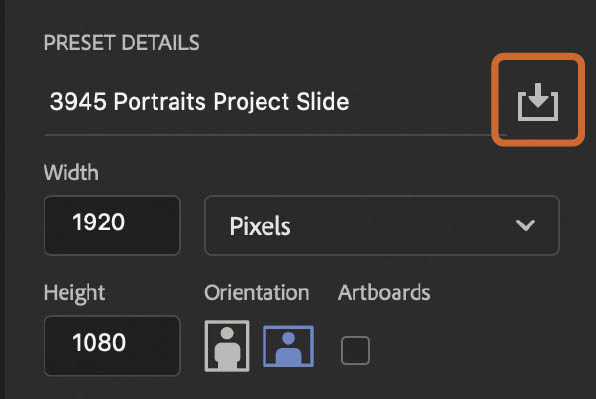
FIGURE 1.9
SETTING UP THE PHOTOSHOP WORKSPACE
Figure 1.10 shows the default Essentials Photoshop workspace.
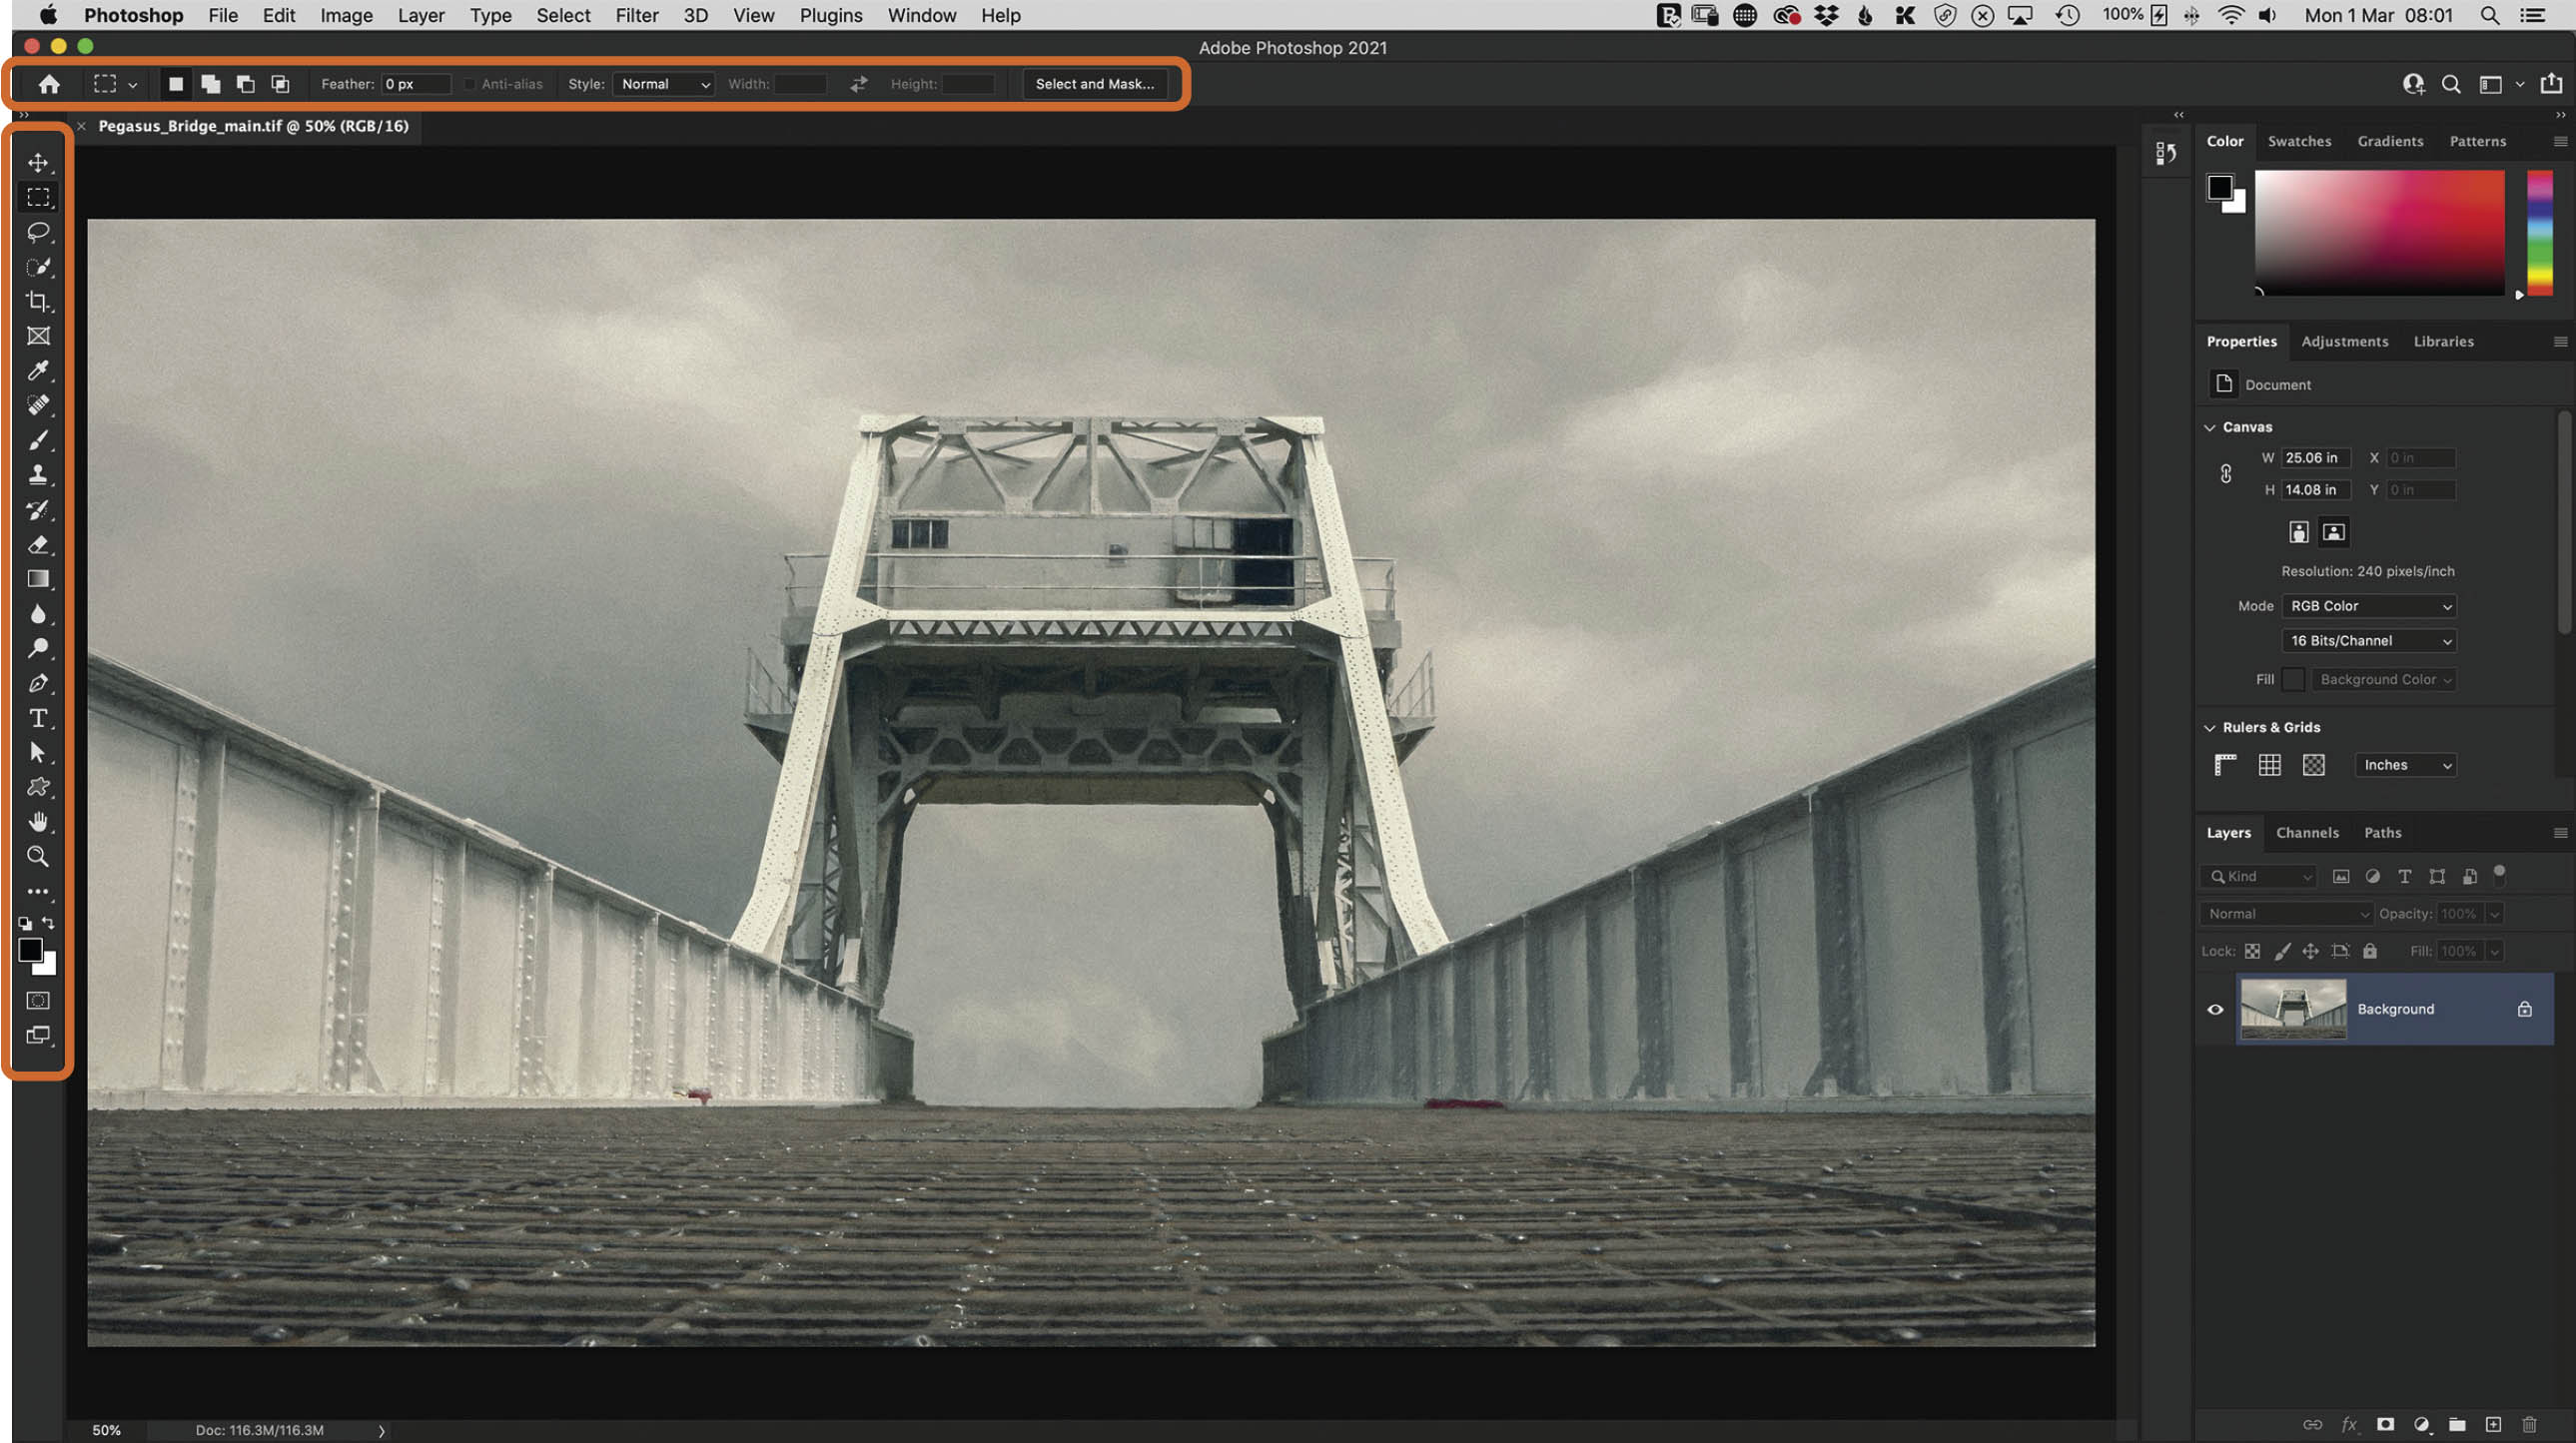
FIGURE 1.10
There’s quite a lot on display, but we can change this so that we only see those sections we use most often. Before I show how you do that, click on Window > Workspace (Figure 1.11).
Here, there are some workspace presets that have been created to show sections of Photoshop most relevant to a particular task, such as creating 3D artwork, Painting, Photography, and so on. If you click on one of these choices, you’ll see how the Photoshop workspace changes.

FIGURE 1.11
In Figure 1.12, I’ve changed to the Photography workspace, and you can see how the layout (mainly on the right side of the screen) has changed from the default Essentials workspace.

FIGURE 1.12
REARRANGING THE WORKSPACE
If you want to rearrange the workspace and save your own preset (you can save as many custom workspaces as you wish), it’s really easy to do so.
Let’s start by rearranging some things. I’ve now gone back to the Essentials workspace, but I don’t want to have the Patterns panel open because I don’t use it. This panel is currently nested among others, so I just see its tab.
CLOSING A PANEL
To close a panel, click on its tab and drag it across into the main workspace. Then click on the x in the top-left corner of the panel to close it (Figure 1.13).

FIGURE 1.13
If I want it back, I simply go to Window > Patterns.
MOVING PANELS
If you click on the name of a panel, you can drag it to a different location in the workspace. You can also nest it among other panels in the workspace by dragging it on top of another panel. Once you see a blue outline where you want the panel to be located (Figure 1.14), release the mouse to drop the panel into place. To minimize the panel, simply double-click on its name.
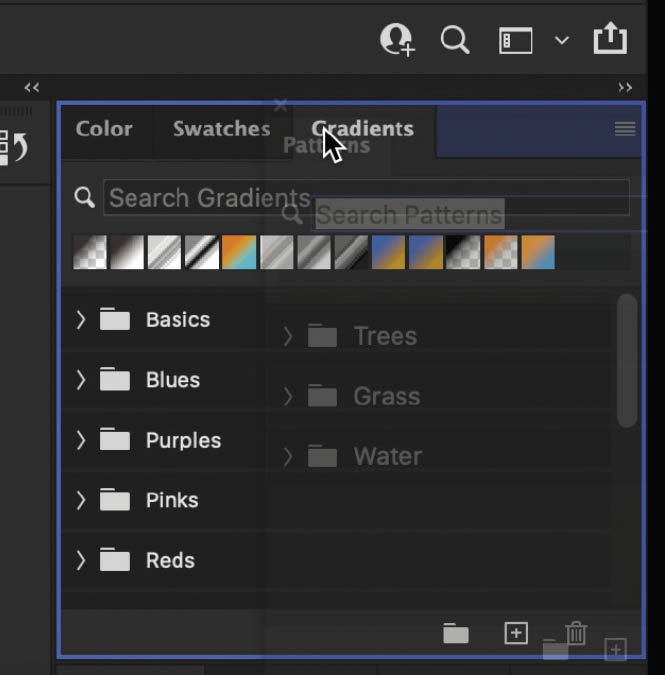
FIGURE 1.14
SAVING A CUSTOM WORKSPACE
Once you have arranged the workspace—including the panels, keyboard shortcuts, menu items, and toolbar items—to suit your needs, you can save the arrangement as a custom workspace. To do this, go to Window > Workspace > New Workspace (Figure 1.15).
In the dialog box, give your workspace a name and select whether you would like to save keyboard shortcuts, menus, or the toolbar configuration (panel locations are always saved). Click Save, and your custom workspace will now be available for selection in the Window > Workspace menu.
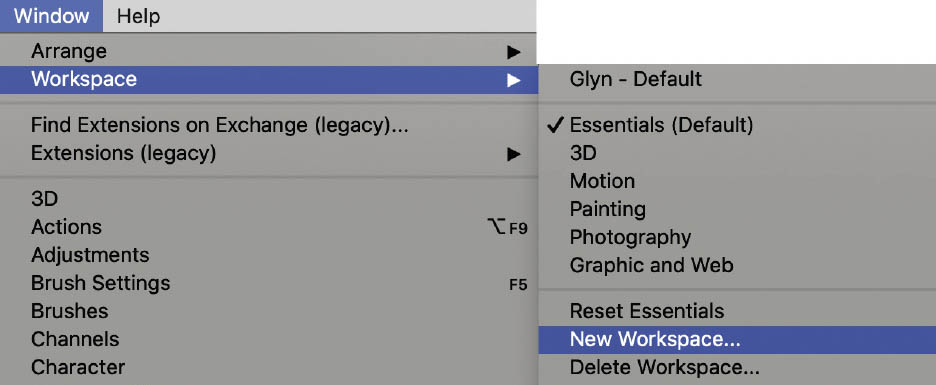
FIGURE 1.15
RESETTING THE WORKSPACE
If you’ve moved stuff around in a particular workspace, or maybe you’ve accidentally closed something and can’t find it, then resetting your workspace will sort it out for you.
To reset a workspace, go to Window > Workspace > Reset (followed by the name of the workspace you are currently using; Figure 1.16).
DELETING A WORKSPACE
To delete a workspace, go to Window > Workspace > Delete Workspace. You can then use the drop-down menu to choose which workspace to delete (Figure 1.17).
NOTEYou can’t delete the workspace you are currently using.
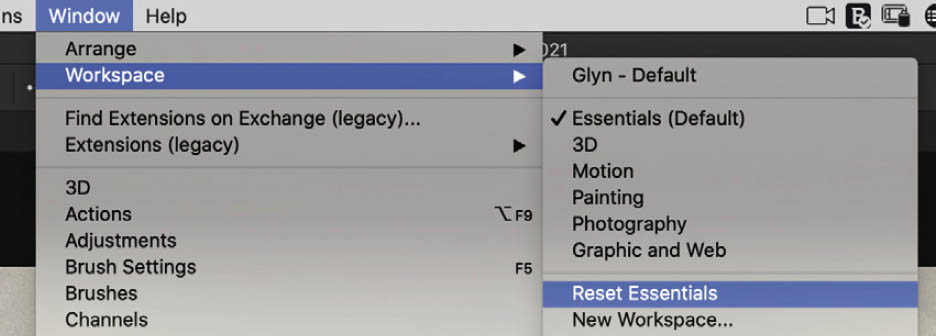
FIGURE 1.16
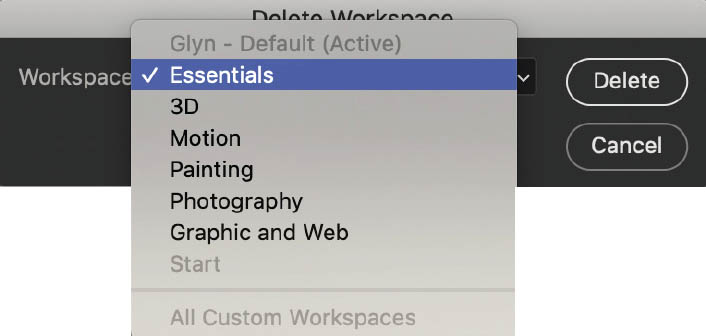
FIGURE 1.17
KEYBOARD SHORTCUTS AND MENUS
You can also customize the shortcuts and menus within Photoshop so that there’s less to choose from. This is also useful if you find that you’re always accidentally choosing a menu item next to the one you want; you can customize the menu so that item is no longer visible.
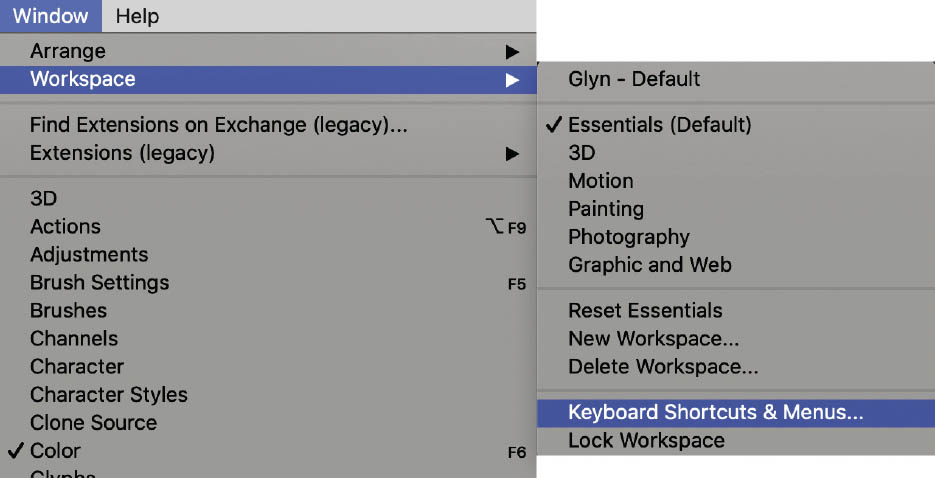
FIGURE 1.18
To do this, go to Window > Workspace > Keyboard Shortcuts & Menus (Figure 1.18).
This will open the Keyboard Shortcuts and Menus dialog box. There is an incredible amount of customization you can do in here with menus, panels, and keyboard shortcuts. For example, I am always (accidentally) clicking on the Browse in Bridge menu option when I actually want Open as Smart Object (Figure 1.19).

FIGURE 1.19
To stop this from happening to you, make sure the Menu For drop-down at the top of the Keyboard Shortcuts and Menus dialog box is set to Application Menus, then click the arrow to the right of File (below Application Menu Command) to reveal all of the options that can be found within the File menu. Click on the eye (visibility) icon for Browse in Bridge to turn it off (Figure 1.20), and then click OK.
From now on, when I use the File menu, the Browse in Bridge option is no longer there (Figure 1.21), meaning I’ll no longer accidentally click on it. Yay!

FIGURE 1.20
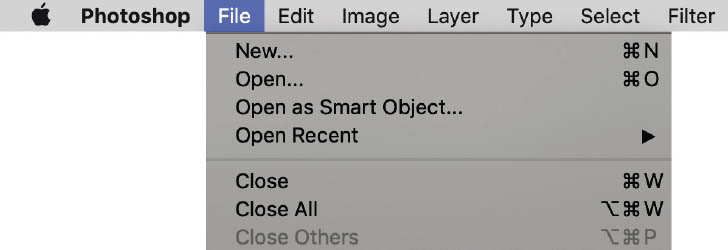
FIGURE 1.21
TOOLBAR
On the left side of the screen (by default) is the toolbar (Figure 1.22). Like with any of the other panels, you can move this to wherever you prefer.
Here, obviously, is where you’ll find the tools you use in Photoshop. You can display them in a single vertical line, or in two vertical lines side by side. To change the display, click once on the double arrow at the very top of the toolbar (Figure 1.23).
Next to each tool in the toolbar, you will see a small triangle in the bottom-right corner. This means there are more related tools available. Click on this small triangle and then click on any of the tools available to start using them (Figure 1.24).
You’ll also see that a lot of the tools have keyboard shortcuts. For example, press W to choose the Object Selection Tool. If you want a different tool from within that section, such as the Quick Selection Tool, all you have to do is hold down the Shift key and press W. This cycles through all of the tools available in that section, so just stop at the one you want, so long as you recognize the icon, of course. ![]()

FIGURE 1.22

FIGURE 1.23
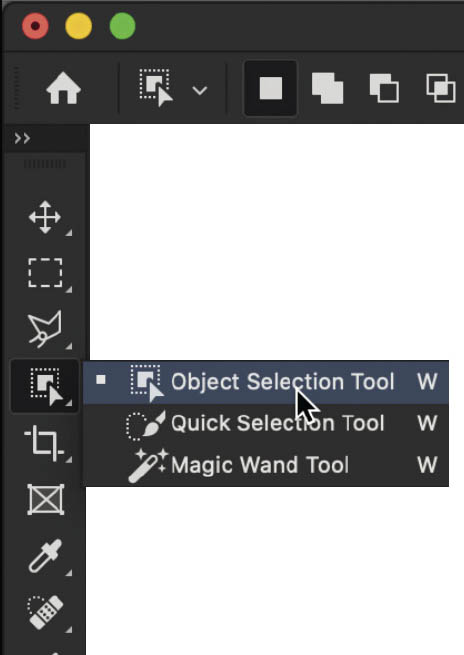
FIGURE 1.24
OPTIONS BAR
Going across the very top of the workspace is the options bar. You will use this frequently because it contains lots more options for the tools you will be using. The available options change for each tool (Figure 1.25).
I’ll be referring to the options bar a lot as we work through this book.

FIGURE 1.25
AND FINALLY . . . SCREEN MODES
With an image open in Photoshop, press F to cycle through the Full Screen Modes (Figures 1.26–1.28).
In Full Screen Mode 2, or Lights Out Mode, positioning the cursor over to the left of the screen reveals the toolbar, and positioning it over to the right reveals the panels.
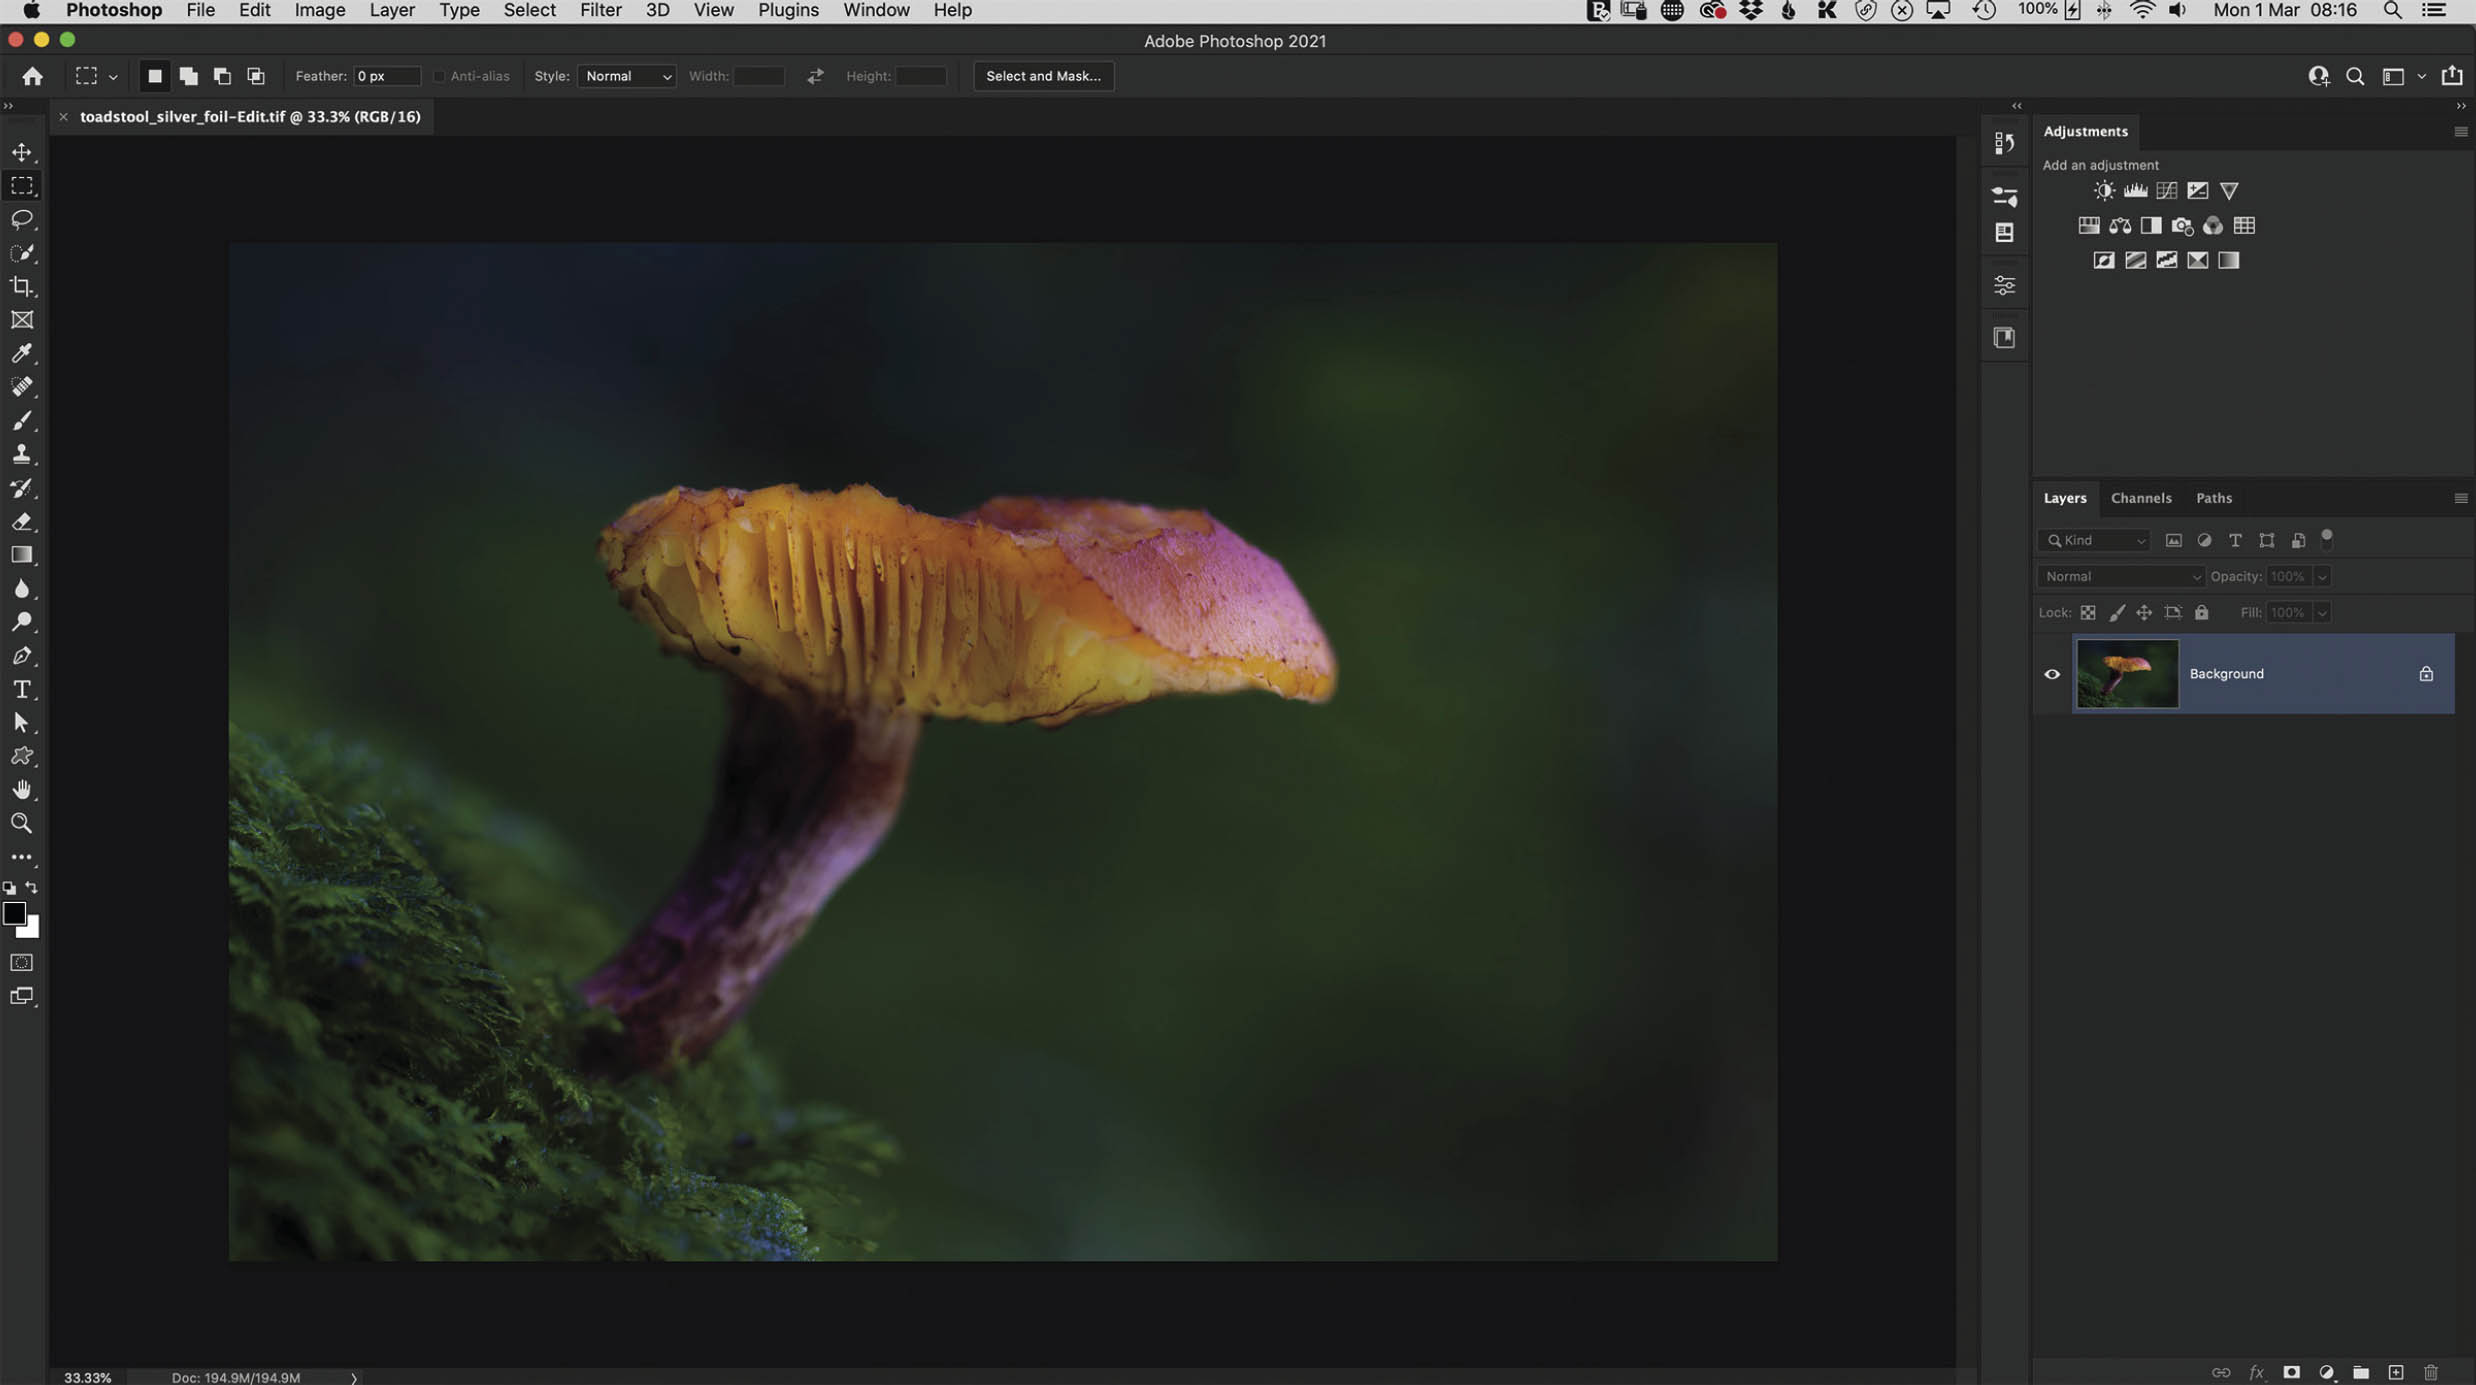
FIGURE 1.26 Default

FIGURE 1.27 Full Screen 1

FIGURE 1.28 Full Screen 2 / Lights Out
In all modes, pressing the Tab key hides the toolbar and panels in the workspace (Figure 1.29). Pressing Tab again brings them back.
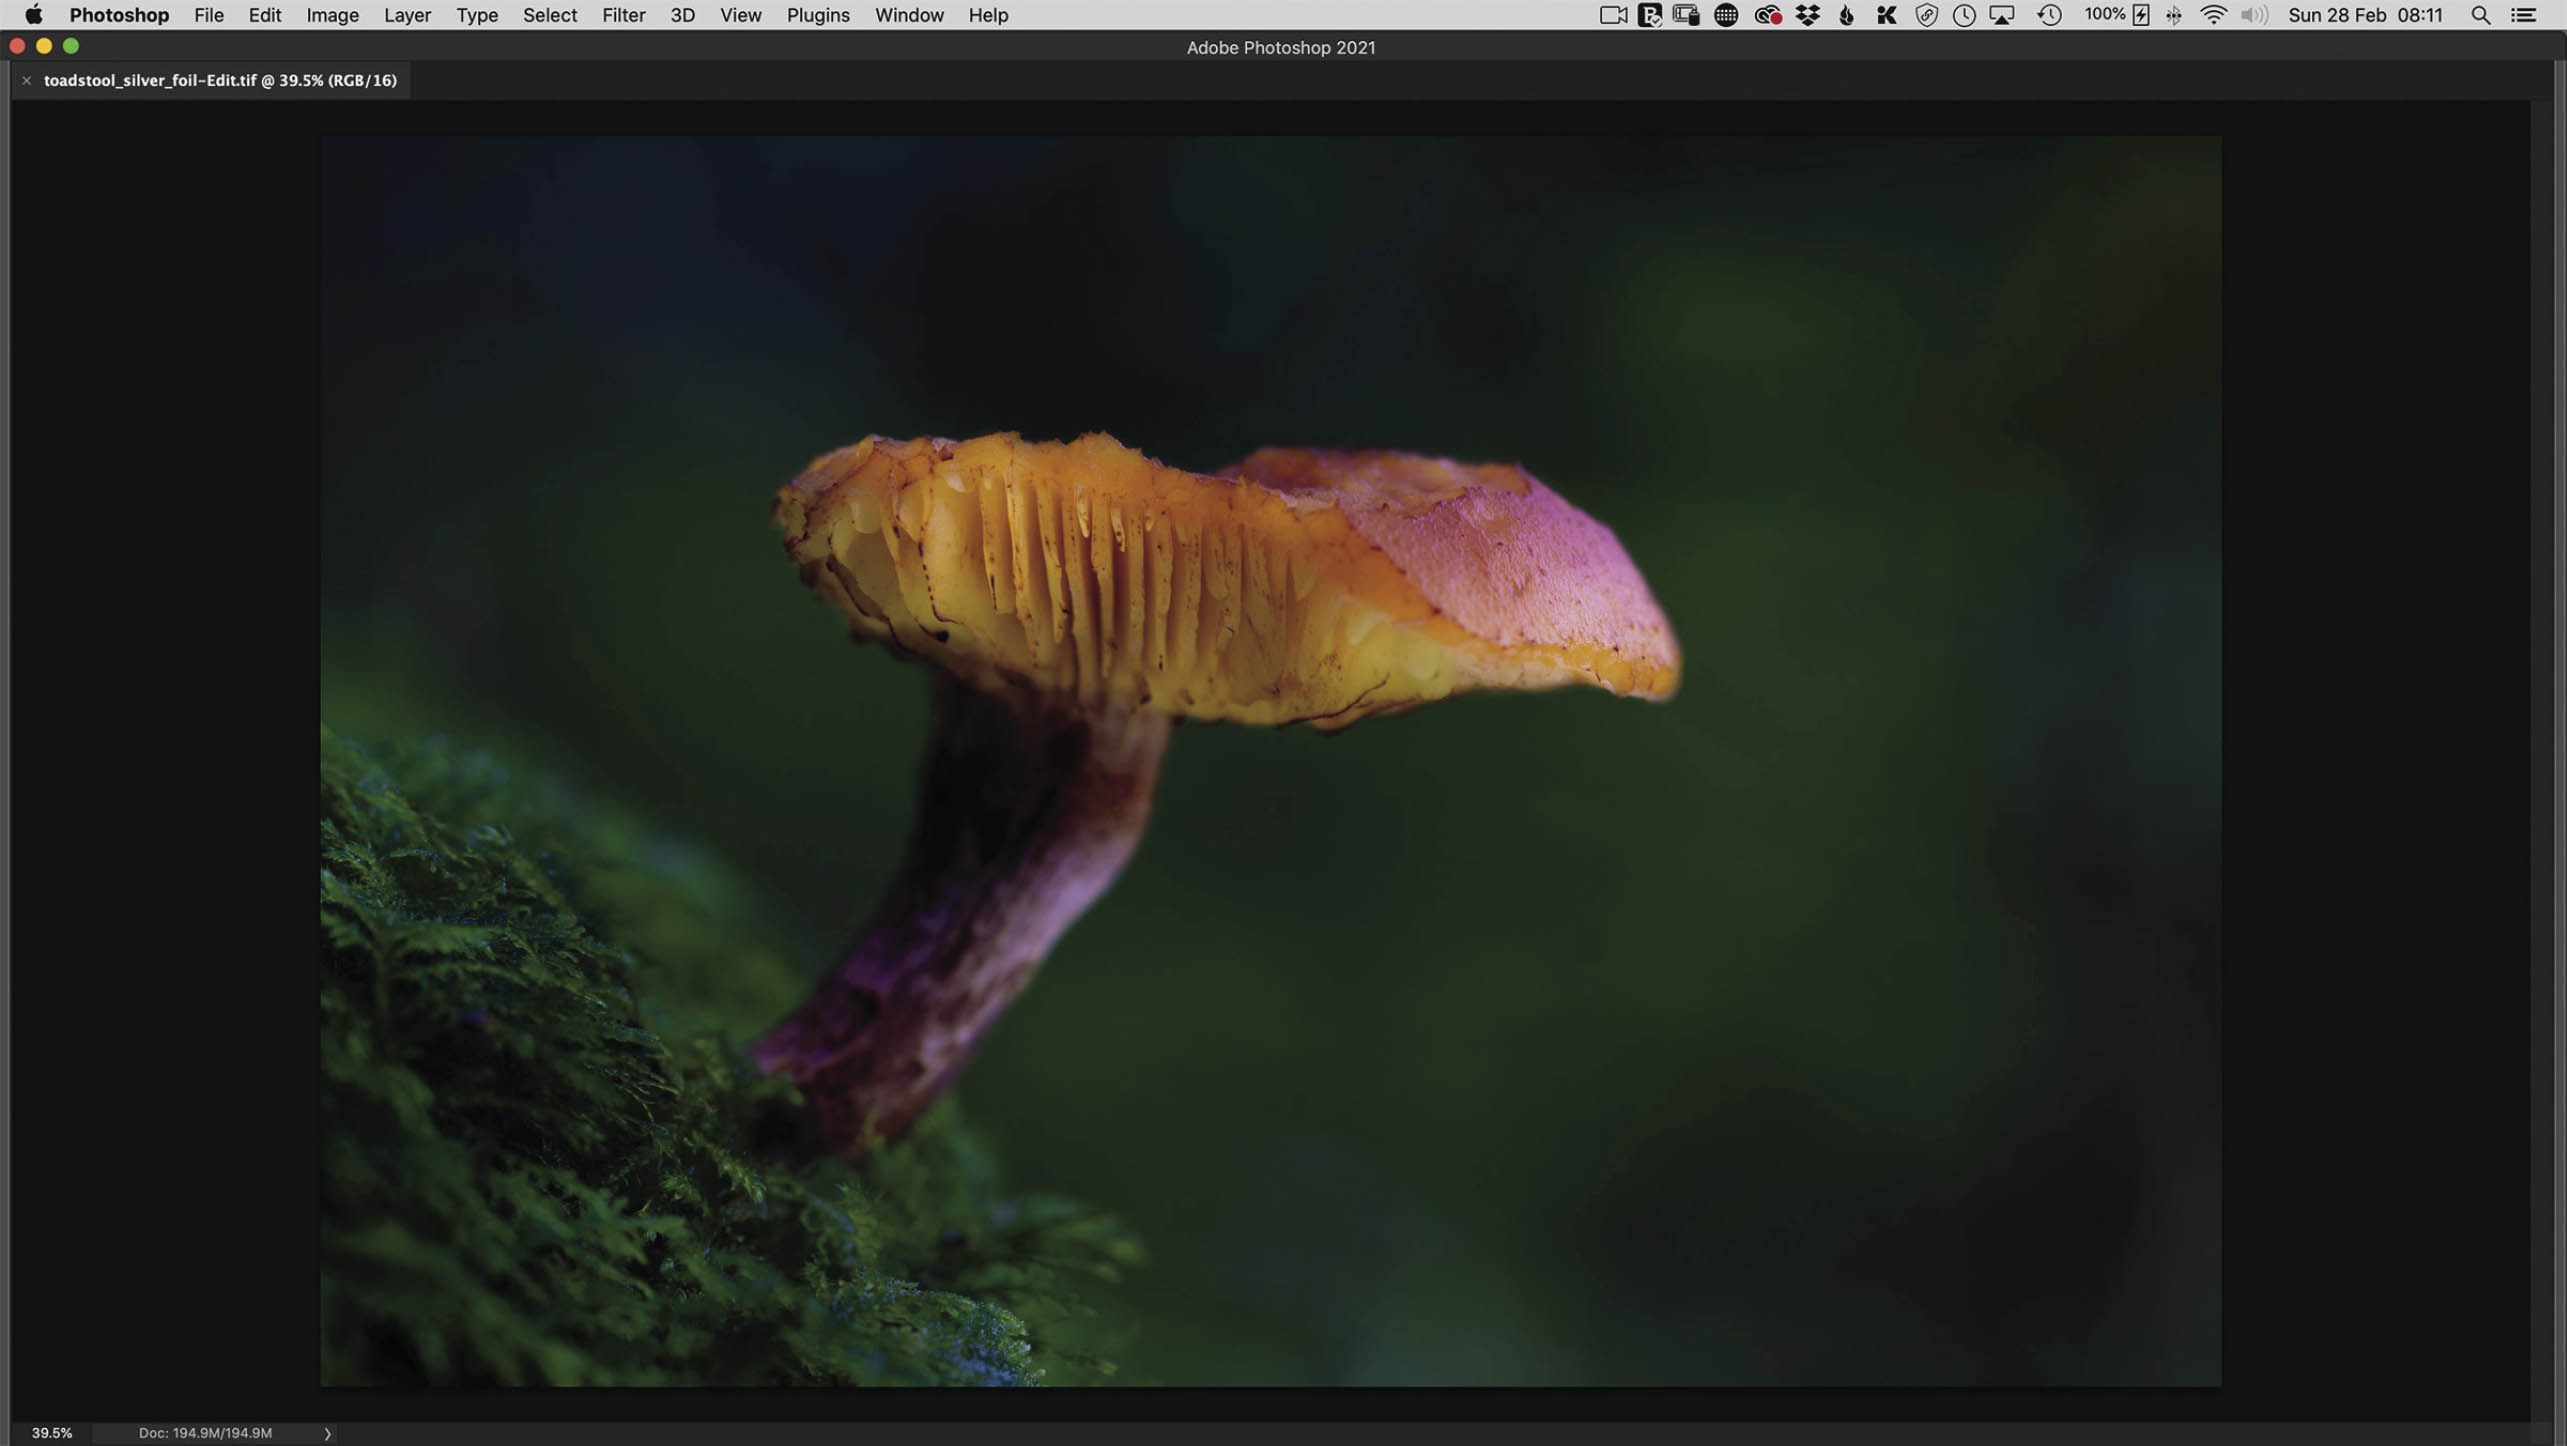
FIGURE 1.29
Holding down the Shift key and pressing Tab hides the panels, but not the toolbar (Figure 1.30). Holding down the Shift key and pressing Tab again brings them back.

FIGURE 1.30
There’s so much more you can do with the Photoshop workspace, and one could quite easily end up writing a book just on that. However, I just want to give you an overview here and encourage you to dive in and have a play with it.
Remember, if it all goes a bit strange, you can always Reset the workspace.
I highly recommend you check out the following webpage that Adobe has put together, where they go into workspace customization in much more detail: https://adobe.ly/2v7tG78.