
If the preceding methods for installing Eclipse and the ADT plugin don't work for some reason, you could always take the old school route and download your own copy of Eclipse and install the ADT plugin manually via Eclipse.
Downloading and plugging in the ADT works as follows:
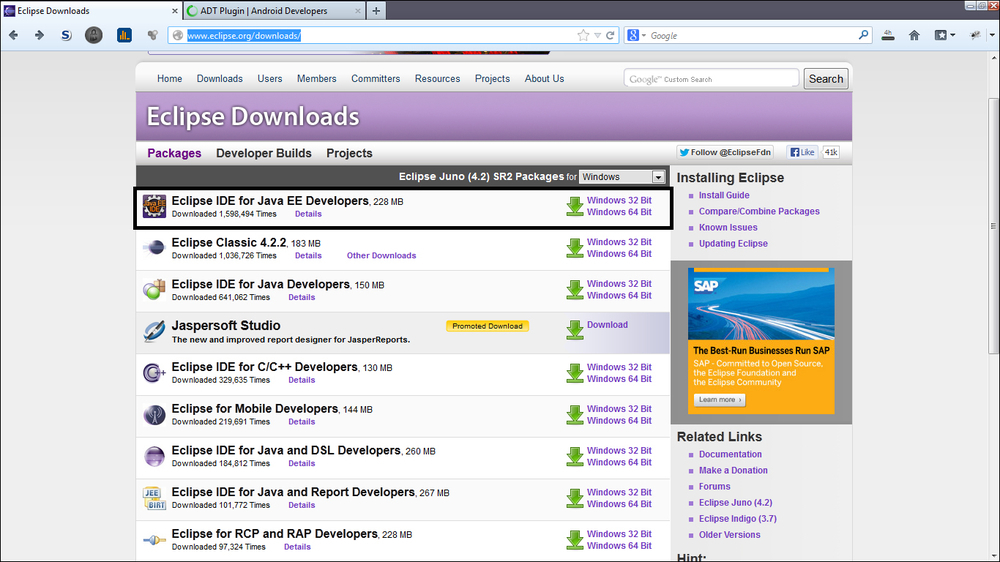
- Download Eclipse—Helios or a later version—from http://www.eclipse.org/downloads/. Please make sure to select the appropriate version for your operating system. You should see a page that looks like the following screenshot:
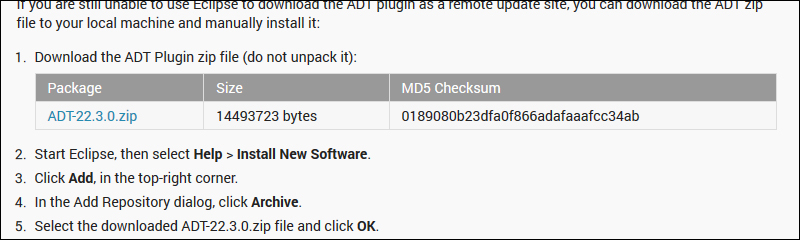
- Download the ADT bundle for your platform version from the Android website, http://developer.android.com/sdk/installing/installing-adt.html. The following screenshot displays a part of the page on this website:
- Make sure you have the Java JDK installed.
- If your JDK installation is good to go, run the Eclipse installer you downloaded in step 1.
- Once Eclipse is installed and ready to go, plugin your ADT.
- Open Eclipse and click on the Help button in the menu bar.
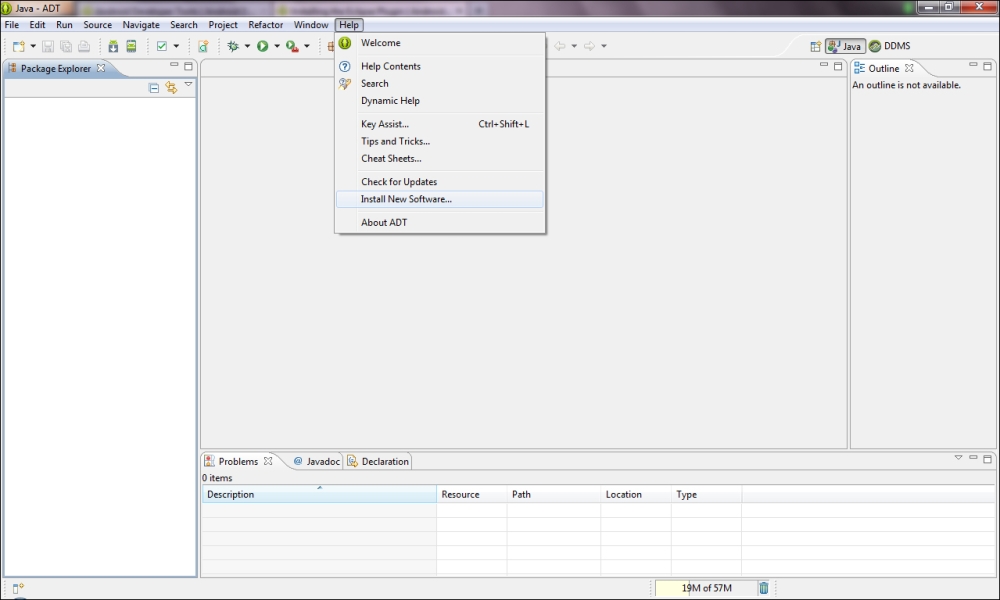
- Click on Install New Software....
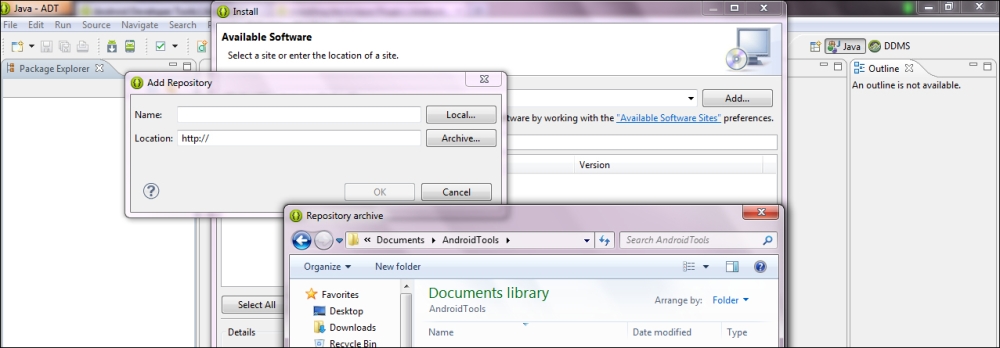
- The Available Software dialog box will pop up. You need to click on Add….

- The Add Repository dialog box will show up. You need to click on the Archive... button.
- A file browser should pop up. At this point, you will need to navigate to the ADT ZIP file that you downloaded in the previous steps.
- After finding the ADT file, click on Open.
- Then click on OK.
- You will be shown the available packages in the
.ziparchive. Click on Select All and then on Next.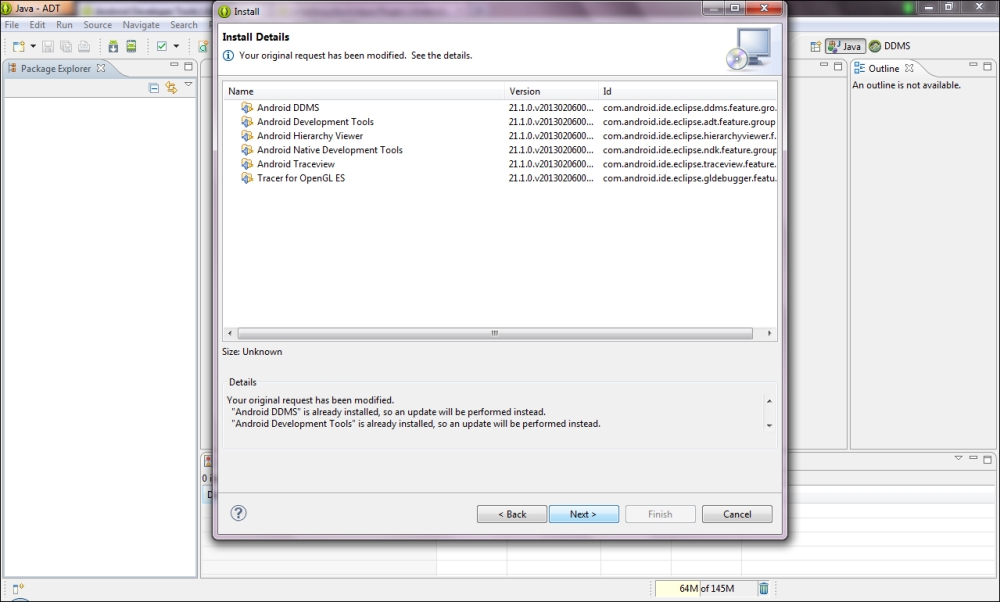
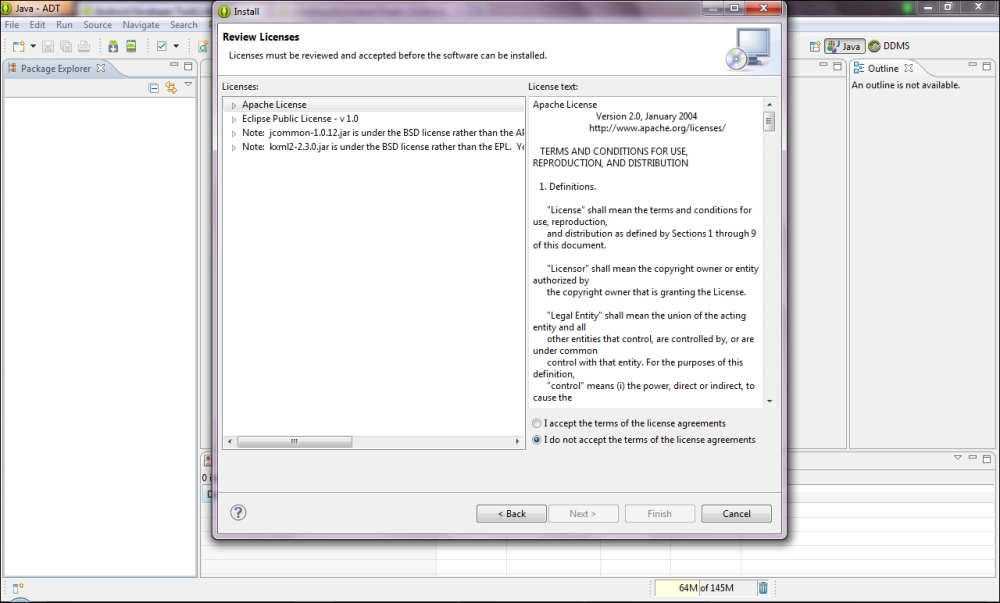
- You will now need to accept the license agreement; of course, you reserve the right not to. It's always a good idea to give it a read. If you're happy, select the I accept the terms of the license agreements option and then click on Finish.
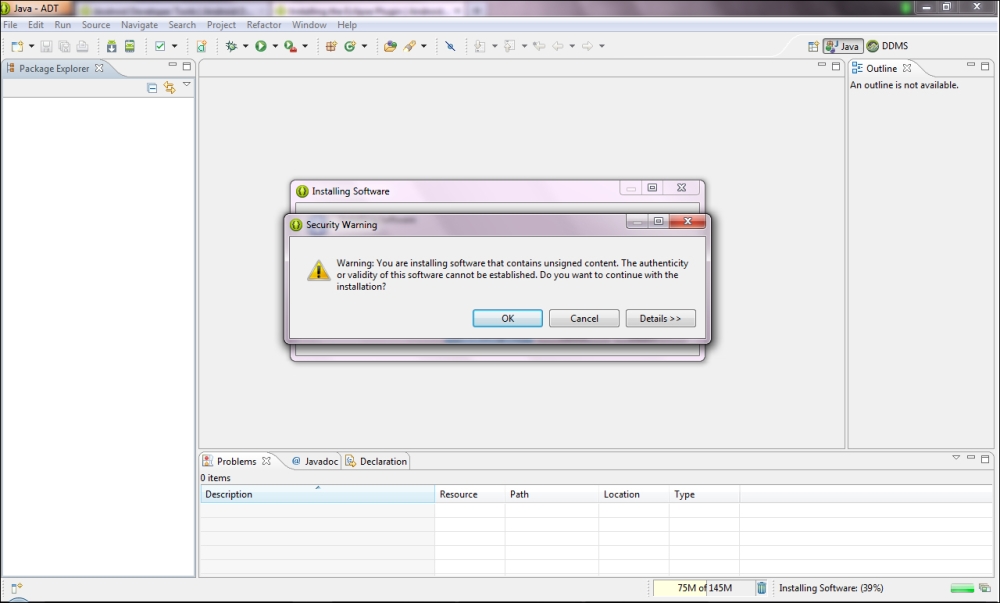
- The software installation will now begin. You may get a warning stating that the content is unsigned and the authenticity cannot be verified. Click on OK.
- Restart Eclipse.
The Android SDK, the device emulator, and the supporting Eclipse functionality should be ready to go now. See your Eclipse toolbar. It should have some new icons.
..................Content has been hidden....................
You can't read the all page of ebook, please click here login for view all page.