
Getting to know the Android Debug Bridge (ADB) is quite crucial to any budding Android security specialist. The ADB allows you to interact directly with the native services and resources, such as the package manager, activity manager, and other various daemons that are crucial to an Android system's operation used by the Android system. This recipe will provide details on how to interact with the activity manager by demonstrating a few commands that you can fire off.
Before we start, you will need the following things:
- The Android SDK tools
- Either a virtual device, see the Inspecting the AndroidManifest.xml file recipe to find out how to create and launch one, or a physical Android device
To launch activities using the application manager, you need to perform the following steps:
- Drop a shell on your Android device with the help of the following command:
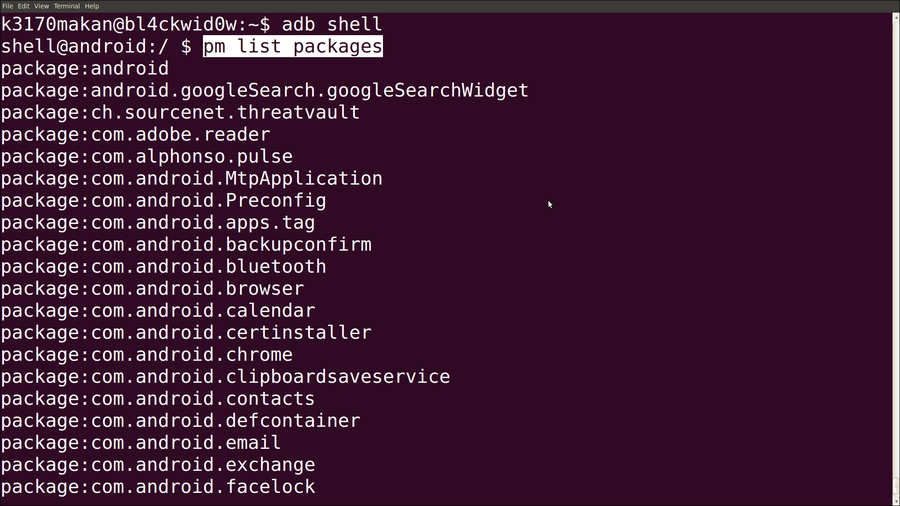
adb shell - Find yourself an activity to launch; you can do this by searching through the list of activities that are installed on the device. This can be done by using the package manager.
pm list packagesA huge list of packages should start pouring down your screen; any one of them should do just fine as an example:
- Once you've selected the activity that you want to launch, execute the following command:
am start [package name]
Besides just launching activities, you can also specify intents to send over to an activity by making use of the intent argument accepted by the start command, as follows:
am start <INTENT> < --user UID | current >
The <INTENT> argument can be made up of a couple of arguments that allow you to describe an intent in full detail.
-a [action]: This argument specifies the string label of the action to be specified. It helps detail the intended purpose or "action" of the intent that is being sent.-d [data uri]: This argument specifies the data URI to be attached to the intent. It points to the data to be used by the application handling the intent.-t [mime type]: This argument specifies the mime type of the data included with the intent.-c [category]: This argument specifies the category of the intent.-n [component]: This argument specifies the component of the specified package targeted with the intent. It is used to fine tune the targeting of the intent.-f [flags]: This argument specifies the intent flags. It is used to describe how the intent should be honored and allows you to control a given number of behaviors of the application that is honoring the intent.-e [extra key] [string value]: This argument adds a string value associated to a given key. Certain intent definitions allow you to pass a dictionary of string values to an application. These string values will be accessed when the intent is being honored.-e [extra key] [string value]: This argument has the same function as-e.-ez [extra key] [boolean value]: This argument associates Boolean values to a name.-ei [extra key] [integer value]: This argument associates an integer value to a name.-el [extra key] [long value]: This argument associates a long number value to a name.-ef [extra key] [float value]: This argument associates a float number value to a name.-eu [extra key] [uri value]: This argument associates a URI to a name.-ecn [extra key] [component name]: This argument associates a component name—that will be converted into aComponentNameobject—to a name.-eia [extra key] [integer value, integer value,...]: This argument allows you to associate an integer array to a name.-efa [extra key] [float value, float value,...]: This argument is the same as-eia, except that in this case, you would associate an array of float number values to a name.
Not all of the intent arguments are compulsory. All that's needed for this command to be logically sound is a component to target with the intent or an action value; these rules apply to all intents targeted at applications.
The optional --user argument allows you to specify which user this application should run as. If this argument is not supplied with the activity, it will run as the ADB user.
There are also flags that you can associate to the intent. For a full list of options, refer to the Intent Specification – Android Developer labeled link in the See also section.
Using this would work something similar to the following command:
am start –n com.android.MyPackage/com.android.MyPackageLaunchMeActivity –e MyInput HelloWorld –a android.intent.MyPackageIntentAction –c android.intent.category.MyPackageIntentCategory
You can also start services using the activity manager; you can do this using the startservice command:
am startservice <package name>/<component name> <INTENT>
Using this would work as follows:
am startservice com.android.app/com.android.app.service.ServiceComponent
you can also specify
Another function that the activity manager supports is stopping services and processes. This comes in very handy when an app is hogging all of the system resources and slowing the system down. Here's how you kill a process using the activity manager:
kill < --user UID | current > <package>
As with the previous commands, the UID argument is optional. Here, this argument allows you to limit the
kill command to packages running as a given user. If left unspecified, ADB will try to kill the running processes of all users that are associated to the given package.
For more commands supported by the Android activity manager, see the Android Debug Bridge – Android developer labeled link in the See also section.
- The Android Debug Bridge – Android developer page available at http://developer.android.com/tools/help/adb.html
- The Intent Specification – Android Developer specifications available at http://developer.android.com/tools/help/adb.html#IntentSpec