
So you've got drozer all set up and ready to go; you can start running some drozer sessions on a sample Android device—preferably one with the drozer Agent installed on it.
The following recipe takes you through the basics of setting up a drozer session and how to fire off some quick and easy modules via the drozer console.
Before proceeding with this recipe, you will need to have installed the drozer console on your machine and drozer Agent on the target device. If all that's been sorted, you can move on to running your drozer console session by performing the following steps:
- Using ADB, set up some port forwarding, provided you have some kind of device connected:
adb forward tcp:31415 tcp:31415 - You'll need to make sure the drozer Embedded Server has been started. You will need to start it via the application's interface on your device. Simply find the drozer Agent on your device; it should have popped up somewhere among the other apps on your device, but seeing that you likely just installed it, you would probably see a notification about it and will be able to launch it from your notification menu.
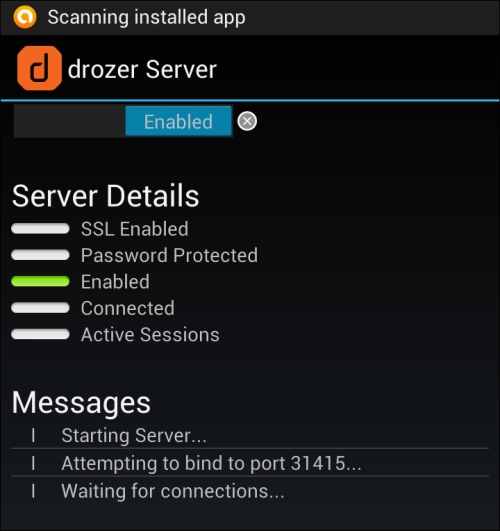
- Press the button labeled Embedded Server via the drozer Agent User interface. You should be presented with the screen as shown in the following screenshot:

- Drag the button labeled Disabled to the right. It should say Enabled now and the Enabled label under the Server Details section of the user interface should be engaged, as shown in the following screenshot:
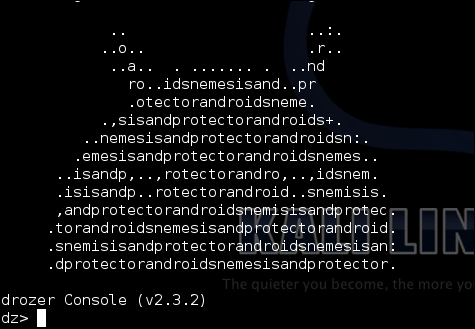
- You can then connect the drozer console by executing the following command:
drozer console connectdrozer should then drop into console mode, allowing you to start firing off commands and modules.
..................Content has been hidden....................
You can't read the all page of ebook, please click here login for view all page.