
Fuzz testing is a great way to find exploitable bugs or bugs in system utilities. It allows auditors to gauge the effectiveness of file handlers and any other application against malformed and possibly malicious input, and helps determine whether there are any easily exploitable entry points on a system. It's also a great way to automate security testing.
Android is no different from any other system and has a myriad of interesting fuzz targets. The attack surface of an Android device doesn't stop at the Java application layer; in fact, root exploits are sometimes based on a native executable or system utility that doesn't properly handle any given input or respond in a secure way to certain situations. Fuzzing is a great way to find these situations and possible root exploits on an Android device.
What I'm going to cover here is how to port a fuzz test generator called Radamsa to the Android platform, and also install some utilities that will help you to script some robust fuzzing scripts that use Radamsa.
Before we can start porting, you will need to grab a copy of the Radamsa fuzzer; here's how you do that:
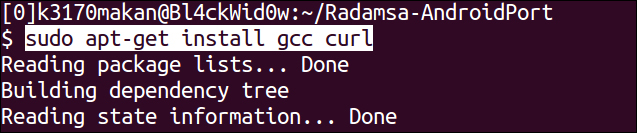
- Make sure you have either CURL or Wget installed on your Linux machines. Wget will work fine, but sticking to the recommendation on the Radamsa site, you can install the prerequisites by executing the following command from your Ubuntu machines:
sudo apt-get install gcc curlRunning this command should produce an output similar to the following screenshot:
- Once they've been downloaded, you can grab your copy of the Radamsa source code as follows:
curl http://ouspg.googlecode.com/files/radamsa-0.3.tar.gz > radamsa-0.3.tar.gzRunning this command should produce an output similar to the following screenshot:

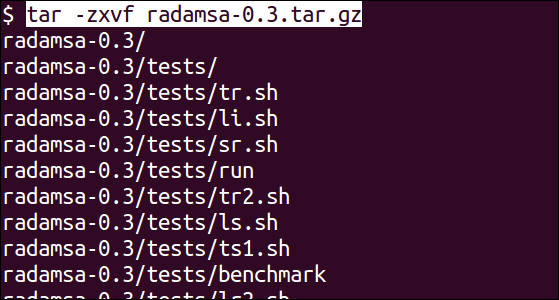
- You should then extract the Radamsa source by executing this command:
tar –zxvf radamsa-0.3.tar.gzIf you've executed this command correctly, your output should be similar to the following screenshot:
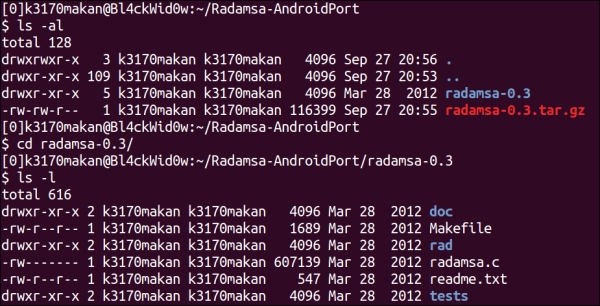
Your directory should look something like the following when you're done:
Everything is set up now; we can begin setting up the
jnidirectory structure and compiling Radamsa for Android.
To cross-compile Radamsa for Android, you should do the following:
- You should have a directory called
radamsa-0.3after unpacking the Radamsa source inside this directory; you should create a directory calledjni, just as we've done in the Cross-compiling native executables recipe. - Make a copy of the
Android.mkfile you used for the buffer overflow recipe and stick it inside thejnidirectory; your directory should look similar to the following screenshot: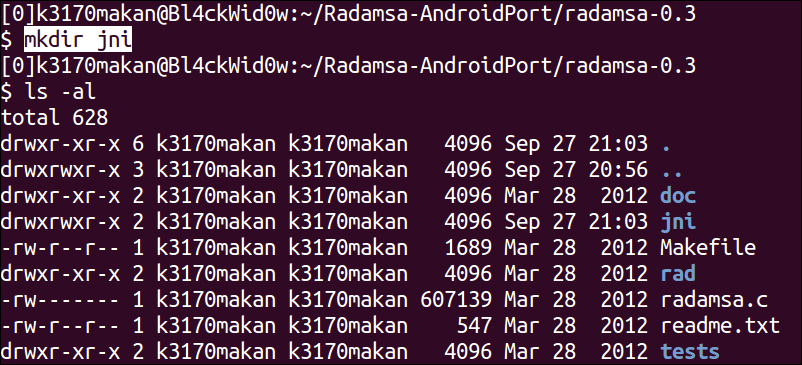
- Copy the
radamsa.cfile, which contains the Radamsa source, into thejnidirectory as in the following screenshot: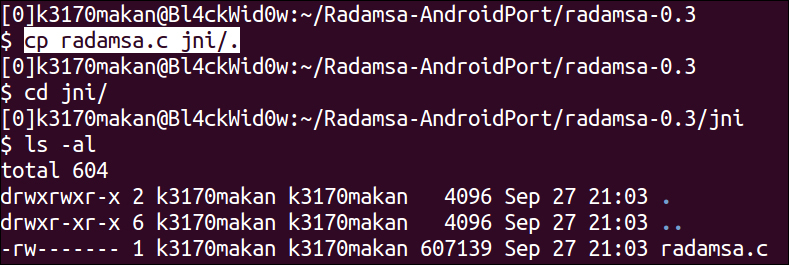
- Grab a copy of the
Android.mkfile and stick it inside thejnifolder.Copying your
Android.mkfile should be similar to the demonstration shown in the following screenshot: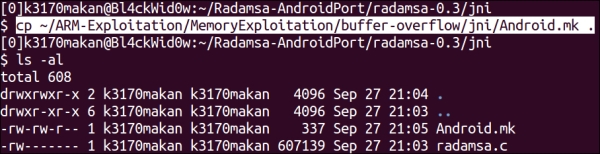
- Edit the
Android.mkfile you copied in the previous step so that it looks like the following: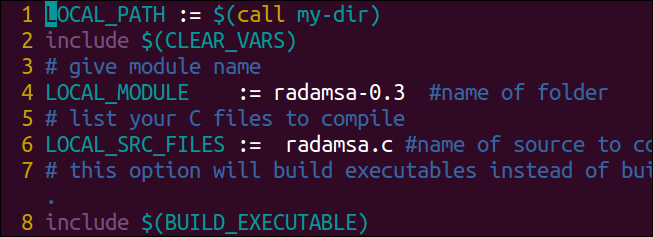
- Once you're done setting up the
Android.mkfile, you can execute thendk-buildcommand; you should get the following output: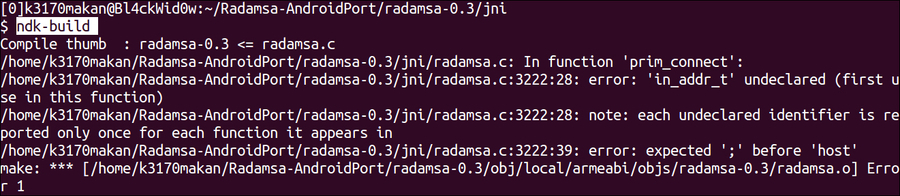
This means the build has failed. GCC also shows you which lines of code cause the error. It is, in actual fact, one issue cascading through the rest of the code, namely
typedef, which aliases an unsigned long into something calledin_addr_t; in the next step, we will fix this issue to get Radamsa compiled successfully. - Open the
radamsa.cfile in your favorite code editor—preferably one that displays line numbers. Scroll down to line number3222; you should see the following code if you're using the vim text editor:
- In line
3222of theradamsa.ccode, replace thein_addr_ttype name to an unsigned long. The code should look something like this when you've changed it correctly:
- You should also remove the
typedefcommand in line2686; before editing the line, it should look like the following: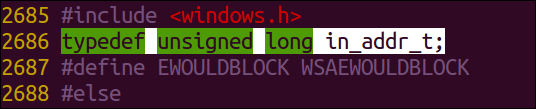
After commenting it out, it should look something like the following:

- After you're done editing the
radamsa.csource so it pleases the NDK GCC compiler, you can run thendk-buildscript. If you've done everything correctly, your output should look something like this:
- After successfully building the executable you can then push it to an Android emulator as follows—assuming you have one set up already, and you've remounted the system partition as writeable:

- Once you've pushed the Radamsa executable, you can test it by executing this command on your Android emulator:
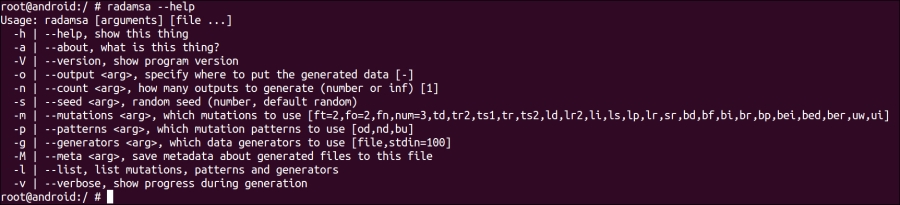
radamsa –-helpThis should generate the following output:
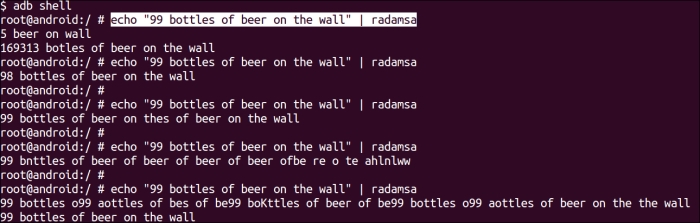
- You can run Radamsa on some test input to make sure everything is working fine. As an example, see how Radamsa was run using the following command to make sure everything was sane and in working condition:
echo "99 bottles of beer on the wall" | radamsaRunning this command should produce an output similar to the following screenshot:
And that's it! Radamsa is up and running on Android. The next section talks about setting up a simple fuzzing script and pointing it at dexdump to try and generate some crashes and hopefully find some exploitable vulnerabilities.
If you're going to be doing some fuzzing, you will eventually need to do some bash scripting to hone Radamsa at the right targets and autonomously report input data that causes interesting behavior. Unfortunately, Android platforms don't come packaged with all the utilities that make bash scripting powerful; they don't even come with a bash shell application, mostly because it's not needed.
We could use the sh shell do to our scripting, but bash is a little more powerful and robust and generally most people are more accustomed to bash scripting. Because of this, the following section of this recipe explains how to get Busybox running on an Android platform.
To get Busybox utilities (a package of useful terminal applications) on Android, you need to do the following:
- Grab a copy of the Android port from http://benno.id.au/Android/busybox; in the example, we used
wgetto do this: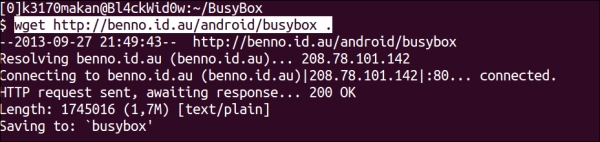
- What you need to do then is prepare a
busyboxdirectory on your Android emulator—assuming you have one already set up and ready to go.For this example, the
busyboxdirectory was made in the/data/folder; since it's writable and executable, any folder on a partition mounted with write, read, and execute permissions should work well.
- Once you've made a dedicated directory for Busybox, you can push it to the emulator using this command:
adb push [path to busybox] /data/busybox/.You should be doing something similar to the following screenshot:

- Once you've pushed a copy of the
busyboxbinary to your emulator, you can install the binaries by executing the following command on your emulator:/data/busybox –-installHere's an example from a Samsung Galaxy S3 smartphone:

After executing this command, your
busyboxfolder should look something like the following: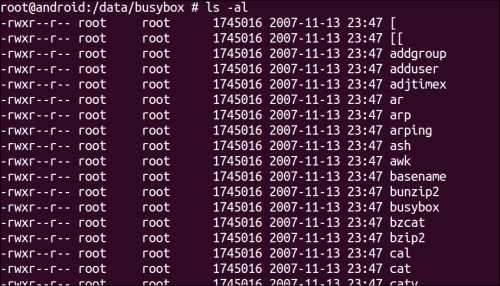
Now that you've got your test case generator up and running and the Busybox utilities installed, you can start generating some crashes!
In this example, we will see how to set up a simple script to do some "dumb" fuzz testing against dexdump, a utility that dissects an Android DEX file and prints its contents:
- Before we start, you will need a sample DEX file; you can either get one by writing a sample "hello world" type application using the Android SDK or just grabbing the
Example.dexfile created in the previous chapter's recipes. If you'd like to generate this file, see the Compiling from Java to DEX recipe in Chapter 6, Reverse Engineering Applications. - Create a directory to base your input test case generation files in. This is the folder on the Android emulator where your script will generate files. Test them and copy the interesting ones should they cause any crashes; the
/data/directory once again is a great place to do this, though it would be good to consider emulating an SD card and saving your data there. - Inside your fuzzing directory—the one created in the previous step—create a bash script that contains the following code:
#!/bin/bash
ROOT=$1
TARGET=dexdump
ITER=$2
for ((c=0;1;c++))
do
  cat $ROOT | radamsa -m bf,br,sr -p bu > fuzz.dex
  $TARGET -d fuzz.dex 2>&1 > /dev/null
  RET_CODE=$?
  echo "[$c] {$RET_CODE} ($WINS)"
  test $RET_CODE -gt 127 && cp fuzz.dex win-dexdump_$ITER"_"$c.dex && WINS=`expr $WINS + 1`
done
- Run the script in bash by executing the following command on your emulator:
/data/busybox/bash; /data/busybox/source [fuzz script name] [example.dex]
And now you're fuzzing!
In the first part of the How to do it… section of this recipe, we covered cross-compiling a popular fuzz test generator called Radamsa. Most of what we did is already explained in the Cross-compiling native executables recipe. Things get interesting when the NDK build script fails to compile Radamsa because of a type definition; here's what it looked like:
typedef unsigned long in_addr_t;
This causes the build script to fail because the GCC compiler used by the NDK build script—namely one that was built to support the ARM Application Binary Interface—failed to recognize the effect of the type definition.
Tip
When the type defined by the mentioned statement is referenced, it causes GCC to halt and report that it basically doesn't know what in_addr_t is. This issue was resolved by removing the need for typedef by replacing the mentioning of the in_addr_t alias with the full variable type of unsigned long and commenting out the typedef statement.
Once this issue was resolved, Radamsa could compile successfully and be deployed to an Android device.
Then we wrote a makeshift fuzzing script to the target dexdump. To make sure you guys understand exactly what you're doing in this recipe, it's important we detail what the bash script does.
The first few instructions make sure we have some useful mnemonics to help us refer to the arguments passed to the script. These instructions—appearing after the #!/bin/bash instruction—simply assign values to some variable names.
After assigning these values, the script steps into a for loop with a sentinel value—the value that limits the number of times the for loop iterates—which will cause the script to iterate forever unless explicitly stopped by the user or the operating system.
Inside the for loop, we see the following line:
cat $ROOT | radamsa -m bf,br,sr -p bu > fuzz.dex
All this does is grab the file pointed to by the ROOT variable and feeds it to Radamsa. Radamsa then applies some randomized transformations to the file.
After making the requested random transformations to the DEX file, Radamsa redirects the output to a file called fuzz.dex, which is the "fuzzed" version of the sample DEX file.
Then dexdump is invoked with the fuzzed DEX file as an argument; here's what it looks like:
$TARGET -d fuzz.dex 2>&1 > /dev/null
And all output is redirected to /dev/null, since we probably won't be interested in it. This line of code also redirects all the output from STDIN (the standard output file) to the STDERR file (the standard error output file). This allows all the output generated by the program—any that would likely clutter the screen—to be redirected to /dev/null.
The next instruction looks like this:
RET_CODE=$?
This records the exit code of whatever the last command was; in this case, it was dexdump.
The script does this because it will reveal information about how dexdump exited. If dexdump exited execution normally, the return code will be 0; should anything have happened that caused dexdump to exit or halt abnormally—say, like a fault due to corrupted input—the exit code will be nonzero.
And even more interestingly, if the fault required the operating system to halt dexdump via the use of inter-process signaling, the return code will be greater than 127. These return codes are the ones we are interested in generating since they give us a strong indication that a relatively serious flaw was exposed due to the given dexdump input. Errors like segmentation faults, which usually happen when an invalid portion of memory is used in an incorrect manner, always generate return codes higher than 127. For more detail on how exit codes or rather exit statuses work, see the Work the Shell - Understanding Exit Codes link in the See also section.
Moving on, the rest of the code looks like this:
echo "[$c] {$RET_CODE} ($WINS)"
test $RET_CODE -gt 127 && cp fuzz.dex win-dexdump_$ITER"_"$c.dex && WINS=`expr $WINS + 1
The first instruction of this portion of the code simply helps us keep track of which iteration the script is currently executing—by printing the $c value. It also prints out the return code of the previous run of dexdump and how many notable halts have occurred.
After printing out the mentioned "status indicators", the script compares the value saved in the RET_CODE variable's value to 127; if this value is greater, it makes a copy of the sample input that caused this error and increments the WINS variable by 1 to reflect that another notable error was generated.
- The Work the Shell – Understanding Exit Codes Linux journal at http://www.linuxjournal.com/article/10844
- The Radamsa Google Code at http://code.google.com/p/ouspg/wiki/Radamsa
- The Blab Google Code at http://code.google.com/p/ouspg/wiki/Blab
- The Options for Code Generation Conventions web page at http://gcc.gnu.org/onlinedocs/gcc/Code-Gen-Options.html
- The Fuzzing with Radamsa and some thoughts about coverage file at http://www.cs.tut.fi/tapahtumat/testaus12/kalvot/Wieser_20120606radamsa-coverage.pdf