A very simple element of the Prezi that gets overlooked a lot is the Symbols & shapes… option, which is available in the Insert menu. In this part of the chapter, we'll look at some things you may not know about how shapes work within Prezi.
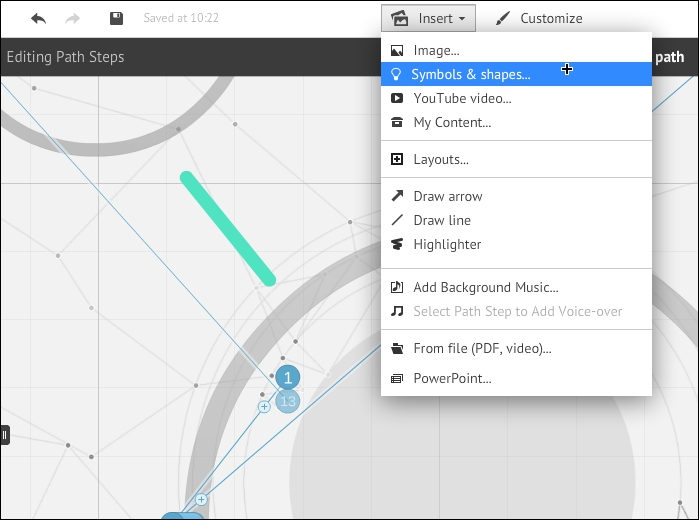
After clicking on the Symbols & shapes… option, a new menu will appear on the right-hand side of your screen, allowing you to select from various types of symbols and shapes. If you click on Shapes from here, you'll be able to access and easily add the standard shapes such as triangles, circles, and rectangles.
Tip
Using these shapes along with the Draw arrow and Draw line option available in the Insert menu in Prezi can allow you to create custom designs or doodles in Prezi that can help your presentation stand out. Try to create your own simple drawings whenever you can, as these can be reused over time and will, in turn, save you lots of time searching for imagery via other means.
In the following screenshot, I've created a very basic doodle of a male character using the shapes available in Prezi:
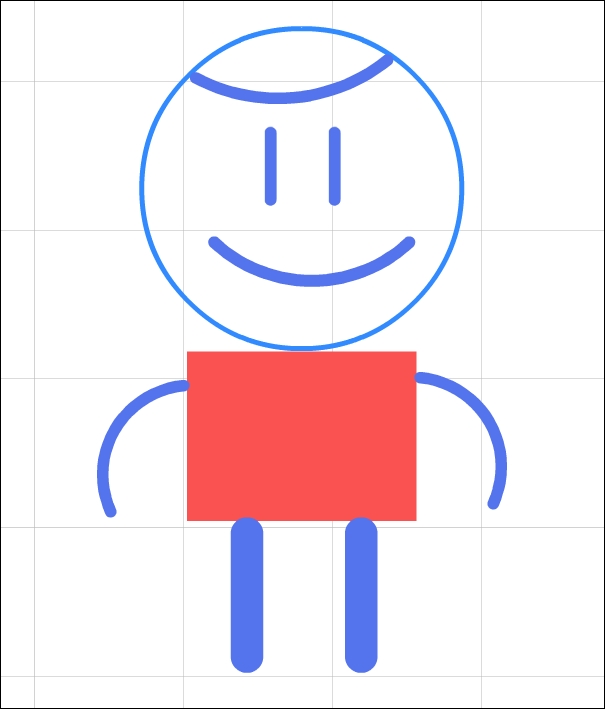
Let's say that we want to add some more detail to the male character. Maybe we'll give him a more exciting hairstyle to replace the boring one that he has at the moment.
- First, select the current hairline and delete it from the character's head.
- Now, select the Draw line tool from the Insert menu and give this guy a flat top, straight from the 80's, as shown in the following screenshot:
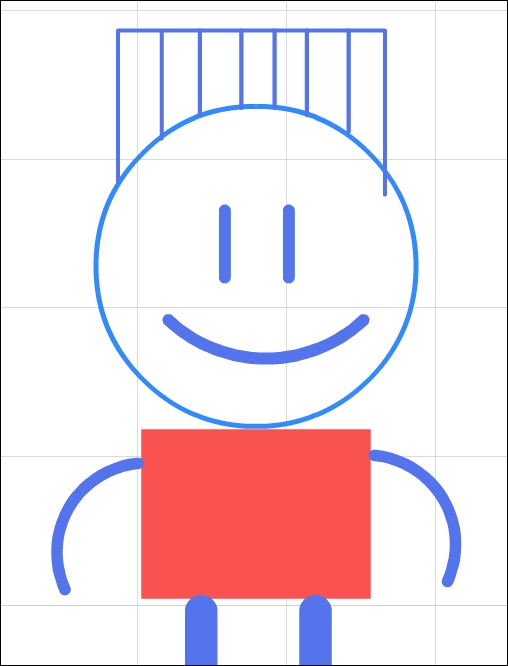
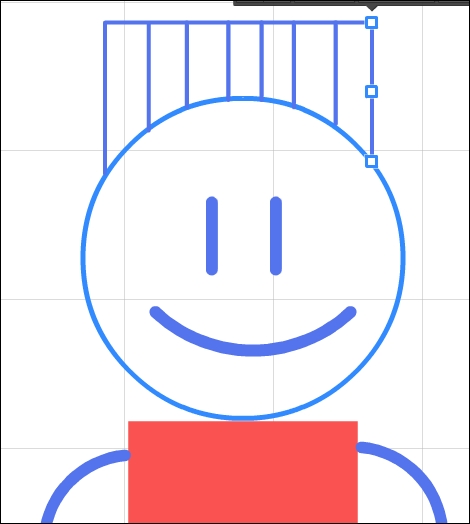
- One of our lines is too long on the right. To adjust it, simply click on the line to enter edit mode and drag the points to the right position as shown in the following screenshot:
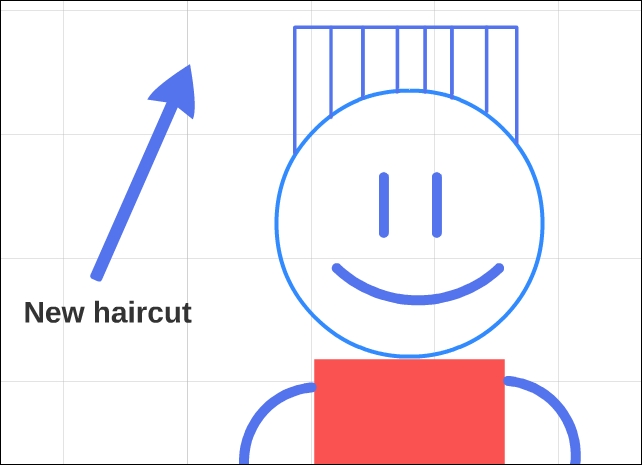
So, there we have a great example of how to quickly draw your own image on the Prezi canvas by just using lines. It's an excellent feature of Prezi, and as you can see, it's given our character a cute new look.
In step 3 of giving our character a new haircut, you saw the edit menu, which is accessed by a simple click. You can use the edit function on all items in the Shapes menu. Any shape can be clicked to change its size and color, as shown in the following screenshot:
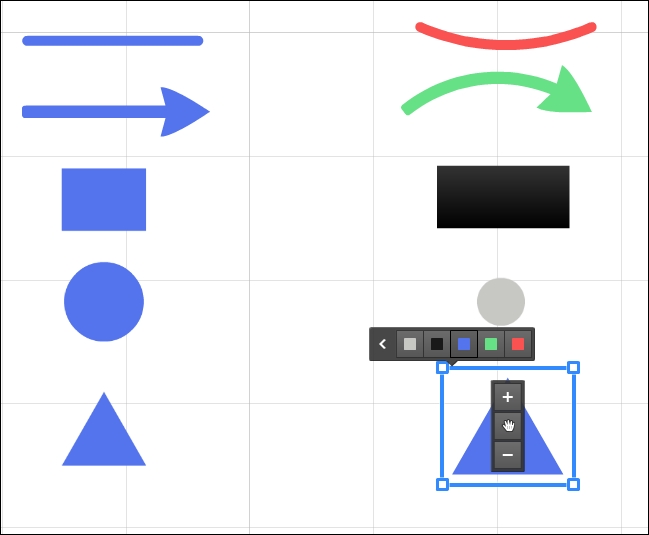
You can see that all of the shapes on the left have been copied and then edited to change their color and size. The edited versions on the right have all been clicked and one of the five extra available colors has been selected. The points of each shape have also been clicked on and dragged to change the dimensions of the shape. To make a shape larger or smaller, you can click and drag one of the corners, or click on the plus or minus buttons as seen in the preceding figure.
When editing lines or arrows, you can change them from being straight to curved by dragging the center point in any direction:
This is extremely useful when creating the line drawings we saw earlier. It's also useful to get arrows pointing at various objects on your canvas:

If you're on a tight deadline, or trying to create drawings with shapes simply isn't for you, then the styles available in Prezi may be of more interest to you. These are common symbols that Prezi has created in a few different styles that can be easily inserted into any of your presentations. You can select these from the same Symbols & shapes… option from the Insert menu where we found the symbols. You'll see several different styles to choose from on the right-hand side of your screen.
Each of these categories has similar symbols, but styled differently. There is a wide variety of symbols available ranging from people to social media logos. You can pick a style that best matches your theme or the atmosphere you've created for your presentation.
Instead of creating your own person from shapes, you can select from a variety of people symbols available:

The highlighter tool is extremely useful for pointing out key pieces of information such as an interesting fact. To use it, navigate to the Insert menu and select the Highlighter option. Then, just drag the cursor across the text you'd like to highlight. Once you've done this, the highlighter marks become objects in their own right, so you can click on them to change their size or position just as you would do for a shape.