
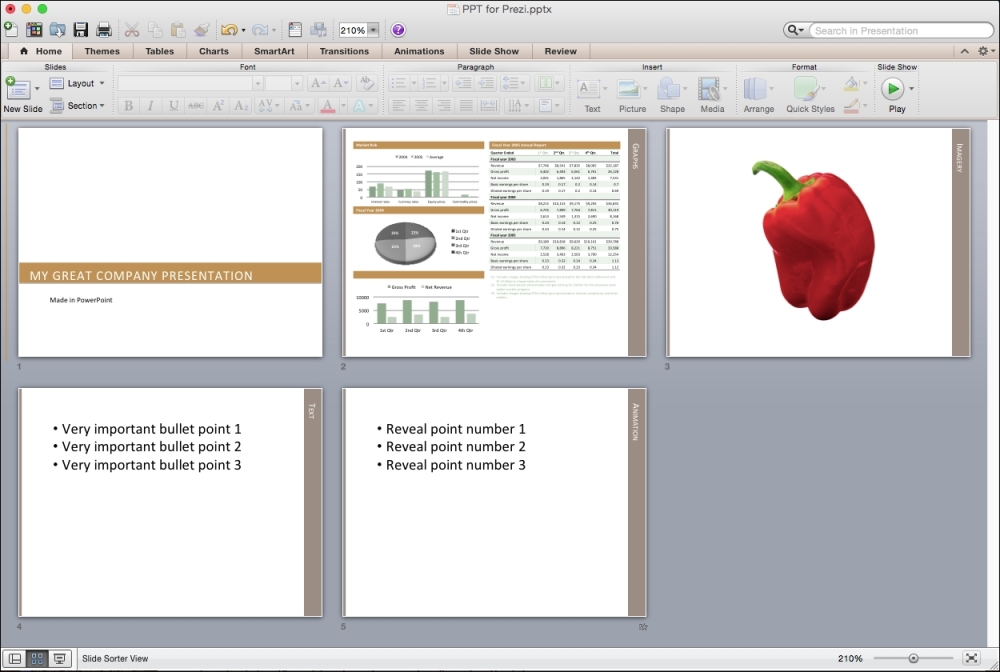
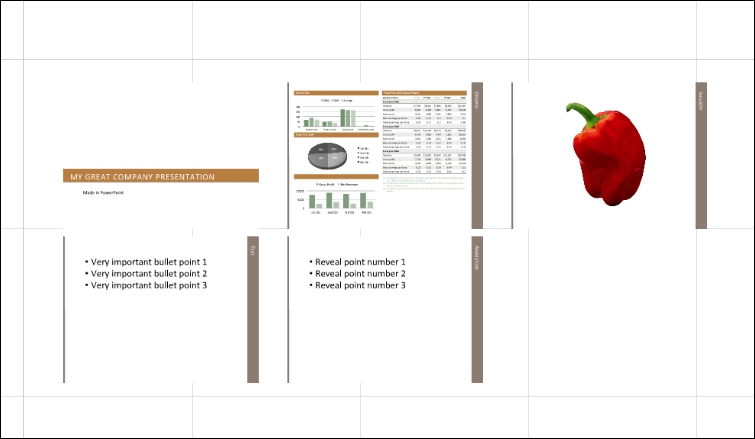
Prezi lets you import PowerPoint slides from the Insert menu. To help explain how to use this feature, we'll use the PowerPoint slides shown in the following screenshot. They are very simple slides that have imagery, graphs, and text:
There are several different ways that one might go about importing PowerPoint slides into Prezi, and we will discuss each of these. By far the easiest, if it works correctly, is the built-in insert feature in Prezi. We will start with this method and then consider alternative options that can be used if the method does not work well. If you don't have a lot of time, you may want to skip directly to the later section on importing PowerPoint slides as PDF files.
To import your PowerPoint slides into Prezi, follow these steps:
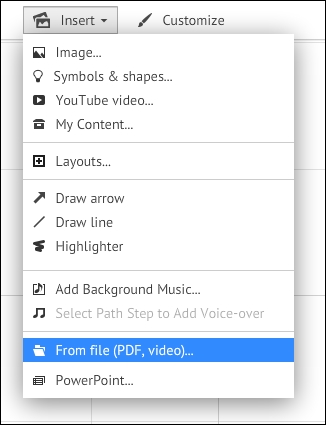
- Click on the Insert menu and then the PowerPoint… option.
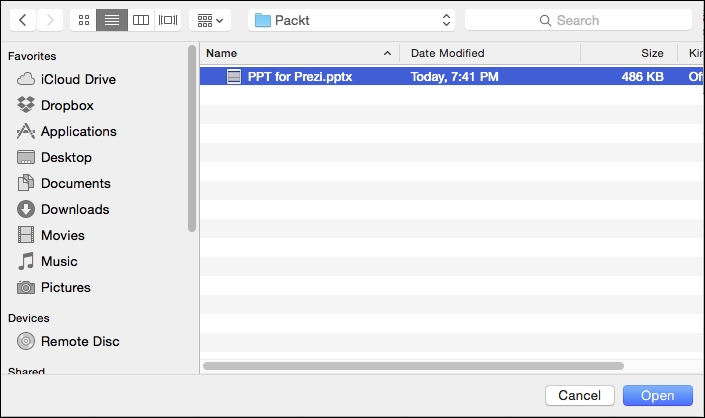
- Select the PowerPoint slides to import and click on the Open button, as shown in the following screenshot:
- You will then see a sidebar appear on the right-hand side of your Prezi screen like the one in the following screenshot:

Tip
Do things look different?
Sometimes, imported PowerPoint slides won't look quite the same, especially if they are based on a template, as in the example we're using here. If that's the case for you, don't worry. We will discuss strategies for how to deal with these changes. You may also want to experiment with changing the template into a blank template before inserting it into Prezi.
- Once all of your slides are loaded into the right-hand panel, you can either drag individual slides onto the canvas or click on the Insert All option at the top of the screen, as shown in the following screenshot:

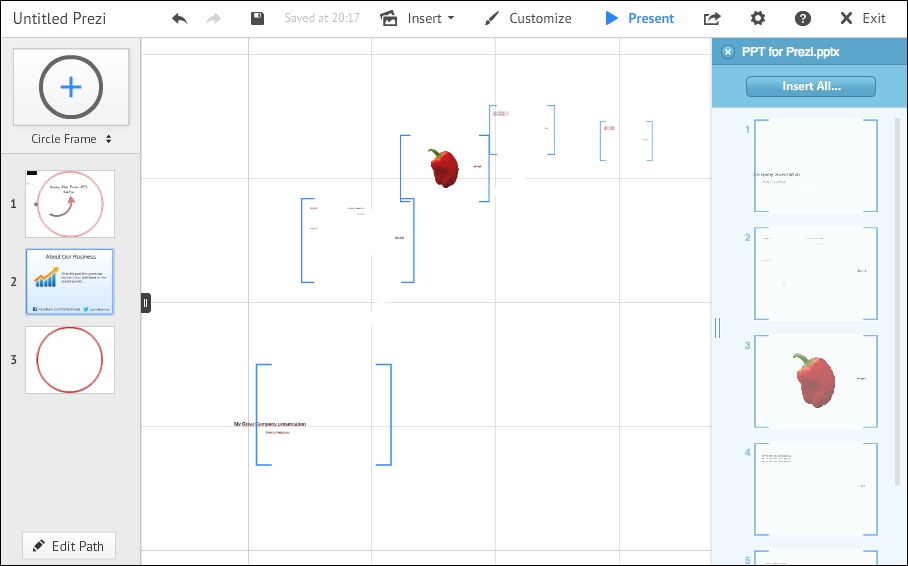
- Now, position the slides container in the correct position on the canvas, as shown in the following screenshot:
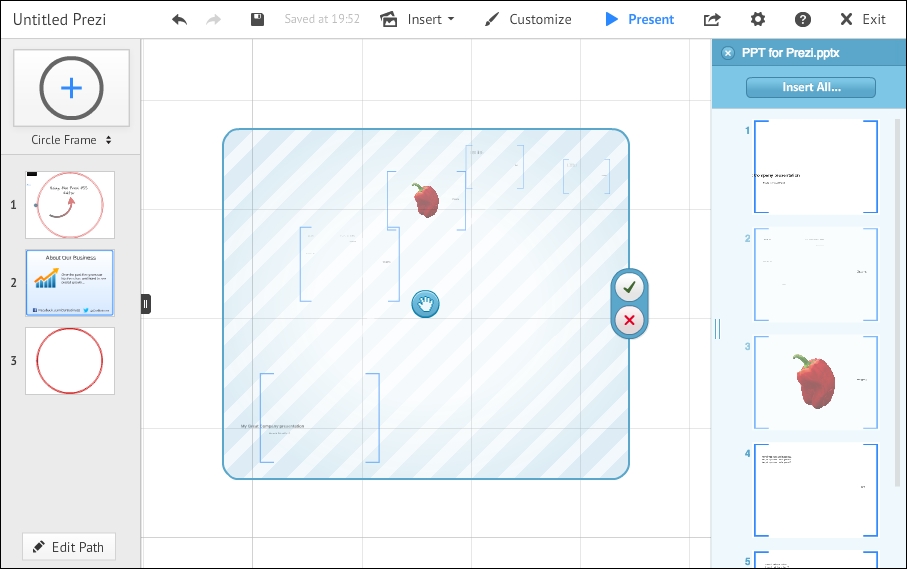
- When you are happy with the slides' positioning, click on the green checkmark to insert your slides:
- Close the import window by clicking on the x option that appears in the import menu.
- After clicking on the x option, the following window appears. Select the Close import option:
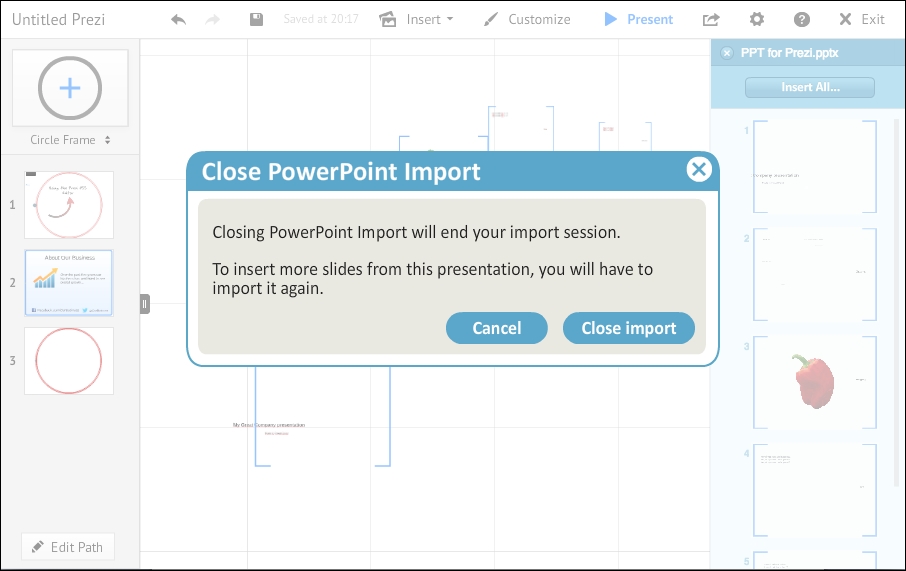
Make sure you only close the import once you have all of the slides that you will want positioned; otherwise, you will need to upload the PowerPoint file again.
Please remember that it is possible to drag individual slides onto the canvas rather than using the Insert All function. Clicking the green tick will finish the process and place slide 2 and all of its elements into our Prezi.
If you've followed the steps in the preceding screenshot, you can now start to Prezify your slides. This simply means adding a new dimension to what are very linear (slide-by-slide) presentations. Here, we'll look at a few simple tips to help bring your slides to life.
Looking at the frames that were created in the preceding import, one of the first things to jump out at you is how different these look from the slides that appeared in PowerPoint. At this point, you should take a minute to go through each frame and note the differences.
In the following example, most of the content is there, although the majority of the formatting has been removed:

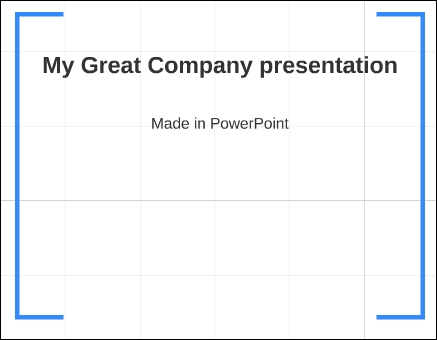
Here you can see that our first frame, based on the title slide, has text of two different sizes; however, all of the color formatting has been removed and the text is not placed within the correct area of the frame. As we'll see, some of the other slides did not fare as well.
You can see, on closer inspection of slide 1 in the preceding screenshot, that the frame is actually on top of the heading text as well. The title should read My Great Company presentation, but the C in Company is being overlapped by the frame.
This will likely be the case for all of your slides, so the very first thing you should do is make sure that all the content is positioned correctly. The simple use of right click and the Bring Forward or Bring Backwards options will enable you to get everything as it should be. I'm also going to make the text bigger. The final outcome can be seen in the following screenshot:
Depending on how the PowerPoint that you imported was formatted, you may have some content that did not survive the import to Prezi. In this case, you have a few options. You could import the slides as PDFs instead or manually important the elements that are missing. We'll show you how to do the manual import, but this decision should really be based on how many imports need to be done, how much time you have available, and how important it is to have maximum flexibility within Prezi.
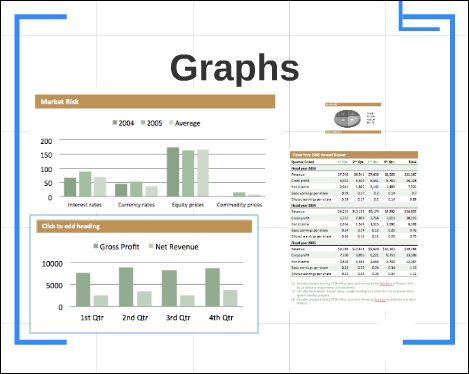
Our second slide was supposed to contain all of the graphs from our PowerPoint template, as shown in the following screenshot:
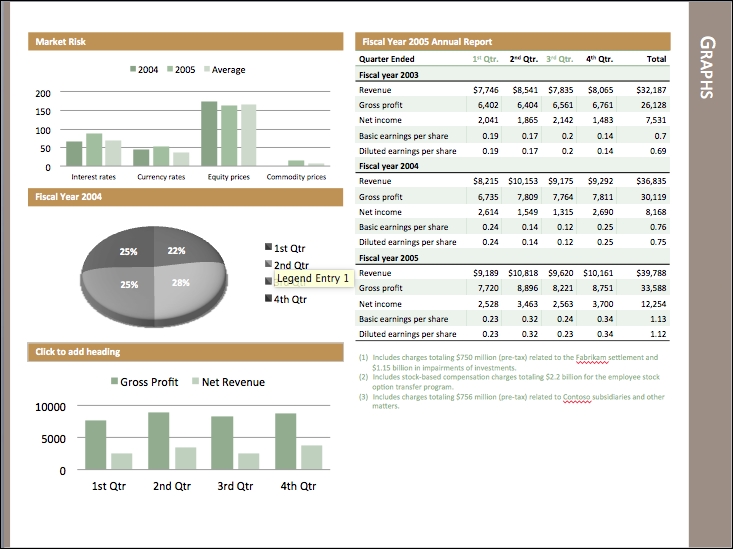
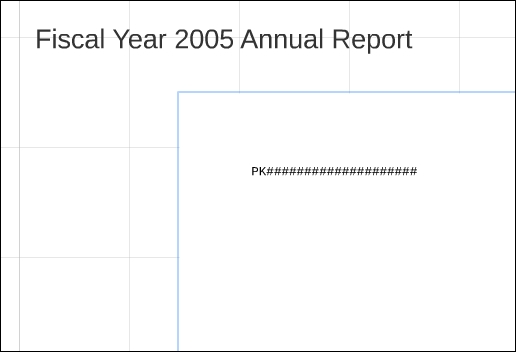
However, what we got from the Prezi import looks nothing like that:
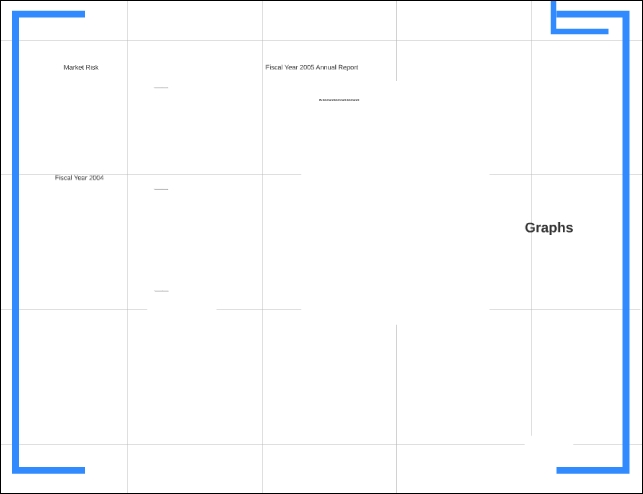
When you zoom in a little, you can see that the graphs seem to have been imported as garbled text:
Let's fix this broken import:
- First, we'll need to delete the elements that were imported incorrectly into Prezi.
- Take a screenshot of the original PowerPoint content. You can either grab the whole slide at once or capture individual graphs, depending on how much flexibility you'd like in arranging them. Another option is to use the Save As feature in PowerPoint to export the slide as an image. This can work well if you want to capture the entire slide rather than just a particular portion of it.
Note
On a Mac OS, you can press Command + Shift + 4 to allow you to draw a box and screen capture only what's in that box. In Windows, the way to take a screenshot can vary greatly depending on what version you're using, so you should use a search engine to determine what works best for your version. You may be limited to taking a screenshot of the entire screen rather than a particular portion, in which case you'll need to use image editing software to crop it to just the area you need.
- Insert the screenshot by clicking on Insert menu and then select the Image… option.
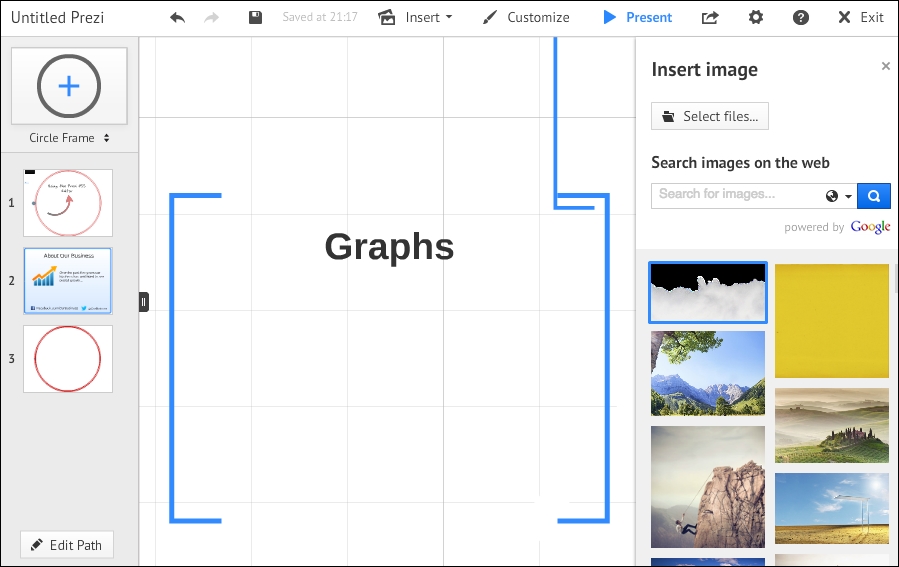
- Next, click the Select files… option.
- Reposition the images where you want them.
Tip
The graphs don't all have to be sized so you can see them well at the initial zoom level. Remember, when you're setting the path, you can choose to zoom in on each individually if you'd like. Watch out though, because if you use a low-resolution screen shot, it might look fuzzy when you zoom in. Make sure you test your presentation!
At this stage in becoming a Prezi master, we hope you're starting to think about your presentations more in the non-linear sense and less in the straight lines of linear slide-based presentation techniques.
If that is the case, we'd like to think that the first thing you want to do when you see those slides appear is to move them around and spread them out a bit. You may have already selected a frame layout that works well, but this layout also may need some tweaking to work perfectly for your presentation.
The Prezi Insert PowerPoint… function will automatically place a bracket frame around each slide for you. This is extremely useful for moving slides around, and of course, linking them to a path. If your presentation can logically be broken up into different sections, then we'd recommend you group the slides for each section together in another bracket frame as well. This will make it very easy for you or whoever is presenting to zoom out and give an overview and then zoom into a particular section of interest.
Of course, we'd recommend that you zoom into details as this will help give your slides an extra dimension. You might want to zoom in on imagery or text, but zooming can work particularly well with graphs that have been created in PowerPoint. It might also be beneficial to your audience if you use the fade-in transitions for graphs so that they aren't all displayed at once in a way that is overwhelming to the audience. This will give them the opportunity to digest each graph one at a time.
As we mentioned earlier, it's important to make sure that each of your graphics is of a high quality so that you can zoom in without creating a fuzzy effect.
Tip
High quality screenshots
Notice the difference in the crispness of the text from the first graph and the second one below it in the preceding screenshot? I zoomed in to 300 percent magnification in PowerPoint before taking the first one to make sure I got a higher quality image. If you're going to be zooming in on the graphs you've had to import as images, this is especially important.

In the preceding screenshot, you can see how a graph looks on the Prezi canvas. In the following screenshot, we've used an invisible frame so that the presenter can zoom into a specific point on the graph:

Graphs are great for displaying sales figures and other important management information, but they normally have too much detail and stay onscreen for 20 to 30 minutes while the presenter explains everything. Using the method explained here can really keep the audience engaged and give meaning to what is normally very dry content.
Note
If a graph has been imported into PowerPoint as an image, it will be a raster image and not a vector image (see Chapter 5, Best Practices with Imagery) once it has been inserted into Prezi. Therefore, you will get some pixilation if you zoom in too close.
Hopefully, you'll have time to use the Insert PowerPoint… function to the best of your abilities and turn those once-linear slides into something much more interesting. However, not all of us will have the time to reposition content for 50 or so slides and spend the time required to fully Prezify our PowerPoint content.
If time really is of the essence and you can't afford to waste a single second, you might want to try the following technique to insert your slides as PDF files. This will mean that, once imported, everything will stay in exactly the same place that it was in PowerPoint, but on the flip side of that, you won't be able to manipulate the individual elements of the slide.
If you don't want to go to all the effort of rearranging the content of your slides in Prezi and simply wish to import the slides as PDF images, then follow these steps:
- Open the PowerPoint or Keynote file you'd like to import.
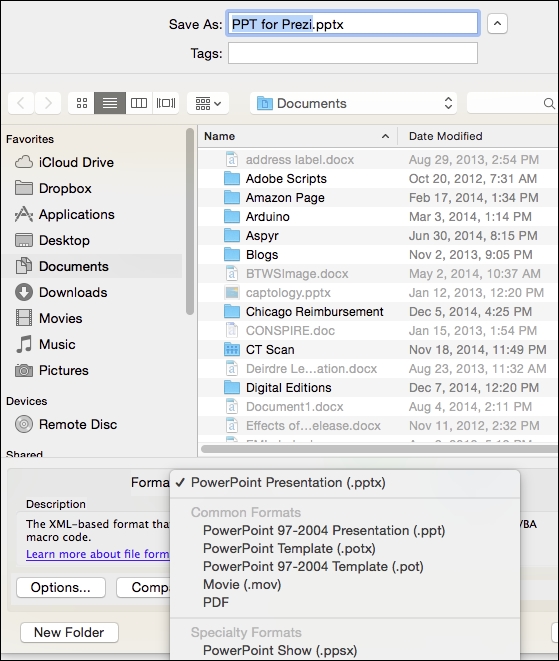
- In PowerPoint, go to the File menu and click the SaveAs option, then save as a PDF file:
- In Keynote, select the Share option, then select the Export option, and then select PDF.
- Now open Prezi and select Insert menu and then select the Image… option.
- Select the PDF file you created in step 2 or 3, and then click the Open button.
- Your slides will then be placed in order on the Prezi canvas:
You'll notice all of the formatting has been perfectly preserved here; however, you cannot edit or manipulate any of the content of each slide.
A classic mistake that we see a lot is that, once the slides are in Prezi, people simply link them together with a path and then brag to everyone that they've created a Prezi.
This is not the case at all, and as far as we're concerned, slides that have just been linked together on a Prezi canvas are still just slides and might as well have stayed in PowerPoint or Keynote.