If you have even the tiniest creative bone in your body, then you might be able to take your Prezi designs to an even higher level by creating your very own illustrations and vectorizing them for Prezi.
Just like you, we've also been shackled by the time restraints of business at some point in our careers. Let's pretend the boss of your company BIG Mechanics is giving an important presentation in an hour's time and he's kindly tasked you with putting together something really eye-catching that explains how the company is like a giant machine with lots of dials and cogs that all work together in unison to get results. As you know, the same old business talk we've heard a million times before.
So once he's finished telling you what he needs, you now only have 40 minutes left. What would be perfect is an image of a giant machine with the company name on it, but can you find a decent enough raster image in time? You'll then need to vectorize it, add the company name to it somehow and then insert it into Prezi. That's going to be a challenge, so why not use your imagination, and create the exact image you need from scratch?
While we can't teach you how to be a world class illustrator in this chapter, we do hope to give you enough confidence to at least have a go at this. When vectorized and inserted into Prezi, illustrations look great, and the fact that they are your own work gives your Prezi a much more human touch. Here's how to vectorise your own illustrations:
- Grab a decent pen that isn't going to run out of ink and has a fairly thick nib. Try and use your company's corporate color if you can.
- Draw your image on plain white paper.
- Get the image onto your PC using a scanner or digital camera.
- Use Inkscape or Vector Magic to trace the image and create a vector version.
- Save this as a PDF file.
- Insert the PDF into Prezi.
Obviously, we are all going to be at different skill levels when it comes to drawing our own illustrations, but even a badly drawn image seems to look a little nicer once vectorized and inserted into Prezi, as shown in the following image:

If your Prezi is using lots of images, here are a couple of tips worth knowing:
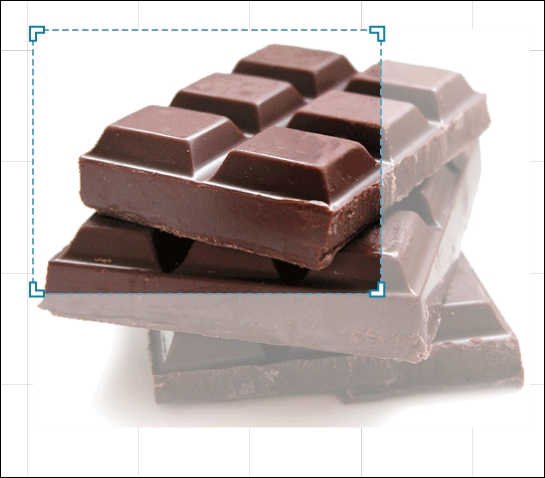
- If there are areas of the image you don't want your audience to see, click on the image and select Crop Image:

- Next, simply drag the corners that appear to crop the unwanted area out, as shown in the following screenshot, and press Enter to confirm:
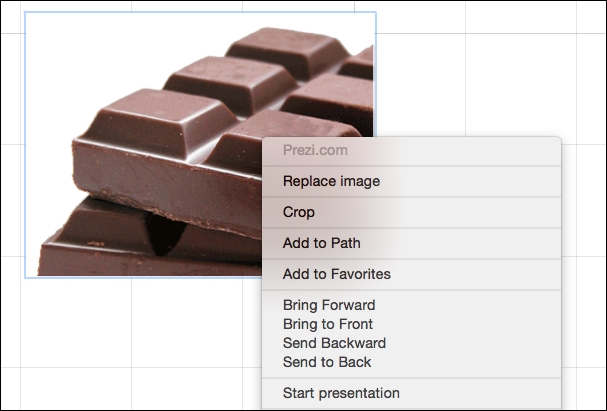
- To place images on top of one another in the correct order, you can simply right-click (for PC) or press Ctrl +click (for Mac) on an image and select one of the four available options to change its position: