Although adding audio to your presentation can greatly enhance it, this also opens up the door to several new problems, for which you'll need to be on the lookout. We'll help you spot them ahead of time and show you how to overcome them.
Depending on where you get your audio files, you might find that the volume levels are drastically different in each file, which can create a problem during your presentation. If you move from one path point where the audio is so loud that it hurts your ears to another that is so low that your audience can barely hear it, that will detract from your overall presentation and message. And it would be extremely inconvenient to have to adjust the system volume settings between each point, or to expect your online viewers to do so. Let's go back to Audacity for a better solution. You need to perform the following steps:
- First, we're going to open our audio file in Audacity via File | Open. As you can see in the following screenshot, Audacity will allow you to open and edit a wide variety of files, including WAVs and MP3s:

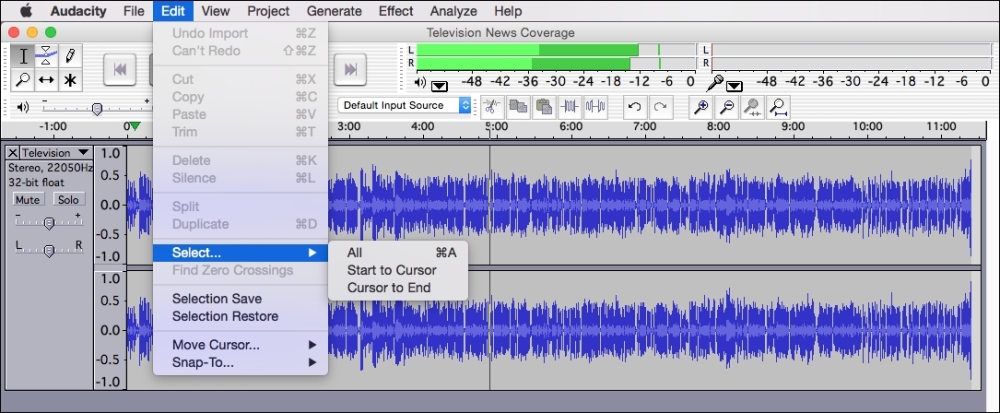
- Next click on Edit | Select | All to select all of the audio. We have two potential options for how we want to proceed. If you have a wide variety of volumes all within a single file, then we can normalize the audio in that file to take care of the problem. Normalizing brings all of the audio within the same volume range, as shown in the following screenshot:
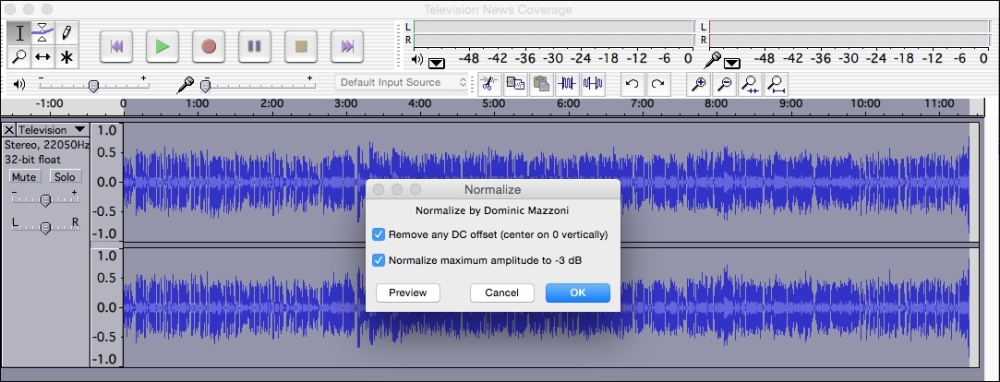
- From the Effect menu, select Normalize option.
- You can leave both of the default boxes checked on this next options screen. Click on OK to complete the process:
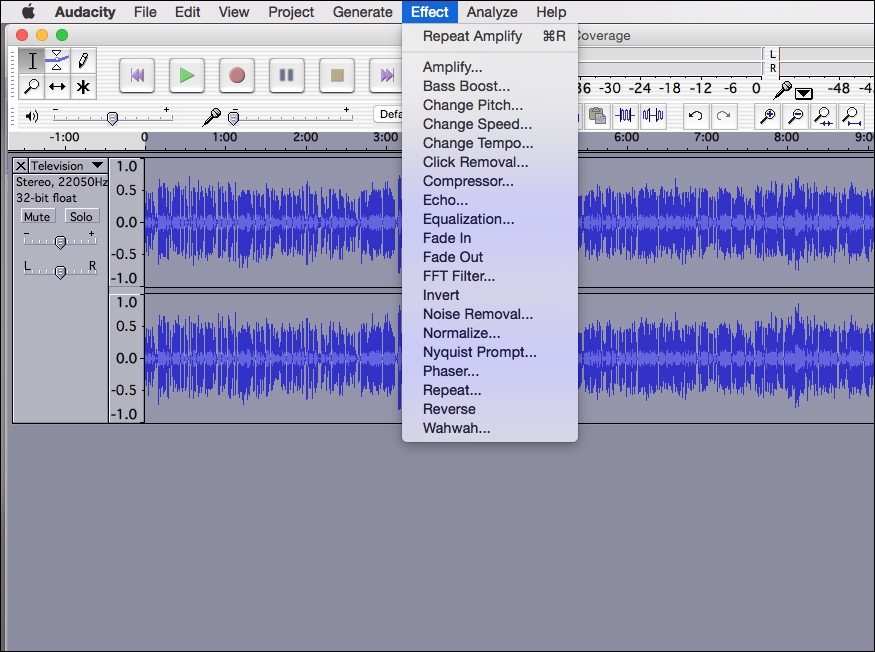
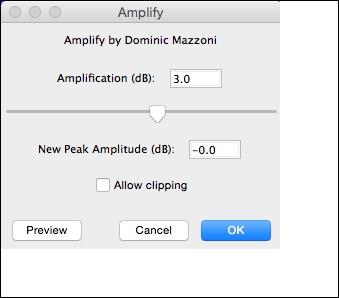
- Next, we can increase or decrease the overall volume of the clip. There are lots of effects to choose from, but don't get overwhelmed! We'll just look at some of the basics to make sure our audio is in good playing condition. Make sure the entire clip is still selected and then click on Effect | Amplify… option:
- The default option here should offer to increase the volume by 3 dB. Try 3 dB first, and if needed, you can always repeat the process to increase the volume. If you're trying to decrease the volume, use the slider to adjust until you're at -3 dB, as shown in the following screenshot:
- Save the file.
- Upload the file into Prezi again, as we learned how to do earlier.
- You'll need to repeat these steps for each of the audio clips that you're using in your Prezi and for which you want to adjust the volume.
One common obstacle occurs when one wants to include background music only for one or a few steps in the path, rather than the entire Prezi. There are two different ways in which we can solve this obstacle, depending on exactly what we want to achieve.
If all you want to do is add some background music for one path step, the solution just requires a little thinking outside the box. Even though Prezi labels one feature background music and another voice-over, there's no reason that we can't use the voice-over feature to add some background music. When we upload music using the voice-over feature, it will function exactly the same as background music for one particular path step.
If you want to combine both music and voice-over in the same single path step, this is possible, but a little trickier. It will also require us to go back to Audacity to do a little more editing. Here are the steps to follow:
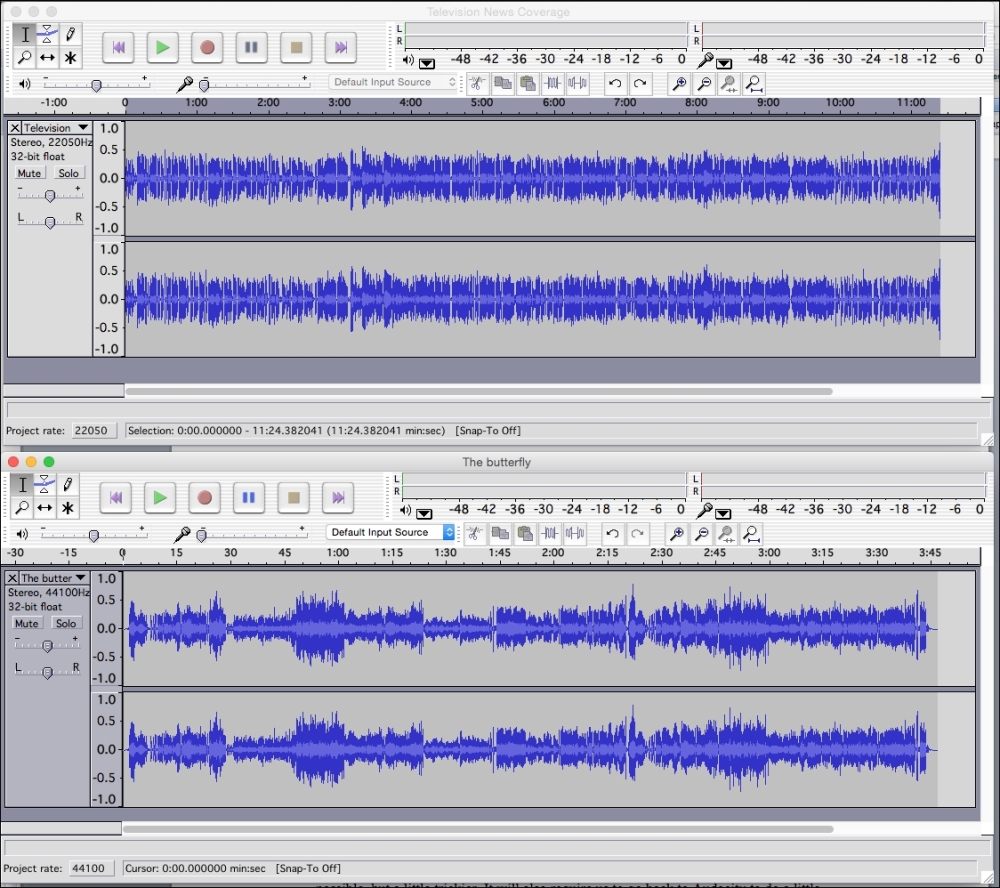
- Open both the music and voice-over files in Audacity. You'll notice that it opens them in two separate windows:
- First, we need to combine these two files. Choose the second audio file to begin with, and use Edit | Select | All to select all of the audio in that file.
- Next, click on Edit, followed by Copy.
- Click back onto the first audio file.
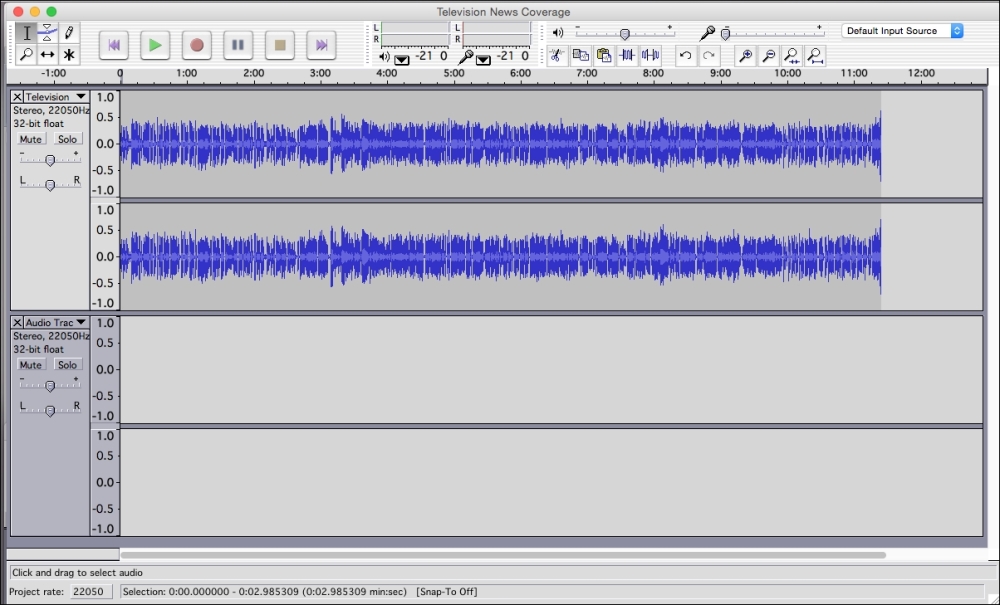
- From the Project menu, select New Stereo Track. This creates a new blank track under the original audio wave:

- Use the mouse to left-click as close as possible to the 0 time mark on the left end of the track:
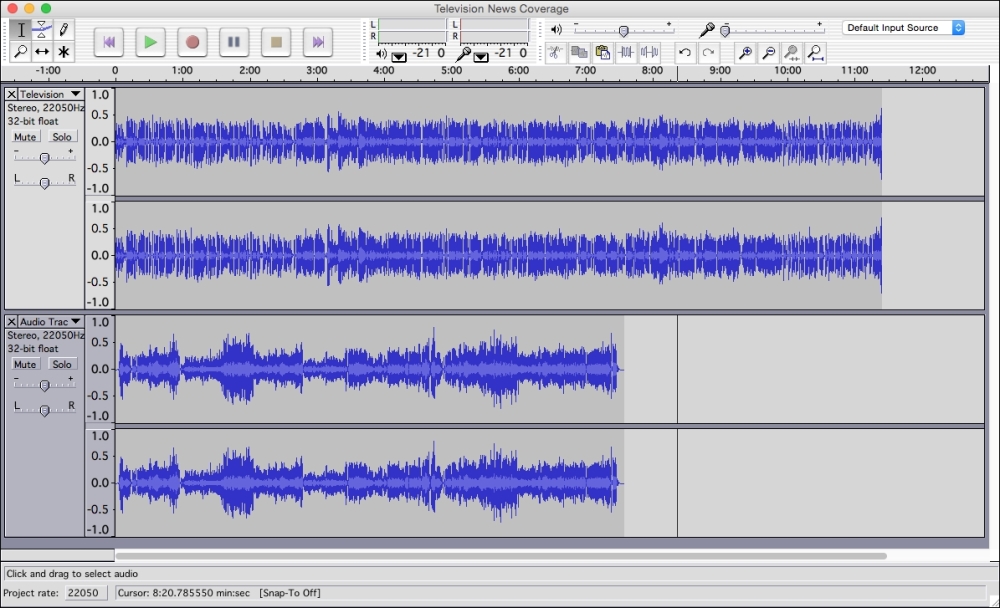
- On the Edit menu, select Paste. You should now see both the music and voice-over tracks within the same Audacity window. You can press the play button to preview the new audio:
- Export the file as WAV or MP3.
- Insert it into Prezi as a new voice-over for the correct path step.
If you're working on your Prezi with a mobile device like the iPad, you may not be able to install and use Audacity. Or perhaps you don't have permission to install applications on the computer that you've been assigned for work. For either of these situations, you can record audio to narrate your Prezi from your mobile device.
There are several options for recording voice narration on Android. Two free apps that can be downloaded from the Play Store are:
- Smart Voice Recorder (https://play.google.com/store/apps/details?id=com.andrwq.recorder)
- Easy Voice Recorder (https://play.google.com/store/apps/details?id=com.coffeebeanventures.easyvoicerecorder)
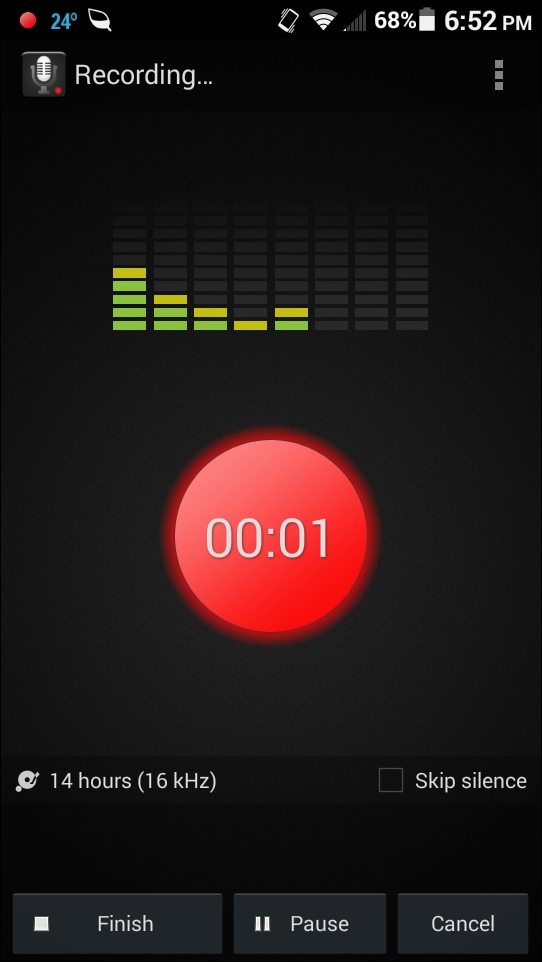
Let's look at an example using Smart Voice Recorder:
- After downloading the app, open it and hit the large red record button:
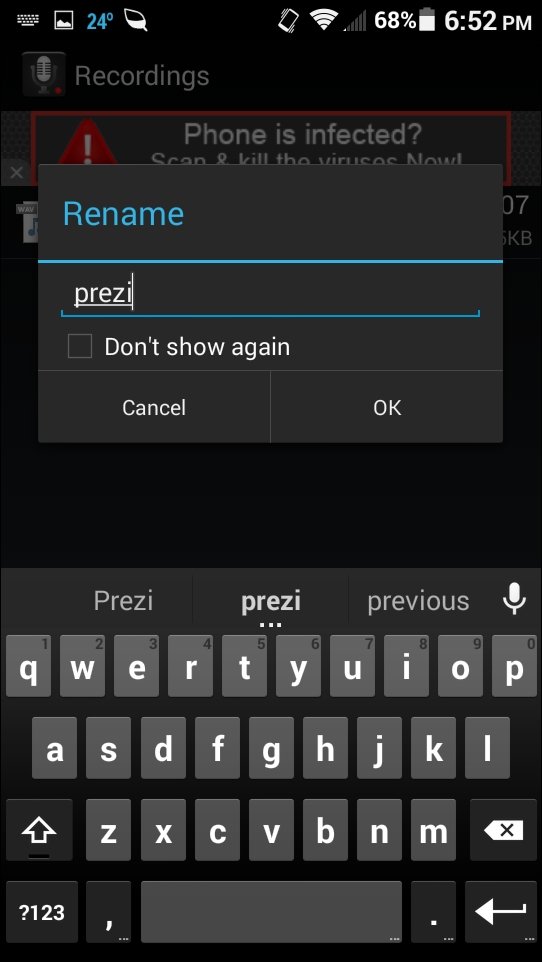
- When done recording, you can click the Finish button. The app will then ask you to assign a name to the file:
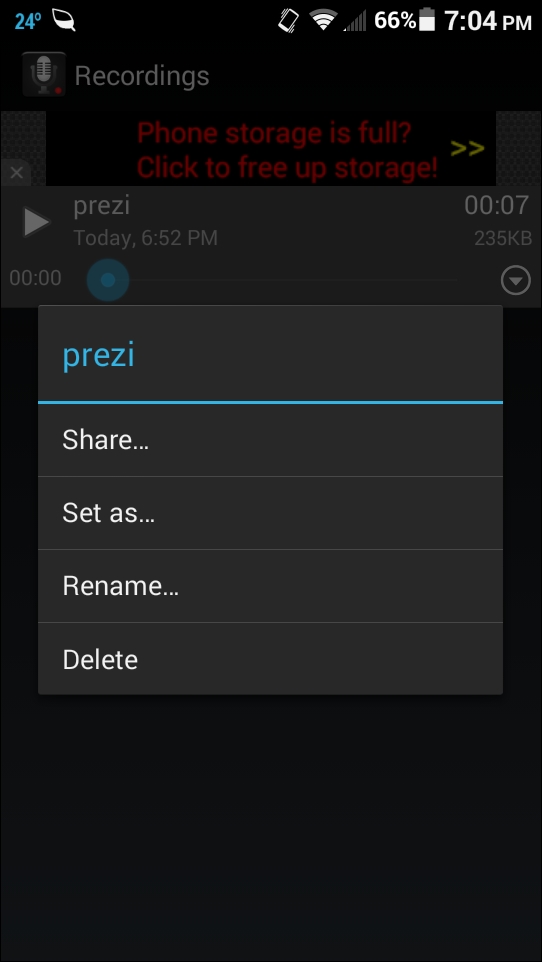
- Finally, you can click the drop-down arrow on the right, followed by Share…, to bring up a list of different ways you can export the file out of the app:
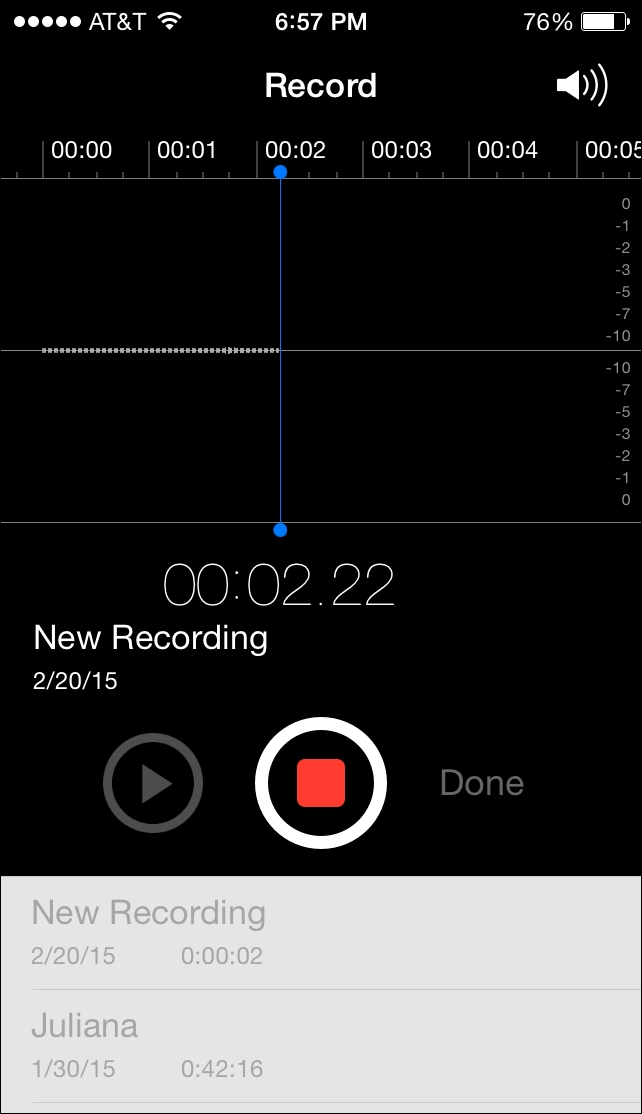
The process for recording is similar on the iPhone; however, there is a built-in app called Voice Memos that can be used. You will need to perform the following steps:

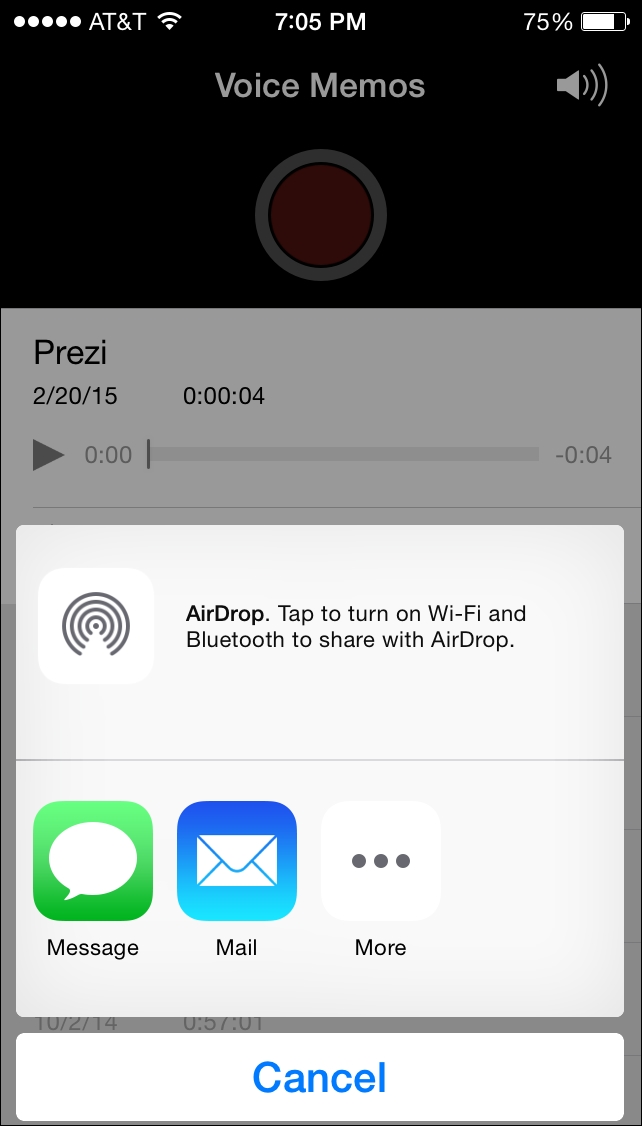
With both applications, if you export your file to e-mail, you can then send it to yourself and download the audio file to your desktop so that it can then be uploaded to Prezi, as we did with other audio files.
If you're using a Windows phone, a free app available for voice recording is Audio Recorder (http://www.windowsphone.com/en-us/store/app/audio-recorder/19d702eb-4847-4c24-ba71-7115ca0ad86b).