In the previous chapters, we talked about getting into the Prezi frame of mind and how to add several different types of media. Hopefully, by now you realize the importance of planning your Prezi. If you don't, then stop right here and go back to Chapter 1, Understanding the Prezi Frame of Mind.
One of the questions you needed to know the answer to in the planning stage was: Will my Prezi be presenter led, or will people access it online?
We'll cover the approach needed when designing Prezis for online use in the next chapter; for now, let's imagine your Prezi is going to be presenter led. The chances are that this will be true for the vast majority of Prezis within your business anyway, so it makes sense to tackle this subject first.
Before we go into any real detail on the subject of projectors, it's important that we explain a simple concept that most of us struggle with initially in Prezi. Thankfully, there's a simple solution as well, so read on.
Let's imagine that we have just designed the Prezi shown in the following screenshot:
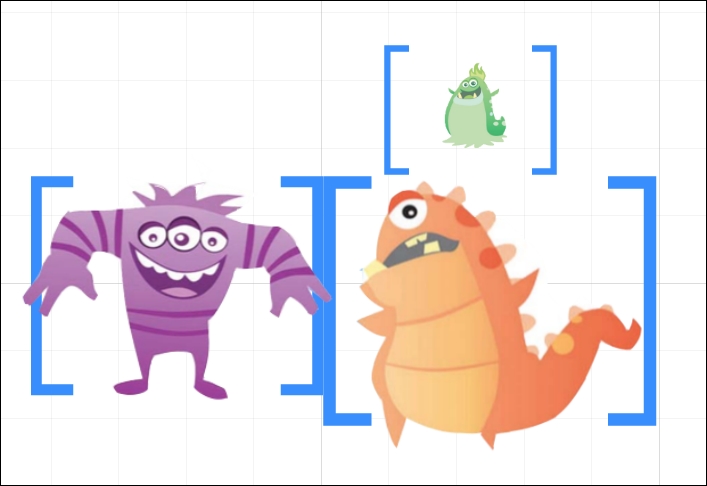
We want to introduce our audience to the three characters, one at a time. We've linked the frames containing each character with a path and we want each frame to fill the screen that we are projecting onto.
What do you think will happen when we go into show mode and click through the paths? Let's take a look at the following observations when overlapping occurs:
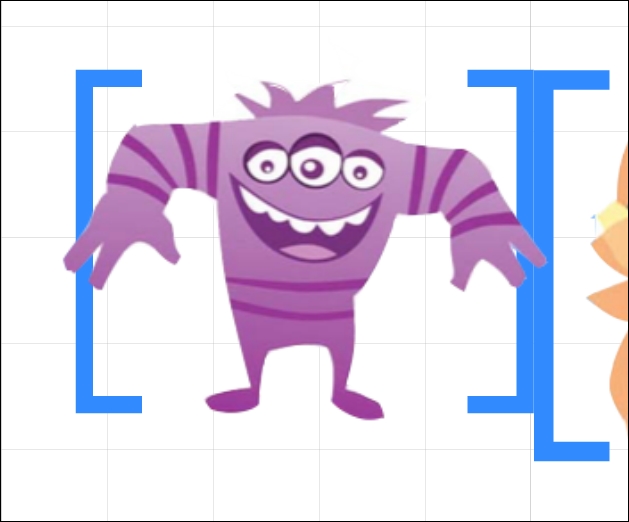
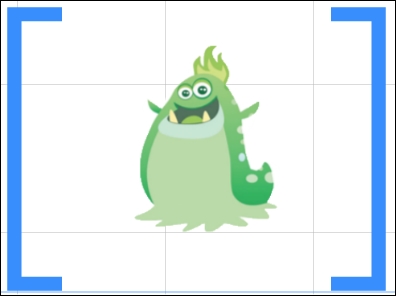

You can see in the preceding screenshots that as we move to each frame in the path, we can see parts of the other frames around them. PathPoint 3 is the best example to demonstrate this, as you can see the arm of the purple character creeping into the left of the screen. This can cause a lot of frustration, and if there are even more objects in your design, it can be very distracting for the audience. Some will lose focus, and others may sit there thinking, "What is that on the side of the screen?", while you're trying to deliver an important message!
So what's happening here? Hopefully, the Prezi Master in you spotted the cause of all this trouble. If not, then take another look at the screenshot, which shows all of the frames together.
Figured it out yet? Okay, we'll put you out of your misery. The size and placement of the frames are so close to each other that when they are centered on a rectangular screen, the content next to them is also displayed. The wider the screen, the more surrounding content will be visible.
If we're telling our Prezi's path to link to a frame, then that's what it will do. It will place this frame in the center of your rectangular screen or wherever you're projecting. It therefore stands to reason that anything else around the frame is going to show up around the edges.
A very useful, but not well known, shortcut that helps when designing for use on projectors is to hold down the Ctrl + Shift + M (command + Shift + M for Mac) keys on your keyboard. You can also change this setting by clicking on the gear icon near the top-right corner of the Prezi screen:
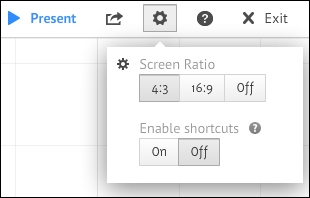
Doing this will allow you to change the aspect ratio of the preview thumbnails in your path steps. There, you can more easily tell what will appear on screen and what will not. You'll see the change displayed in the center of the screen:
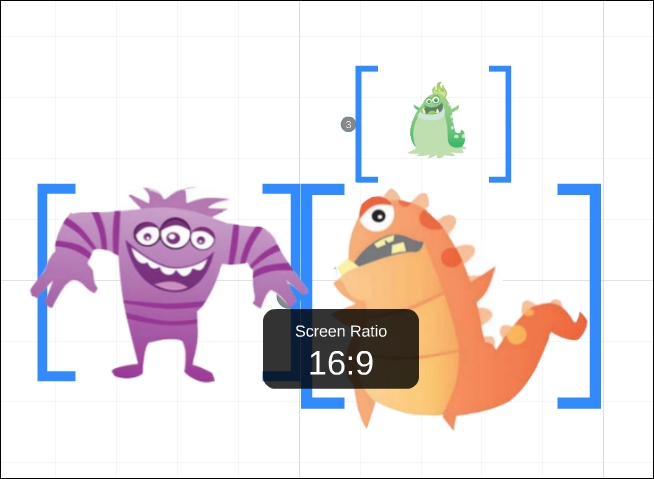
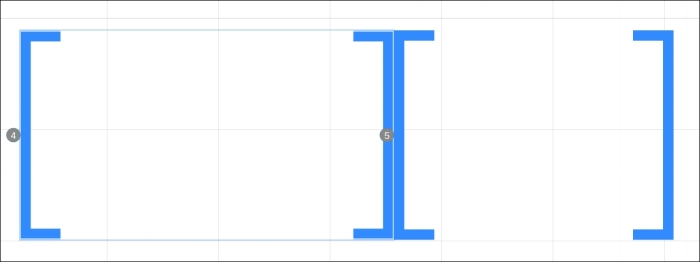
Most importantly, you'll notice the changes in your thumbnail previews, as you can see here:
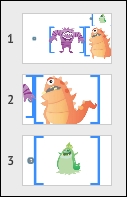
The previous image shows the thumbnails in the 16:9 ratio. The following images are the same thumbnails displayed in the 4:3 ratio:
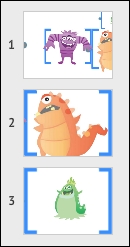
You can see from these screenshots that the 16:9 ratio shows a little more of the surrounding content than the 4:3 ratio.
If you're using a projector or screen that operates at the 16:9 ratio, then your frames and content will need to fit inside the grid.
Pressing the Ctrl + Shift + M keys again will switch to the next aspect ratio.
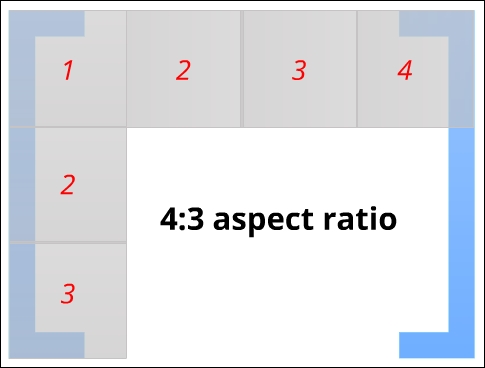
Nowadays, most PCs and Laptops are widescreen. However, the majority of projectors on the market have an aspect ratio of 4:3. The term aspect ratio refers to the ratio of a picture's width to its height. If the aspect ratio of a picture were 1:1, the width and height would be the same, and you'd have a perfect square.
The aspect ratio of 4:3 means for every four units of width, the picture will be three units high, as shown in the following screenshot:
Essentially, what's happening here is that most of us are designing our Prezis on a screen that is much wider than the projector being used during the actual presentation. What happens, then, is that our Prezis end up with lots of empty space in each frame, or elements from other frames creep into view because the frame isn't spaced correctly.
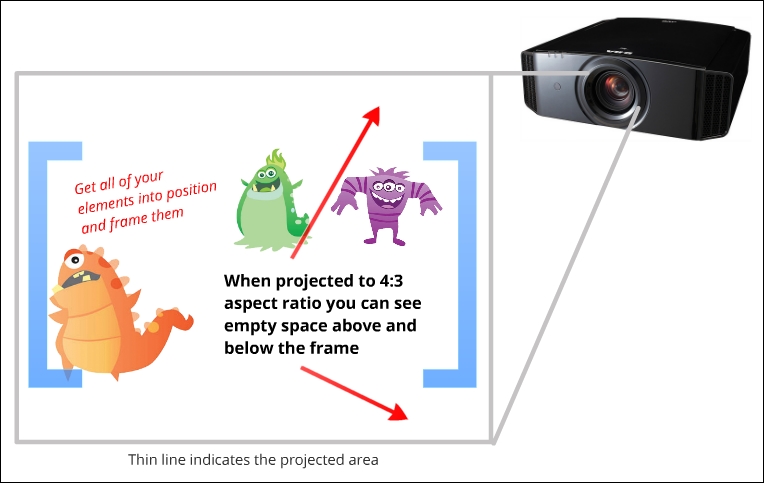
The following screenshot is an example of a Prezi being designed on a widescreen laptop. It's a very common mistake to try and fill the screen with content and then insert a frame around everything that fills the screen:

This may look fine when on a laptop screen, but when projecting at a ratio of 4:3, as shown in the following screenshot, you can see that the frame does not fill the screen and there is a lot of space wasted in the preceding and the following screenshot:
As we saw earlier in this chapter, a major cause of annoyance might be that the space around your frame contains other elements that shouldn't be in this view. This will be very distracting to your audience, and if you're trying to use the BIG picture method, it could actually give the game away too early.
As we explained earlier, to make your Prezi look exactly the same on your laptop as it would look when projected, design it in the 4:3 aspect ratio, unless you know that the projector you will be using will have a different aspect ratio. You should attempt to determine this ahead of time, if possible.
Prezi uses a 4:3 ratio bracket frame by default so that you won't be disappointed by things looking different when projected. Follow these steps, and projectors won't trouble you anymore:
- Decide where your frame should go and move to that area of the canvas.
- Click on Frames and select any of the frame types you would like to use.
- Click on the frame to add it to the canvas.
- Now, place your content inside the frame and continue with your design.
- Check the path preview thumbnail to ensure that your frame is going to be displayed exactly as you would like it.
Hopefully, now you have a much clearer idea as to why this problem might have crept into your designs in the past. It's important to create the Prezi in the aspect ratio in which you'll be presenting, because it creates different bracket frames based on this aspect ratio. Here, you'll see one frame created in the 16:9 ratio and another in the 4:3 ratio: