You can also consider recording your presentation and posting it as a video rather than as the Prezi itself. This has several possible benefits. To begin with, you'll be able to add voice narration to this video, which allows you to present much more naturally as you would in person.
Additionally, it means that you can reuse the same presentation, so you don't have to do it over and over again for many different audiences. Finally, if you post it online to a social networking site such as YouTube or Vimeo, you can potentially take advantage of a wider audience.
You'll need the screen capture software to be able to record your presentation.
You can use http://www.screenr.com to create up to 5 minutes of screen capture for free on any operating system. There is also an additional software that can be purchased, notably Camtasia, available at https://www.techsmith.com/camtasia.html.
If you're using a Mac, the system comes with built-in software that works quite well for this. To begin, open QuickTime Player and follow these steps:
- From the File menu within QuickTime Player, select New Screen Recording.

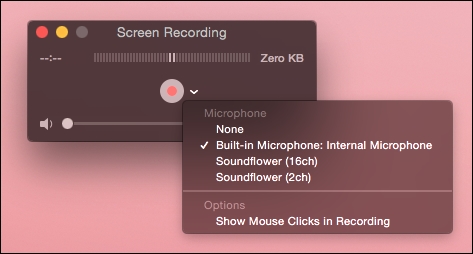
- A new window will open that has a record button. Before you click on record, click on the down arrow next to the button and ensure that you have selected the correct microphone that you'll be using so that the recording picks up your narration.
- Click on record.
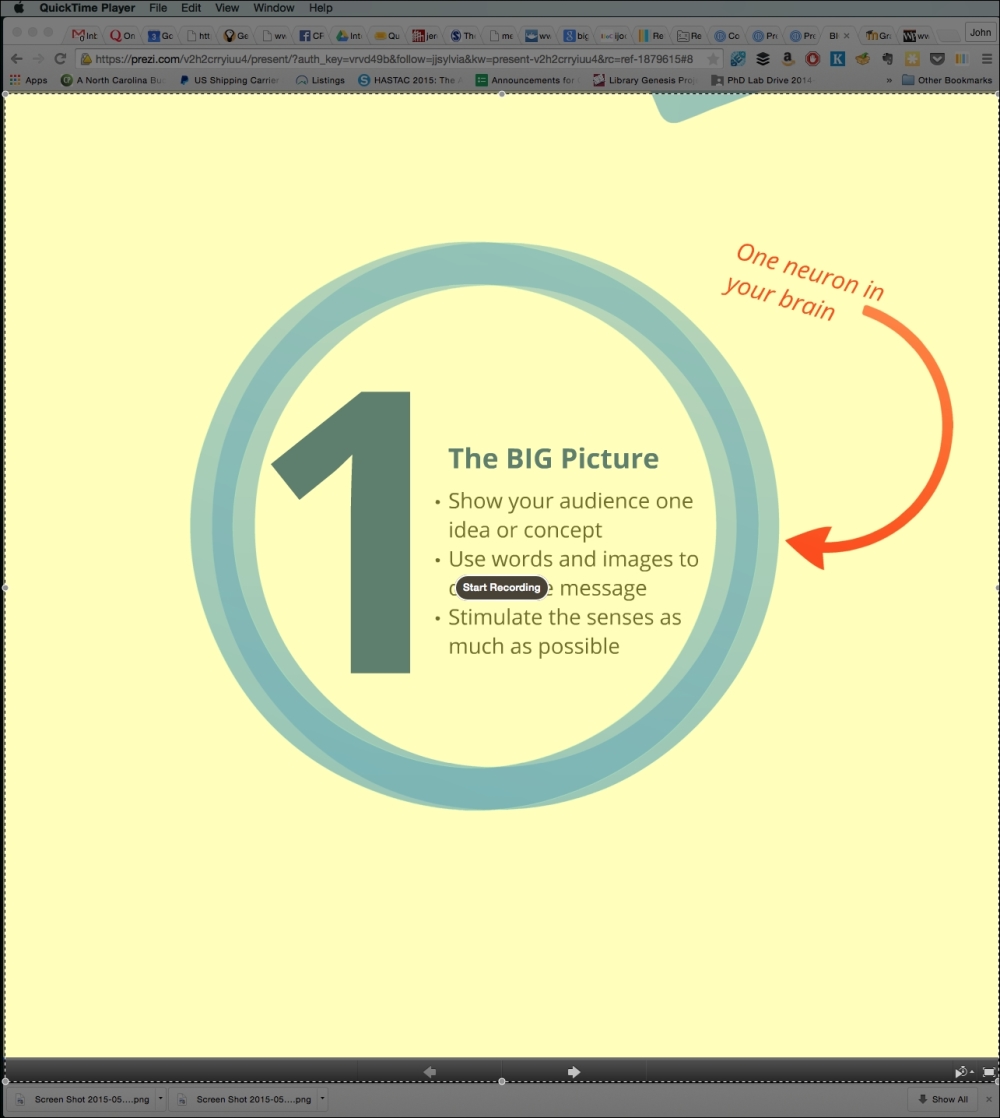
- You'll see a message that tells you to either click to record the full screen or to drag to record part of the screen. For the most effective recording, you'll want to select only the portion of the screen that actually displays your Prezi. In the following screenshot, you can see that I've only selected the inner portion of my browser window, so only that will be recorded as part of the video:
- Navigate through your Prezi and also narrate it as you move through it.
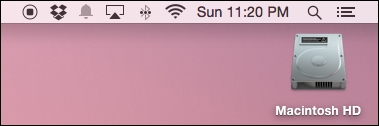
- Once you finish, click on the Stop button in the menu bar, which is the icon on the far left, as shown in the following image:
- Finally, use the File menu to save the recording.
Tip
If you use Windows or Linux, you can use a web-based screen capture platform such as the one available at http://www.screenr.com. This uses Java to record your screen, and functions much like the QuickTime example we just saw. It will even automatically convert and upload your video to YouTube!
After your video is saved, you can simply follow the same steps we covered in Chapter 7, Inserting a Video, to upload your own video content to YouTube!