
One of the newer components of online multiplayer games is the social aspect that involves real-time voice and video communication. This last component can be perfectly satisfied by using HTML Media Capture APIs, which allow you to access your player's camera and microphone. Once you have gained access to a camera and microphone, you can broadcast that data to other players, save them as audio and video files, or even create a standalone experience that is based on that alone.
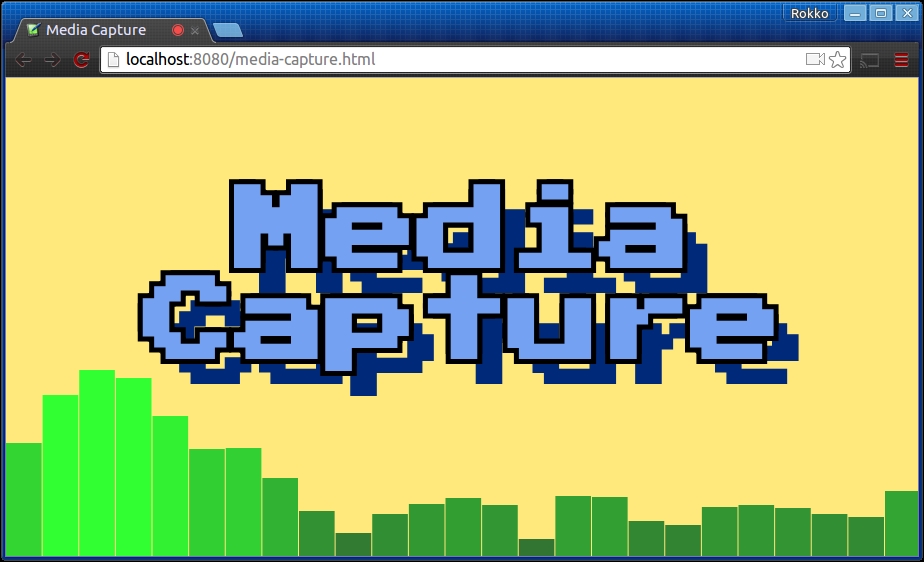
The hello world example of Media Capture is probably the eye candy of audio visualization demonstration. We can achieve this with a mixture of Media Capture and Web Audio API. With media capture, we can actually receive the raw audio data from the user's microphone; then, we can use Web Audio to connect the data and analyze it. With that data in place, we can lean on the canvas API to render the data representing the sound waves that was received by the microphone.
First, let us take a more involved look at Media Capture. Then, we'll look at the important pieces of Web Audio and leave it as an exercise for you to find a better, more complete, and dedicated source to deepen your' understanding of the rest of the Web Audio API.
Currently, media capture is in candidate recommendation, so we still need to look for and include vendor prefixes. For brevity, we will assume Webkit targetting (HTML Media Capture W3C Candidate Recommendation, (September 2014). http://www.w3.org/TR/html-media-capture/).
We begin by calling the getUserMedia function on the navigator object. (for more information about the window.navigator property, go to https://developer.mozilla.org/en-US/docs/Web/API/Window/navigator.) In this, we specify any constraints about the media we wish to capture, such as the audio, the video frame rate that we want, and so on:
var constraints = {
    audio: false,
    video: {
        mandatory: {
            minAspectRatio: 1.333,
            maxAspectRatio: 1.334
        },
        optional: {
            width: {
                min: 640,
                max: 1920,
                ideal: 1280
            },
            height: {
                min: 480,
                max: 1080,
                ideal: 720
            },
            framerate: 30
        }
    }
};

var allowCallback = function(stream){
    // use captured local media stream
    // ...
};

var denyCallback = function(e){
    // user denied permission to let your app access media devices
    console.error('Could not access media devices', e);
};

navigator.webkitGetUserMedia(constraints, allowCallback, denyCallback);
In its simplest form, the constraints dictionary only includes a key indicating the type of media that we wish to capture, followed by a Boolean value that represents our intent. Optionally, any false values can be shorthanded by leaving out the attribute altogether.
var  constraints = {
    audio: true,
    video: false
};

// the above is equivalent to simply {audio: true}

navigator.webkitGetUserMedia(constraints, allowCallback, denyCallback);
Once the call to getUserMedia is executed, the browser will display a warning message to the user, alerting him or her that the page is attempting to access media devices; this will give the user a chance to allow or deny such a request:
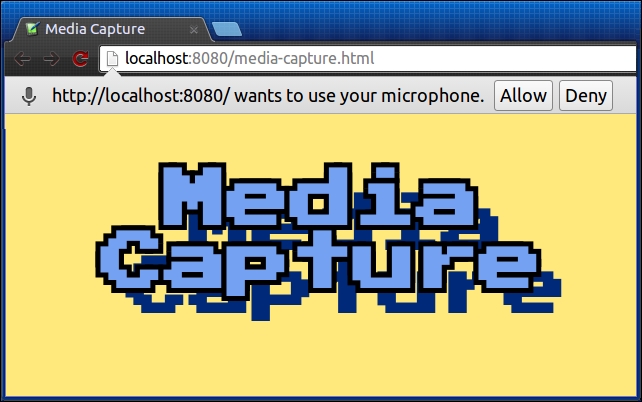
Although it is different from the old window.alert, window.confirm, and window.prompt APIs, the browser-generated prompt is always asynchronous and non-blocking. This is the reason for providing callback functions for the cases where the user allows or denies your request.
Once we have been granted access to the user's audio device, as in the previous example, we can leverage the Web Audio API and create an AudioContext object; from this, we can then create a media stream source:
var allowCallback = function(stream){
    var audioContext = new AudioContext();
    var mic = audioContext.createMediaStreamSource(stream);

    // ...
};
As you may have guessed, a MediaStream object represents the microphone as a source of data. With that reference, we can now connect the microphone to an AnalyserNode to help us break down the audio input into something that we can represent visually:
var allowCallback = function(stream){
    var audioContext = new AudioContext();
    var mic = audioContext.createMediaStreamSource(stream);

    var analyser = audioContext.createAnalyser();
    analyser.smoothingTimeConstant = 0.3;
    analyser.fftSize = 128;

    mic.connect(analyser);

    // ...
};
The next step is to use the analyser object and get the frequency data from the audio source. With this on hand, we can just render it to some existing canvas as we see fit:
var allowCallback = function(stream){
    var audioContext = new AudioContext();
    var mic = audioContext.createMediaStreamSource(stream);

    var analyser = audioContext.createAnalyser();
    analyser.smoothingTimeConstant = 0.3;
    analyser.fftSize = 128;

    mic.connect(analyser);

    var bufferLength = analyser.frequencyBinCount;
    var frequencyData = new Uint8Array(bufferLength);

    // assume some canvas and ctx objects already loaded and bound to the DOM
    var WIDTH = canvas.width;
    var HEIGHT = canvas.height;
    var lastTime = 0;

    visualize(e);

    function visualize(now) {
        // we'll slow down the render speed so it looks smoother
        requestAnimationFrame(draw);
        if (now - lastTime >= 200) {
            ctx.clearRect(0, 0, WIDTH, HEIGHT);
            analyser.getByteFrequencyData(frequencyData);

            var barWidth = (WIDTH / bufferLength) * 2.5;
            var x = 0;

            [].forEach.call(frequencyData, function (barHeight) {
                ctx.fillStyle = 'rgb(50, ' + (barHeight + 100) + ', 50)';
                ctx.fillRect(x, HEIGHT - barHeight / 1, barWidth, barHeight / 1);
                x += barWidth + 1;
            });

            lastTime = now;
        }
    }
};
Working with a video is equally simple, but it does require, as you would expect, that a camera to be connected to your computer. If you make the request to getUserMedia with a set video constraint, but no camera is present, the error callback will be executed and the NavigatorUserMediaError object will sent as the argument:
navigator.webkitGetUserMedia({video: true}, function(stream){
    // ...
}, function(e){
    // e => NavigatorUserMediaError {
    //              constraintName: '',
    //              message: '',
    //              name: 'DevicesNotFoundError'
    //          }
});
On the other hand, when a video device is accessible, we can stream it to a video element in the most simple manner by setting its src attribute to a objectUrl, which is pointing to the stream source that we acquire from the user media:
var video = document.createElement('video'),
video.setAttribute('controls', true);
video.setAttribute('autoplay', true);

document.body.appendChild(video);

var constraints = {
    video: true
};

function allowCallback(stream){
    video.src = window.URL.createObjectURL(stream);
}

function denyCallback(e){
    console.error('Could not access media devices', e);
}

navigator.webkitGetUserMedia(constraints, allowCallback, denyCallback);