
Creating the external network can be completed through the web interface by performing the following steps:
- Start by logging in to the web interface as the Admin user to create the external network and subnet. Select the Networks submenu from the Admin menu and click on Create Network. Give the network a name, flag it as external and make sure that it is assigned to the service project. The default provider type configured by Triple-O is VXLAN. On the command line, this was taken care of for you; here, select VXLAN for the Provider Network Type and set the Segmentation ID to
1. This step is encapsulated in the following screenshot:
- Once you have created the network, select the network by its name from the list, as shown in the following screenshot, and click on Create Subnet:

- Fill out the form with the network information for the external pool of IP addresses. Make sure the correct gateway is specified. The following screenshot captures this step:

- Move to the Subnet Detail dialog and make sure that you uncheck Enable DHCP. Fill in the allocation pool if necessary; if you are using the default Triple-O installation, set the allocation pool to
192.0.2.100,192.0.2.199. This is only necessary when creating an external network as the administrative user and can be provided by your network administrator for a deployment being attached to a corporate network. This step is illustrated in the following screenshot:
- Once the subnet and network are created, as shown in the following screenshot, log out of the admin account and log back in as the non-privileged user:

- Select the Routers menu options from the Network menu, click on the Set Gateway next to your router, and select the external network you just created as the admin user, as shown in the following screenshot:

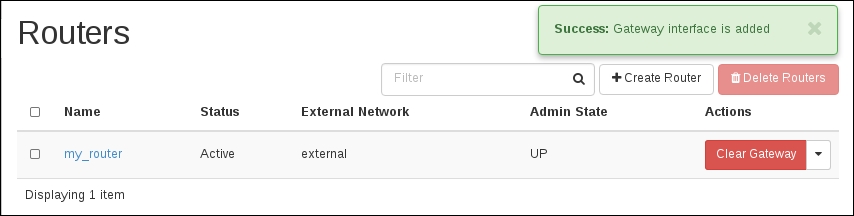
- Once the router's gateway is set to the external network, everything will be in place to assign a floating IP address to an instance once it's launched, as shown in the following screenshot:
..................Content has been hidden....................
You can't read the all page of ebook, please click here login for view all page.