
Now that we have used the command line to manage Cinder volumes, let's take a look at using the web interface to accomplish the same thing:
- Log in to the web interface as your non-administrative user and select the Volumes submenu from the Compute menu.
- In the top-right corner, click on the Create Volume button.
- Fill in the name and size and click on Create Volume on the form:

- The web interface will update itself as the volume status changes. Once it becomes available, click on the More menu on the volume page and select Edit Attachments. In this dialog, the volume will be connected to the running instance. The following screenshot captures this step:

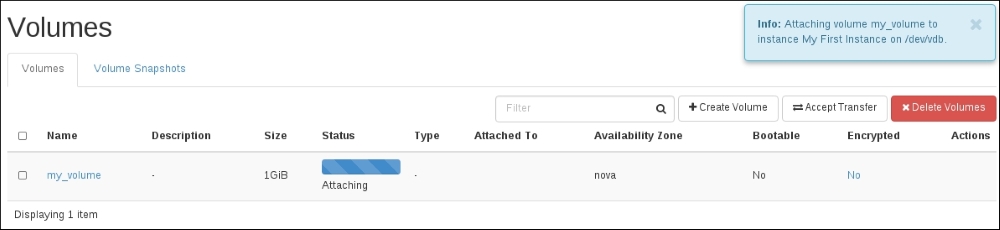
- In the Attachments dialog, select the instance to attach the volume to and click on the Attach Volume button, as shown in the following screenshot:

- Once again, the web interface will get updated as the status of the volume changes. The volume's status will become In-Use when it is attached to the instance and ready for the initial partitioning and file system creation. The following screenshot encapsulates this step:
- To detach the volume, open the Edit Attachments dialog in the More menu and click on Detach Volume. The status of the volume will return to Available once the detach process is complete. The following screenshot captures this step aptly:

..................Content has been hidden....................
You can't read the all page of ebook, please click here login for view all page.