
In the last project of this chapter, we are going to see how to interact with Facebook from the ESP8266 Wi-Fi chip, via Temboo. We will see how to simply post a status update, but you can use it to post something on a friend's wall, post data on a page, and much more!
- The first step is to create a Facebook app. You can do so by going to:
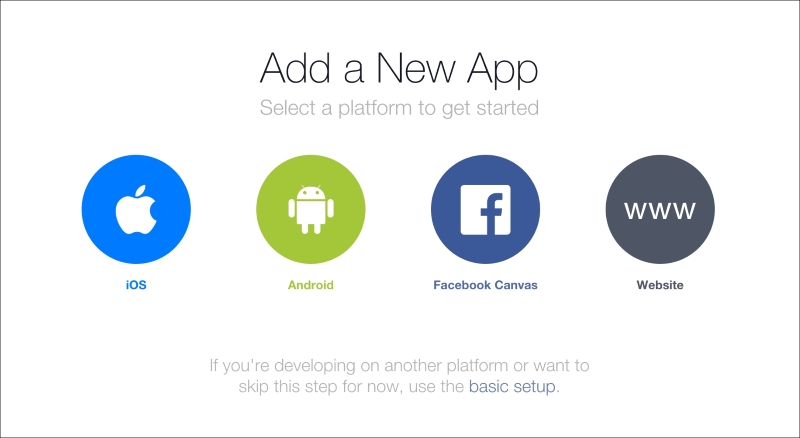
- From there, click on Add a New App:

- When the interface asks you for the type of app, choose Website:
- Then, give your app a name:

- You will then be asked for a URL. This doesn't matter (it won't be used by the project), and you can put whatever you wish:

- After that step, your app will be created. What you need to get here is the app ID and app secret, which should appear inside the application dashboard:

- Then, go to Setting, and find Client OAuth Settings. Add the URL given in this screenshot as a callback URL, by replacing the
Temboousername:
- You're all set on the Facebook side! Now, go back to Temboo:
- This page will simply allow you to get a Facebook access token. First, enter the app ID (which you got earlier from the Facebook website) and scope (use
publish_actions):
- After that, you will be asked to follow a link. Do so, authorize the app, and then go back to the final authorization page and enter all the required data:

- After clicking on Run, you will finally get your access token:

- Now, go to the
Temboolibrary that we actually want to use, which is the library to publish a post on Facebook:https://temboo.com/library/Library/Facebook/Publishing/Post/
- From there, enter your access token, and also a message that you want the ESP8266 to post on your wall:

This is how it should look at the end:

- You can then generate the code and download it. Just as earlier, there are only two things we'll need to modify inside the code. The only thing you need to modify here is the Wi-Fi library:
#include <SPI.h>
#include <ESP8266WiFi.h>
#include <Temboo.h>
#include "TembooAccount.h" // Contains Temboo account information
- Then, inside the
loop()function, we post the message on the Facebook wall at every iteration of the loop:if (numRuns <= maxRuns) { Serial.println("Running Post - Run #" + String(numRuns++)); TembooChoreo PostChoreo(client); // Invoke the Temboo client PostChoreo.begin(); // Set Temboo account credentials PostChoreo.setAccountName(TEMBOO_ACCOUNT); PostChoreo.setAppKeyName(TEMBOO_APP_KEY_NAME); PostChoreo.setAppKey(TEMBOO_APP_KEY); // Set Choreo inputs String MessageValue = "A simple message from the ESP8266!"; PostChoreo.addInput("Message", MessageValue); String AccessTokenValue = "accessToken"; PostChoreo.addInput("AccessToken", AccessTokenValue); // Identify the Choreo to run PostChoreo.setChoreo("/Library/Facebook/Publishing/Post"); // Run the Choreo; when results are available, print them to serial PostChoreo.run(); while(PostChoreo.available()) { char c = PostChoreo.read(); Serial.print(c); } PostChoreo.close(); } Serial.println(" Waiting... "); delay(30000); // wait 30 seconds between Post calls } - It's now time to finally test this project! Upload the code to the board, and then check your Facebook profile. After a while, you should see a new post appearing on your wall, with the message we defined in the sketch:

You can now use Temboo to post on Facebook using the ESP8266 Wi-Fi chip!
..................Content has been hidden....................
You can't read the all page of ebook, please click here login for view all page.