
Continuous Delivery is the practice of deploying a package into a non-production environment in an automated manner.
Once our Continuous Integration process is completed successfully, we can deploy a package using the Continuous Delivery practice in an automated way.
- Click on the Releases in VSTS.
- Click on New definition:

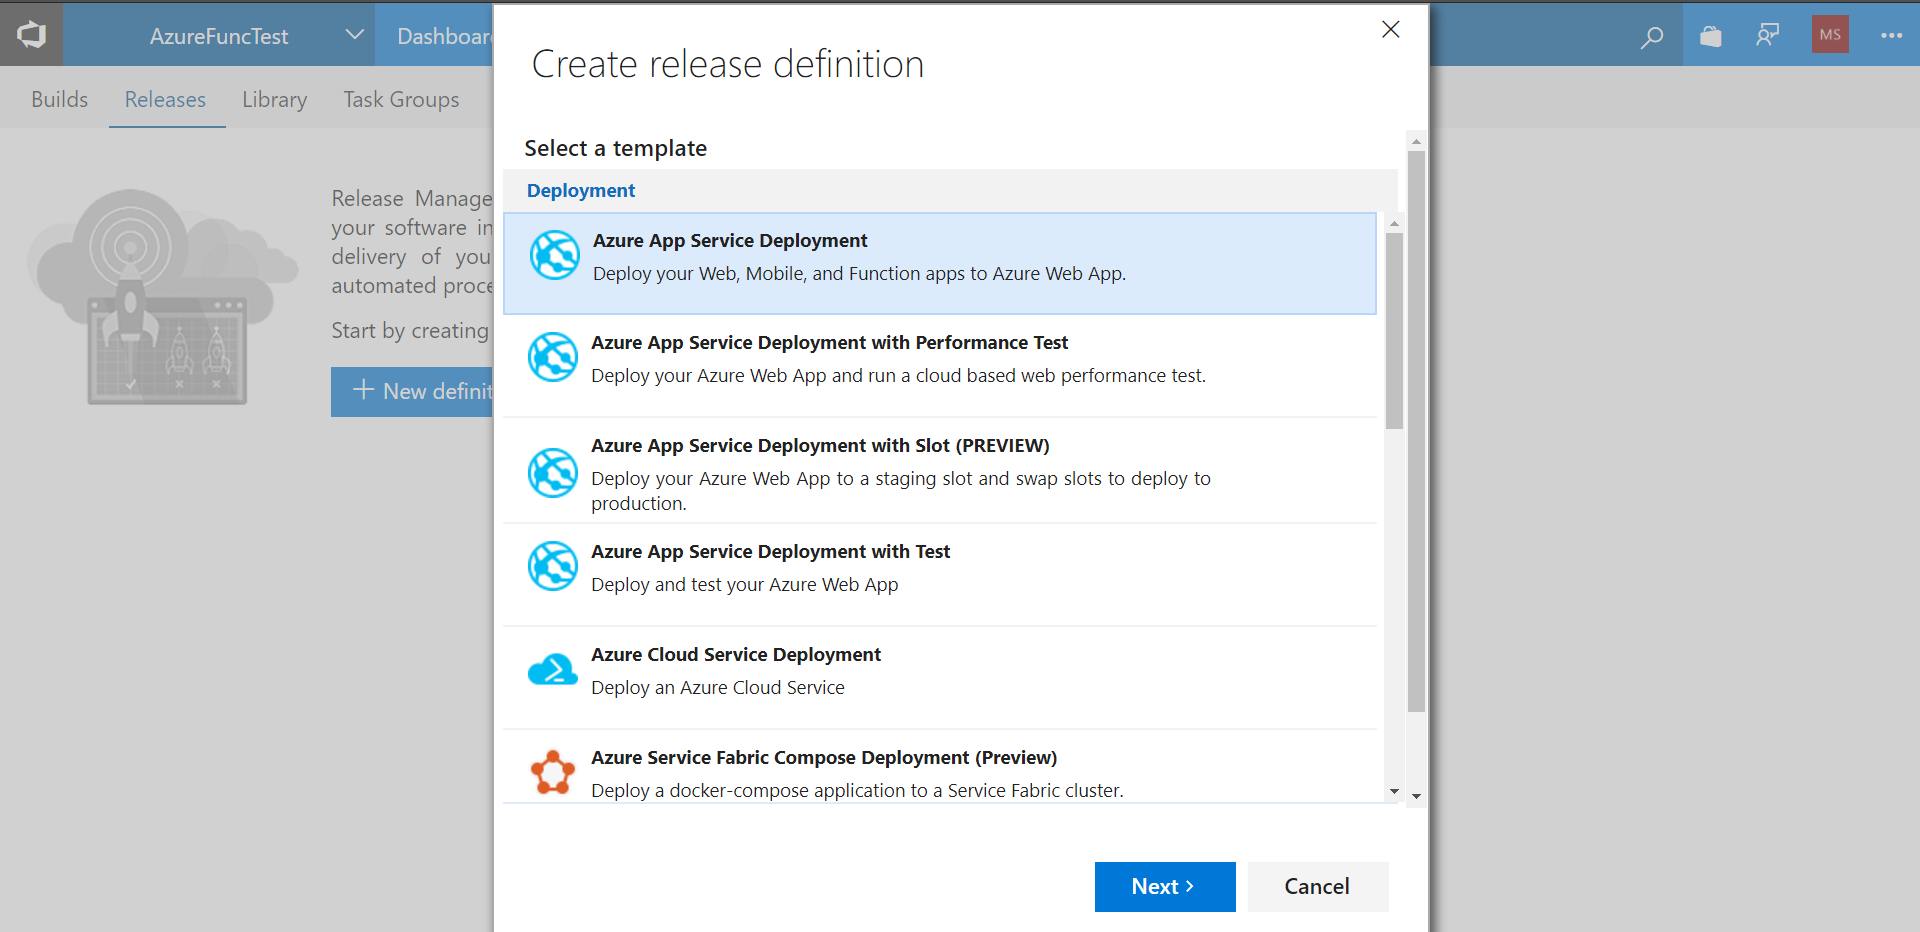
- Select the Azure App Service Deployment template and click on Next:
- Select the Project and Build definition that we created in the previous section.
- Select the Continuous Deployment checkbox.
- It means that whenever the associated Build definition is successfully executed, release definition will be triggered automatically. Click on Create:

-
- The new Release definition is ready.
- Let's configure it.
- We need to configure Azure Subscription first.
- Click on Manage:

- Click on New Service Endpoint.
- Select new Azure Resource Manager:

- Provide a Connection name and select Subscription:

- Verify the newly created endpoint:

- Go to the Release Definitions. Refresh the list of Azure subscriptions:

- Click on the Authorize button:

- Refresh the list of App Service names and select the Function App created earlier.
- Save the Release definition:

- In the package or folder, select the location which we have given in the Publish Artifact task in the Build definition:

- Now, we have the Build & Release definitions ready.
- Go to the Build section and click on Queue new build.
- Click OK:

- Wait for the availability of Hosted Agent. Hosted Agent is a virtual machine available for use where most of the required packages are available to execute the build:

- Once all the tasks defined in the Build definition are executed successfully, then the Build definition is successful:

- We can click on the specific task to get the task-specific logs:

- If in the Release definition, the trigger for Continuous Deployment is not selected, we can execute the Release definition manually too.
- Click on Create Release:

- Select the Build version as the source and click on Create:

- Observe the summary of the ongoing execution of the Release definition:

- Click on the Logs tab to see the logs related to specific tasks.
- It will download artifacts and deploy the Azure function into the Azure Functions app:

- Verify the Function Apps in Azure Portal:

- Go to the Kudu editor and verify the function deployment.
- To go to the Kudu editor, and in the Azure Function URL, add scm after the function name:

- Now, try to upload an image in the blob container so our function gets executed.
- Verify whether the new function is operational or not:

- To configure Continuous Deployment automatically, we can go to the Triggers tab in the Release definition:

- Now, once we have configured triggers for the Build or Release definitions; change the code:

- Verify the summary of the Build definition execution and see the Associated Changes section:

- Once the Build execution is completed successfully, the Release definition will execute immediately.
- Verify the Summary of the Release definition and see if it is triggered by the Build definition that we have created:

- After the Release definition is executed successfully, upload another image in the blob container and verify the logs of the Azure Function:

Done.
We have configured Continuous Integration and Continuous Delivery for Azure Functions.