
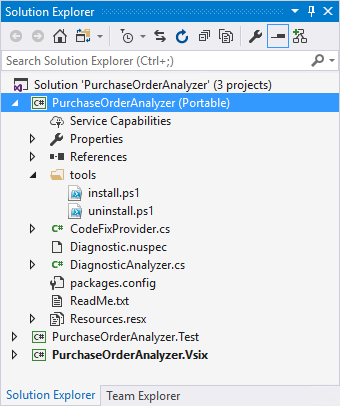
- Have a look at the PurchaseOrderAnalyzer project we created. You will see that there is a tools folder containing two PowerShell scripts called install.ps1 and uninstall.ps1. It is here that you can specify any installation-specific resources or actions to take when uninstalling the package.
- Opening the Diagnostic.nuspec file, you will note that this contains information regarding the NuGet package you are about to deploy. Make a point of modifying this file accordingly as it contains information important to developers consuming your NuGet package.
        <?xml version="1.0"?>
        <package xmlns="http://schemas.microsoft.com/packaging/
         2011/08/nuspec.xsd">
          <metadata>
            <id>PurchaseOrderAnalyzer</id>
            <version>1.1.1.1</version>
            <title>Purchase Order Analyzer</title>
            <authors>Dirk Strauss</authors>
            <owners>Acme Corporation</owners>
            <licenseUrl>http://www.acmecorporation.com/poanalyzer/
             license</licenseUrl>
            <projectUrl>http://www.acmecorporation.com/poanalyzer
             </projectUrl>
            <requireLicenseAcceptance>true</requireLicenseAcceptance>
            <description>Validate the creation of Purchase Order Objects
             withing Acme Corporation's development projects
            </description>
            <releaseNotes>Initial release of the Purchase Order
             Analyzer.</releaseNotes>
            <copyright>Copyright</copyright>
            <tags>PurchaseOrderAnalyzer, analyzers</tags>
            <frameworkAssemblies>
              <frameworkAssembly assemblyName="System"
               targetFramework="" />
            </frameworkAssemblies>
          </metadata>
          <!-- The convention for analyzers is to put language
           agnostic dlls in analyzersportable50 and language
           specific analyzers in either analyzersportable50cs or
           analyzersportable50vb -->
          <files>
            <file src="*.dll" target="analyzersdotnetcs"
             exclude="**Microsoft.CodeAnalysis.*;
             **System.Collections.Immutable.*;
             **System.Reflection.Metadata.*;
             **System.Composition.*" />
            <file src="tools*.ps1" target="tools" />
          </files>
        </package>
- Go ahead and build your code analyzer. You will see that a file called PurchaseOrderAnalyzer.1.1.1.1.nupkg has been created in the bin folder for your project. Copy that file to the mapped drive you created earlier in the Azure Storage account.
- Inside Visual Studio, add a new WinForms application. You can call this anything you like. You can now add the Storage account as a NuGet location. Go to Tools, NuGet Package Manager and click on Manage NuGet Packages for Solution.... You will notice that, next to the Package source, which is currently set to nuget.org, there is a small gear icon. Click on this.
I created the Visual Studio WinForms application on a separate machine for this example, but if you do not have access to a separate machine, try using a VM to test this. If you do not have access to Azure, you can use VirtualBox.

- The Options screen allows you to add an additional source for NuGet packages by clicking on the green plus icon under Available package sources.

- At the bottom of the Options window, enter a suitable name for the location and enter the path to the Azure Storage account. This is the same path you entered when you mapped the network drive. Before clicking on OK, click on the Update button. Then click on the OK button.

- You can now change the Package source to set it to the Azure Storage account location you mapped to. Doing this and clicking on the Browse tab of the NuGet package manager will display all the packages on this file share. The information under the Options section to the right is the information you defined in the Diagnostic.nuspec file.

- You can now go ahead and install the code analyzer NuGet package. When you have completed the installation, the code analyzer will be visible under the Analyzers node under References in your project.

- The code analyzer also works exactly as expected. Create a class called PurchaseOrder and see the analyzer in action.
