
To get started with Nodejitsu, visit www.nodejitsu.com and register for a free account first. After providing your email address, username, and password, you will be presented with a pricing plan page where you can configure your service. If you just want to create the free account and experiment, simply click on the No Thanks button and the registration process is complete. Then, simply click on the Login button in the upper-right corner to log in and proceed to your Apps dashboard.
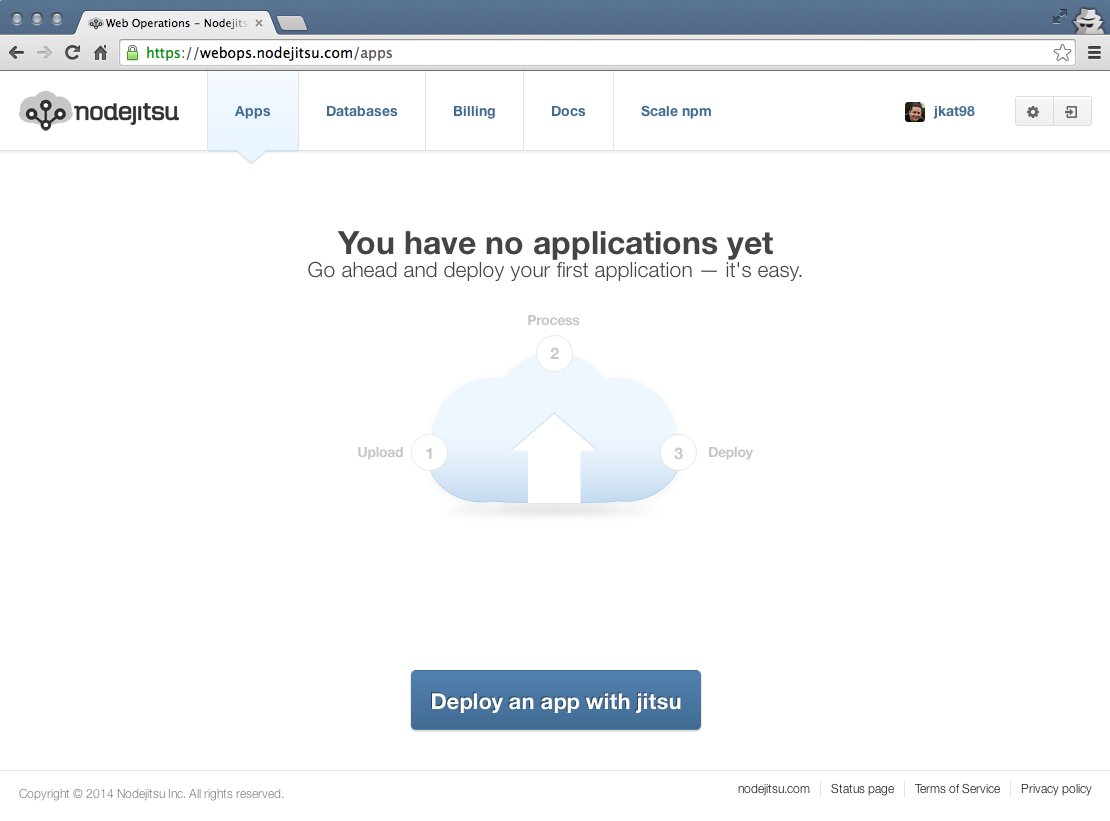
Deploying your app to Nodejitsu will require a new command-line interface tool; specifically, the jitsu CLI. Clicking on the big blue Deploy an app with jitsu button will take you to the www.github.com repository for this tool. You can skip that step and just install the CLI manually, using the following npm command:
$ sudo npm install -g-g install jitsu
Now that the jitsu CLI is installed, you can use this handy tool to log in to your Nodejitsu account, create an app, and deploy your project code. First, let's log in:
$ jitsu login
info:    Welcome to Nodejitsu
info:    jitsu v0.13.18, node v0.10.26
info:    It worked if it ends with Nodejitsu ok
info:    Executing command login
help:    An activated nodejitsu account is required to login
help:    To create a new account use the jitsu signup command
prompt: username:  jkat98
prompt: password:
info:    Authenticated as jkat98
info:    Nodejitsu ok
You can see that after successfully providing your username and password, you are now authenticated with Nodejitsu and are ready to go.
Before we can deploy the actual application, we need to configure the MongoDB database in our Nodejitsu dashboard. Switch back to your browser, and on the Nodejitsu Apps dashboard, switch sections by clicking on the Databases tab.

Let's choose MongoHQ for our needs by clicking on the large MongoHQ button. You will be prompted for a name for the new database, and then it will be listed at the bottom of the screen in the Your databases section. The important part we need is the connection string, and there's a convenient copy link right next to it to copy it to your clipboard.
Edit the server.js file and update the mongoose.connect line to use the new connection string you copied for your Nodejitsu database:
[/server.js]
mongoose.connect('YOUR_NODEJITSU_CONNECTION_STRING_HERE');
mongoose.connection.on('open', ()=>{
    console.log('Mongoose connected.');
});
The only thing remaining is to open a Terminal, change directories to your project home, and execute the following command to package up your app and push it to Nodejitsu:
$ jitsu deploy
info:    Welcome to Nodejitsu jkat98
info:    jitsu v0.13.18, node v0.10.26
info:    It worked if it ends with Nodejitsu ok
info:    Executing command deploy
warn:
warn:    The package.json file is missing required fields:
warn:
warn:      Subdomain name
warn:
warn:    Prompting user for required fields.
warn:    Press ^C at any time to quit.
warn:
prompt: Subdomain name:  (jkat98-imgploadr) imgploadr
warn:    About to write /Users/jasonk/repos/nodebook/imgploadr/package.json
... (a lot of npm install output) ...
info:    Done creating snapshot 0.0.1
info:    Updating app myapp
info:    Activating snapshot 0.0.1 for myapp
info:    Starting app myapp
info:    App myapp is now started
info:    http://imgploadr.nodejitsu.com on Port 80
info:    Nodejitsu ok
After executing jitsu deploy, the CLI first prompts you to confirm what the subdomain will be under the www.nodejitsu.com domain. Feel free to change this to whatever you like (it will check to confirm availability). It then makes a few minor modifications to your package.json file, specifically including the subdomain option with whatever value you provided. Finally, it uploads your source code and performs a remote npm install operation. Assuming that all went well, the app should be deployed and a confirmation of the URL should output to the screen. Feel free to open that URL in your browser to view the app online!
Now, you can also see that the app is listed in your Apps dashboard:

Now that the application has been successfully uploaded, launch it via its URL and give it a test run by attempting to upload a new image. The first thing you should note is that attempting to upload an image fails with a fairly useless error (you can see the following error by accessing the Logs tab from your app's dashboard):
400 Error: ENOENT, open
'/opt/run/snapshot/package/public/upload/temp/72118-89rld0.png
This error is far from helpful! Basically, what's happening here is that the application is attempting to upload and save the image to the temp folder, which doesn't actually exist! We need to add a snippet of code to our application to check for this condition and create the folders, if necessary.
Edit the server/configure.js file and insert the following code snippet between routes (app); and return app;:
// Ensure the temporary upload folders exist
        fs.mkdir(path.join(__dirname, '../public/upload'),
         (err)=>{
            console.log(err);
            fs.mkdir(path.join(__dirname,
'../public/upload/temp'),
                (err)=>{
                    console.log(err);
                });
        });
Here, we're using the filesystem fs module to create both the parent upload folder and the temp subfolder. Don't forget to require the fs module at the top of the file, too:
const connect = require('connect'),
    path = require('path'),
    routes = require('./routes'),
    exphbs = require('express3-handlebars'),
    moment = require('moment'),
    fs = require('fs');
With the mentioned changes made to your code, you need to deploy your application again. Simply execute another jitsu deploy, and a fresh copy of your code will be uploaded to your instance:
$ jitsu deploy
Open your app URL again, and this time you should be able to interact with the application and successfully upload a new image! Congratulations, you have successfully deployed your application, and it is now online using the Nodejitsu hosting service!