
When starting out with AWS, the first security task is to secure the root user. We have outlined the procedure in Chapter 2, The Fundamentals of Amazon Web Services, in the section about the AWS Management Console. Before continuing, we will make sure our root account is secured by logging in to the AWS Management Console and navigating to https://console.aws.amazon.com/iam/home.
We should see a Security Status for our account and we should make sure all of the described statuses have a green check mark. When we first create the account, the security status will look like this:

For all the missing check marks, please click on the chevron on the right to see the instructions on how to complete any of the missing tasks. Let's begin by activating Multi-Factor Authentication (MFA) for our root user account. In our example, we will be using Google Authenticator, which is one of the supported virtual MFA devices on Android devices and iPhones; however, Authy 2-Factor Authentication is also supported on both of these platforms, as well as Authenticator for Windows Phone. First, we will expand the Activate MFA on your root account task and click on Manage MFA:

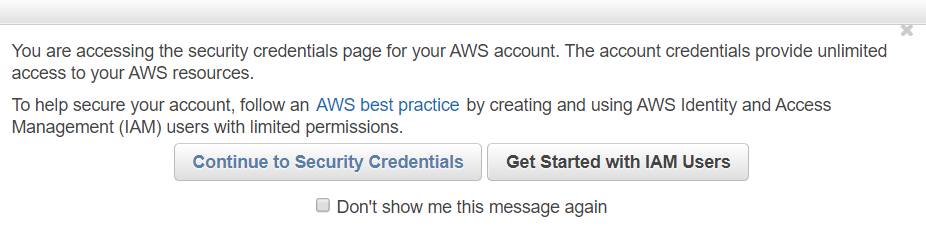
There will be a message warning you that the AWS best practice is to use IAM users with limited permissions. Since we are securing the root account, we will click on Continue to Security Credentials:
We now need to expand the Multi-factor authentication (MFA) task and click on Activate MFA:

A window will pop up where you can select an MFA device. Since we are using Google Authenticator, we will select A virtual MFA device. If you have a supported hardware device, you should select the other option for A hardware MFA device. After selecting, press the Next Step button:

Press Next Step on the virtual MFA information screen:

On the next screen, you will be presented with a QR code. Scan the QR code with Google Authenticator. When the account is successfully added, you will be presented with a time-rotating, six-digit, time-based, one-time password. You will need to enter two of those codes to verify the MFA and then press Activate virtual MFA:

Now that you have activated MFA, you will need to use the MFA code every time you log in with the root user. It is recommended that the MFA device for the root user be stored in a safe place and only retrieved in emergencies. If you happen to lose the MFA for your root account, you will still be able to recover your access via a recovery system, which will send you an email to the email registered as the root account user and then call the telephone number you used to register your account. Make sure you are also using a phone number that is secured against hostile takeovers such as SIM hacking, as this could be a way for the attacker to gain access to your root account. We will cover additional security in the IAM best practices of this chapter.
Heading back to our IAM Dashboard, we will see that two of five tasks have been completed, so we can open the Create individual IAM users task and click on Manage Users:

This will take us to the Users section of IAM, where we will now create a user by clicking on Add user:

Here, we will be able to do the following:
- Give our user a user name; in this example, we called the user mynewuser
- Allow Programmatic access via access key ID and secret access key, which can be used with the AWS API, CLI, SDK, and any other development tools
- Allow AWS Management Console access via a browser with the user's username and password:
- We are able to generate a random or our own password
- We are also able to force the user to change the password on their next sign in
After we have completed this part, we will click on Next: Permissions:

In the Permissions section, we can choose to do the following:
- Add the user to a group
- Copy permissions from an existing user
- Attach an existing policies directly
As per the best practices, we will be adding this user to a group, so we can continue with the Create Group task included in this section. You can also expand and explore Set permissions boundary. A permissions boundary is an advanced feature in which a user or a role can be limited in the maximum permissions that it can have. We will not be applying a permission boundary in our exercise:

In the Create group section, we will create a group for the administrators and give it the default Administrative Permissions Policy name AdministratorAccess. We will click the Create group button and continue with the creation of our user:

As you can see, after clicking Create group we are sent back to the Create user section, where we can now see that the newly created Administrators group is selected. Once selected, click on Next: Tags:

Next, we will be presented with a dialogue that will allow us to add tags. You can add up to 50 tags to the users to be able to identity them within your environment according to different attributes. You could add a tag with key: type and value: standard user or key: team and value: SysOps and so on. Once you have set the tags that you would like to add to the user simply click on Next: Review:

Finally we will be presented with a review screen where we will be able to review the configuration for our user before clicking on the Create user button at the bottom of the screen:

At this point, you will have the ability to download a CSV with the user's credentials or to display them in the browser. This is the only time the credentials will be displayed to the person creating the account as at any other time displaying credentials in IAM is not possible. If the credentials for a user account are lost, they will need to be disabled and re-created; for example, you will need to reset the password and/or recreate a new access key ID and secret access key. You can click the Close button once you are done with storing the credentials for your new user:

Checking the dashboard, you will now see that four out of five tasks have been completed as we have added an IAM user and created a group. We also assigned a security policy to the group, so the Use groups to assign permissions task was also completed at the same time. The last task left for us is Apply an IAM password policy; here, we will specify the password length and complexity to comply with AWS best practices.
Let's expand the Apply an IAM password policy section and click Manage Password Policy:

By managing the password policy, you will have the ability to enforce rules that comply with your enterprise security policy and AWS best practices. You can set the following attributes for your password policy:
- Set the minimum password length
- Require at least one uppercase or lowercase character, number, or special character
- Allow users to change their own passwords
- Enable password expiration after a number of days
- Prevent the reuse of passwords
- Enable administrative reset on expired passwords
All of the features listed here are standard enterprise features for password complexity and rotation, and your enterprise probably has an existing password policy that the AWS password policy can be made to comply with:

By clicking Apply password policy, you have completed the last task in the IAM Dashboard security overview and all check marks should be green:
