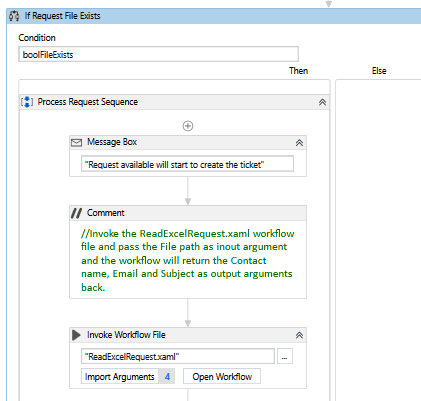
Let's now go back to the Main sequence to invoke this newly created ReadExcelRequest workflow. If you recall, we added a message within the main workflow if there are requests available to process. Let's invoke the read Excel workflow right after that:
- Let's add the Invoke Workflow File UiPath activity in the Then block of the If control:
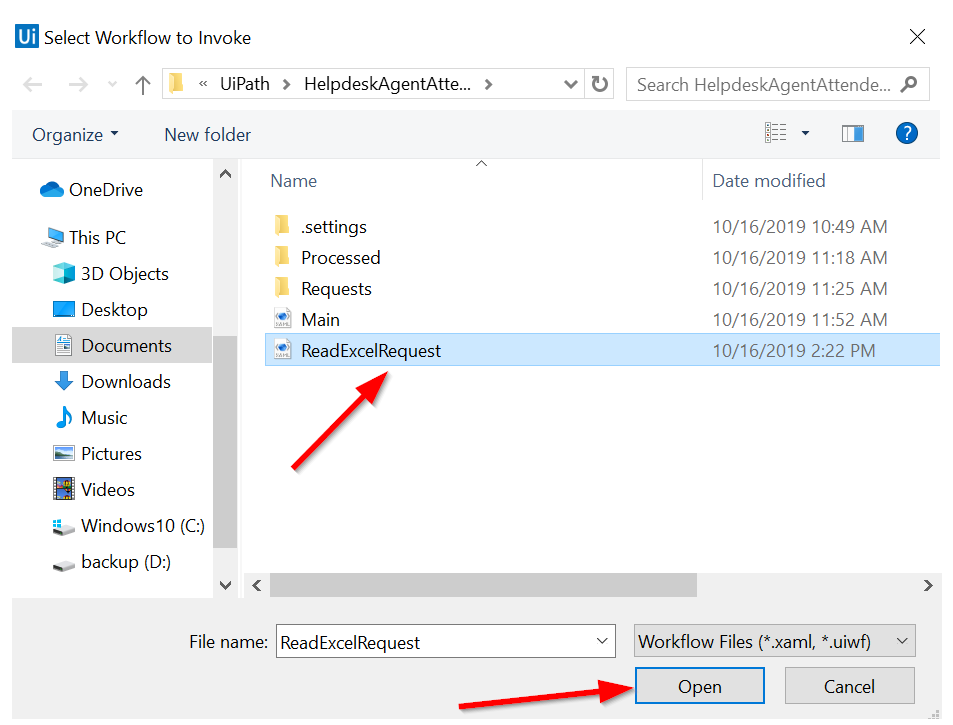
- Let's populate this new activity with the ReadExcelRequest workflow path. To do that, click on the three dots on the right of the first parameter. Select the ReadExcelRequest.xaml file in your project folder:
- Now, let's create three new variables to store the data that we would get from the ReadExcelRequest workflow. Go to the Variables pane at the bottom of Studio and add variables for contact name, email, and subject, as shown in the following screenshot:
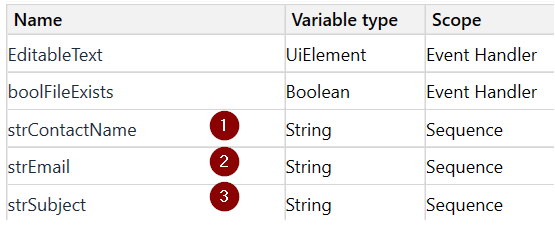
Note Variable type and Scope and ensure that you match what is shown.
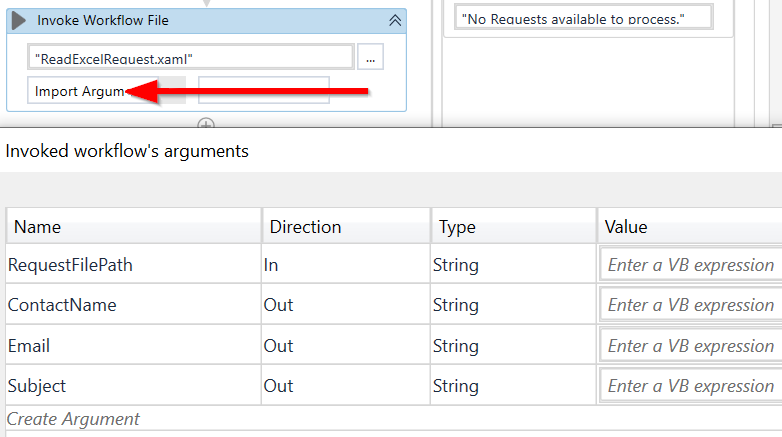
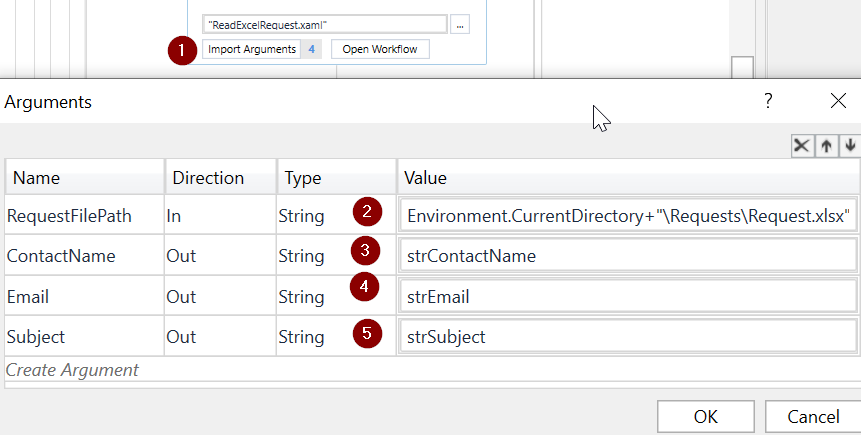
- If you recall, we had a few arguments in the ReadExcelRequest workflow to pass data back to Main. Let's now pass data by clicking on Import Arguments and mapping the data. For that, within the Invoked workflow's arguments window, let's perform the following steps:
- Populate RequestFilePath with the path to the file: Environment.CurrentDirectory+"RequestsRequest.xlsx":
-
- Map the new variables we added previously to the respective argument value:
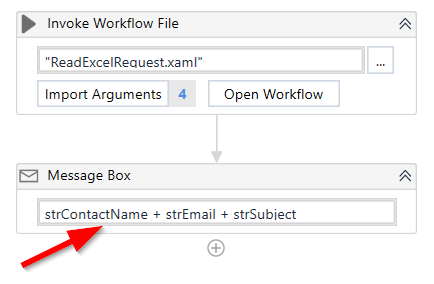
- Since this is a learning exercise, let's add a message box to display ContactName, Email, and Subject for us to establish whether the bot got it right:
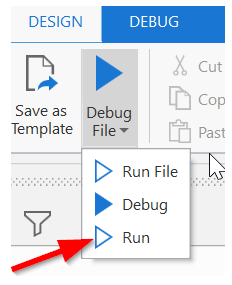
- Let's now perform a quick test of the workflow so far. Click on Run to run this main workflow. Please ensure that your Excel file is closed before you run the workflow:
You should get the initial message that we added: Agent Ready. Press Alt + s to trigger Automation. Click OK on this message box to acknowledge and press Alt + S to start the bot. Next, you should get the second message that there is a Request file to process and so to proceed with ticket creation. Finally, when it runs successfully, we can expect the message box with the name, email, and subject content that we added in the steps we just completed.
Automation will always continue to run by default. Therefore, please click on the Studio Stop button to stop the bot.
We have now completed the part where we read the data from the Request spreadsheet and are now ready to take this data and create our support ticket. Let's go!
