
Now, we're almost ready to build our first report. We will create our report by building it from scratch by performing the following steps:
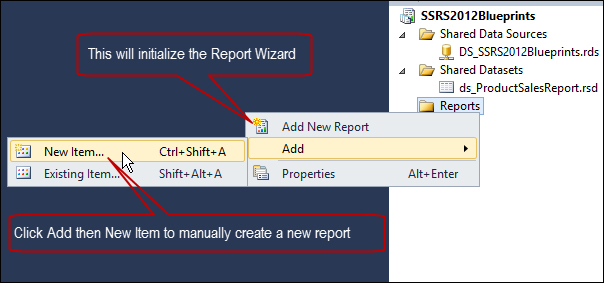
- Going back to the Solution Explorer window, right-click on the
Reportsfolder. Please take note that selecting the Add New Report option will initialize Report Wizard. Use the wizard to build simple tabular or matrix reports.Go ahead if you want to try the wizard but for the purpose of our demonstration, we'll skip the wizard.
- Select Add, instead of Add New Report, then select New Item:
Selecting New Item displays the Add New Item dialog box as shown in the following screenshot.
- Choose the Report template (default report template) in the template window. Name the report
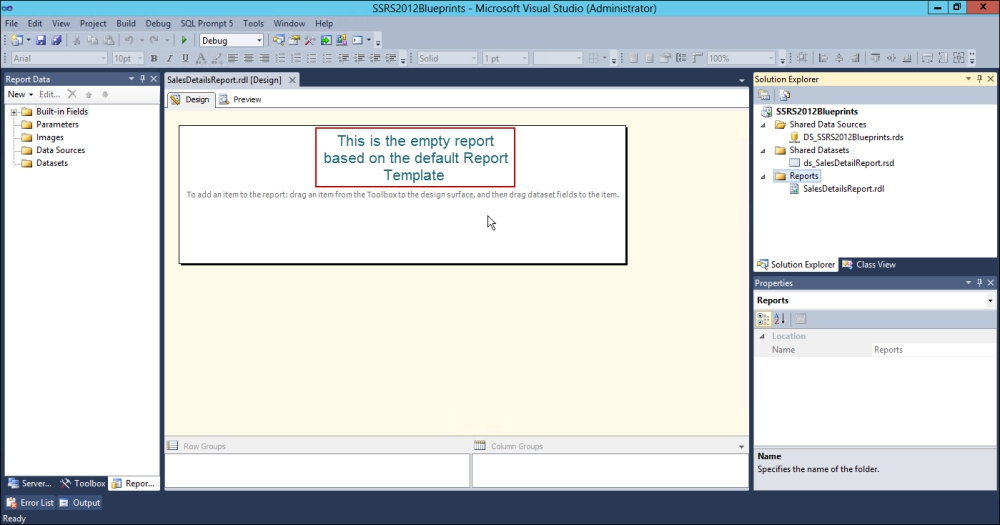
SalesDetailsReport.rdl. - Click on the Add button to add the report to our project:

Clicking on the Add button displays the empty report in the report designer. It looks similar to the following screenshot:
..................Content has been hidden....................
You can't read the all page of ebook, please click here login for view all page.